Glacier National Park
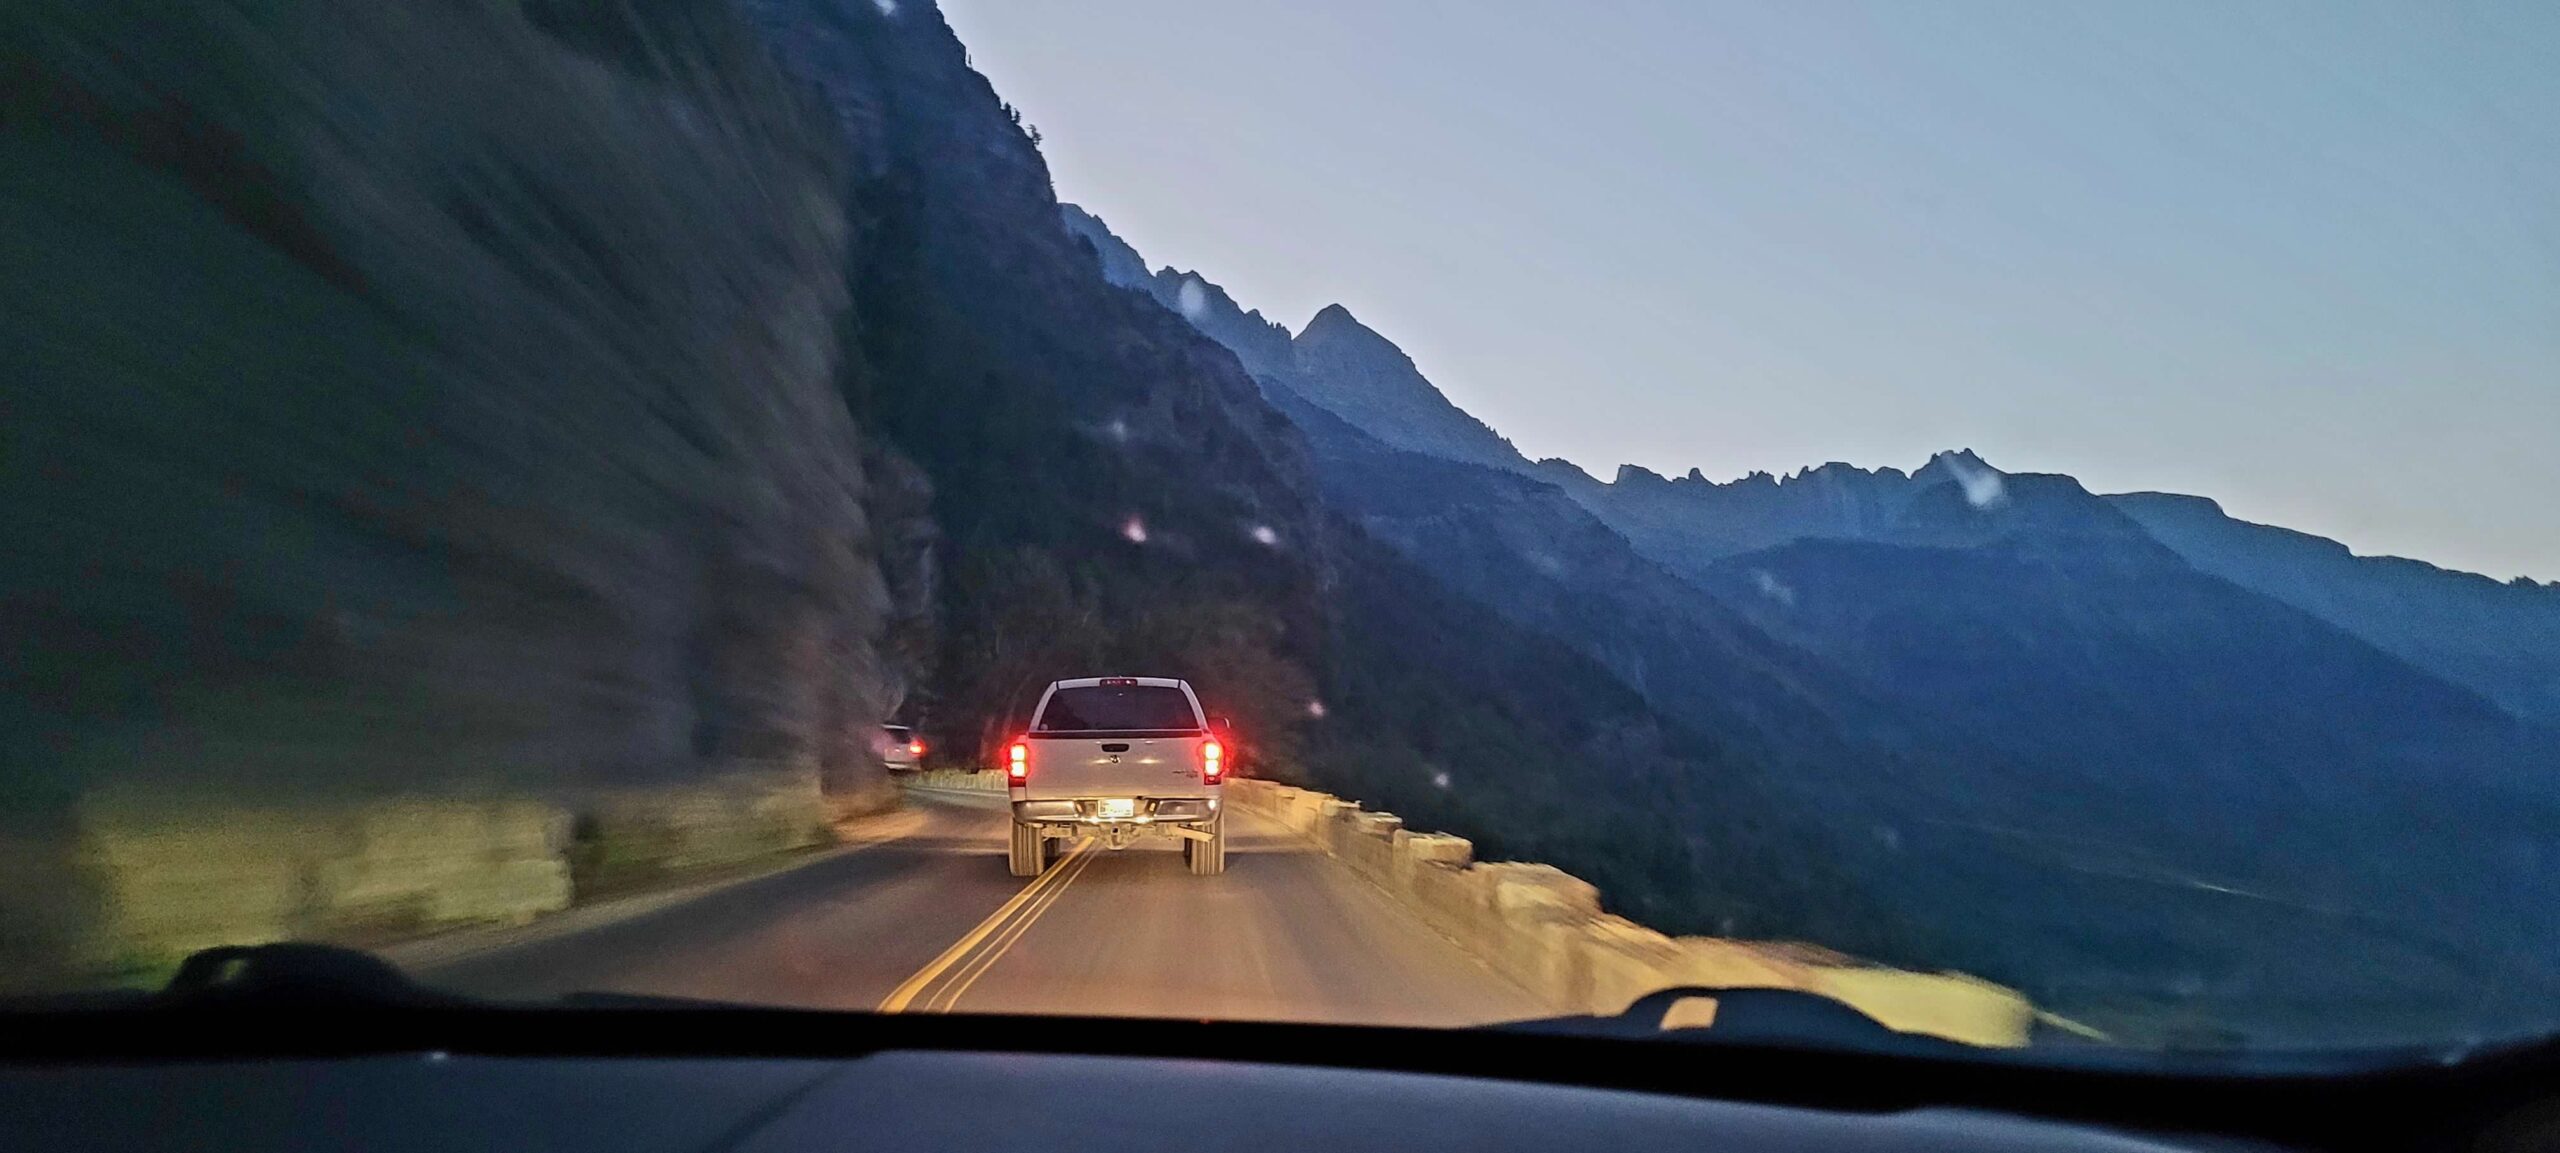
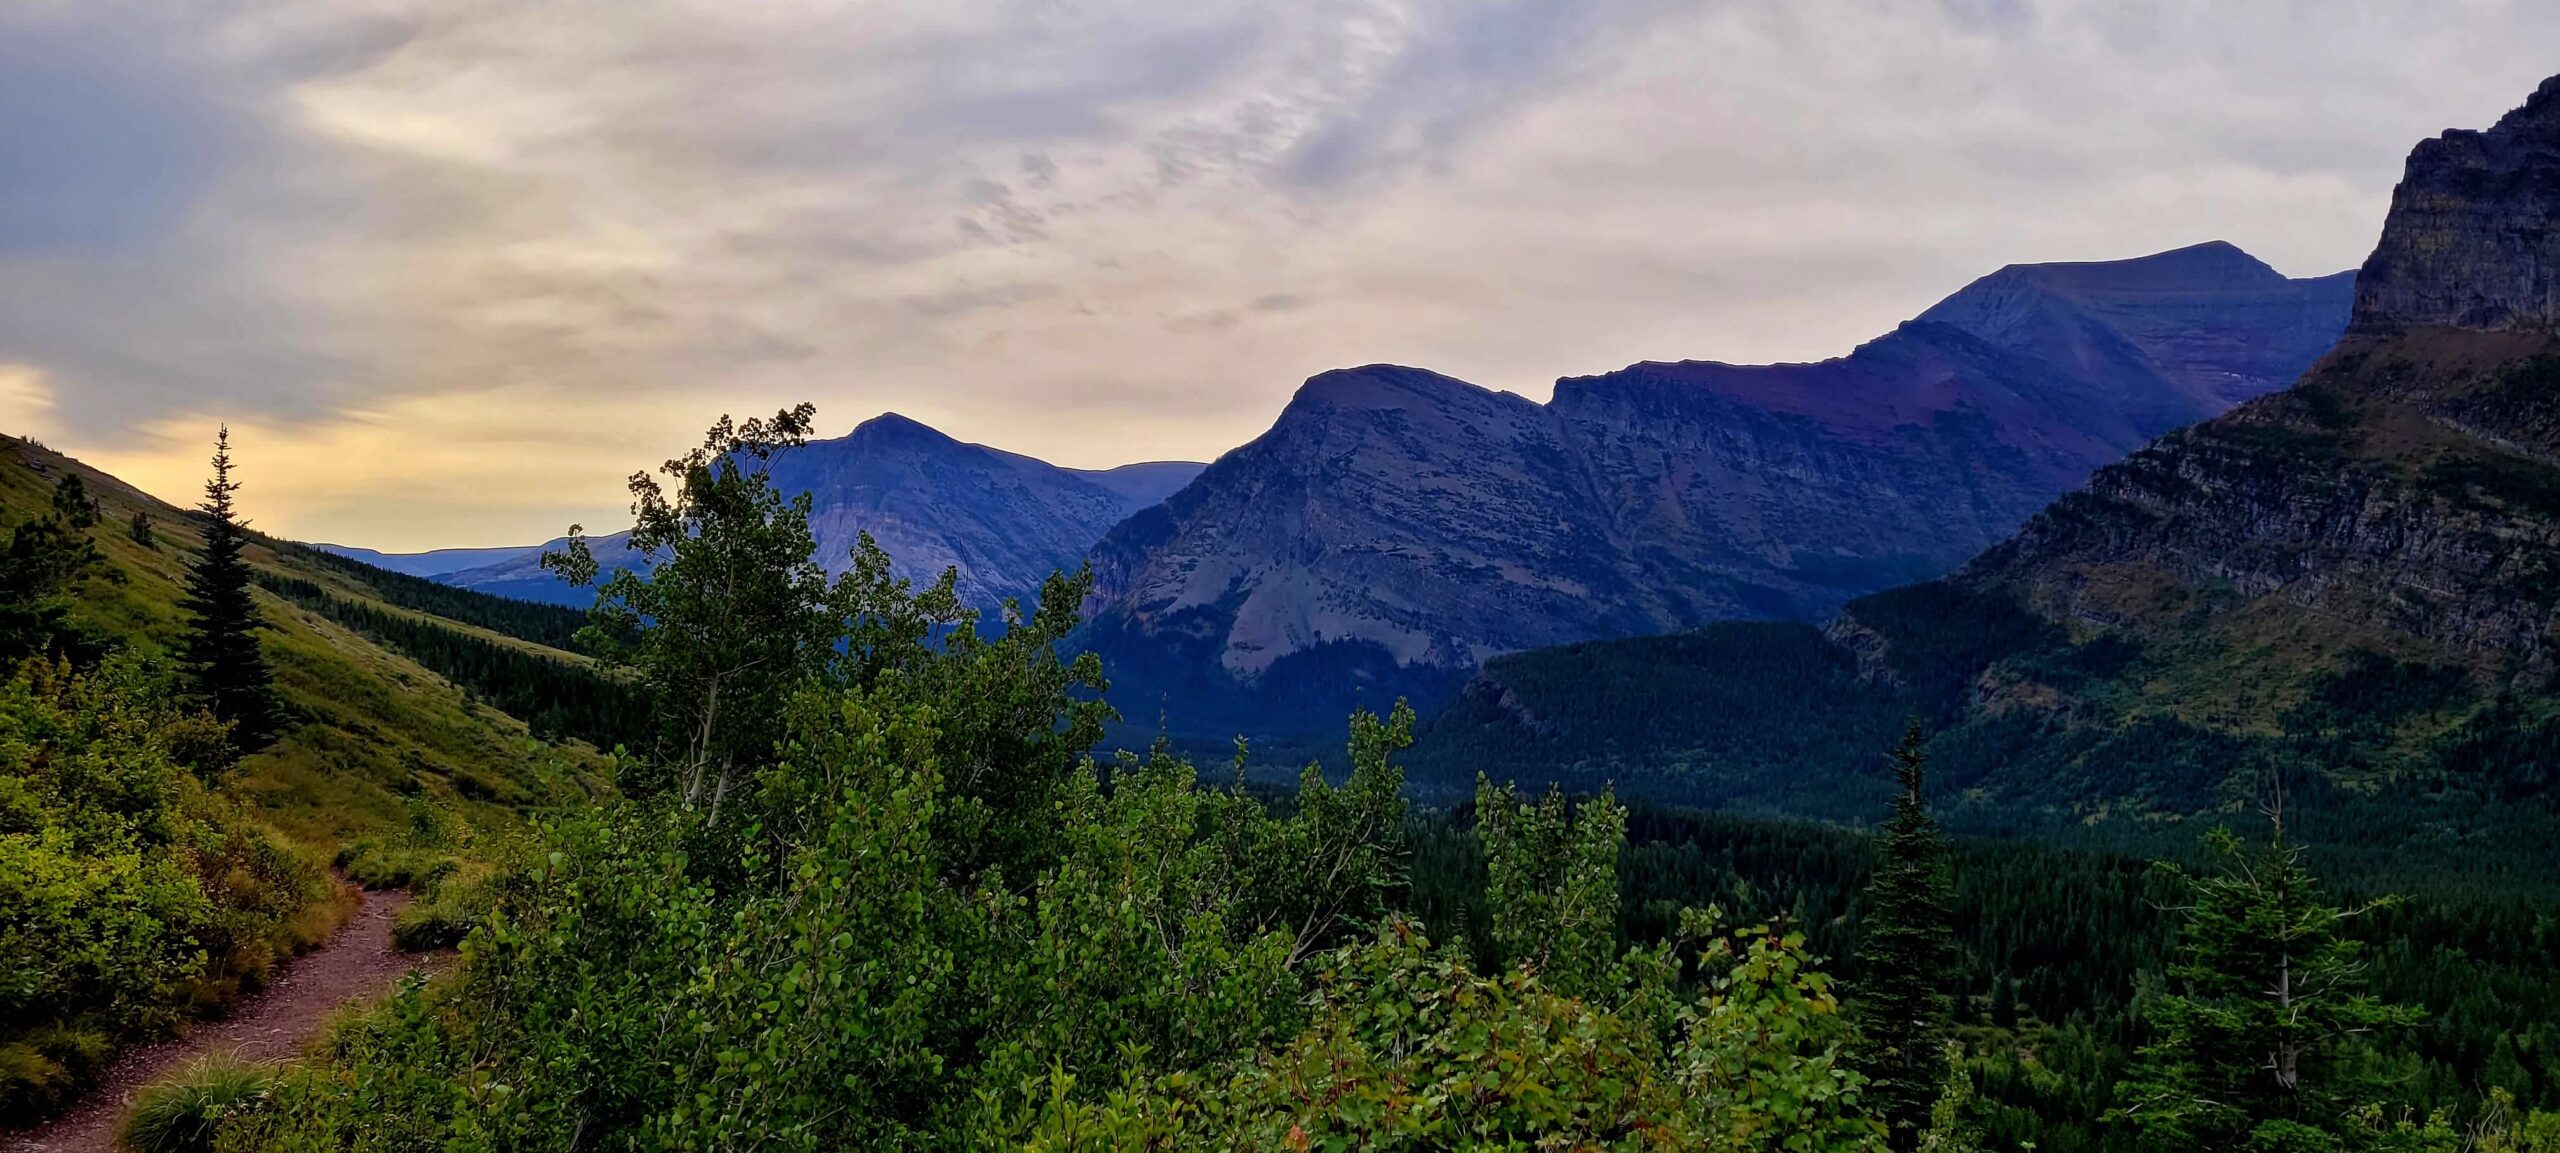
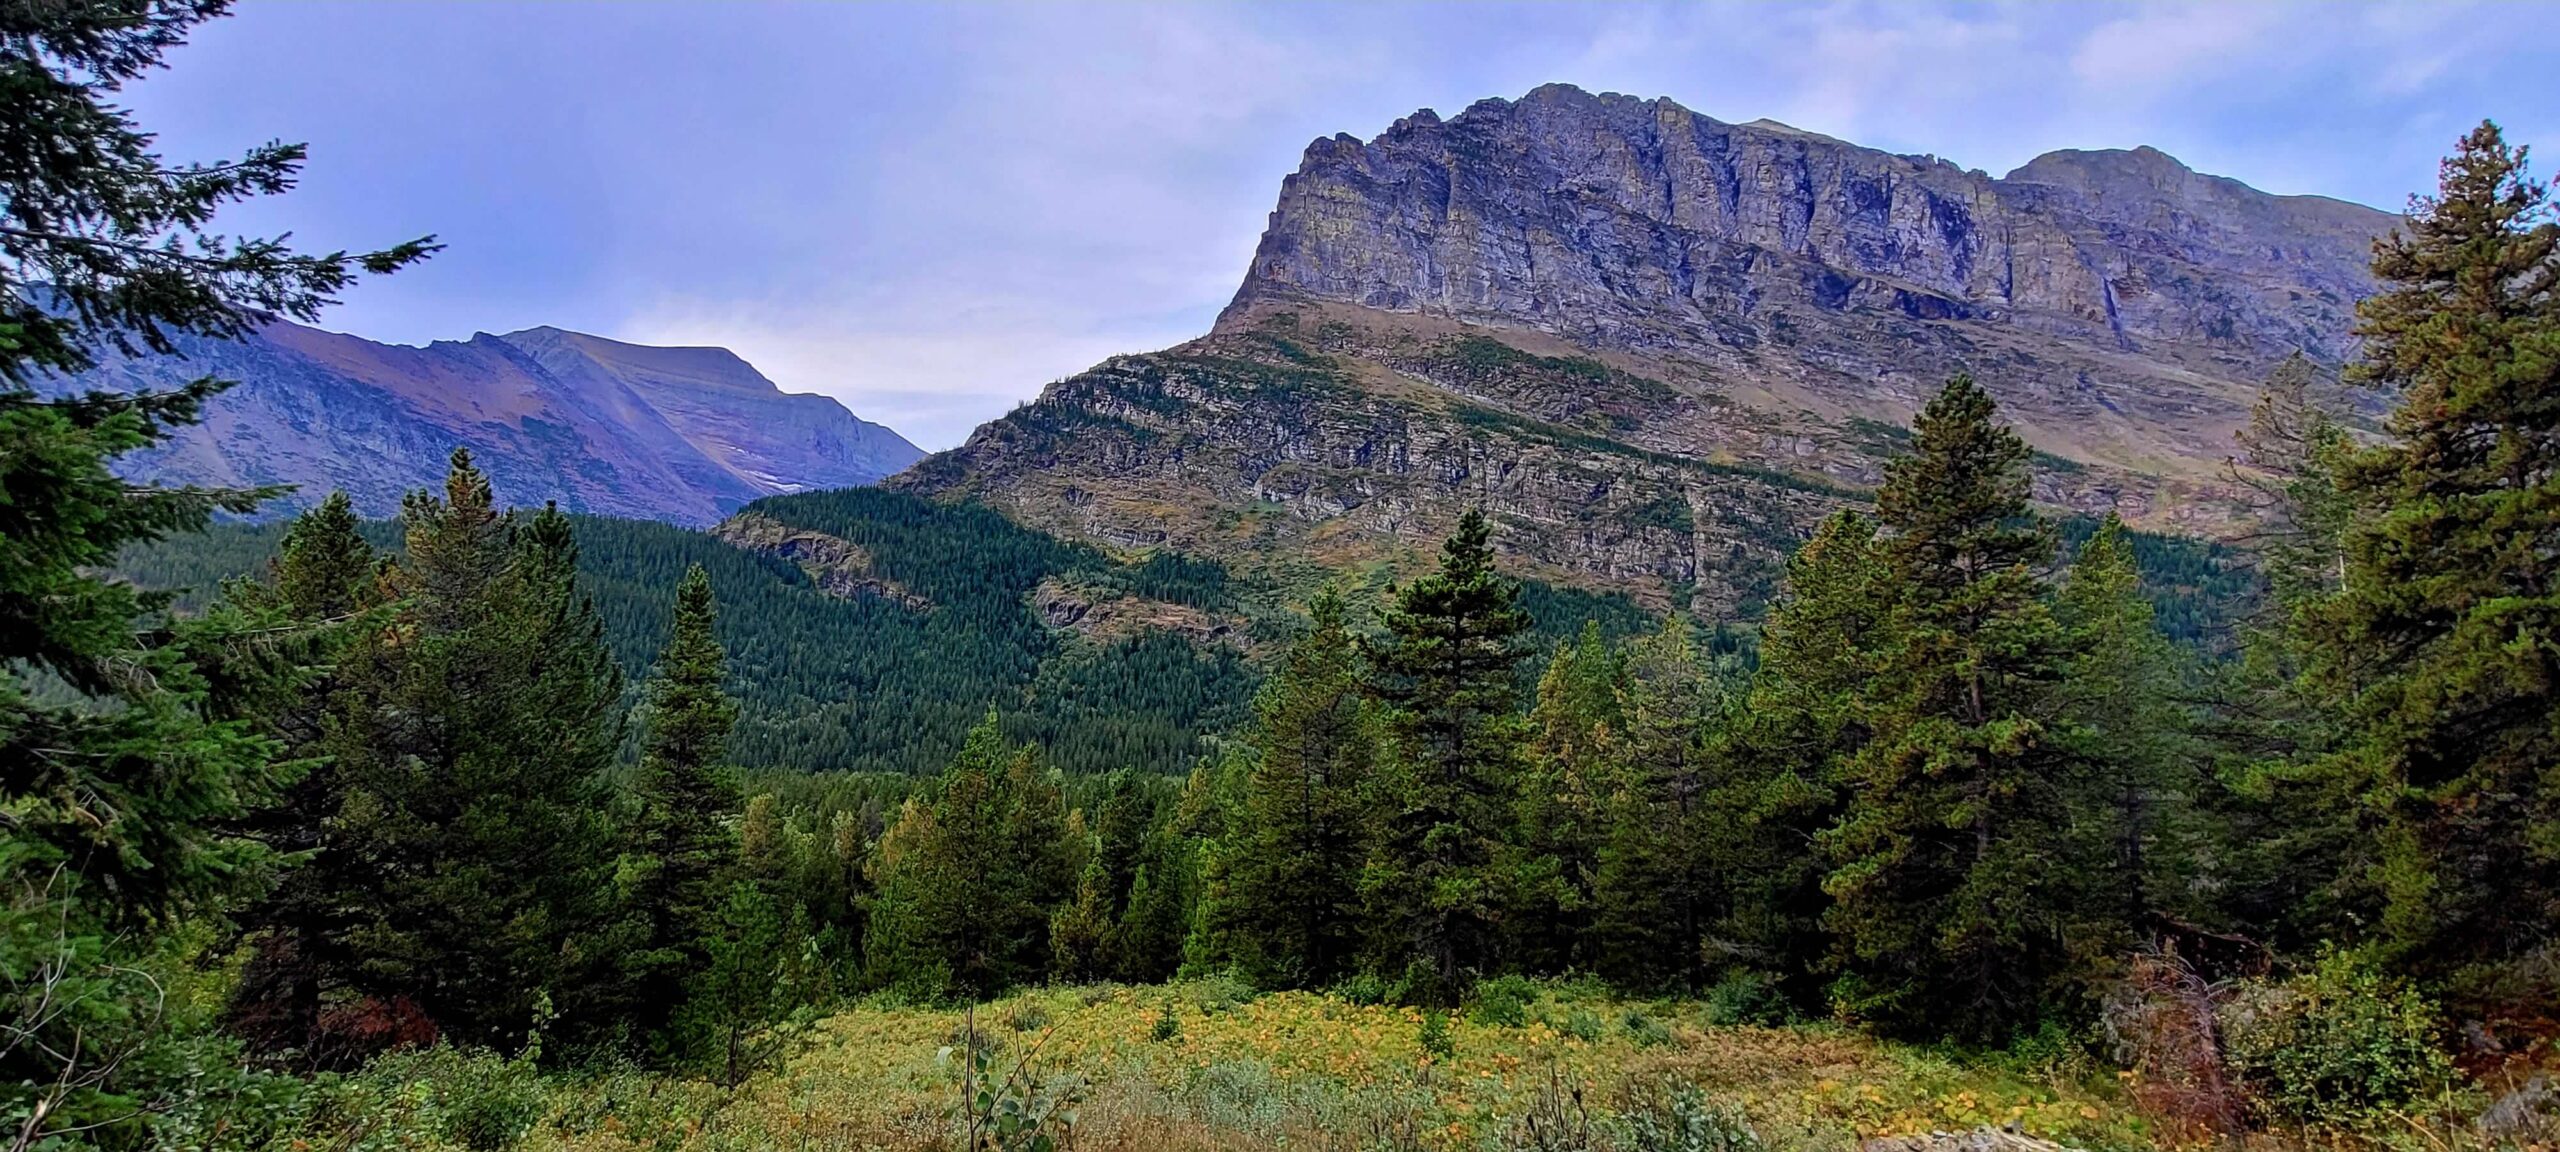
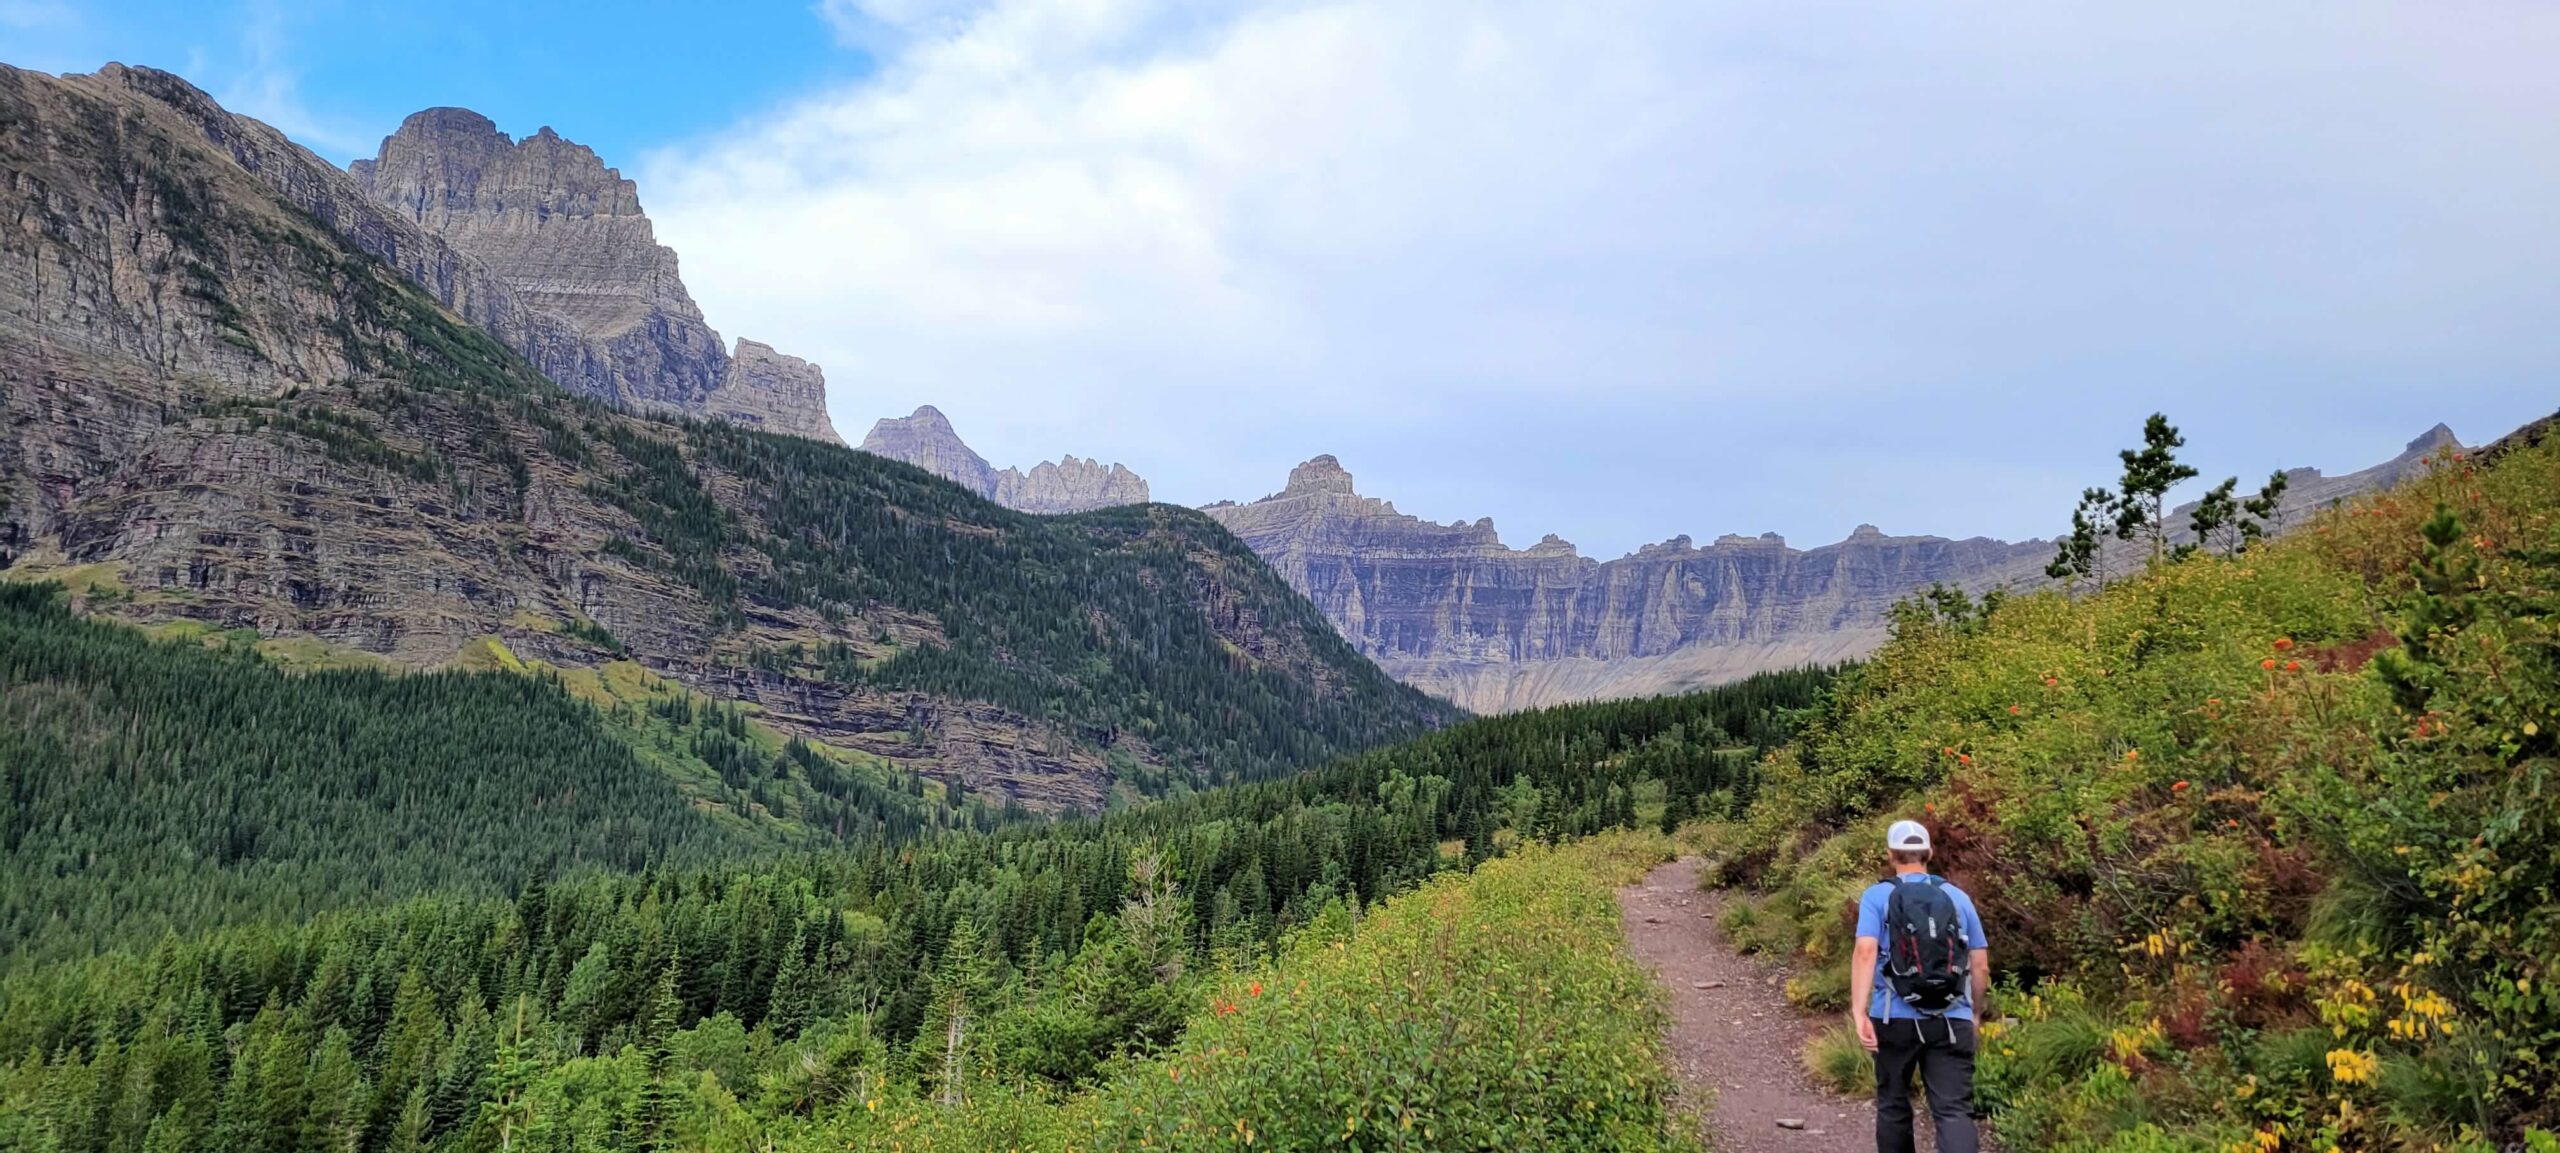
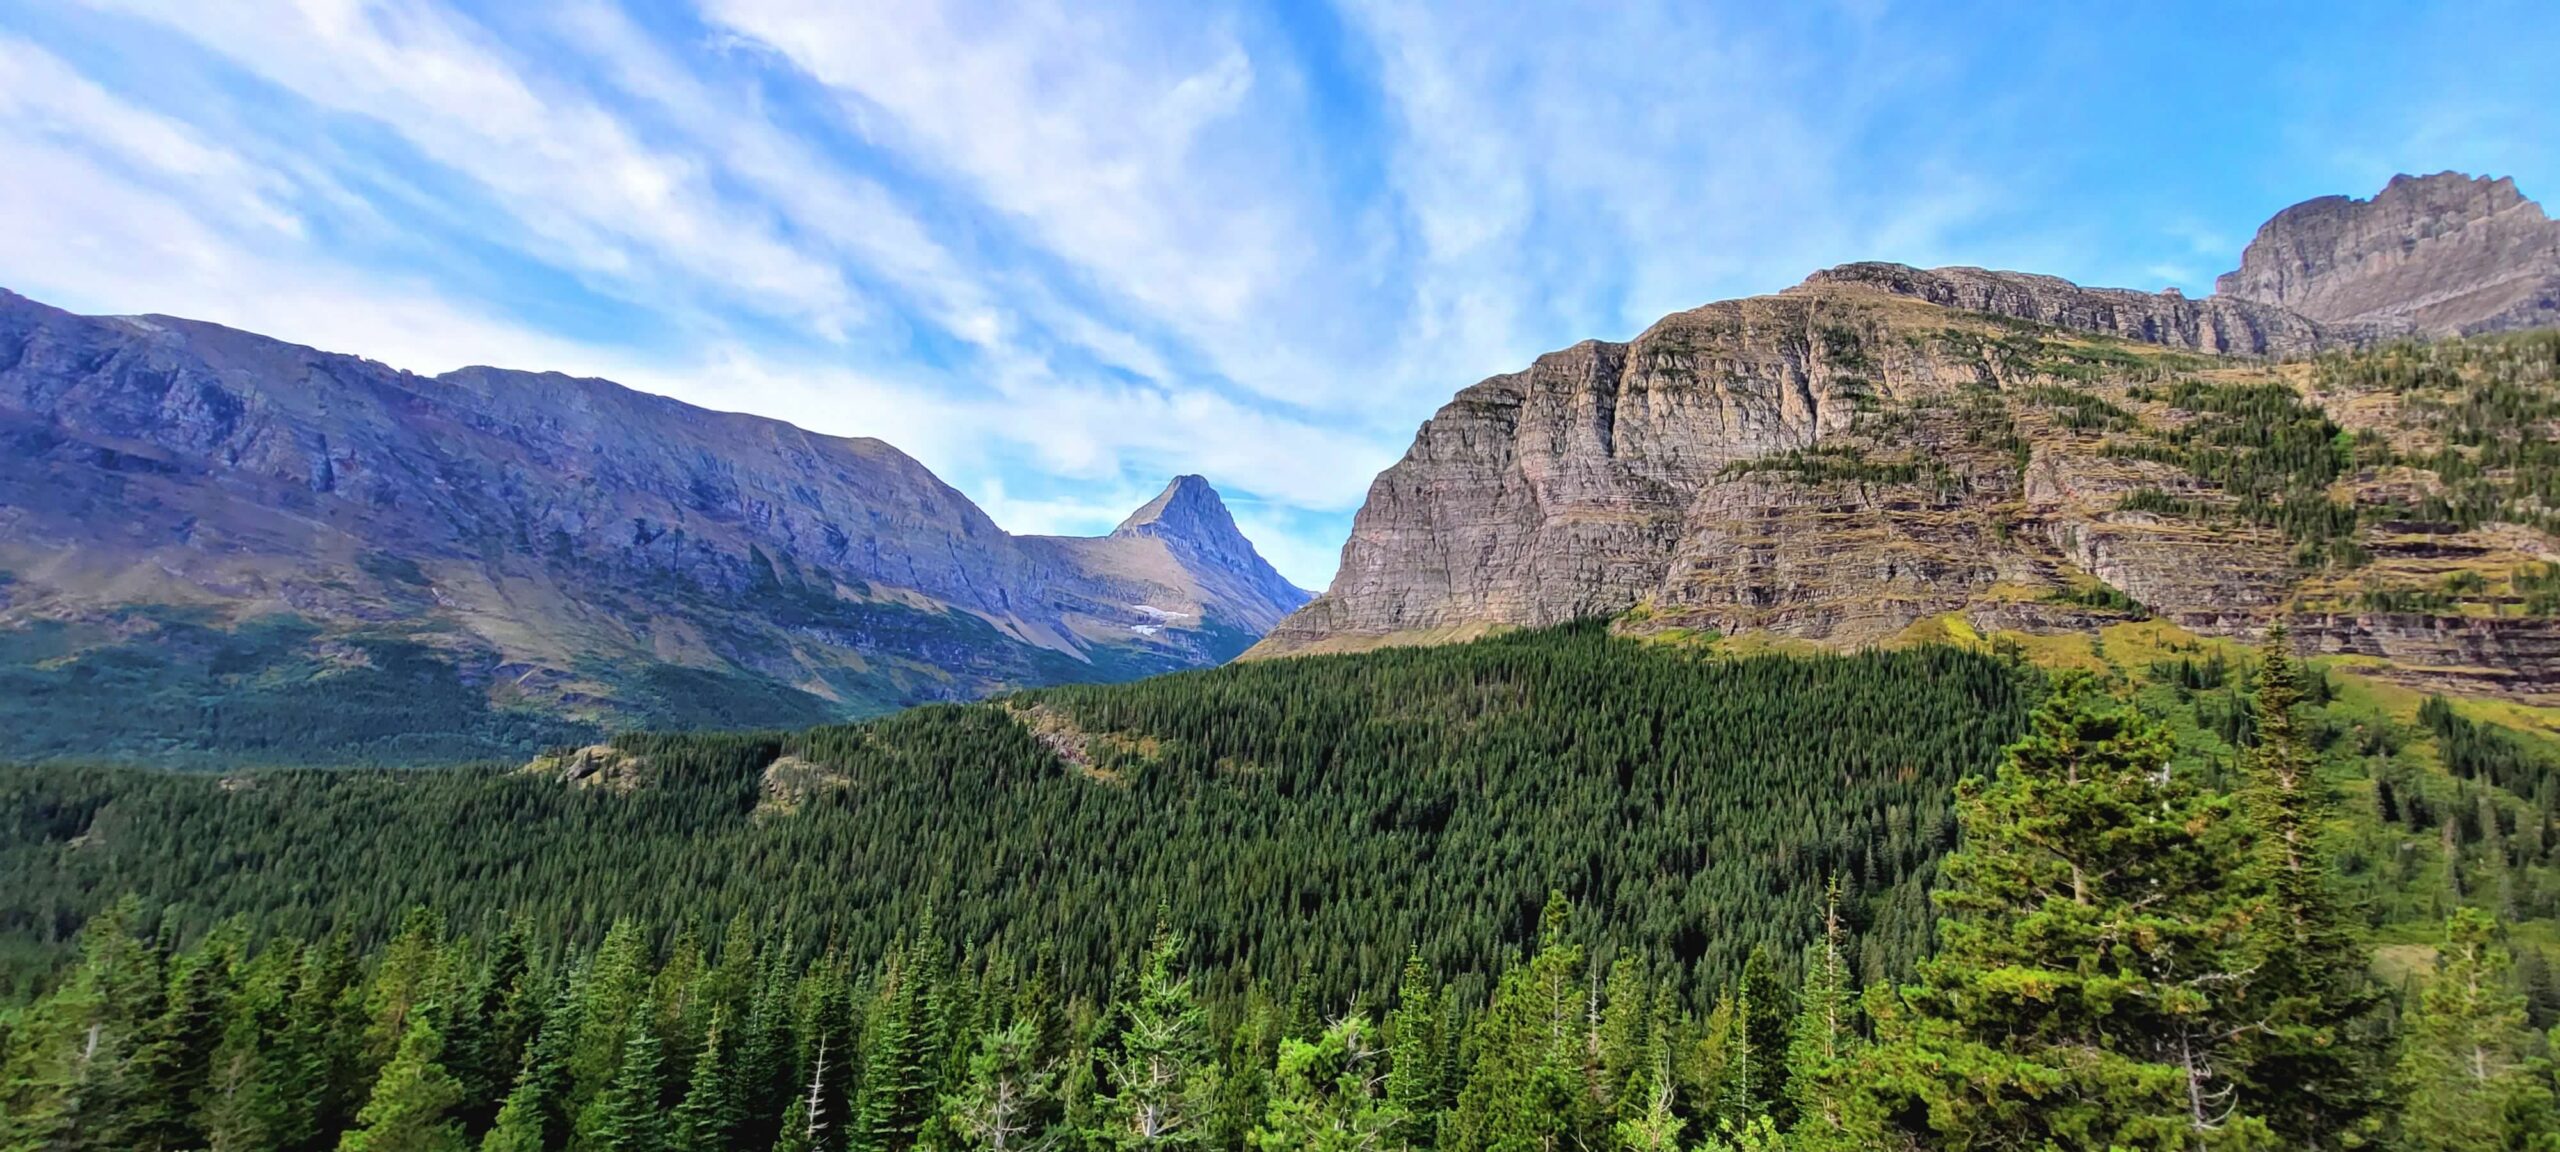
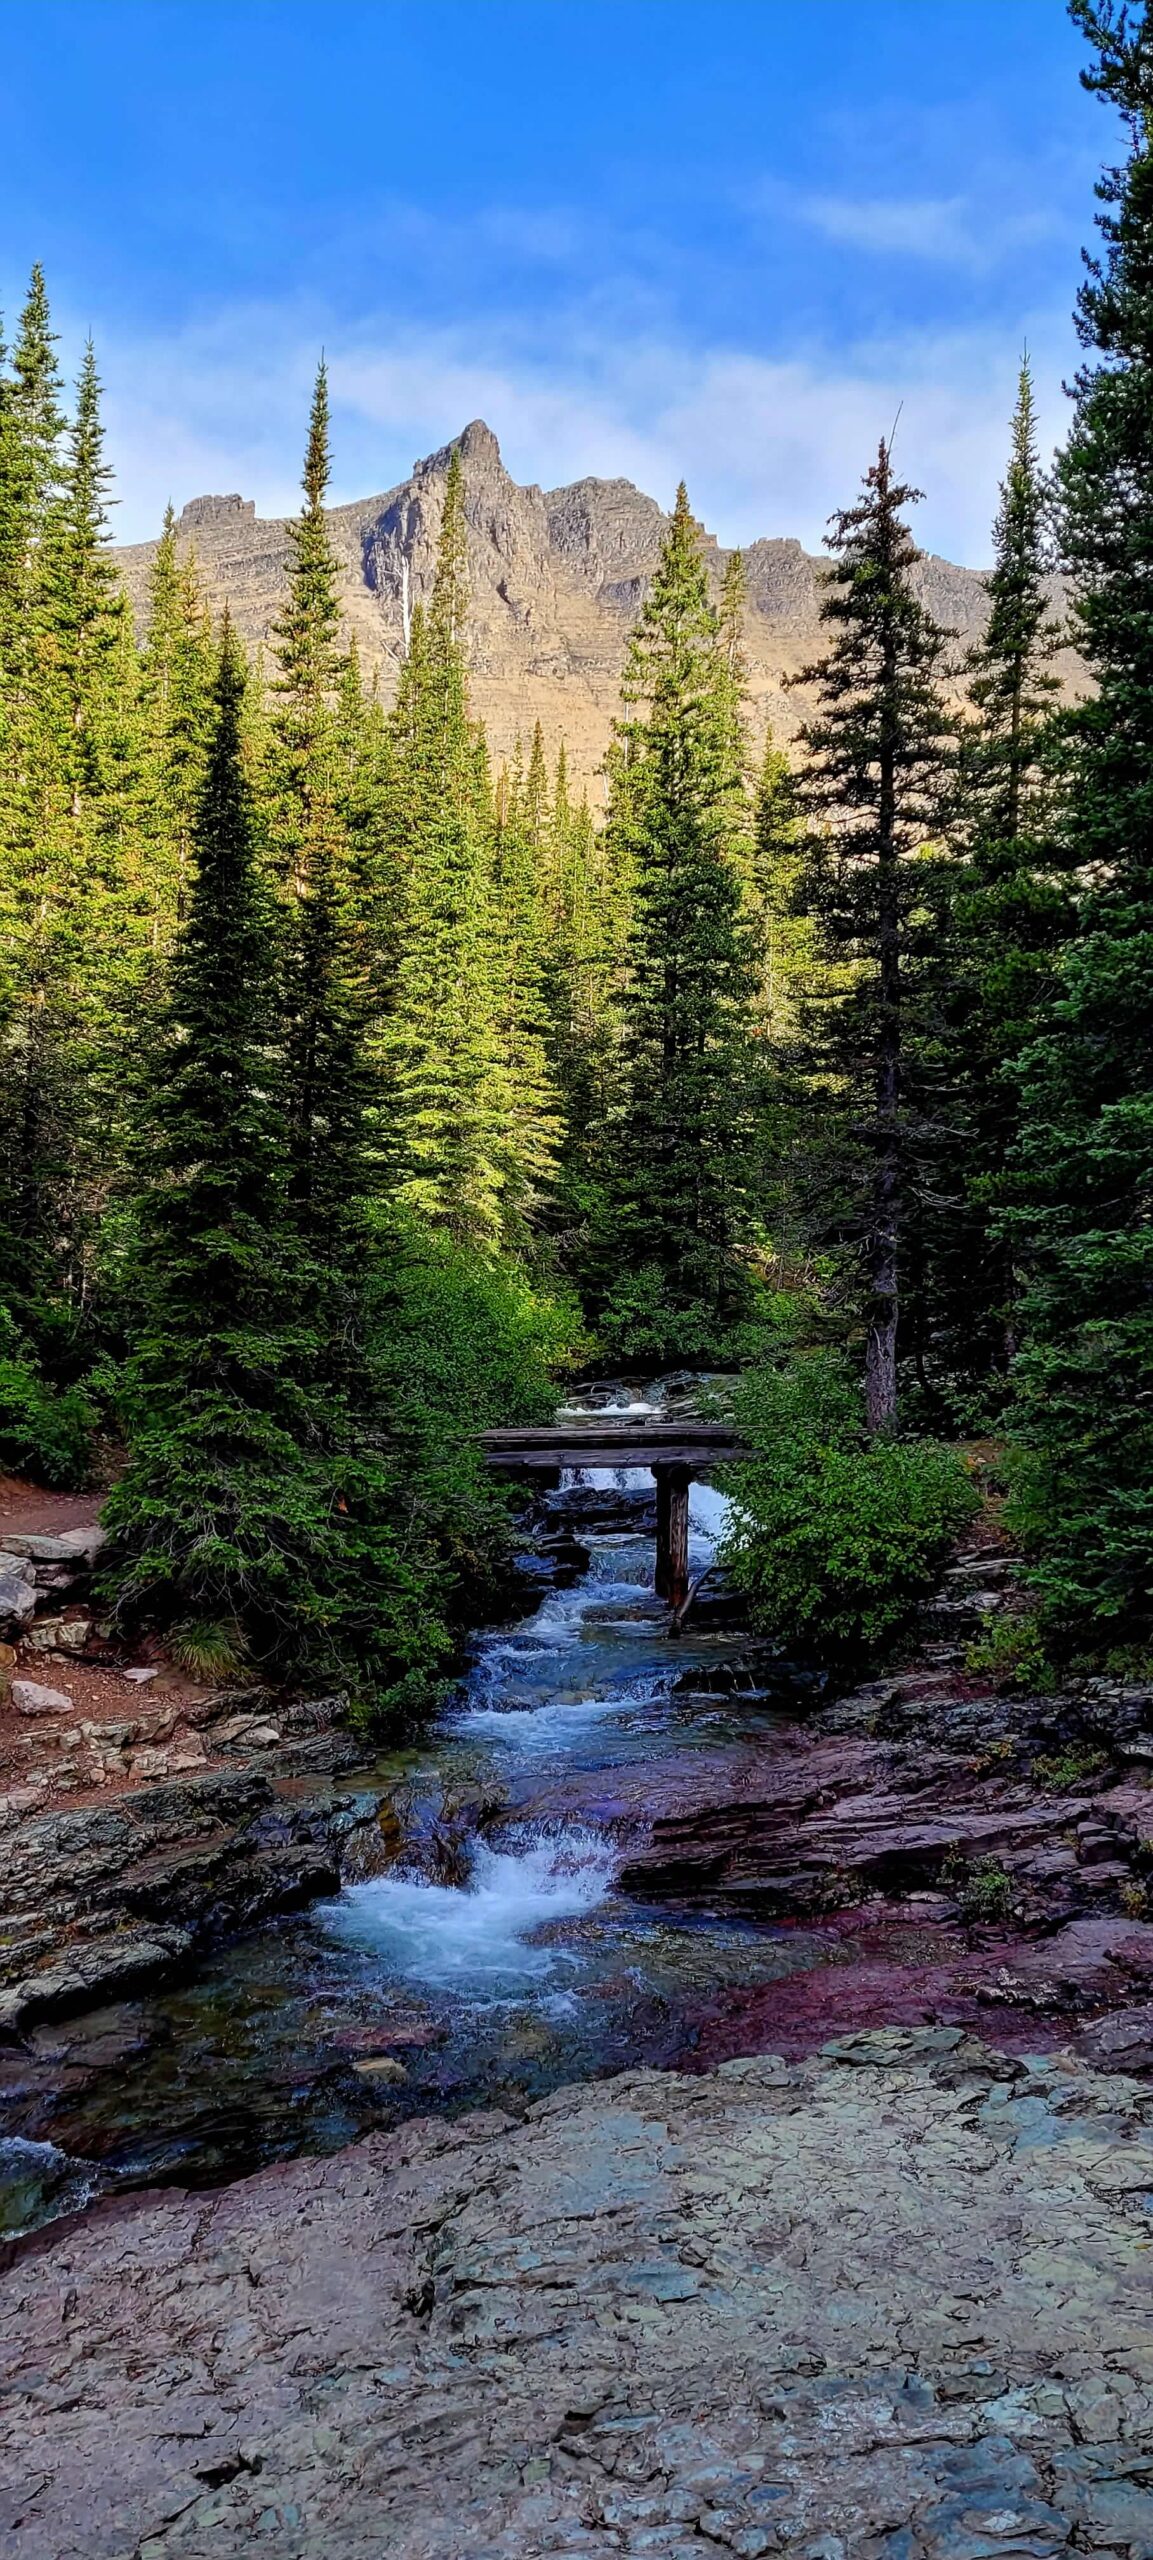
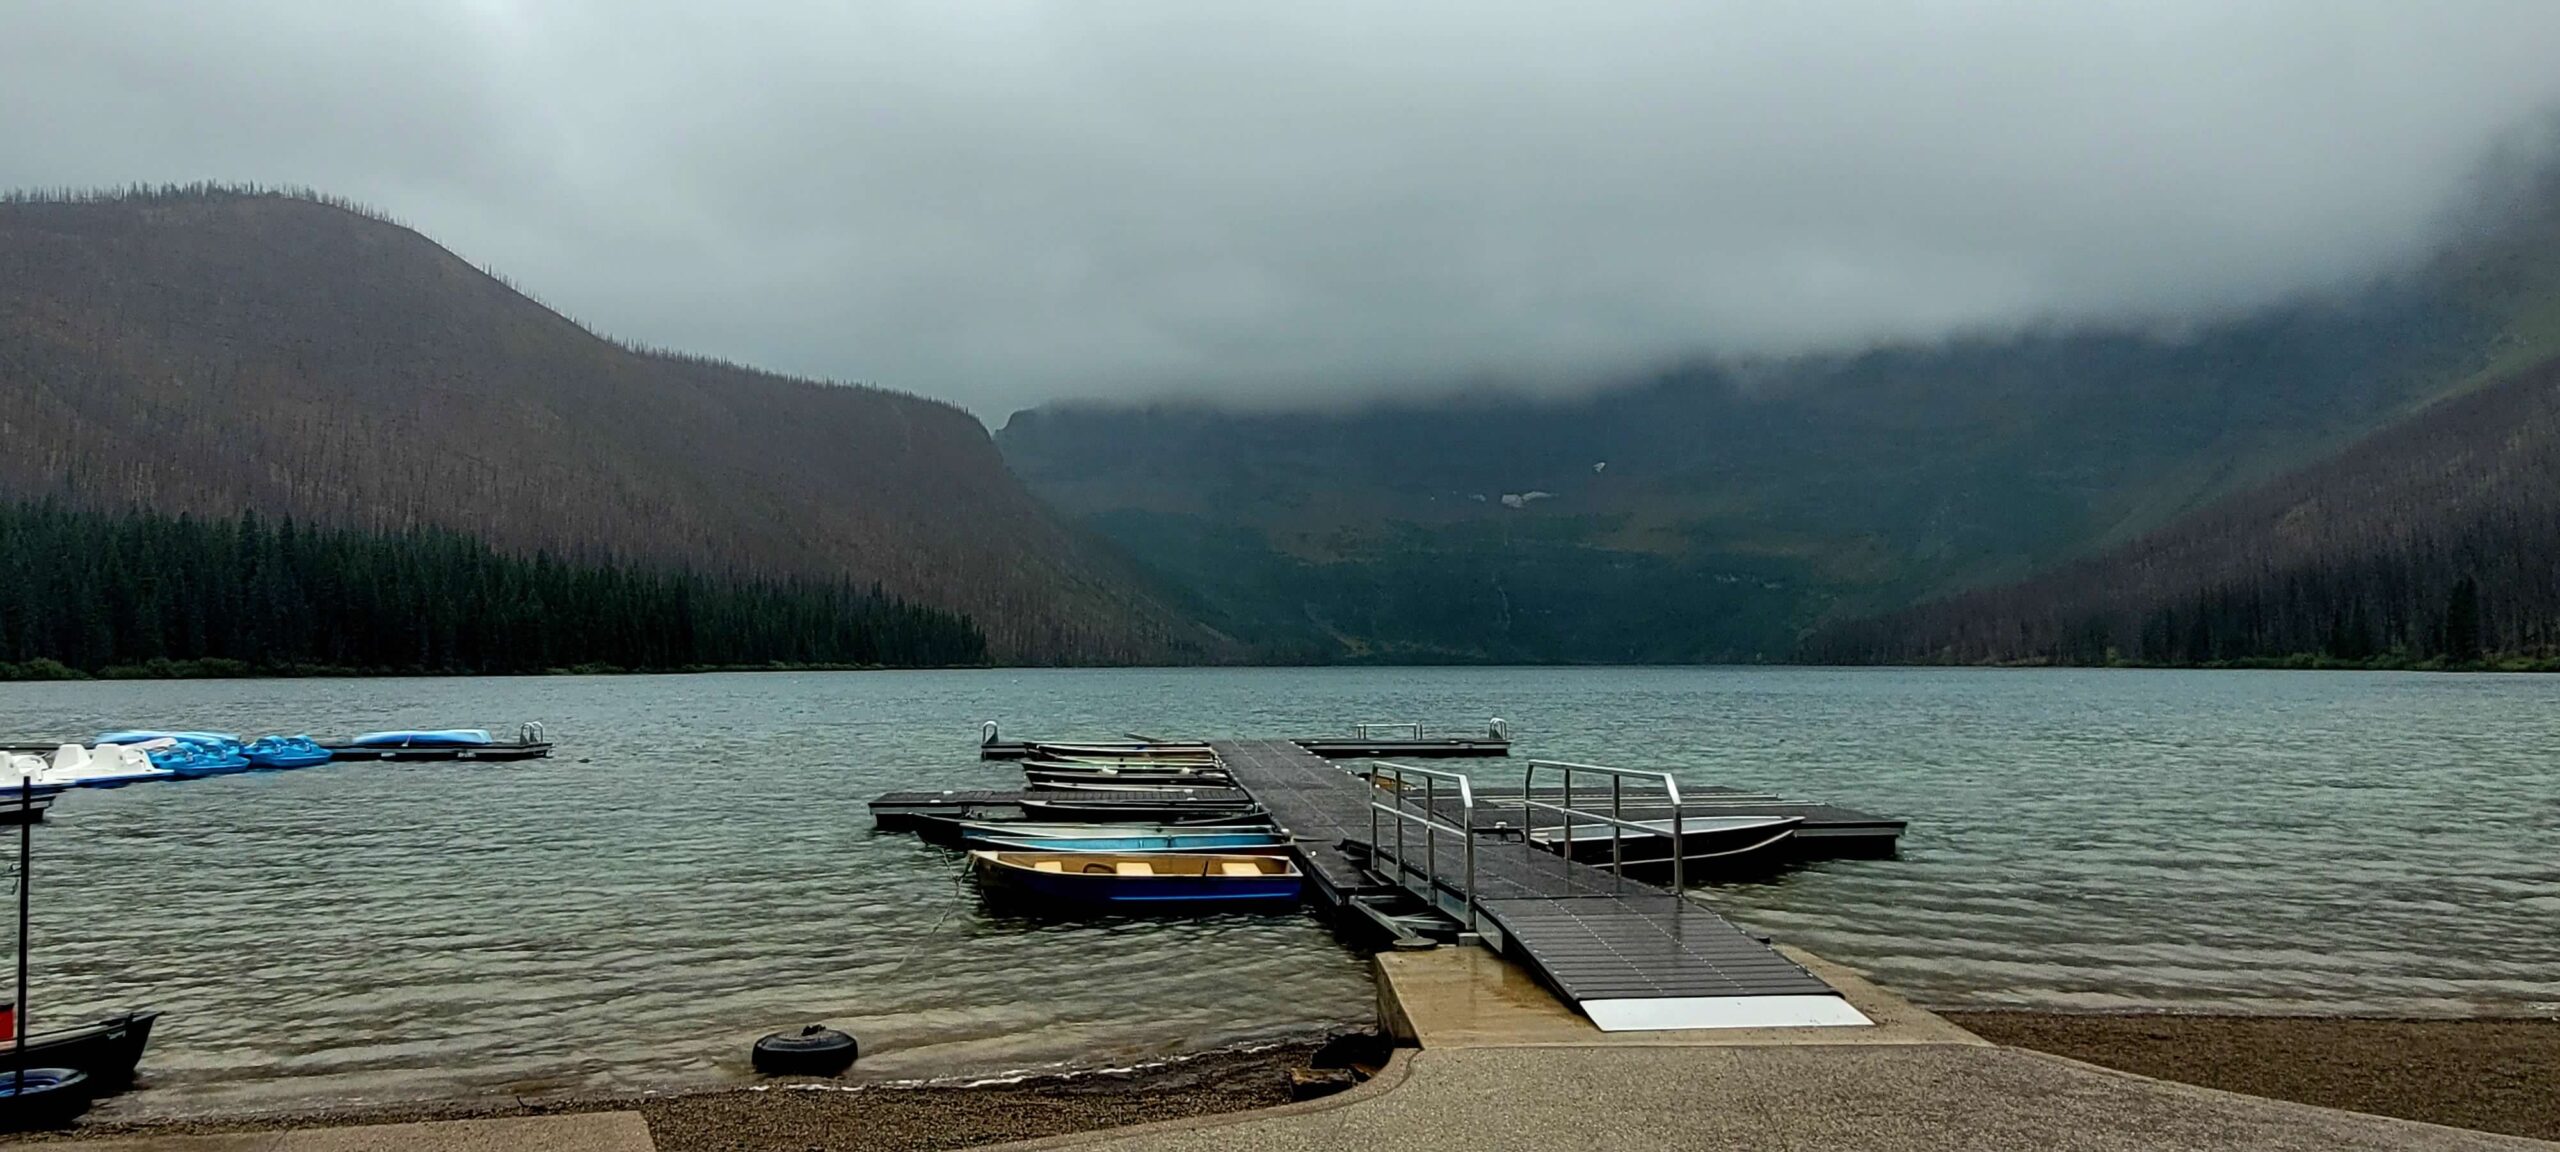
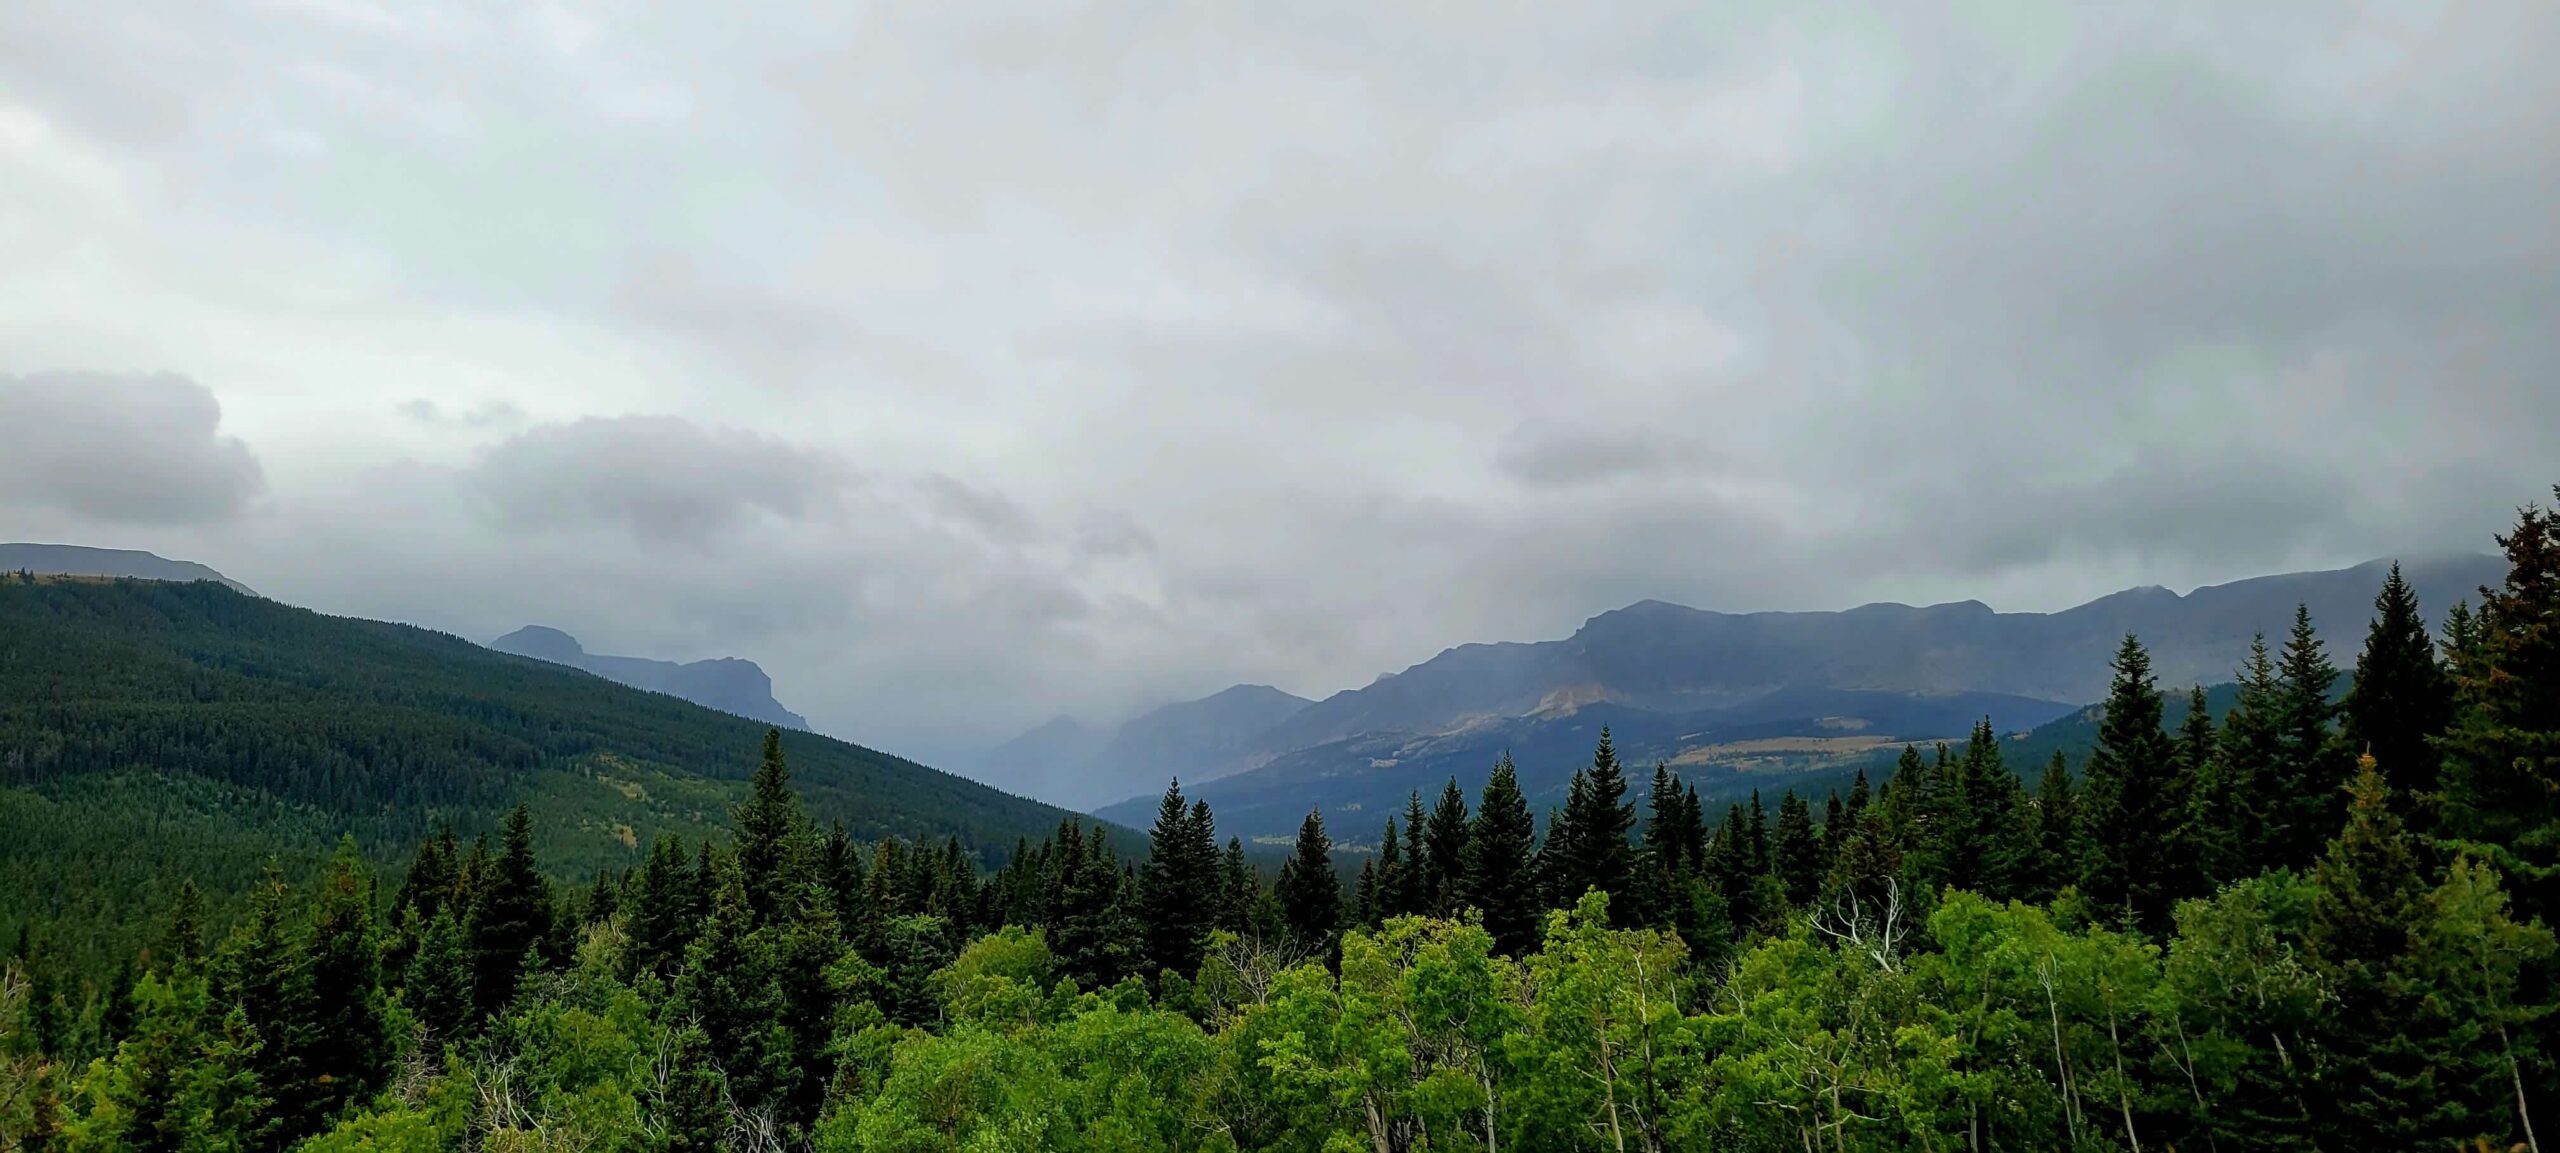
Glacier is one of the crown jewels of the National Park system in the United States and has earned the nickname “Crown of the Continent”. While the glaciers that the park is named for are quickly disappearing (they might be totally gone in the next 15-20 years), they have left behind many stunning alpine lakes, powerful waterfalls, and abundant wildlife. While hiking is easily the best way to see this park, there are other options as well if you aren’t able to hike or it simply doesn’t interest you. There are several organized boat tours on the various alpine lakes as well as the famous red bus tours which traverse the daunting Going-to-the-Sun Road. This is one of the most popular parks in the national park system, so be prepared for a lot of people and congestion on the roads during the short summer season.
Most Recent Visit
August 2023
When to Go
While the park is technically open year-round, most people are visiting to drive and see sites along the Going-to-the-Sun road. If you are most people, you have a very limited window to visit this park which is why it gets so crazy busy. The Going-to-the-Sun road generally opens in late June or early July and closes for the year in mid-October. Those dates can move around due to weather. For example, if the previous winter brought lower than average snowfall, the park may open in early June as they are able to get the roads open earlier. You can find the historical opening and closing dates for the road here.
How to Get Here
The easiest way is to fly directly into Glacier’s airport, which is located in Kalispell (airport code FCA) and rent a car. Flights are surprisingly reasonably priced for such a small airport and there are several flights in each day. The airport is 30 minutes from the park entrance, so you can rent your car and be in the park fairly quickly. If this flight is too expensive, you can fly into either Calgary (Canada), Spokane, WA, or Billings, MT and make the 3-to-5-hour drive to the park from there. If you are within a day’s drive of the park like we are (10 hours away) you can choose to just drive your car as well.
Vehicle Reservations
As we mention above, this park has a very short visiting season and is also extremely popular. This has led to gridlock on the Going-to-the-Sun road. Therefore, the park has implemented a vehicle reservation system for both the Going-to-the-Sun road and the North Fork area (separate reservations needed if you are trying to do both in the same day). There is a way around this which we will get into below, but if you can’t make those work, you will need a reservation to enter the park between 7am-3pm (as of 2025). These usually only cost a few dollars with some being released 4 months before your entrance date and others being released the day before you are trying to enter. They are not normally hard to come by but does require a little planning ahead so that you don’t show up at the entrance gate without a reservation.
Now, how do you get around the reservation system?
- Wake up really early and get in the park before 7am or sleep in and get to the park after 3pm. If you are into the entrance before 7am – you are free and clear for the entire day as long as you don’t exit and try to come back in before 3pm.
- Book a lodge, campsite, boat cruise or other commercial activity in the park. For example, a Lake McDonald Boat Cruise will gain you access to the park without procuring a vehicle reservation. Again, as long as you don’t exit and need to come back in before 3pm, you are free and clear.
- In 2024, the park started allowing vehicles to come in from the east side of the park (St. Mary entrance) without vehicle reservations. However, if you drove all the way to through the park and exited the west entrance, you couldn’t turn around and go back before 3pm. Most of the lodging is on the west side but there are some options on the east side that would gain you unfettered access. You’ll want to check the current rules at the link above to make sure this is still the case for the year you visit.
Trip Length
The trip length will depend on what you are looking to do. If you don’t want to do much hiking and want to stick to boat cruises and red bus tours, you only need 2-3 days here. However, if you want to get out and really see this park and do some hiking, you could easily fill an entire week here. Our latest trip was for a full week which 5 of those days being in Glacier itself along with 2 days in Waterton Lakes which is Glacier’s sister park right across the Canadian border. When you pick up a park map – it will have both Glacier and Waterton Lakes outlined on it.
Where to Stay
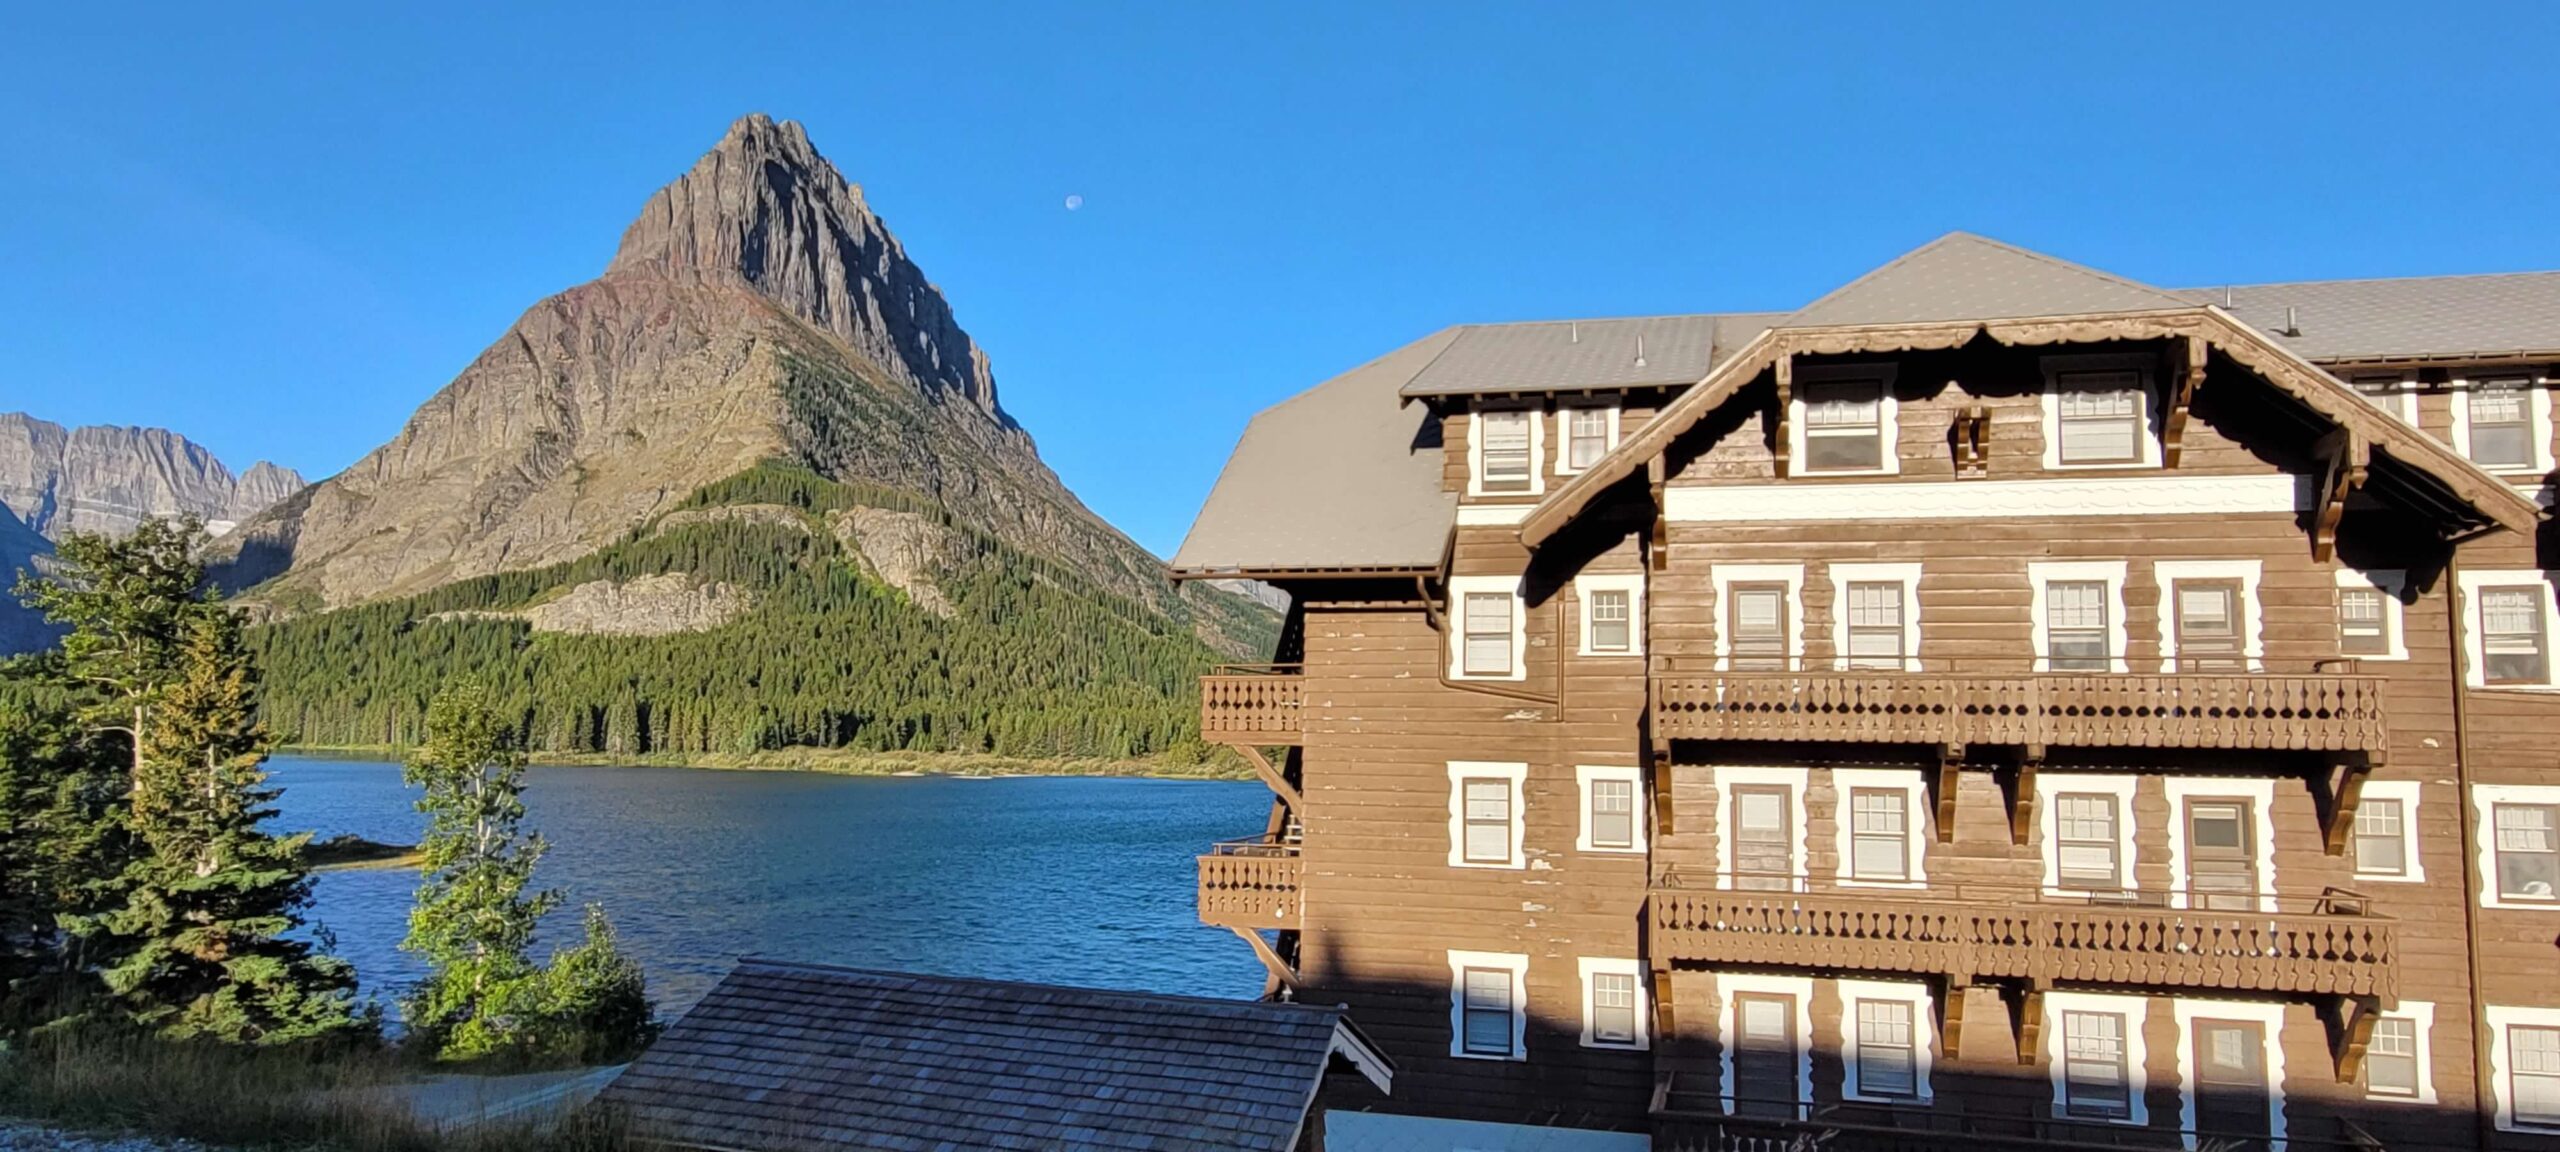
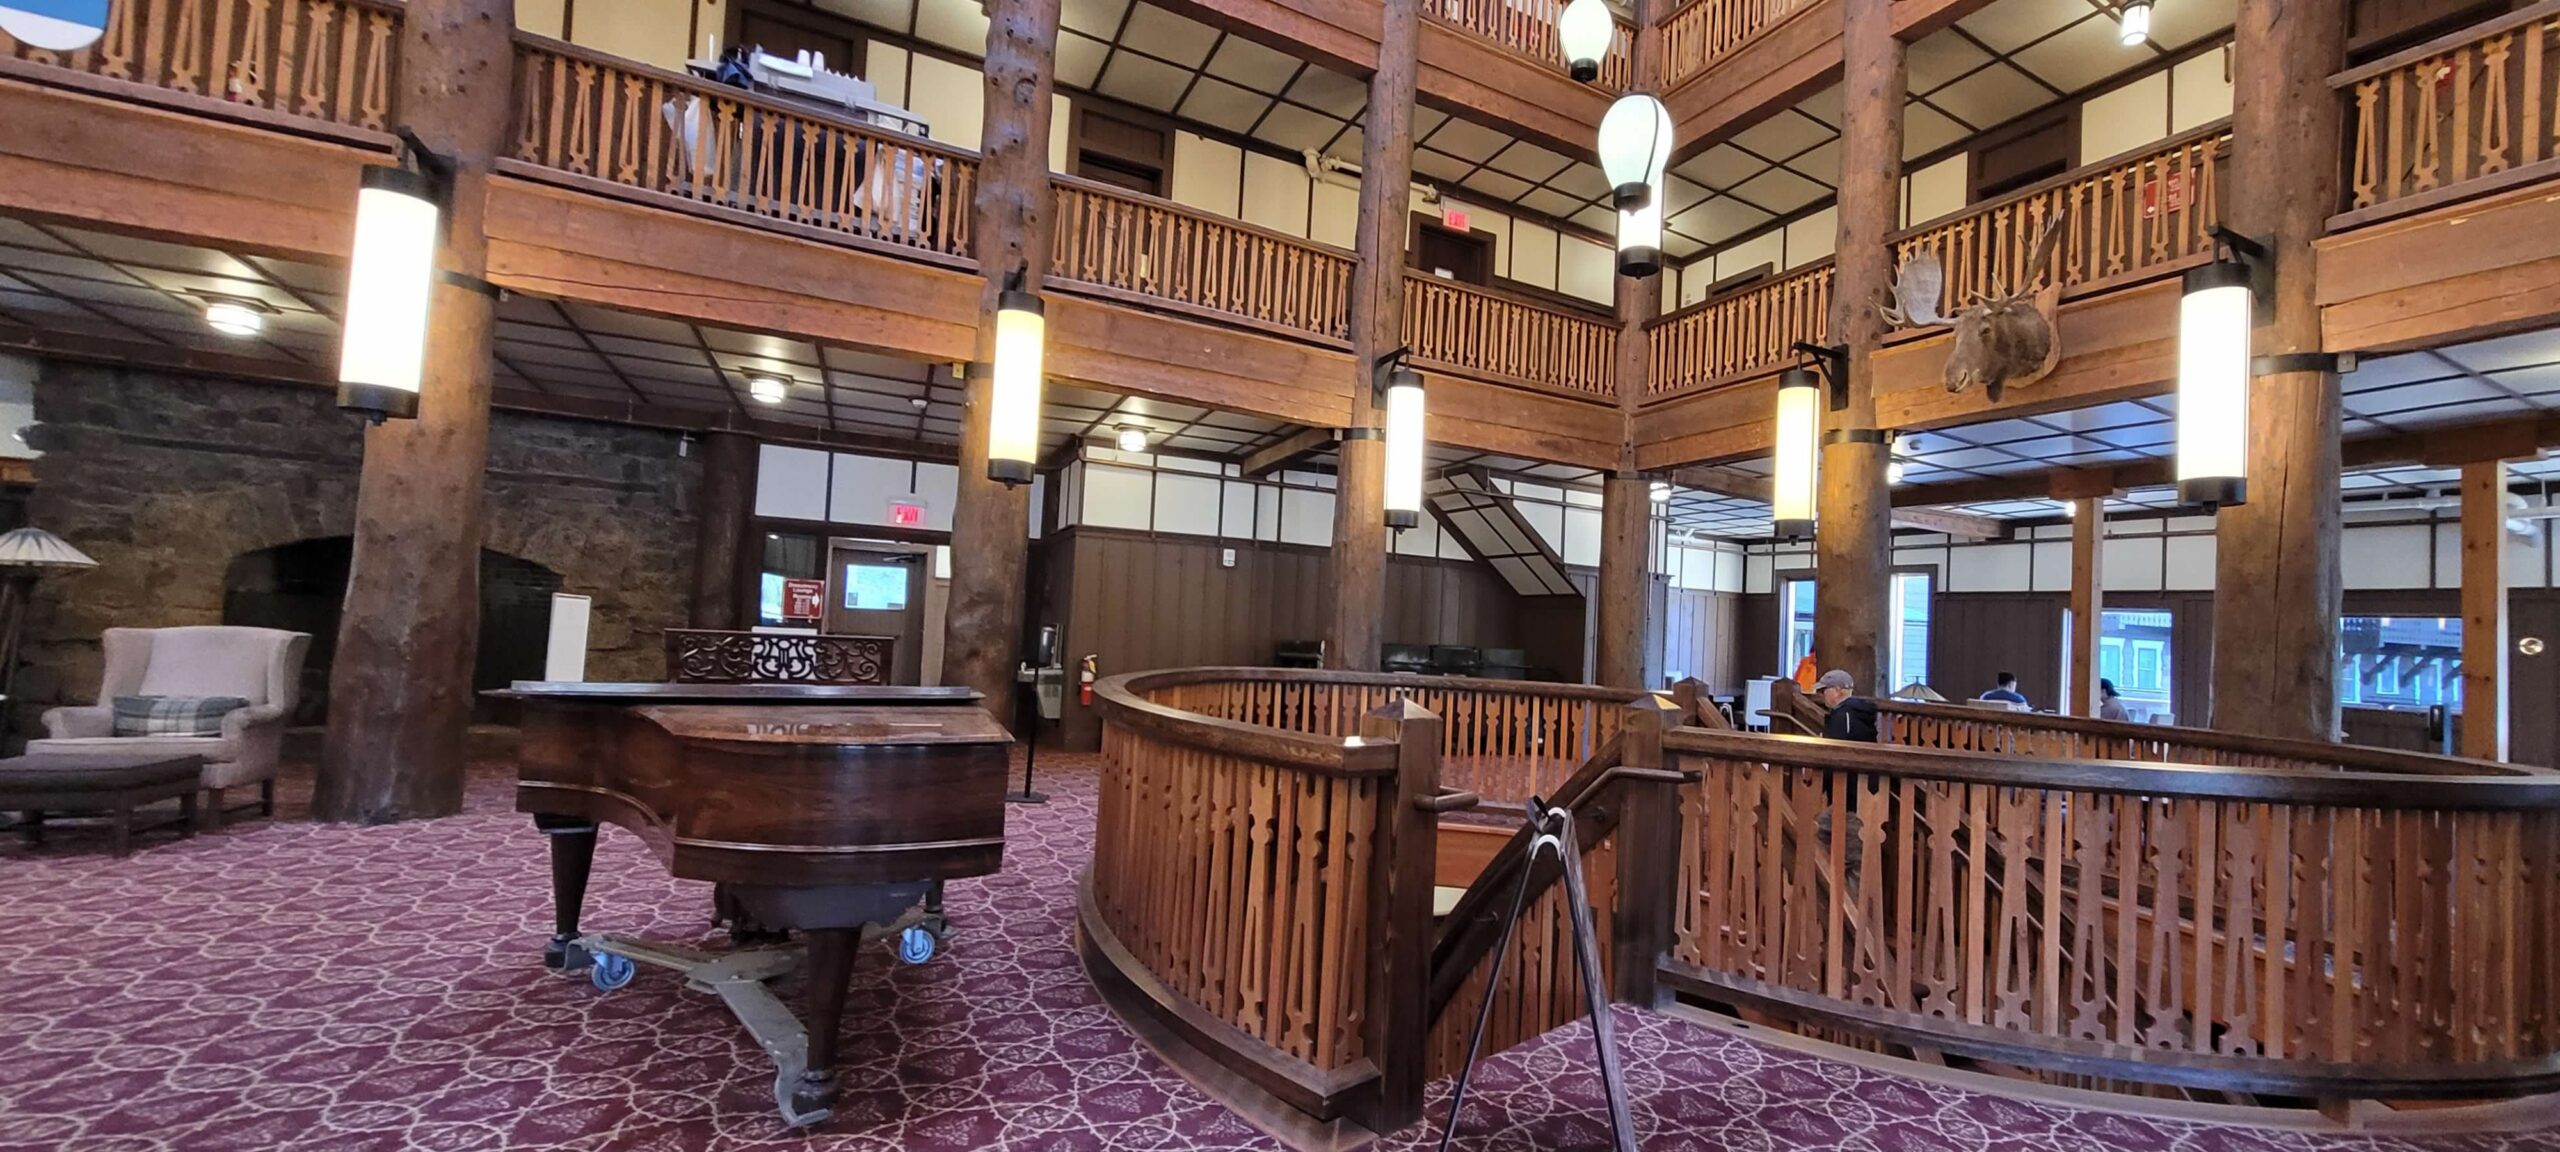
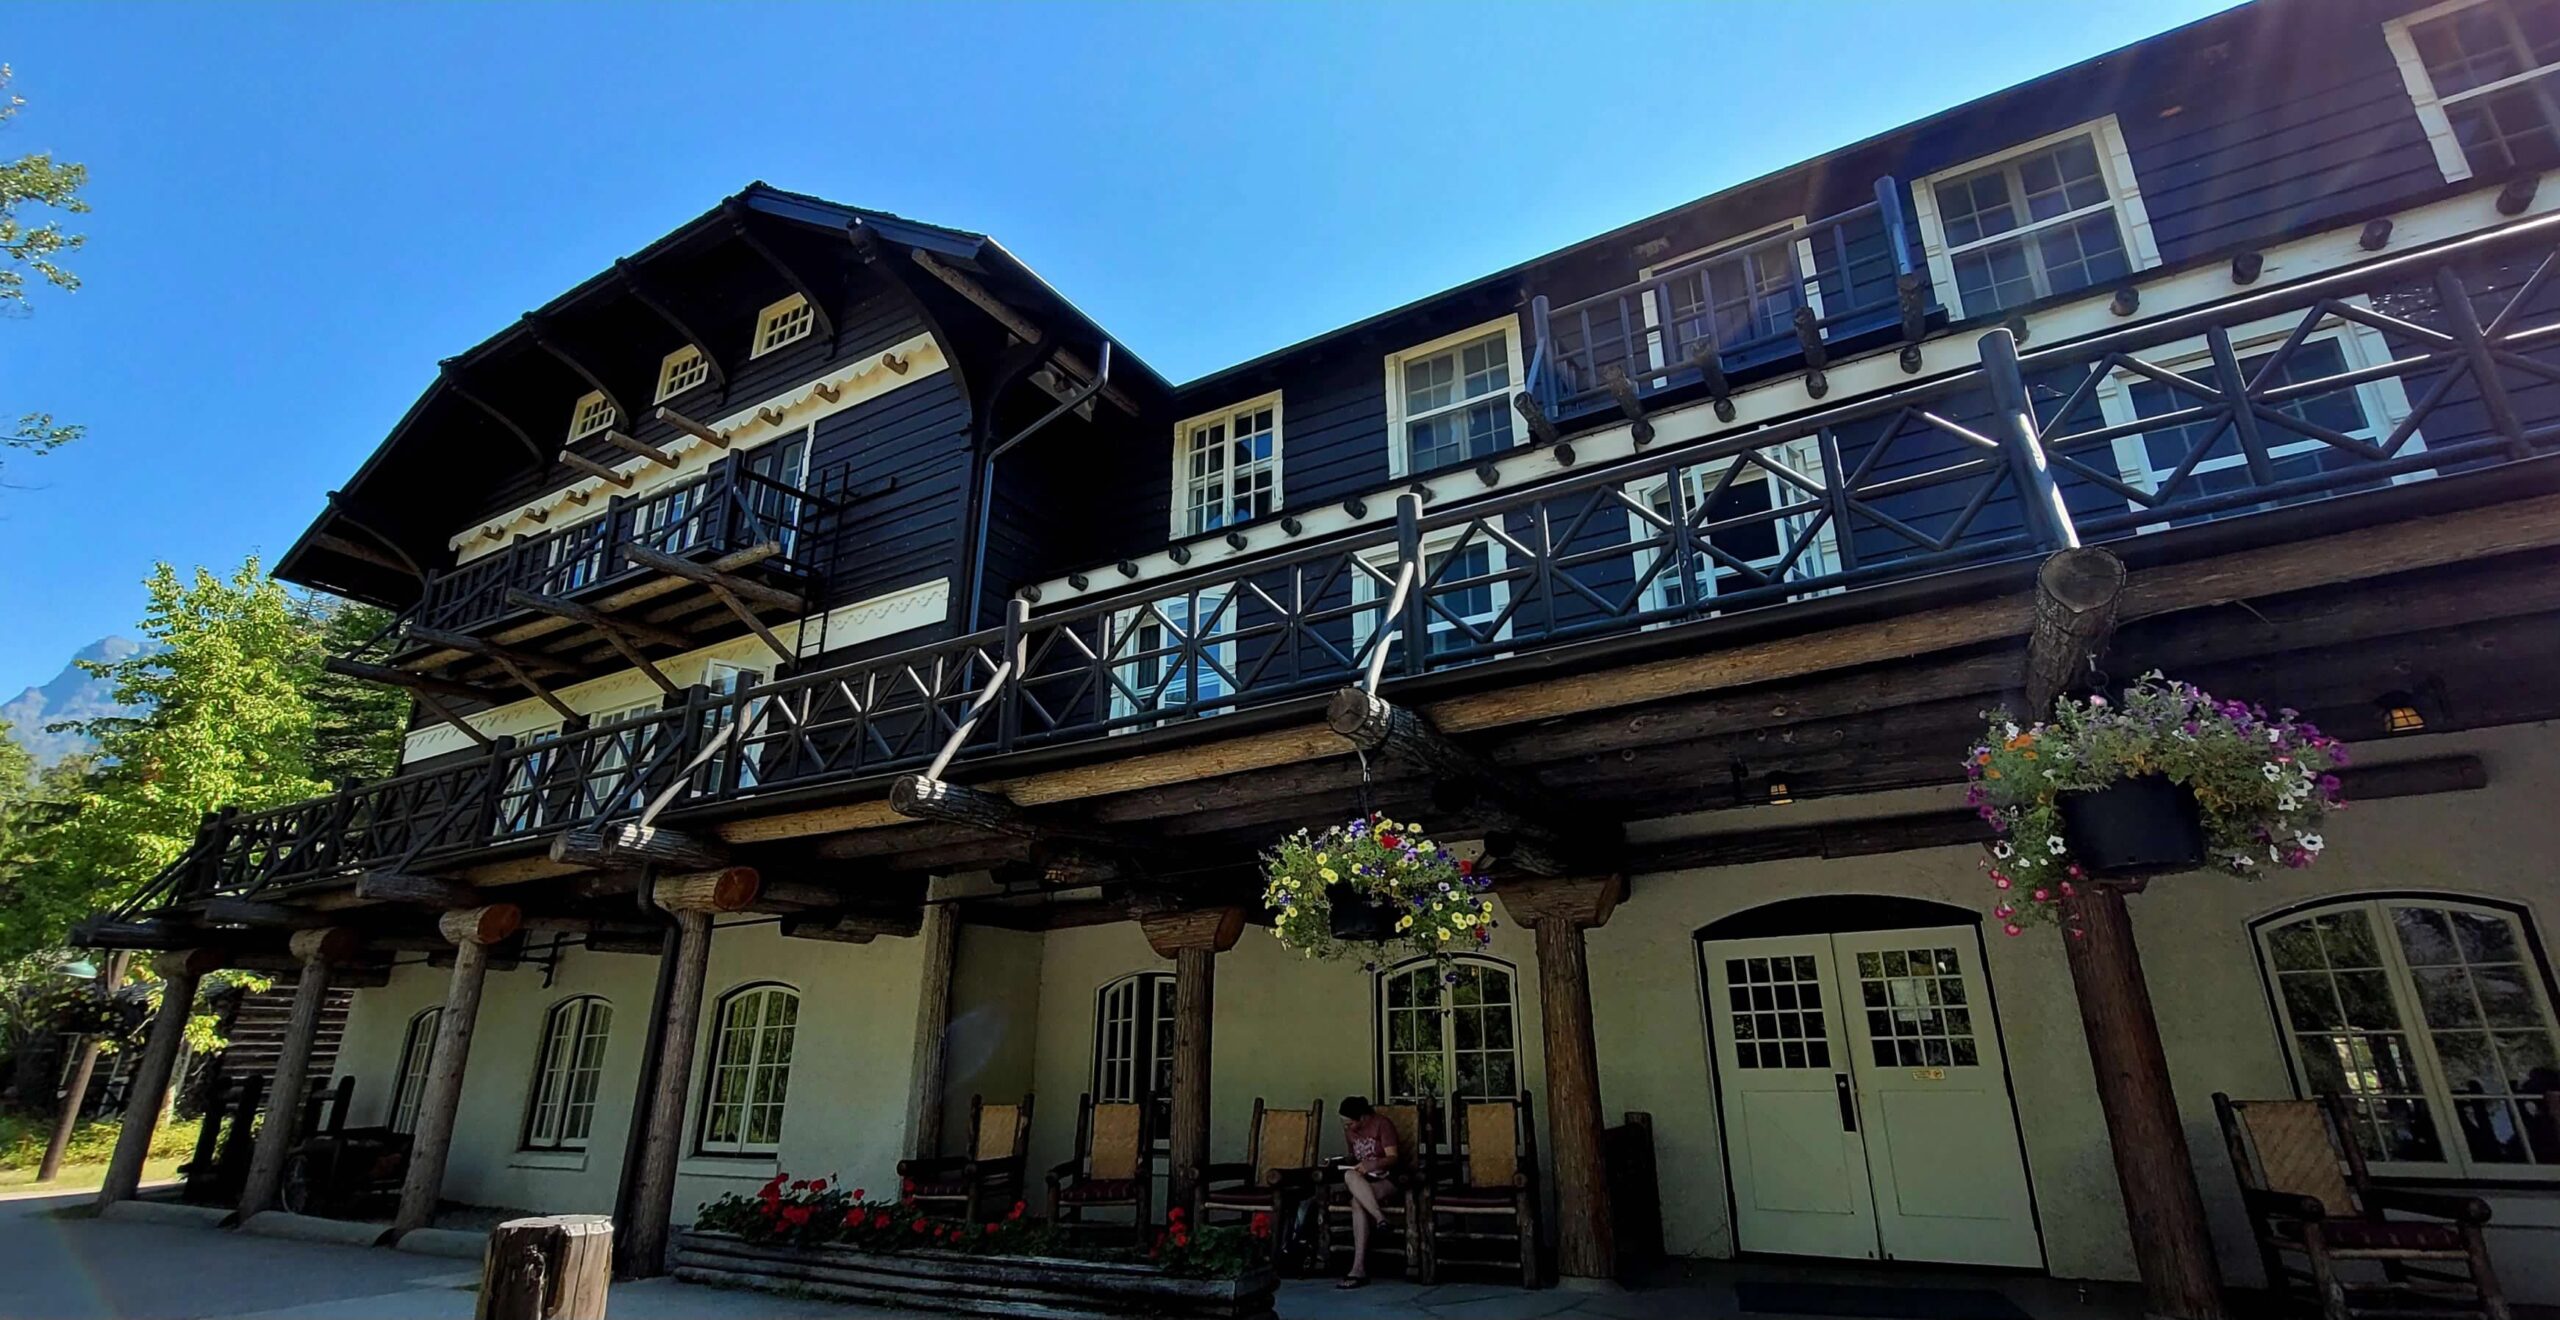
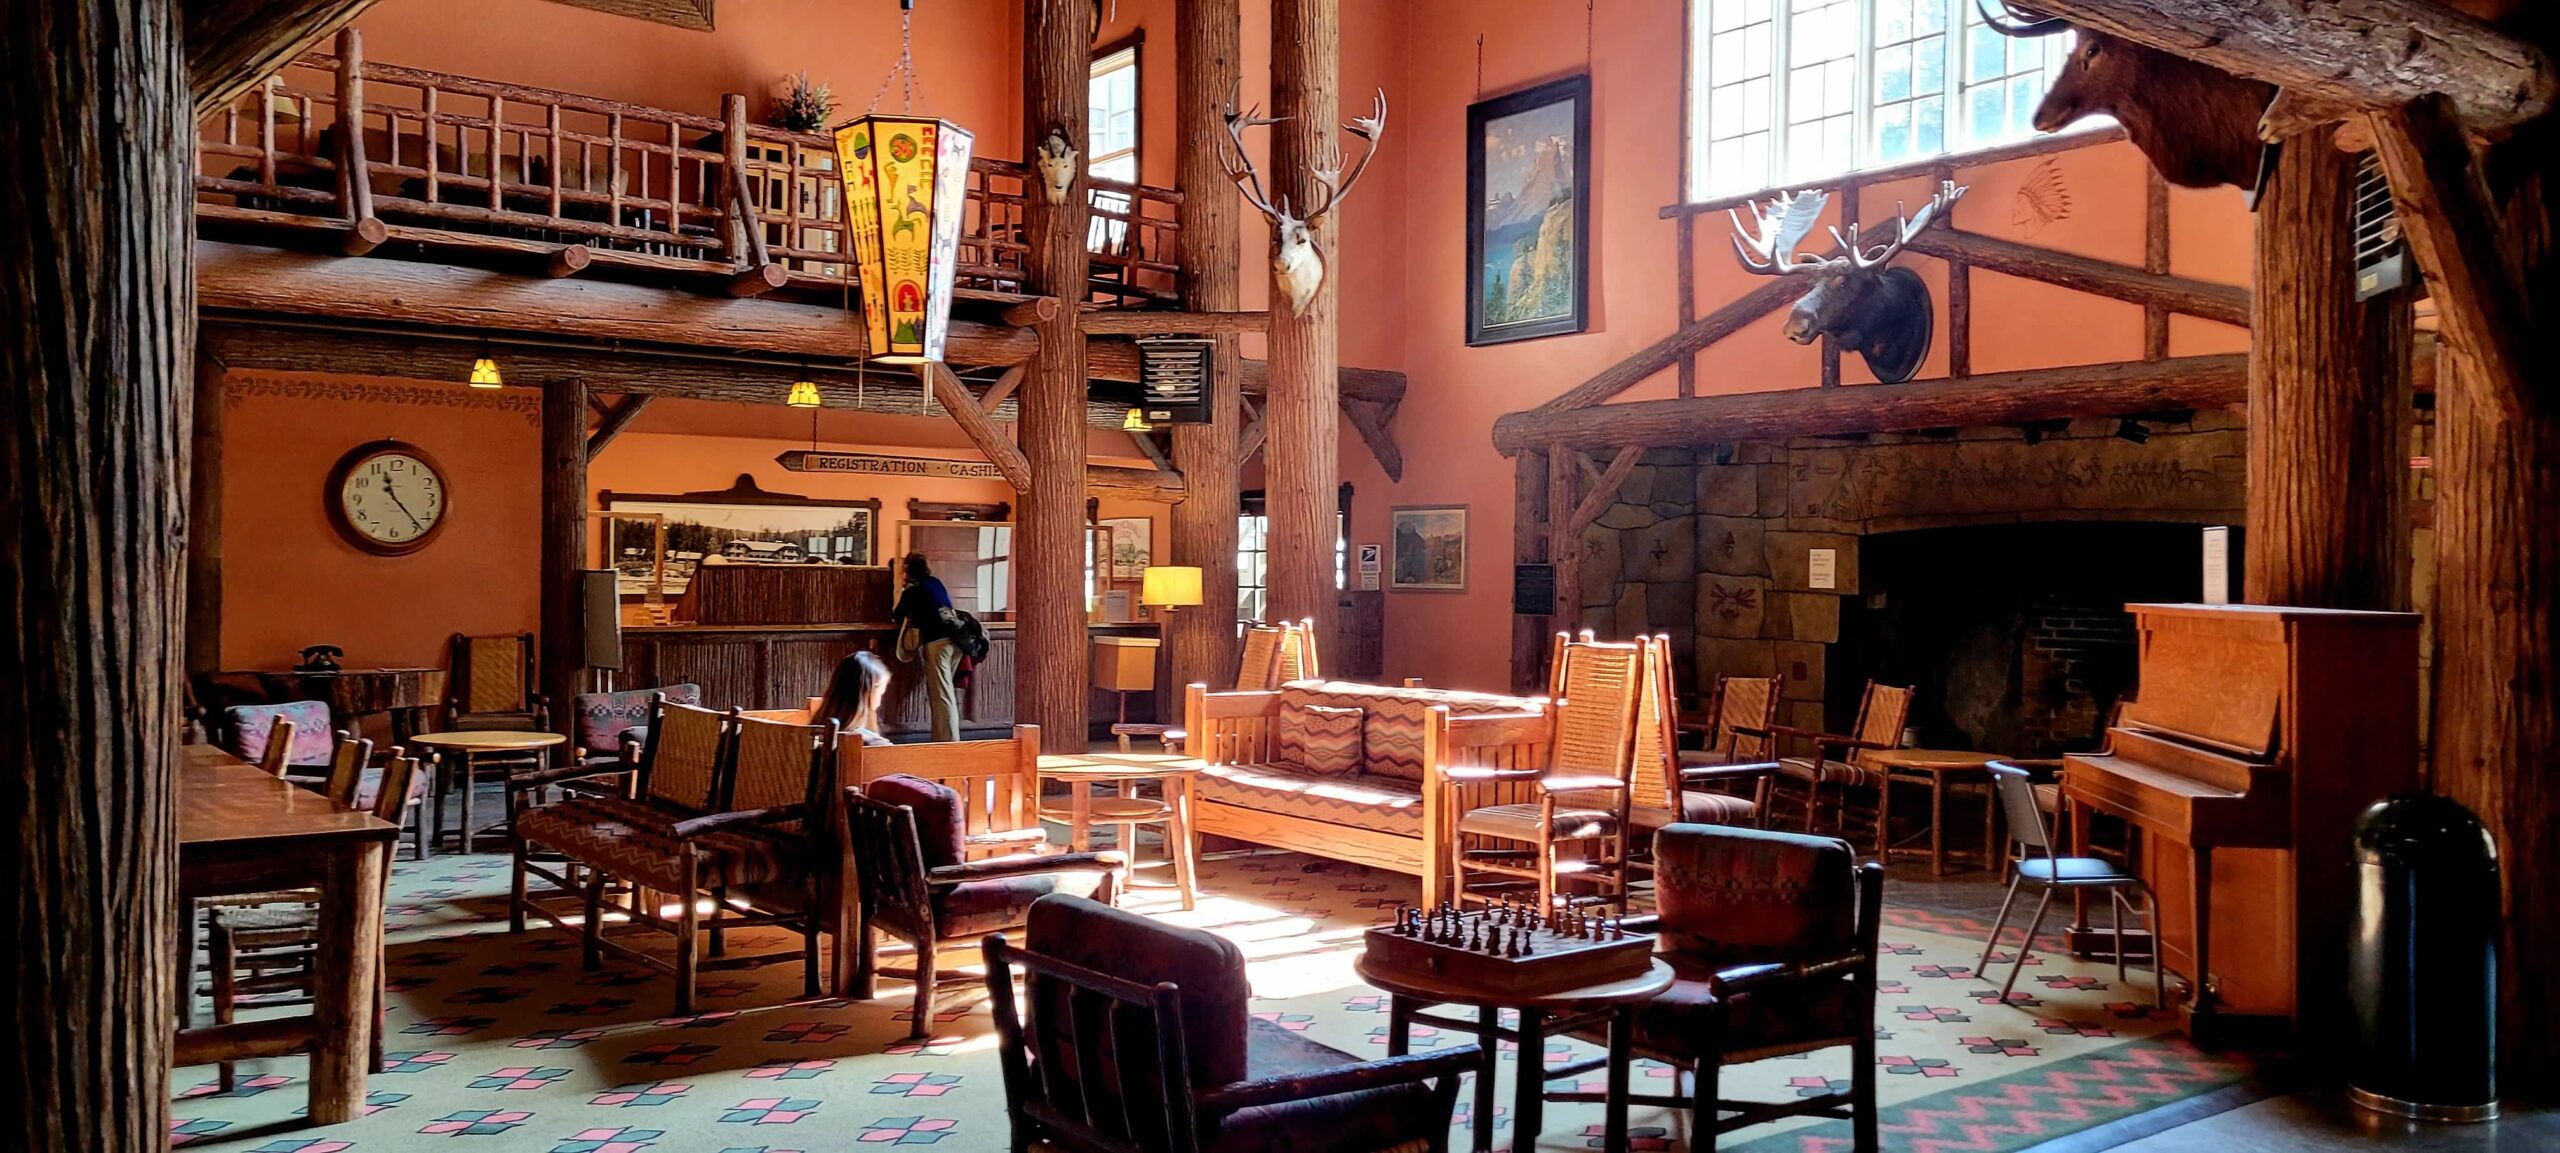
The best option, if it fits within your budget, is to stay at one of the lodges inside of the park. Not only will some of these give you a vehicle reservation (if within the designated areas), but you will already be in or near the park. These lodges tend to sell out in advance so you will need to solidify your plans early to take advantage of these. If you can’t make a park lodge work, you have other options as well. These options will require more driving each day. You’ll find many hotel options in Columbia Falls or Whitefish on the west side which will require 30 to 50-minute drives to get to the park entrance. On the east side where vehicle reservations are not needed as of 2024, you will find more limited options, most of which will be in East Glacier Park and Browning. These will also require a ~45 min drive to the main St. Mary east entrance.
What to Do
We have broken the park up into several main areas below. We are going to start the trip in west entrance of the park (Apgar/Lake McDonald) and then head to the east to Logan Pass, Rising Sun/St. Mary Lake, Many Glacier, and Two Medicine areas. We’ll also include short sections on Waterton Lakes/Goat Haunt that can be visited from Canada as well as the Polebridge/Bowman Lake area that we have yet to visit.
Apgar / Lake McDonald Area
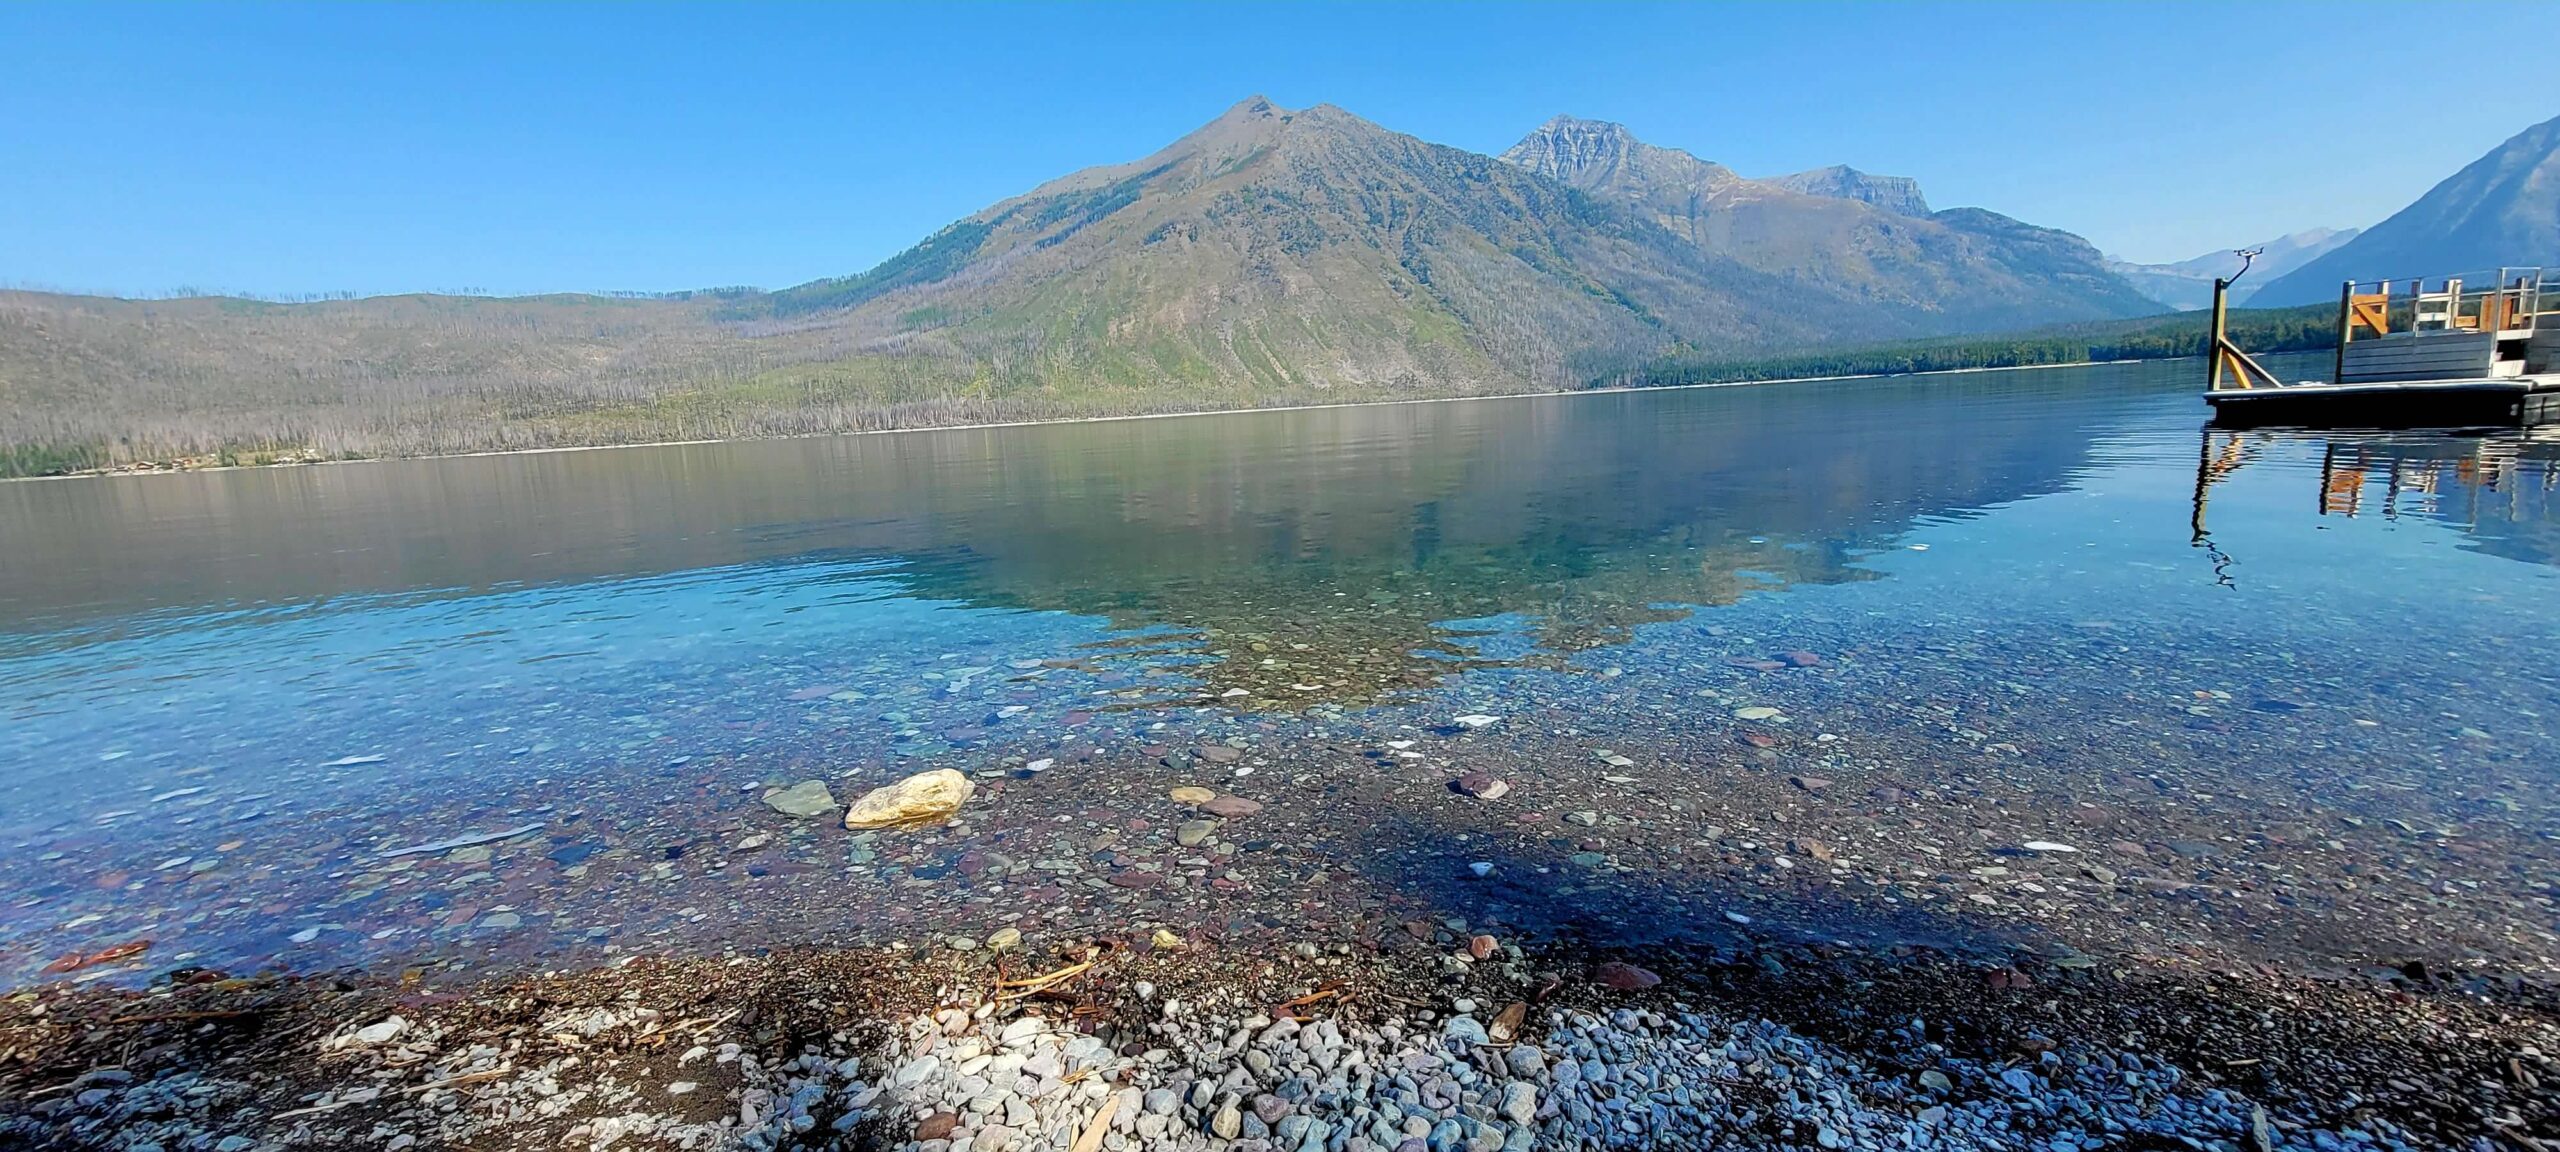
If you are like most people entering from the west side, this is going to be the first area of the park you come across. Apgar is more of a commercial area with a couple of lodges, a visitor center, a gas station, and several shops. Keep in mind that most of these do not open before 7am so if you’re trying to get into the park before reservations are required, these would not be open. It is on the shores of Lake McDonald, but you’ll have to drive the Going-to-the-Sun road to get up to Lake McDonald Lodge and some of the area hiking trails. This is a great area to catch a red bus tour, a cruise of Lake McDonald, or get out and stretch your legs on some trails before you head up the Going-to-the-Sun road.
Red Bus Tours
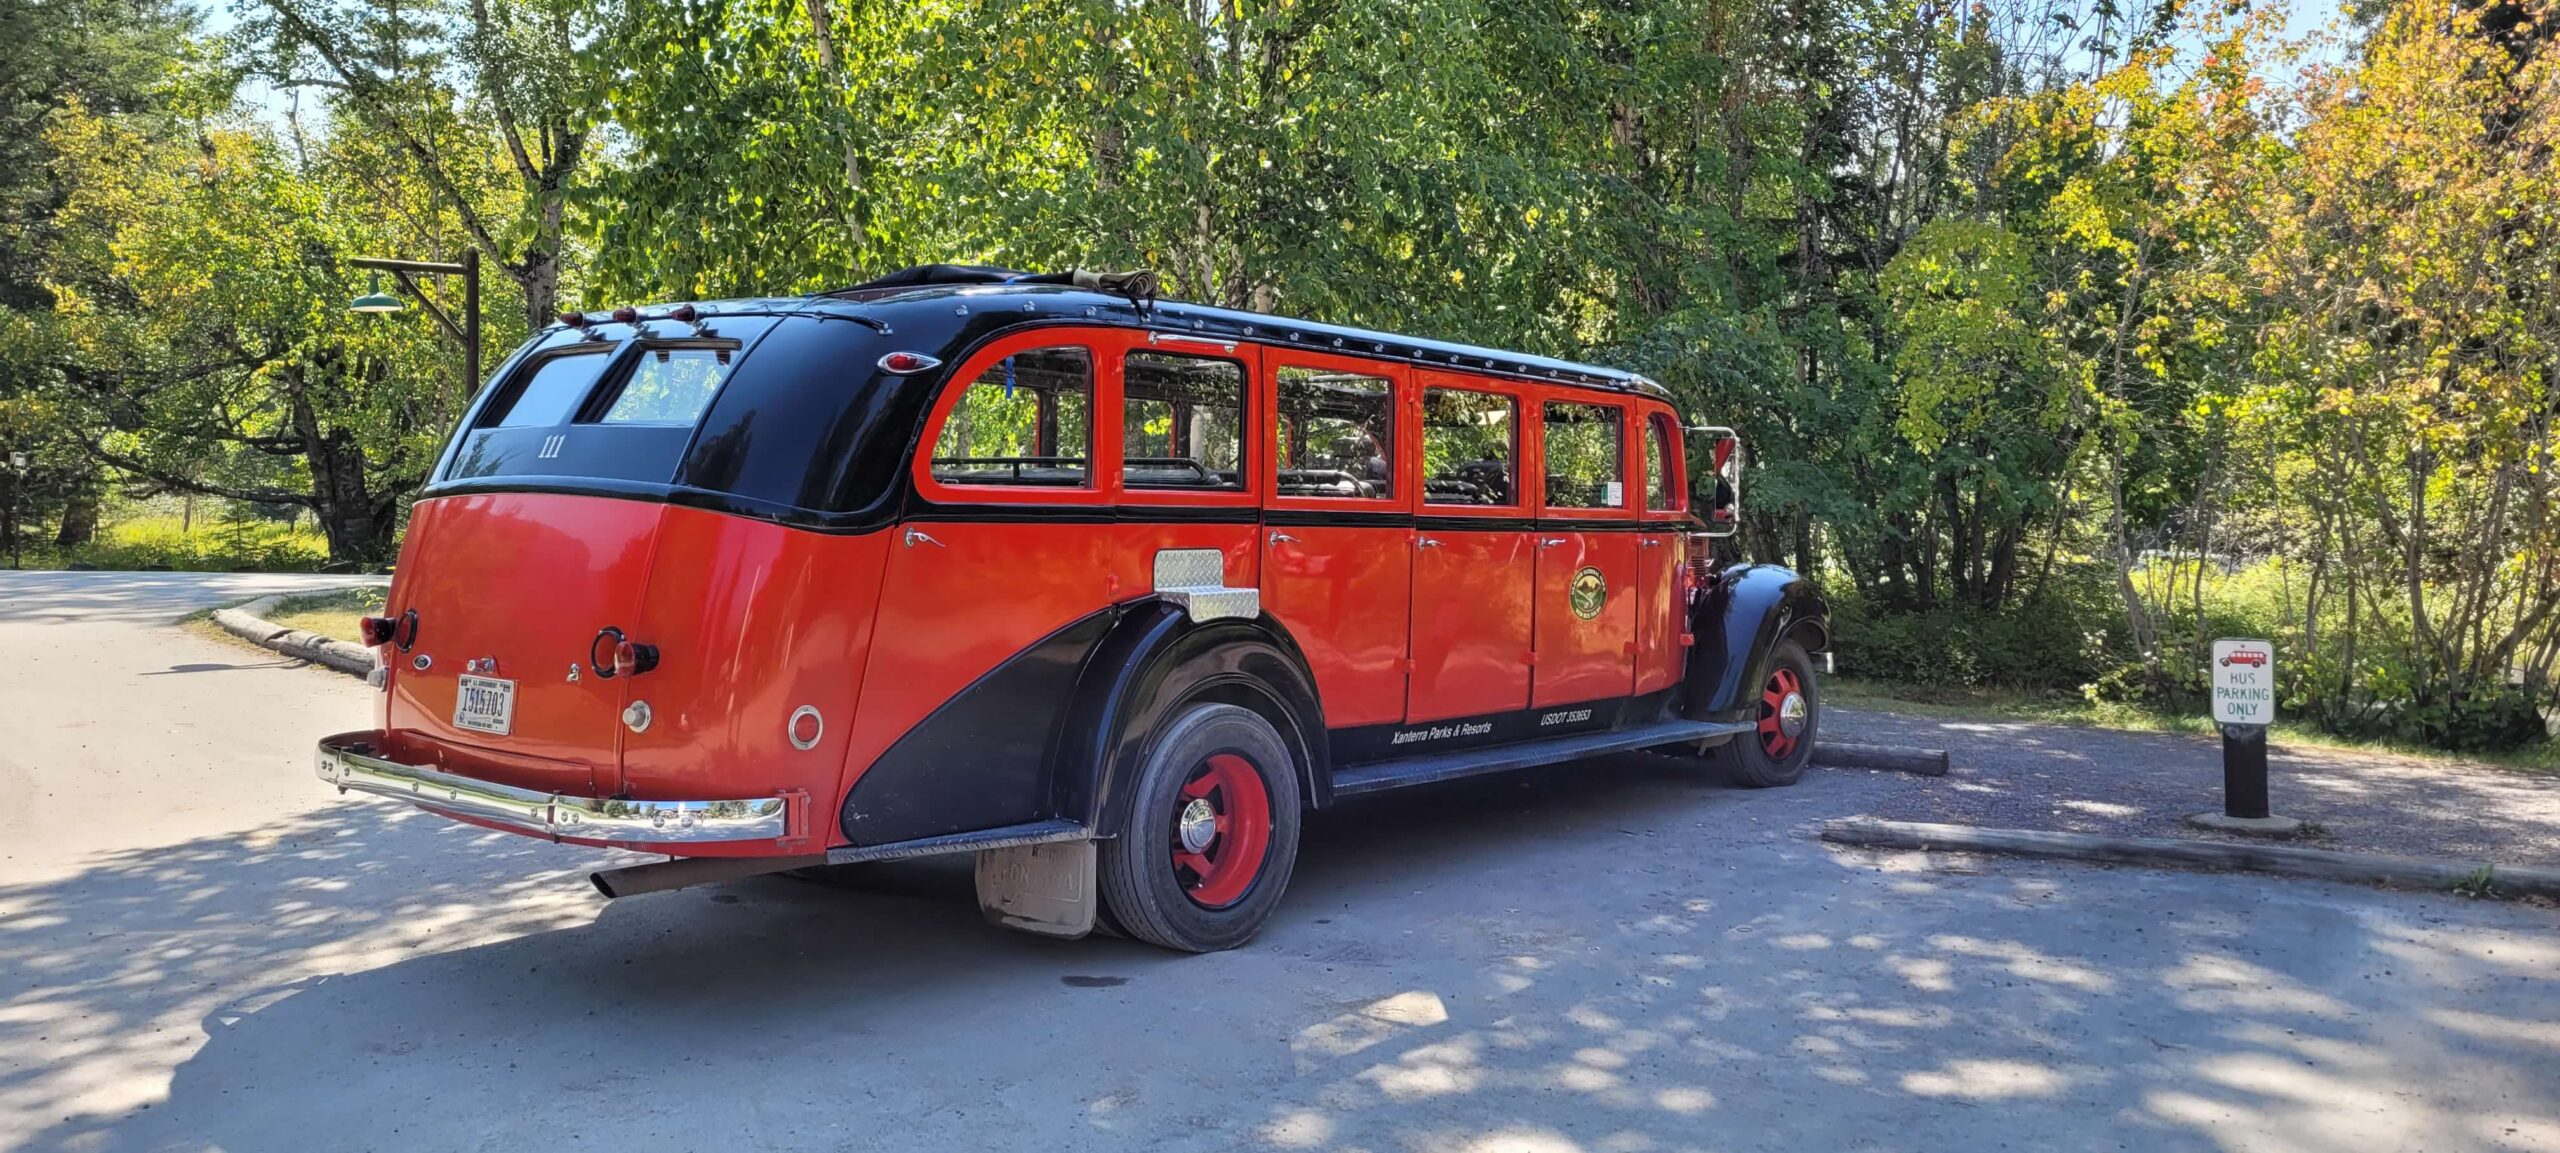
The west side red bus tours of Glacier are world famous and offer a way to see the park without needing to drive yourself up the Going-to-the-Sun road which is a major selling point for some people given how narrow and winding the road gets. There are several options with different durations, but the one we would recommend is the “Crown of the Continent Tour” which lasts from 8-9.5 hours. Even if you are a hiker and don’t normally do tours like this, it is a great overview of the park for a day to give you a better idea of how you want to spend the remaining days on your trip. As of 2024, it costs around $120 per person. The advantage of this tour over the others is that not only does it cover the entire Going-to-the-Sun road, but also the Many Glacier area which might be our favorite area of the entire park.
Lake McDonald Boat Cruise
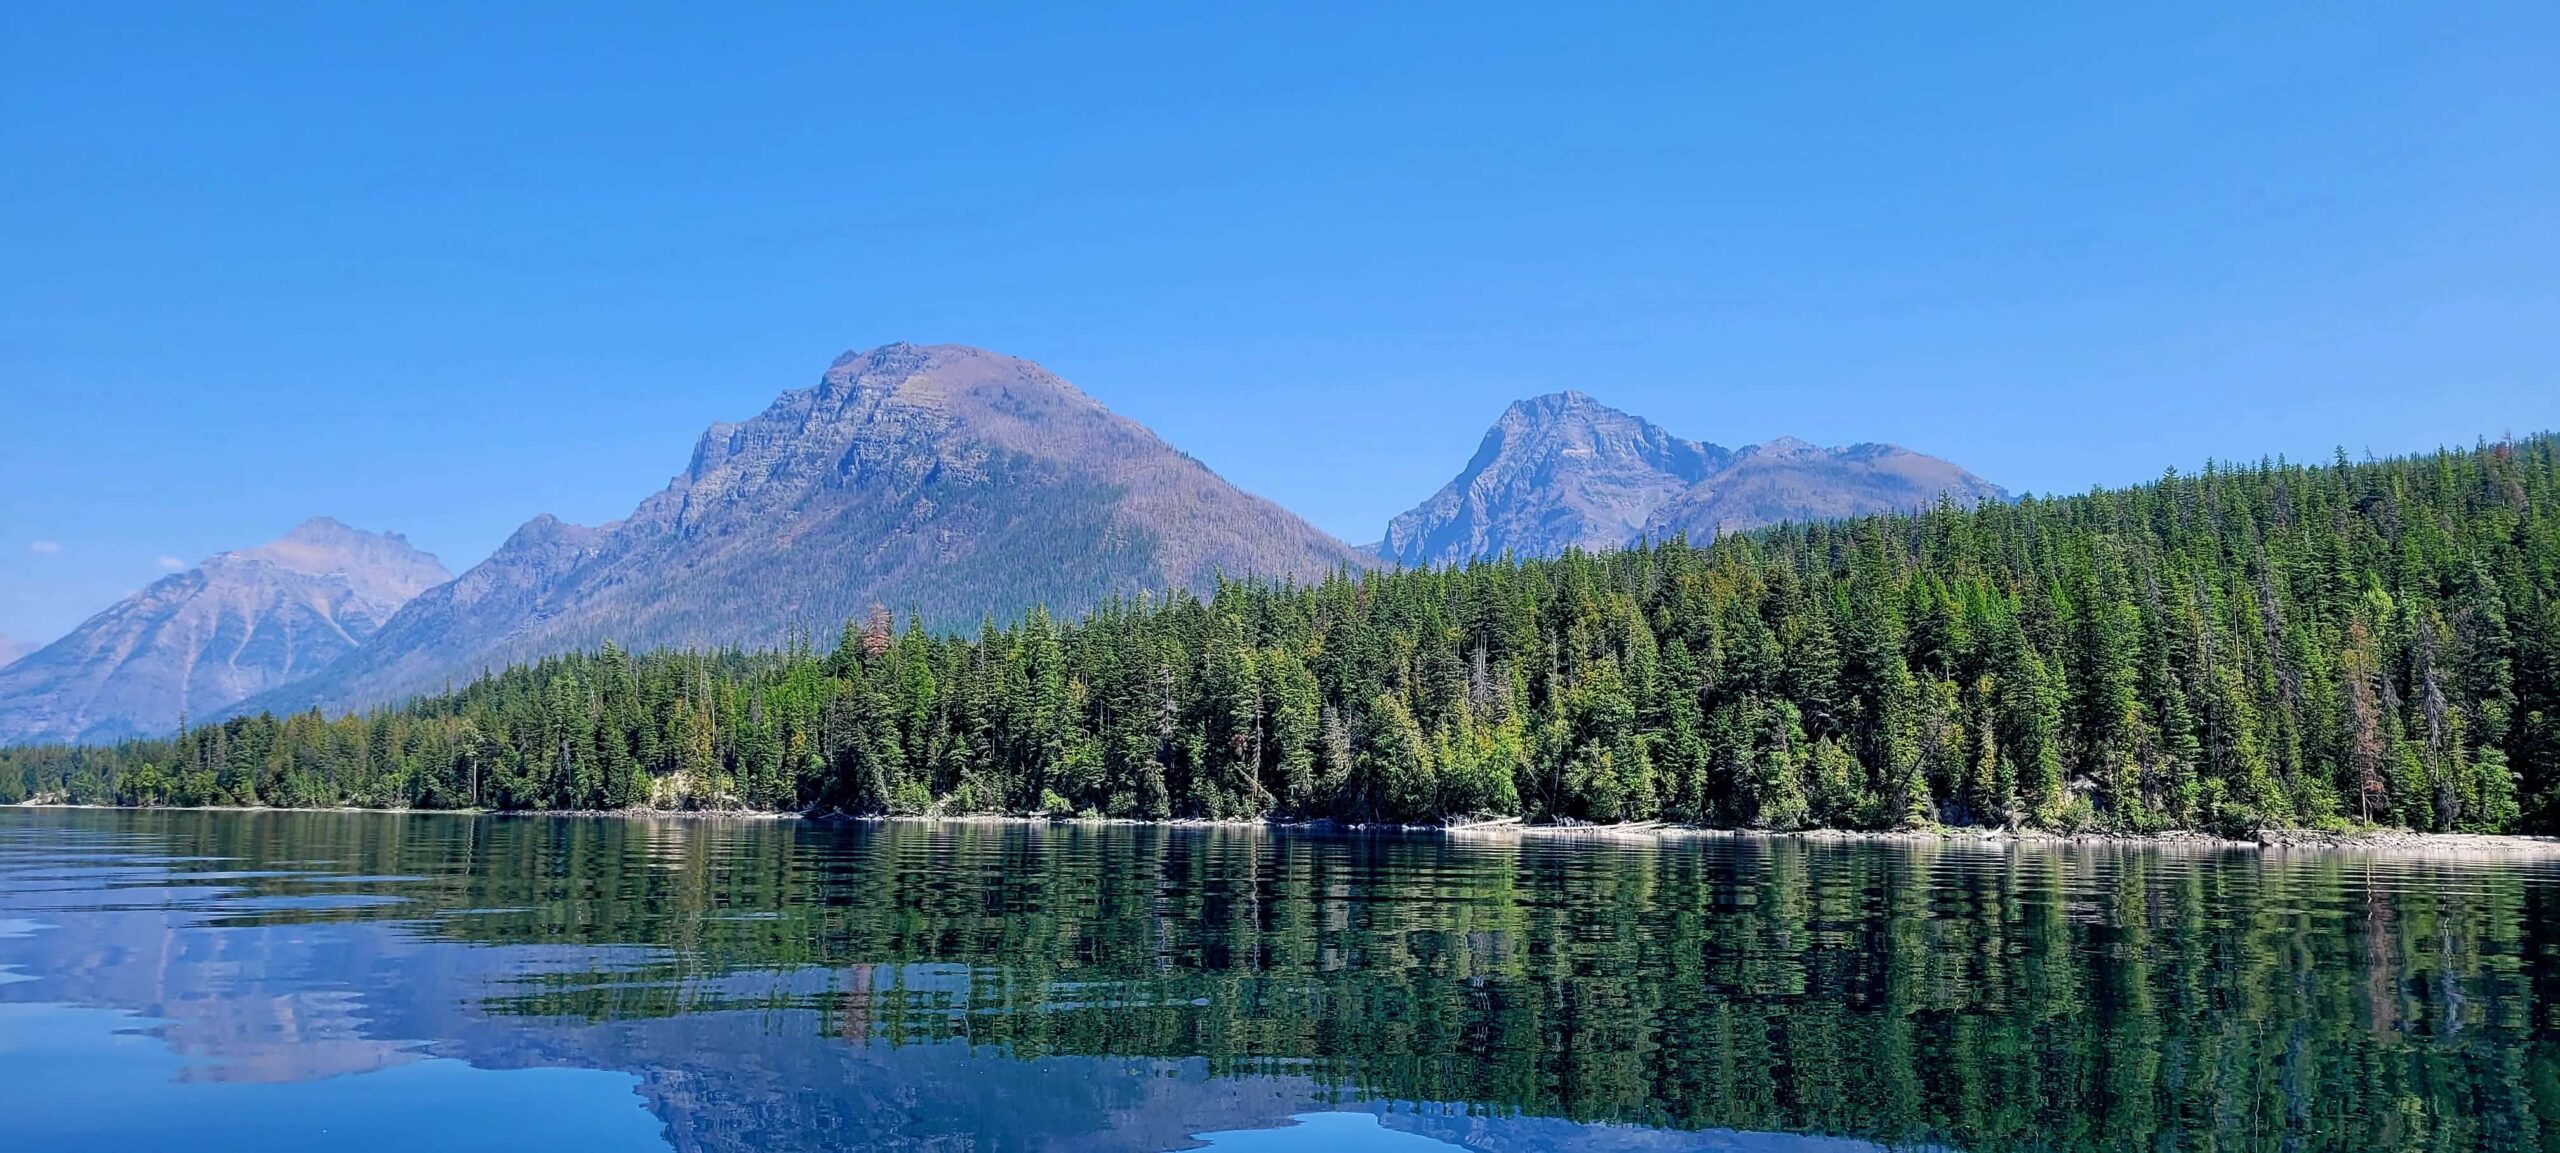
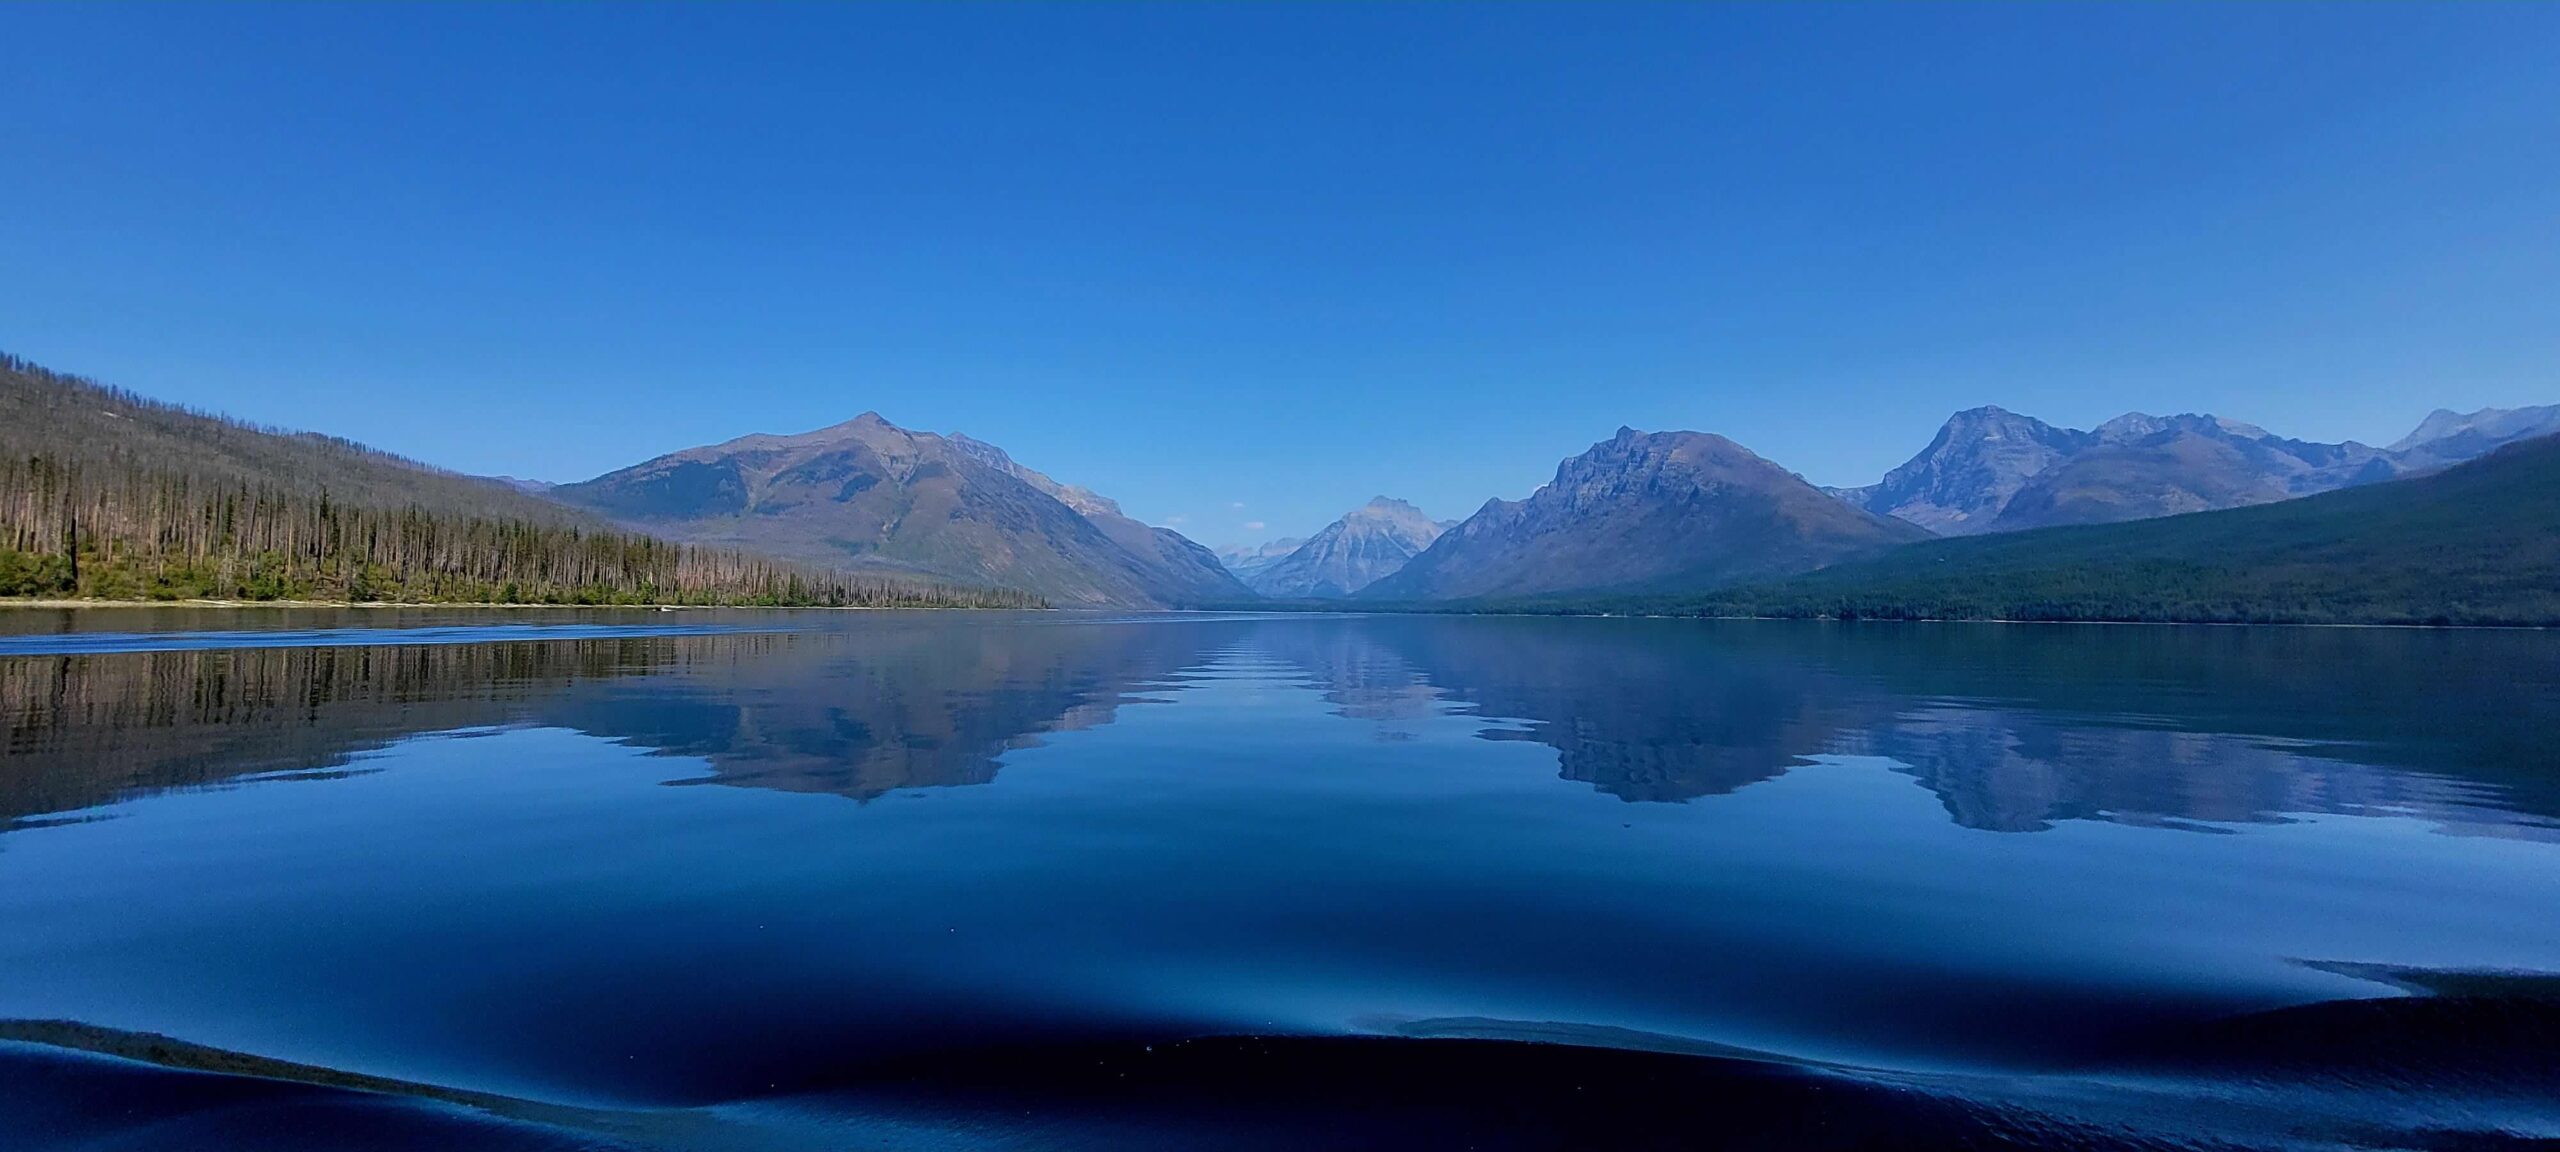
Another option for those of you who don’t want to or are unable to hike is a short cruise of Lake McDonald. It lasts about an hour and gets you out on the lake allowing for stunning photos of the surrounding scenery while a guide also gives you an overview of the history of the area including recent fires. The cruise is quite affordable at $27 per person in 2024.
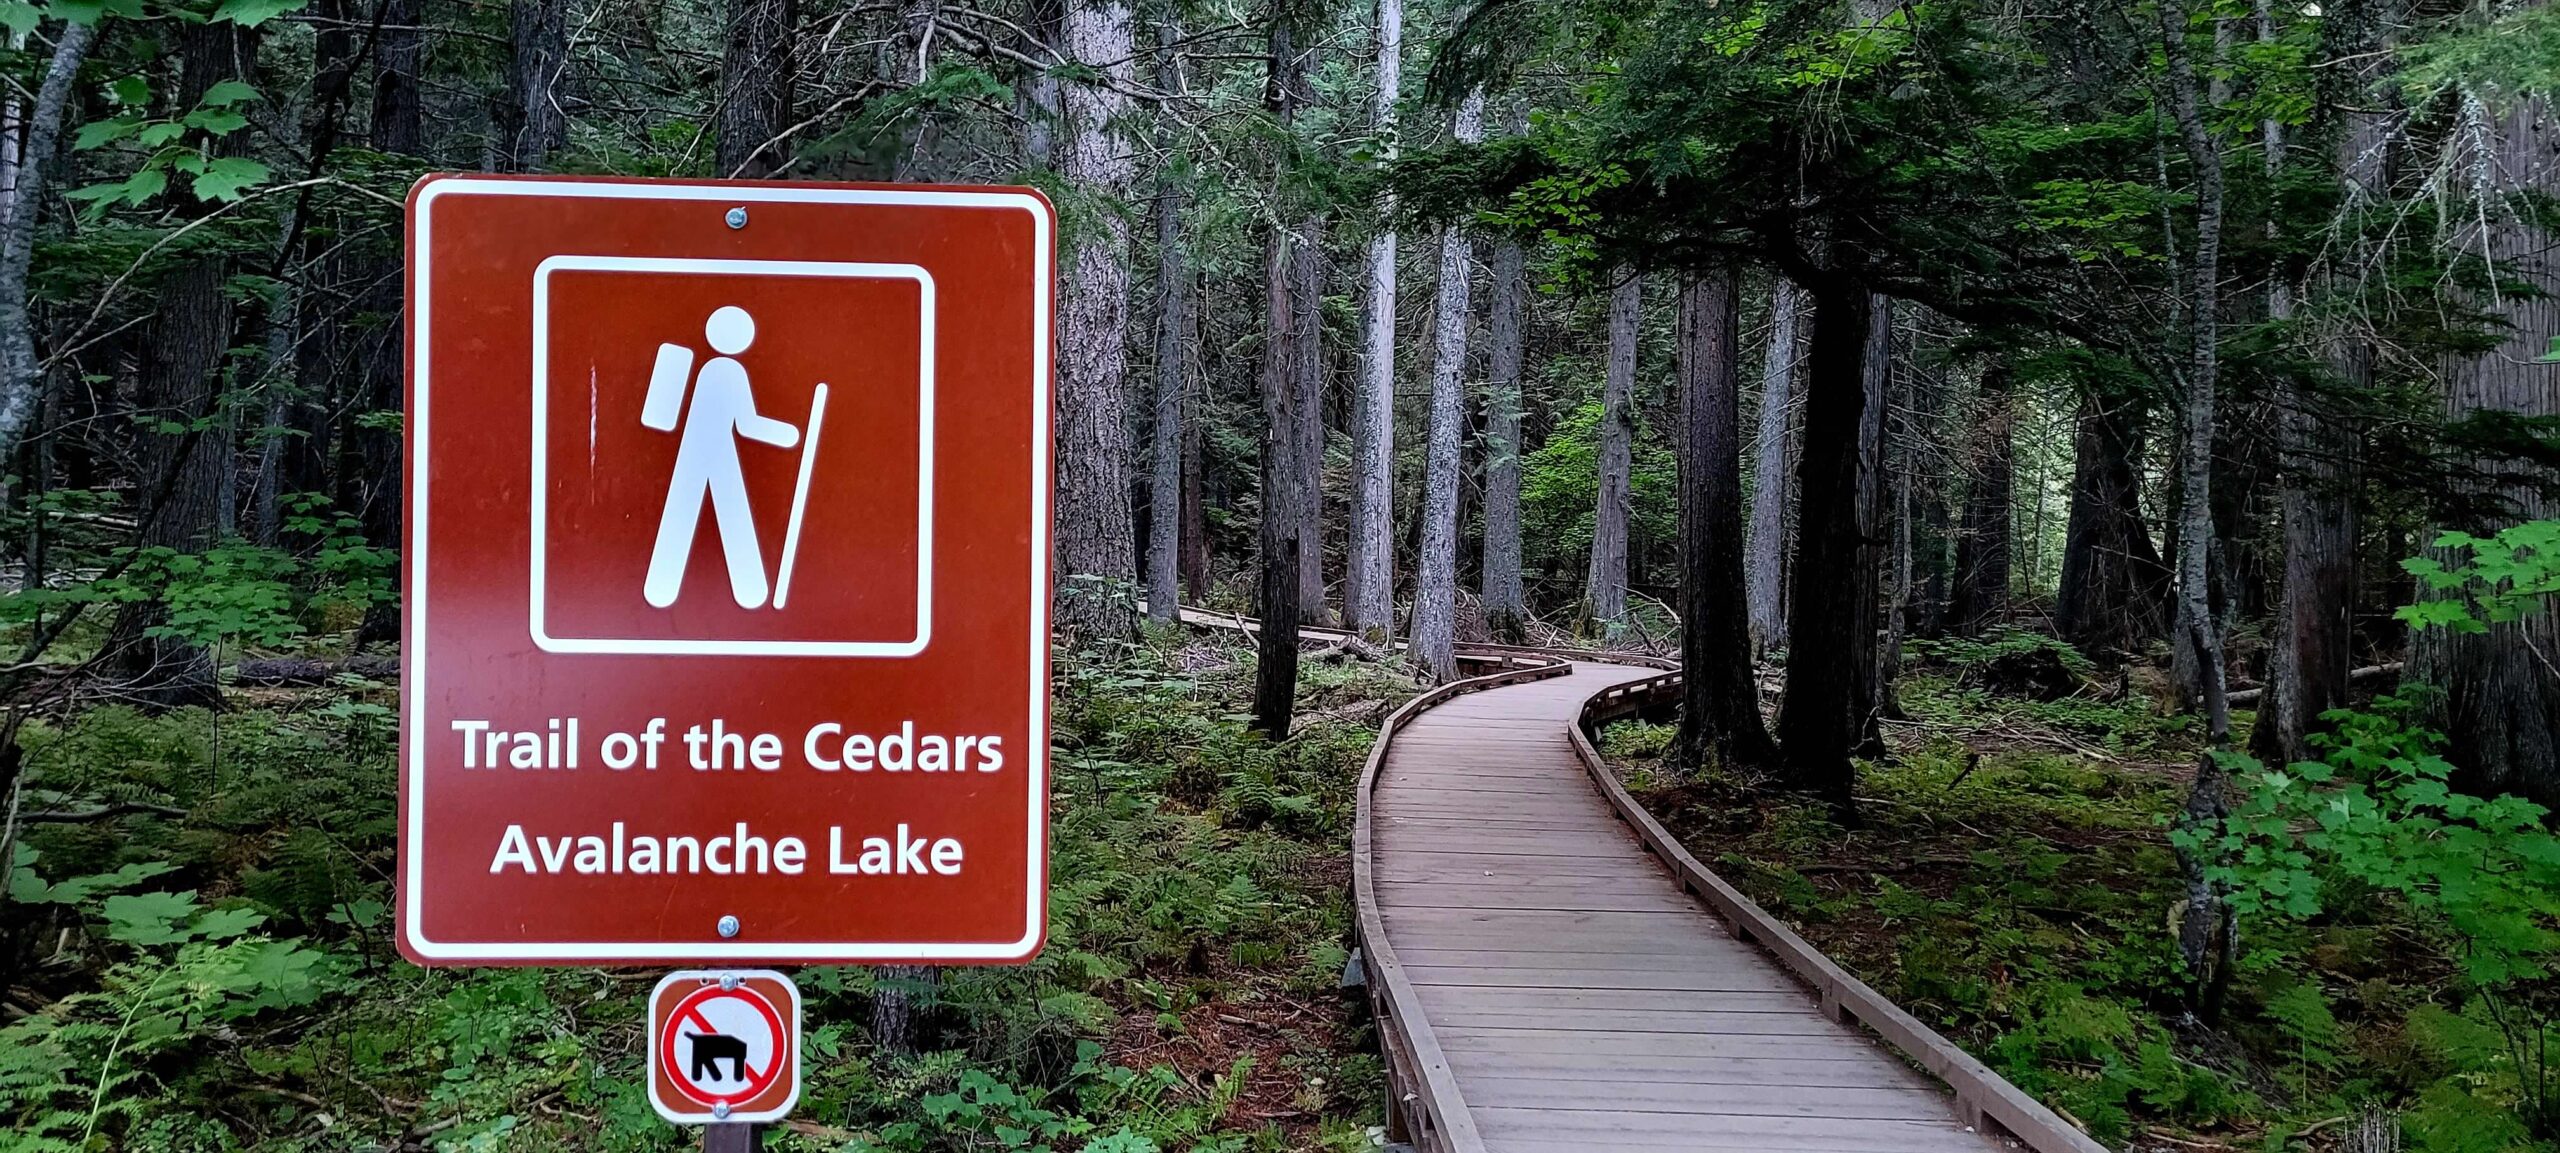
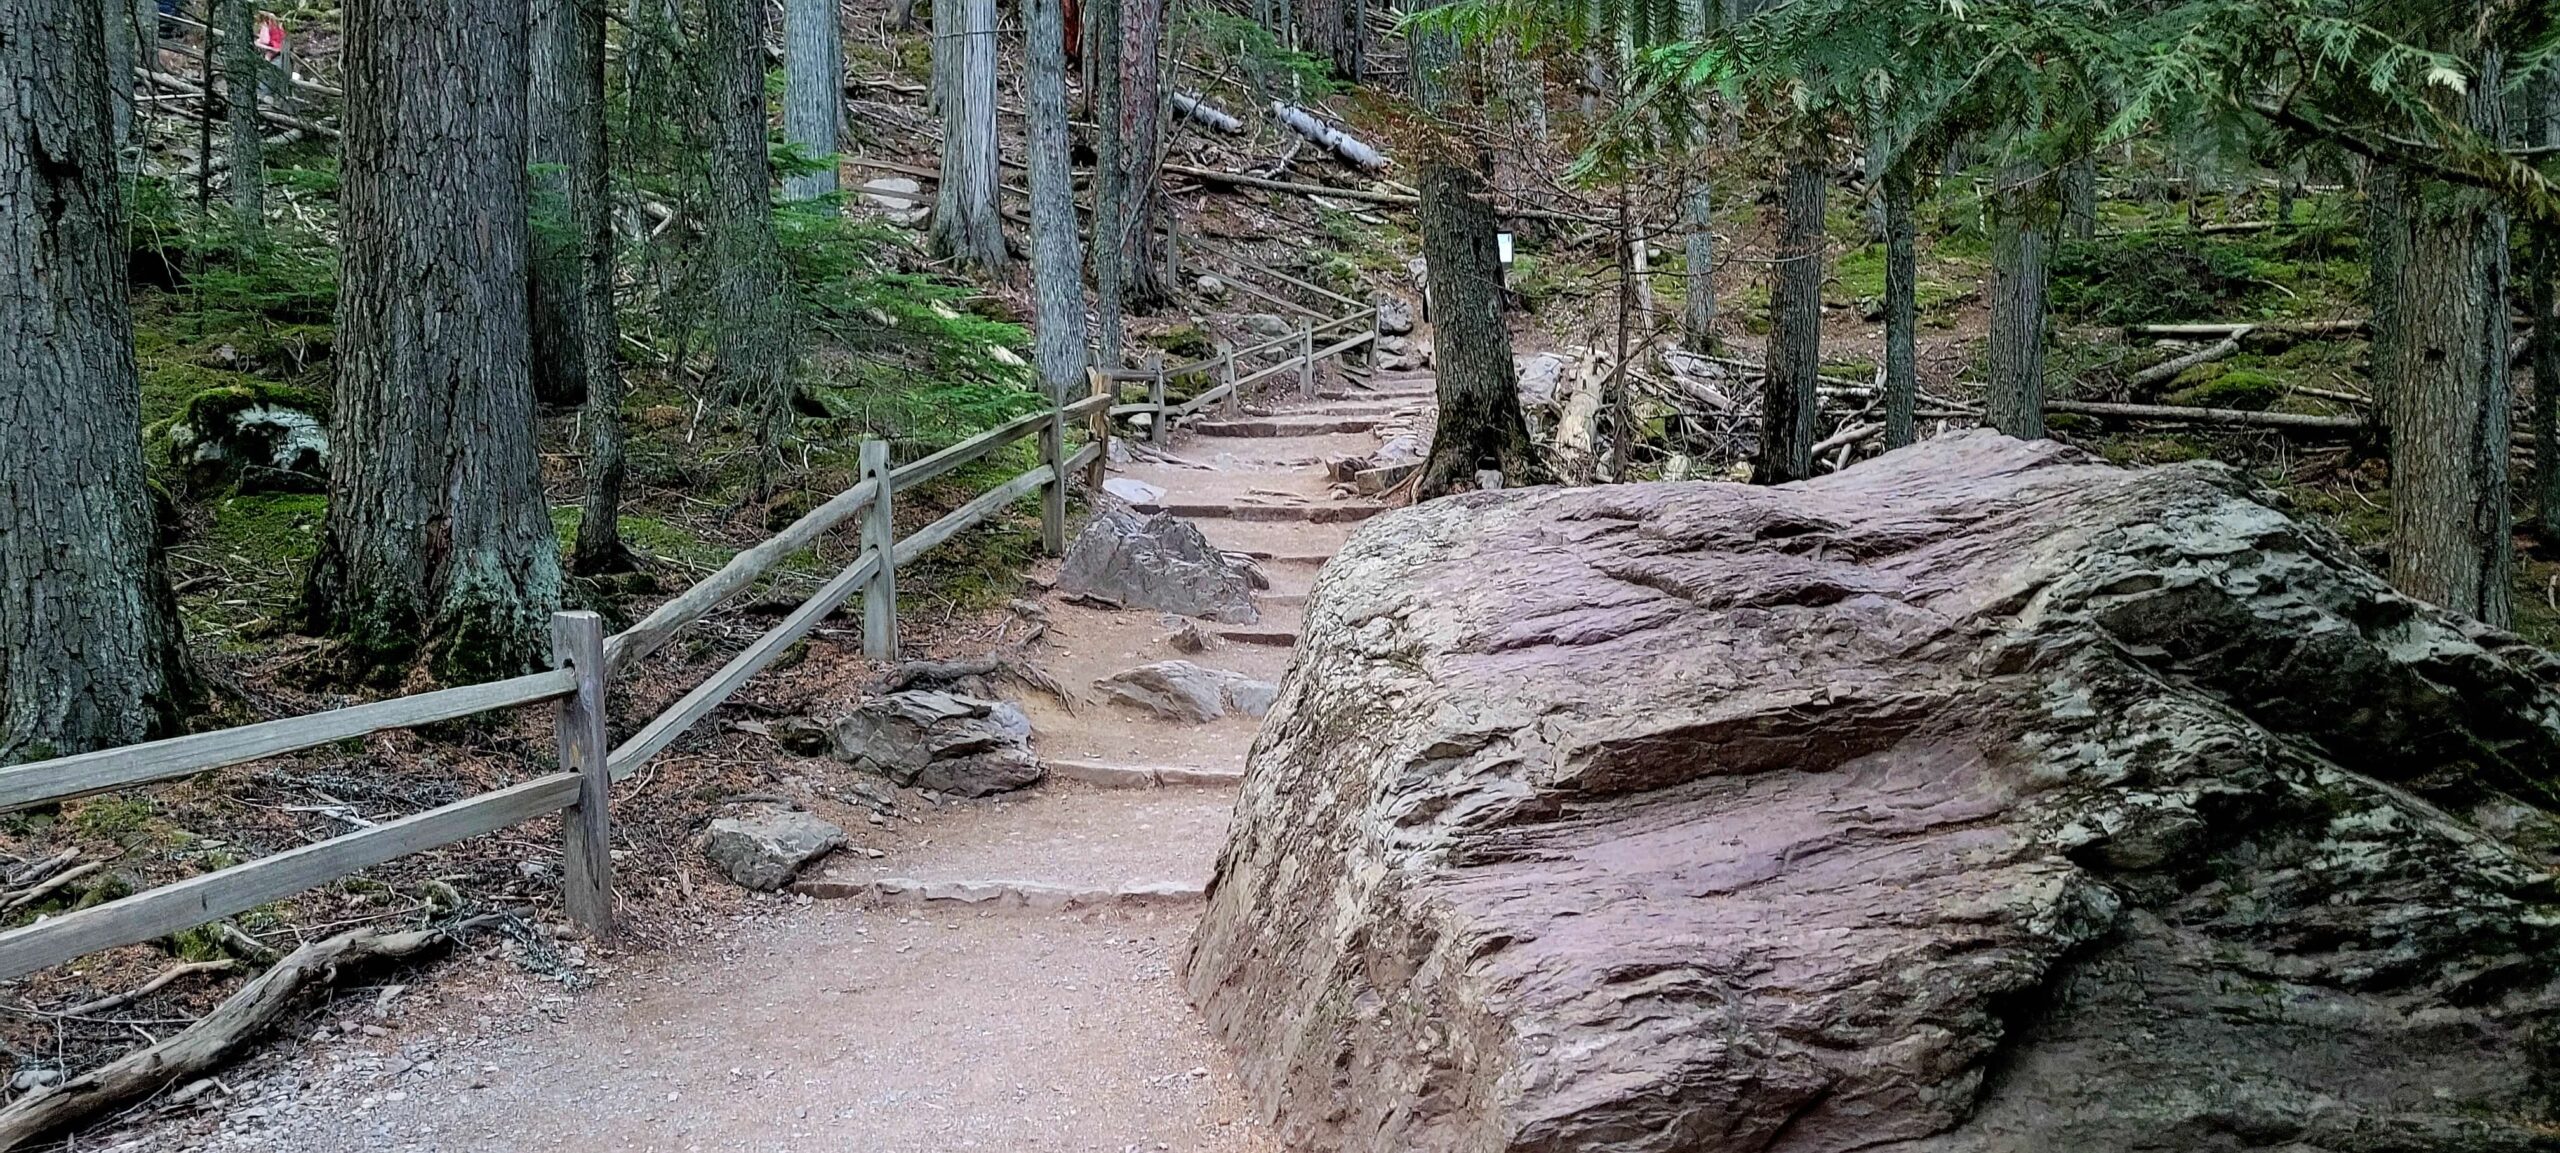
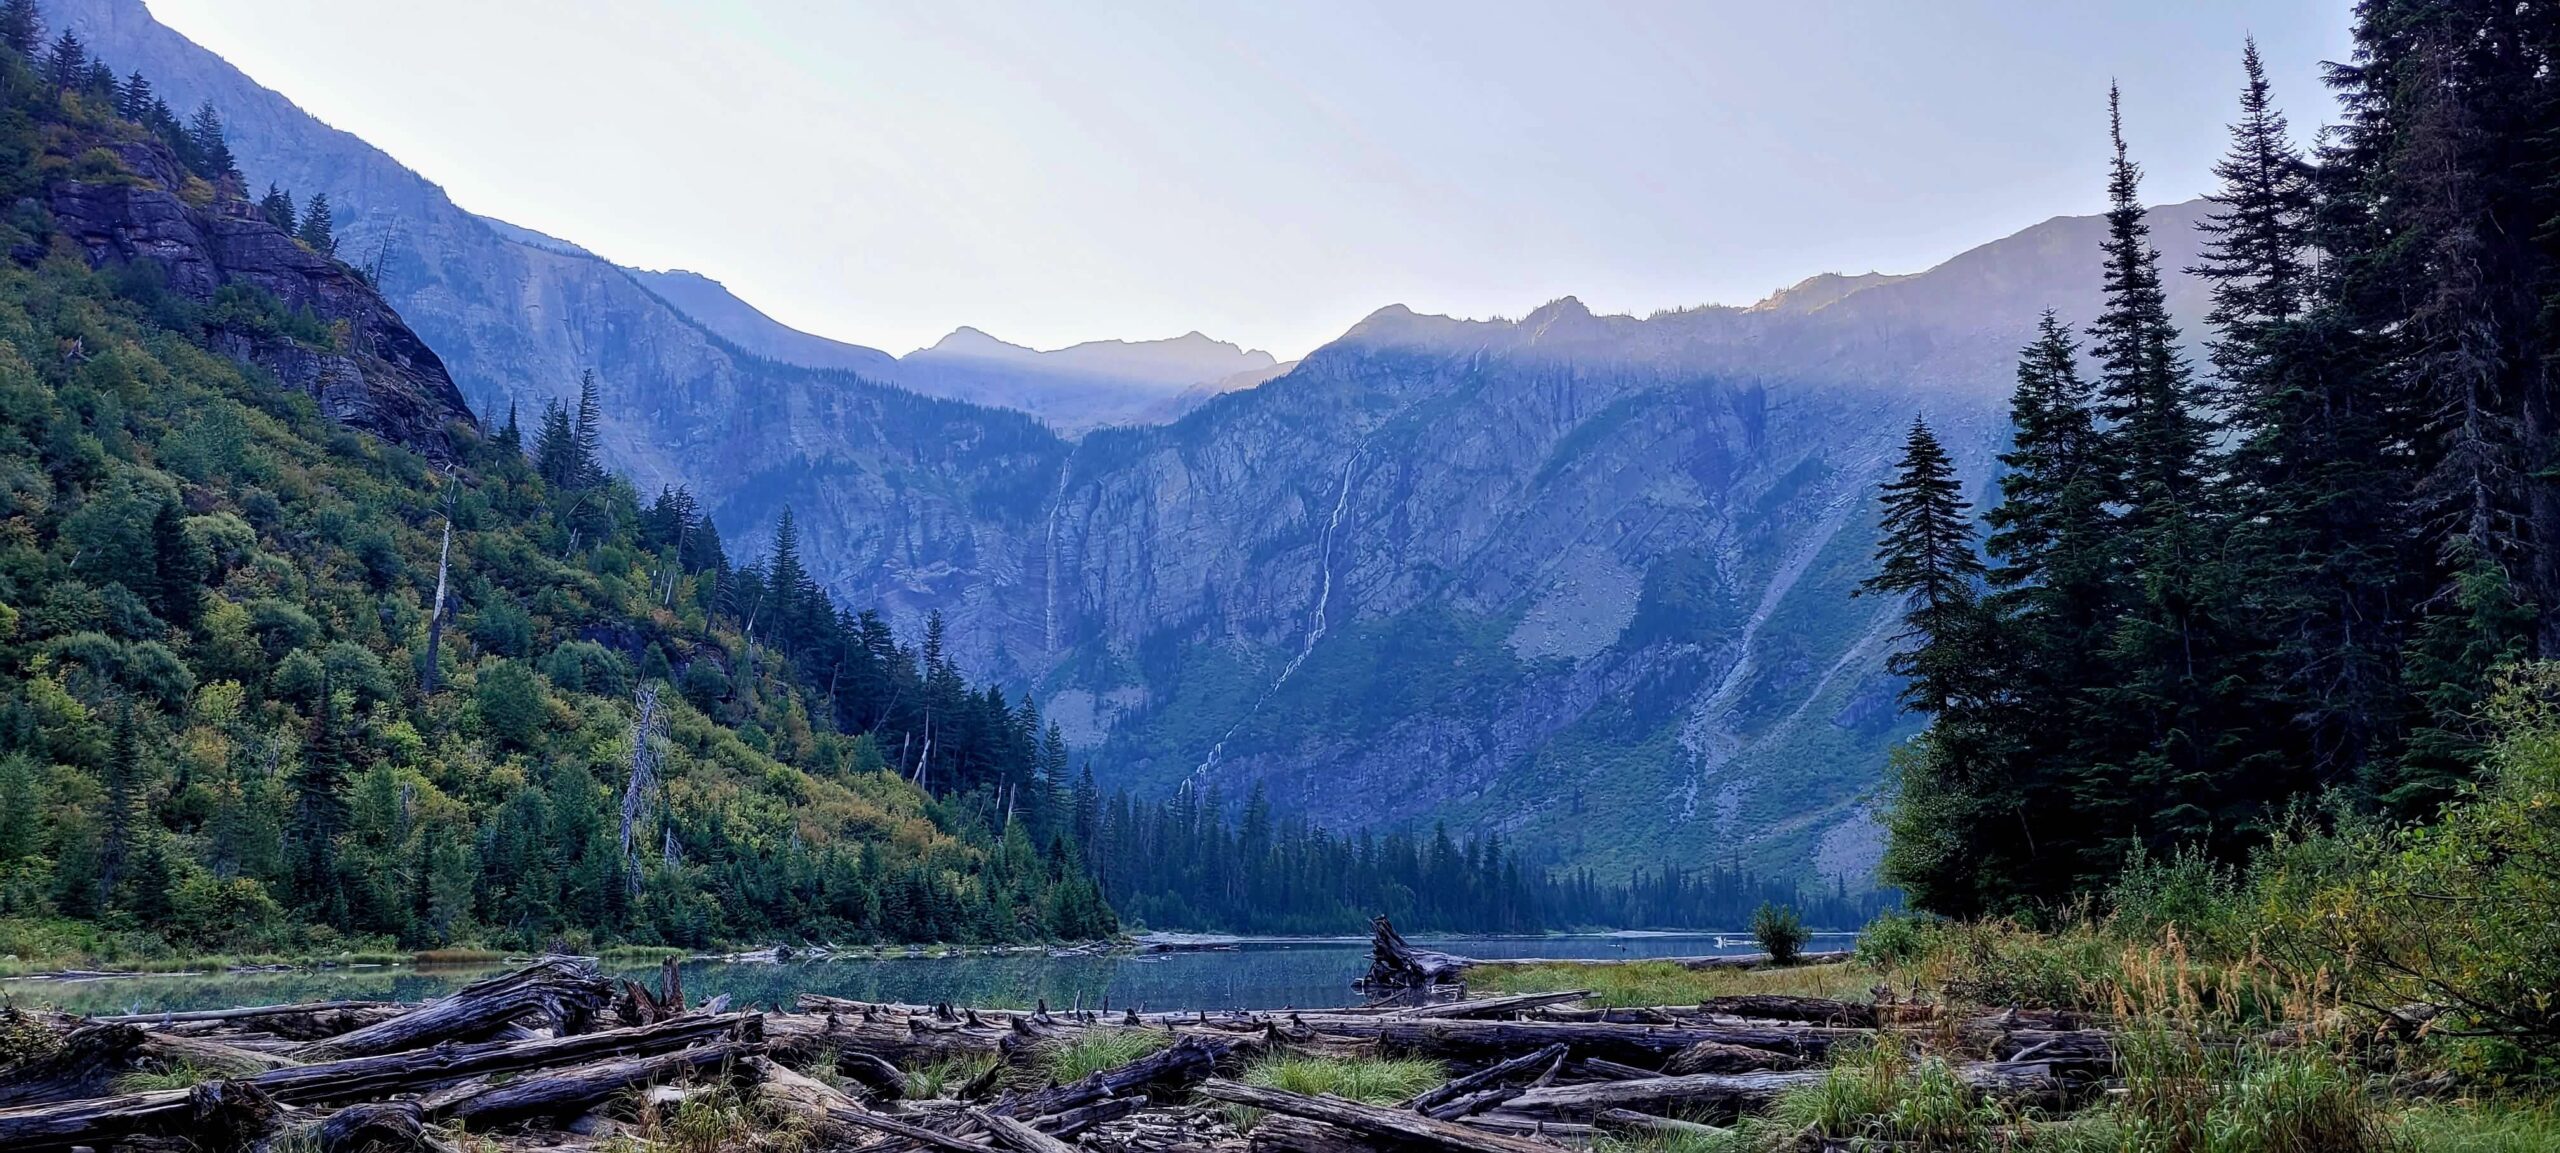
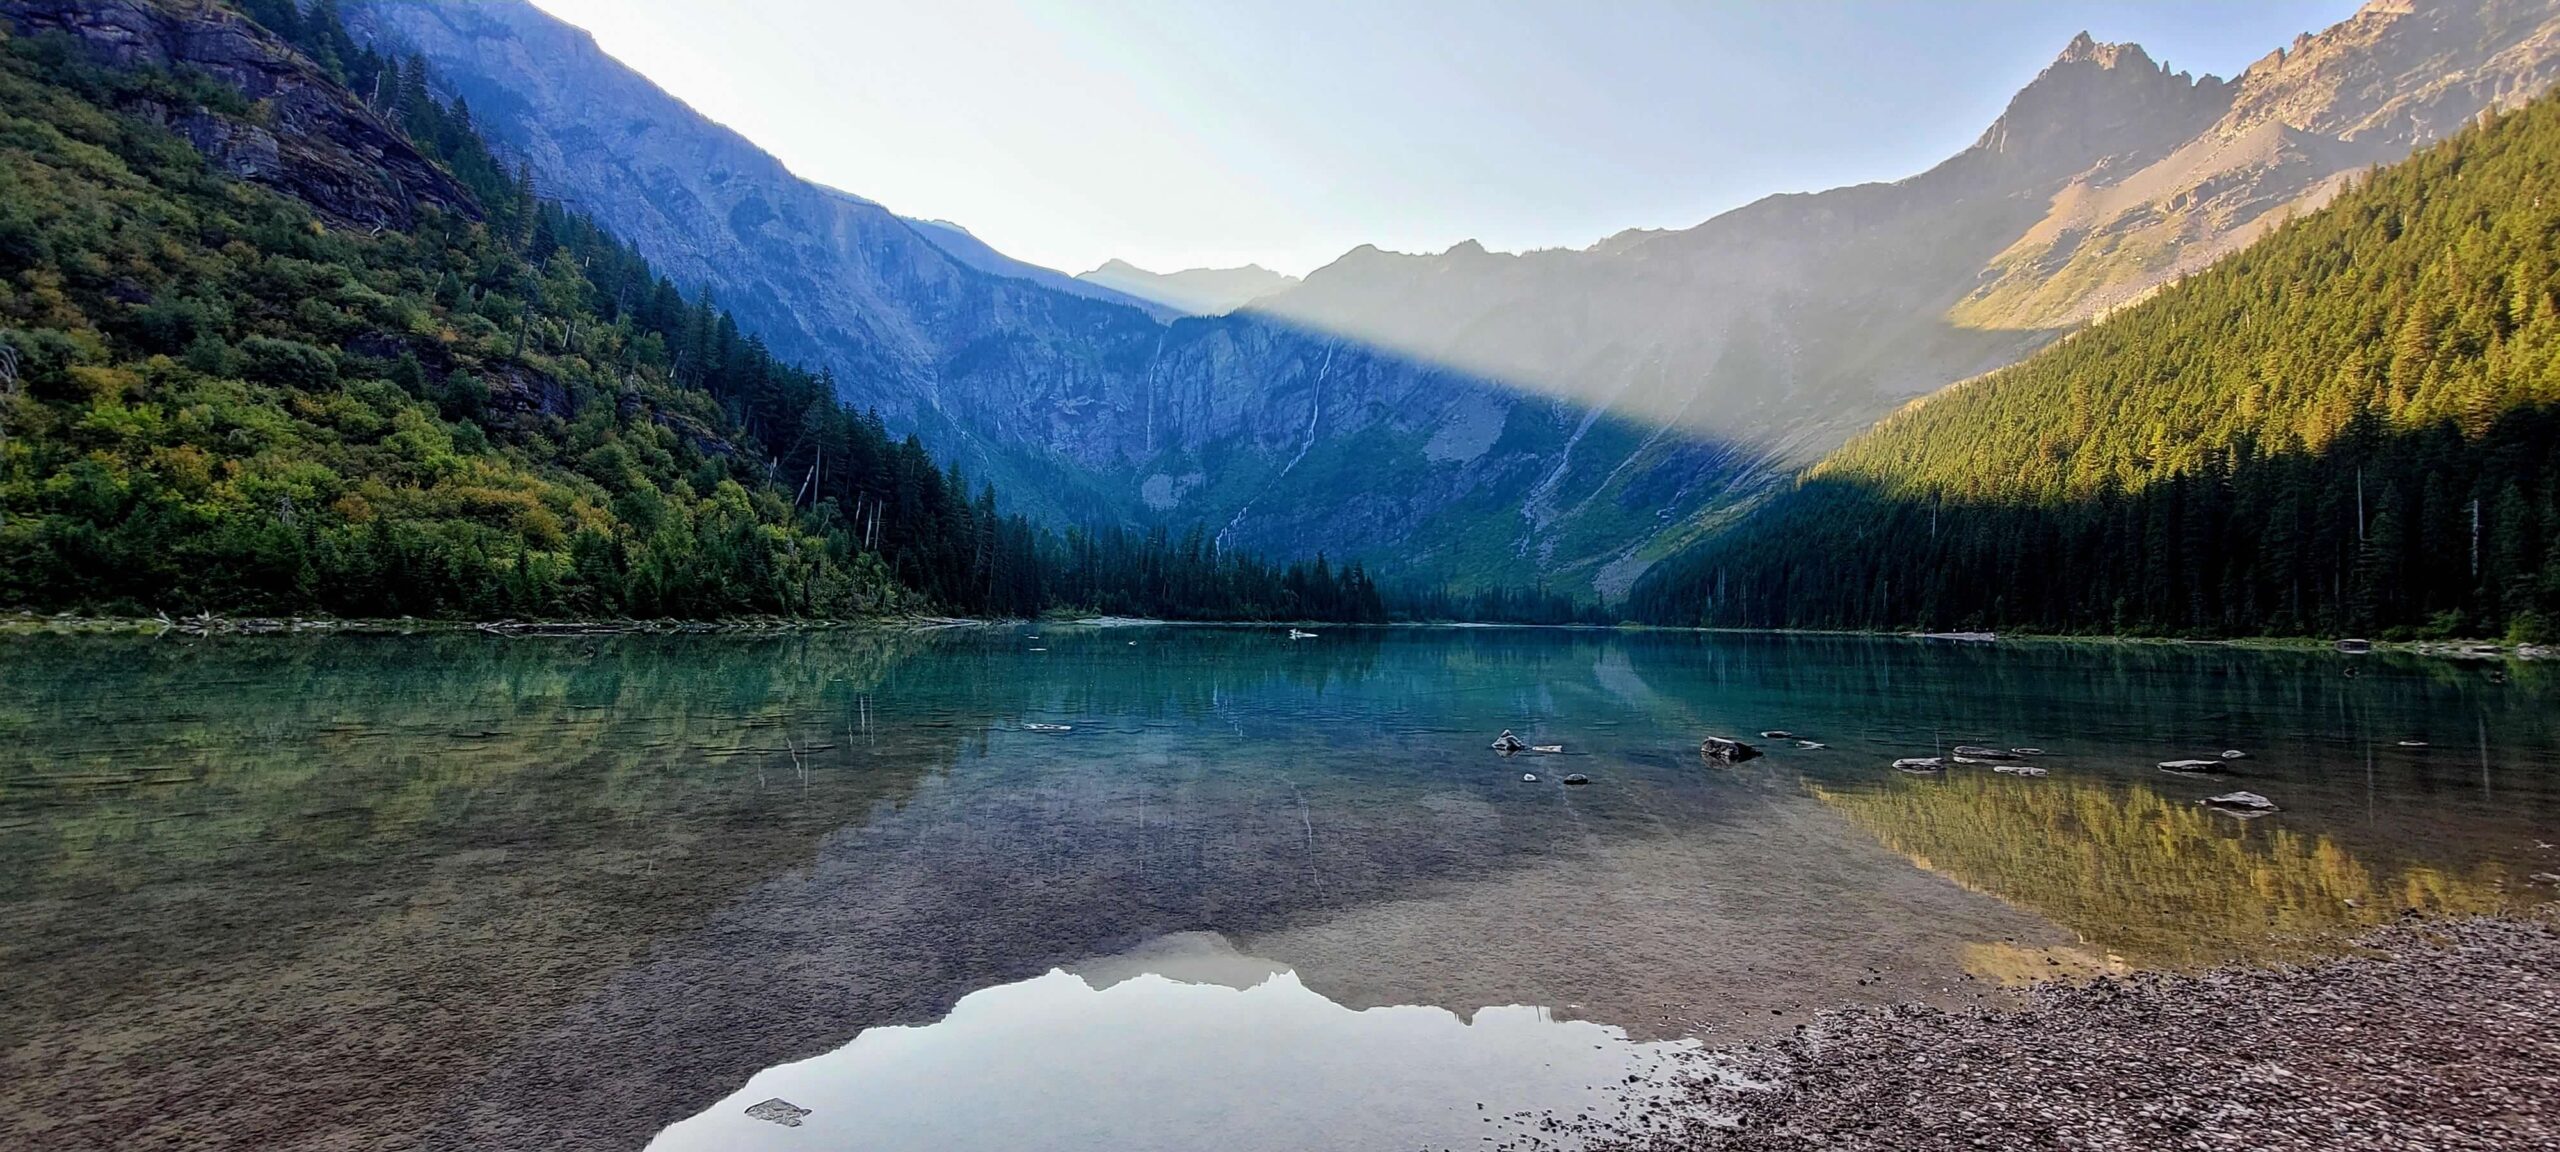
Avalanche Lake Trail — 5.9 miles RT, Moderate, 2.5 hours
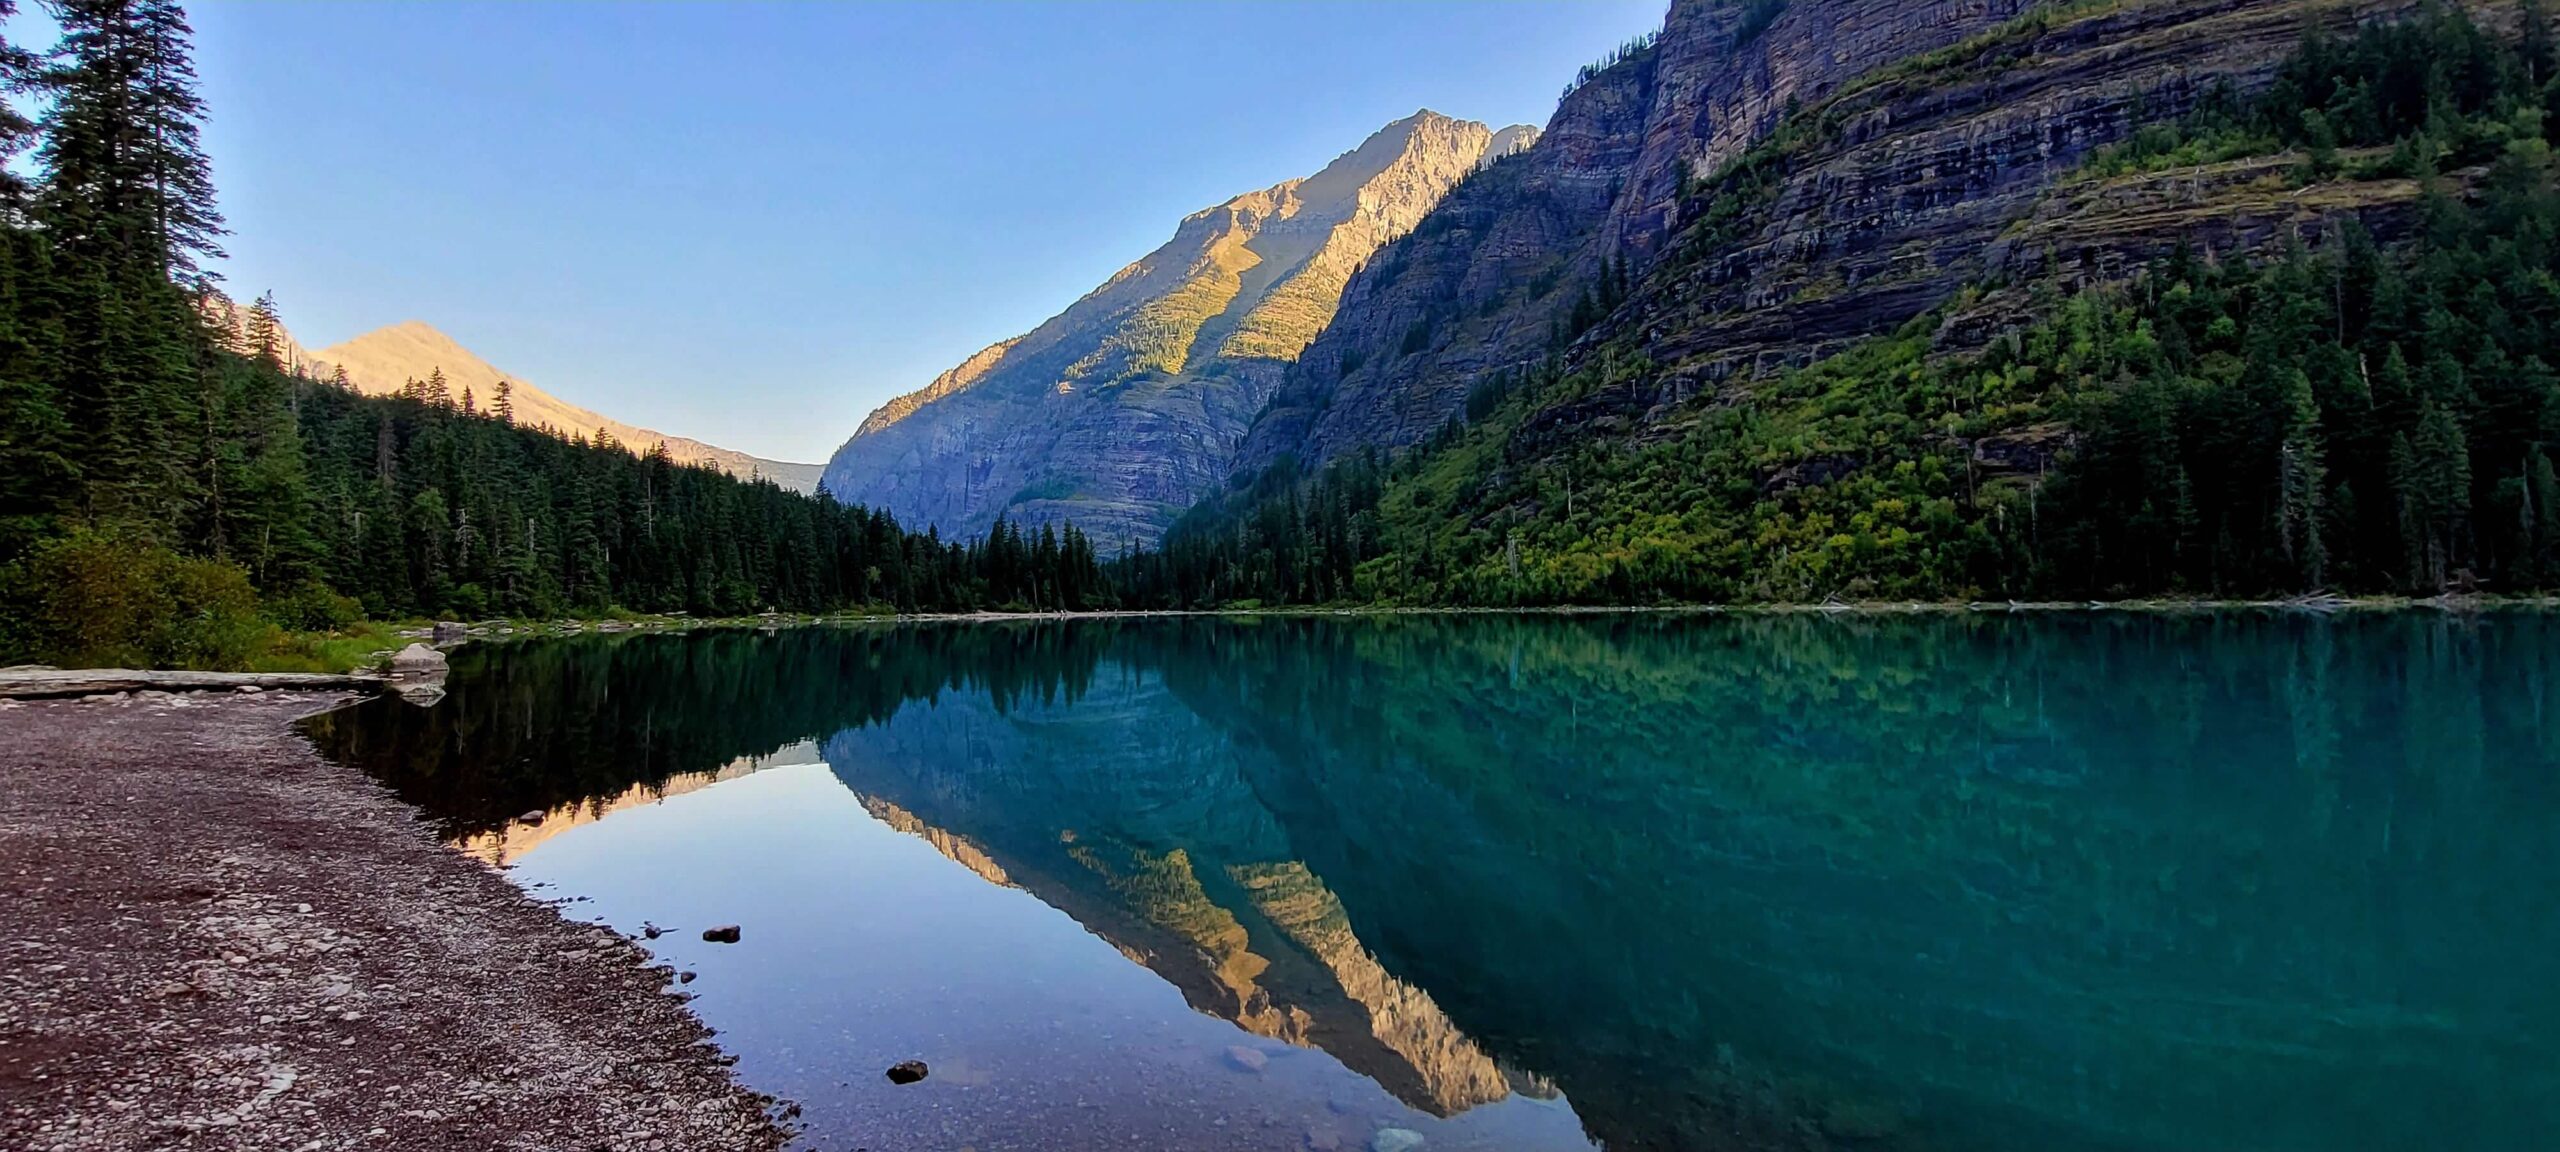
There are several hiking trails in this area of the park. The one we would recommend if you only have time for one is the Avalanche Lake Trail, which includes the accessible Trail of Cedars loop trail. You can make this trail shorter (closer to 4 miles) if you cut out the Trail of Cedars loop and also just go to the first viewpoint of Avalanche Lake. The roundtrip 5.9 miles includes walking all the way to the end of the lake which we would recommend as you can you get some amazing reflection photos at the end if you have a clear sunny day. It is a pretty popular trail, and parking is quite limited so you may want to try and get to this first thing in the morning or later in the afternoon when most people are exiting the park.
Logan Pass
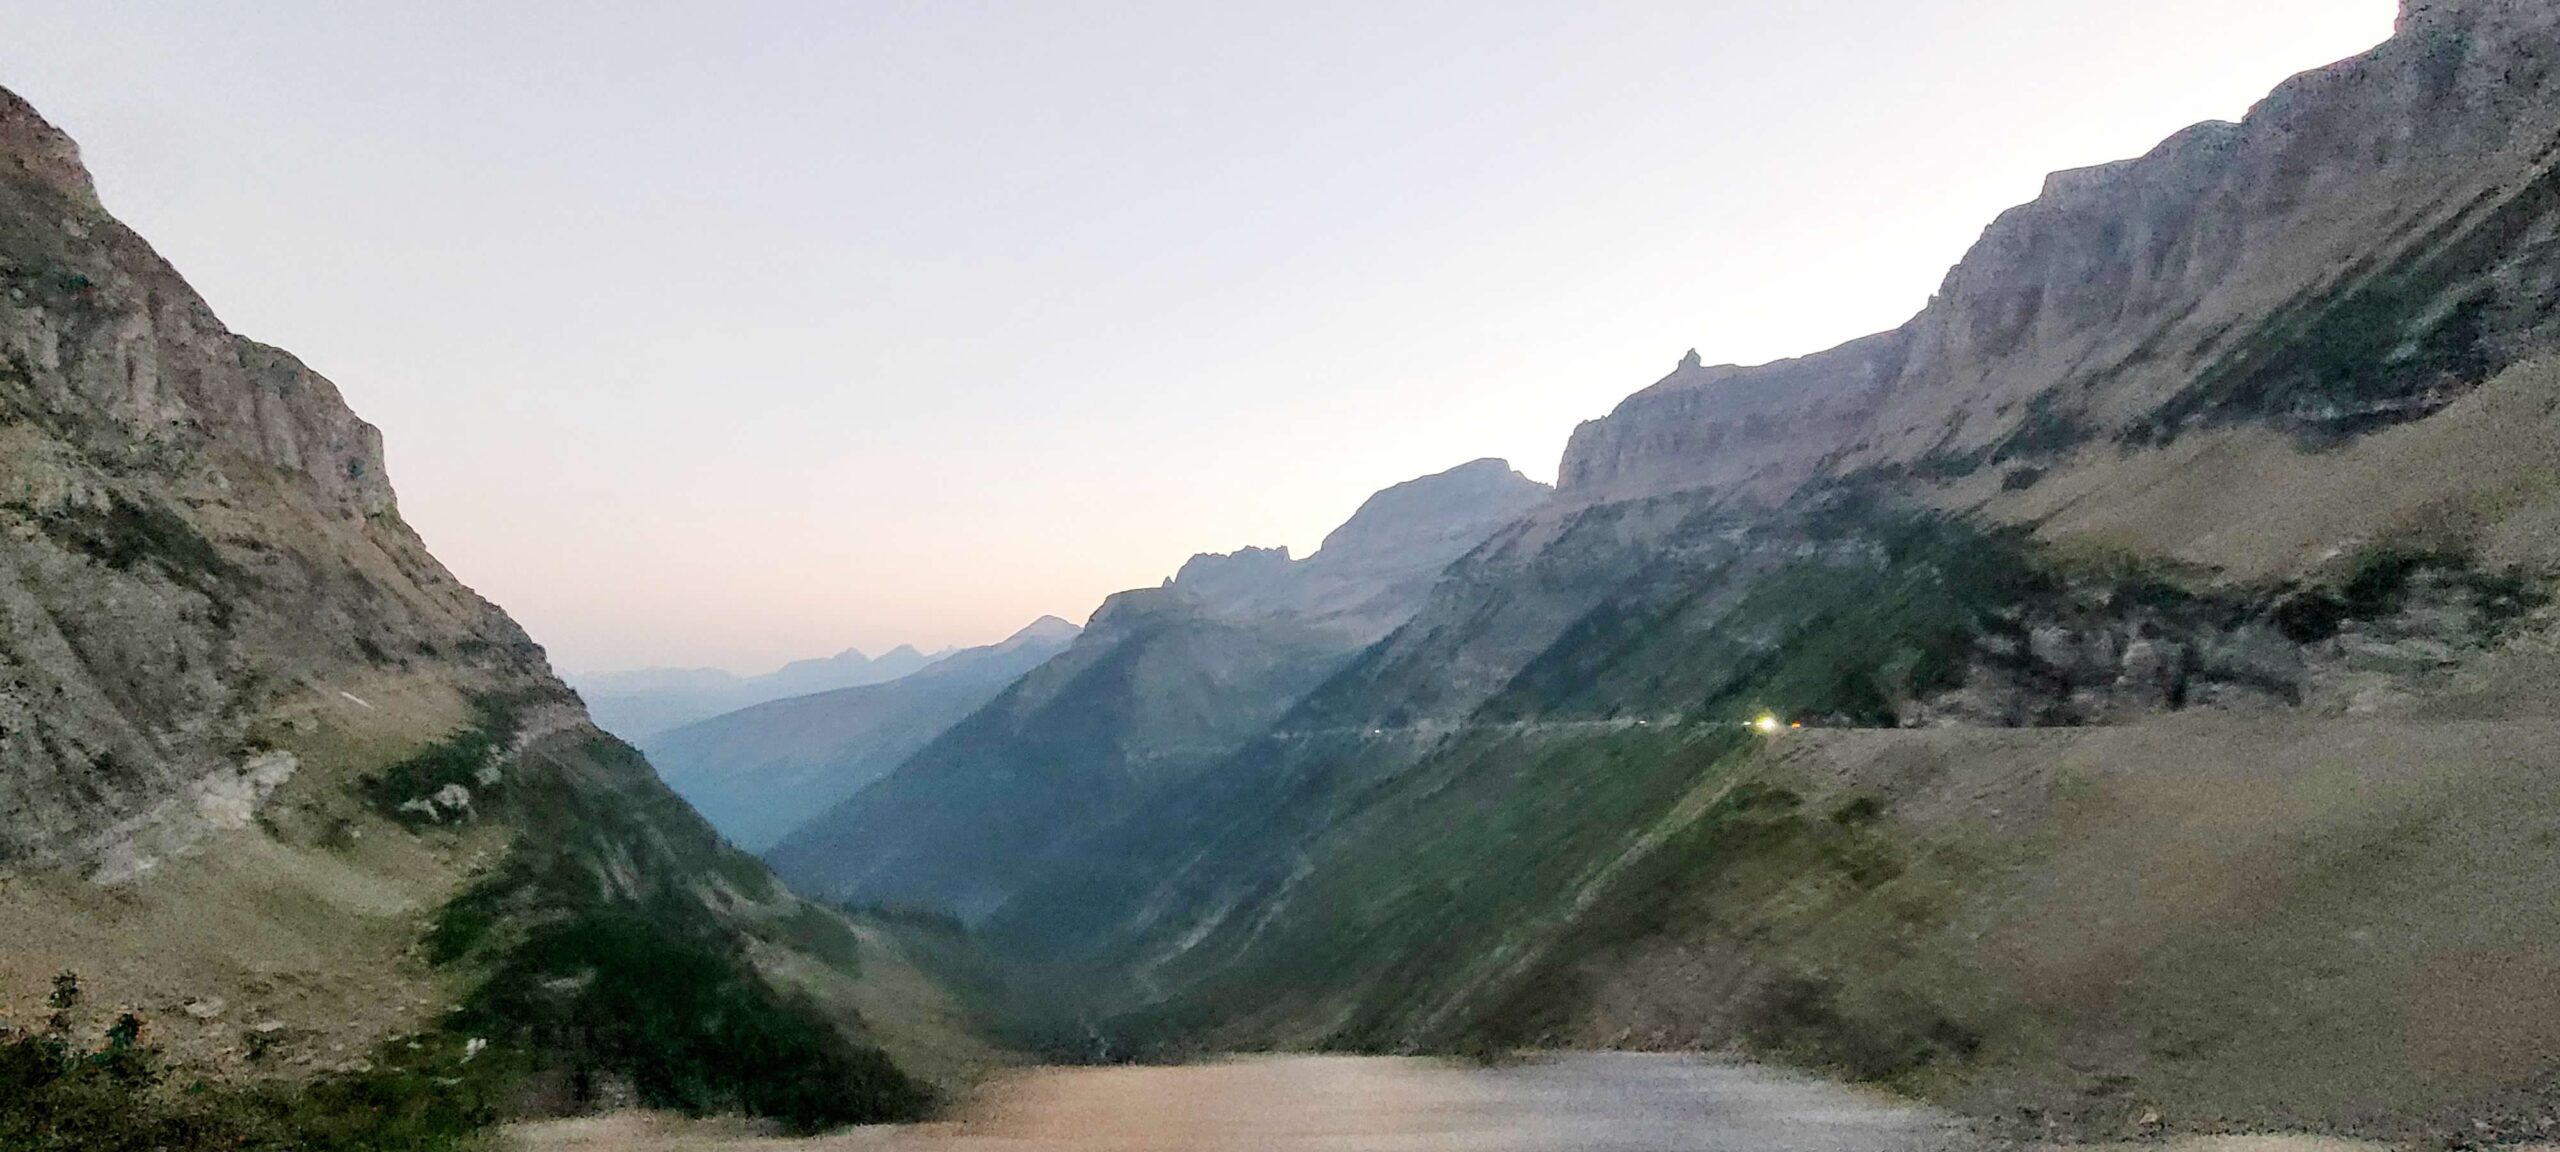
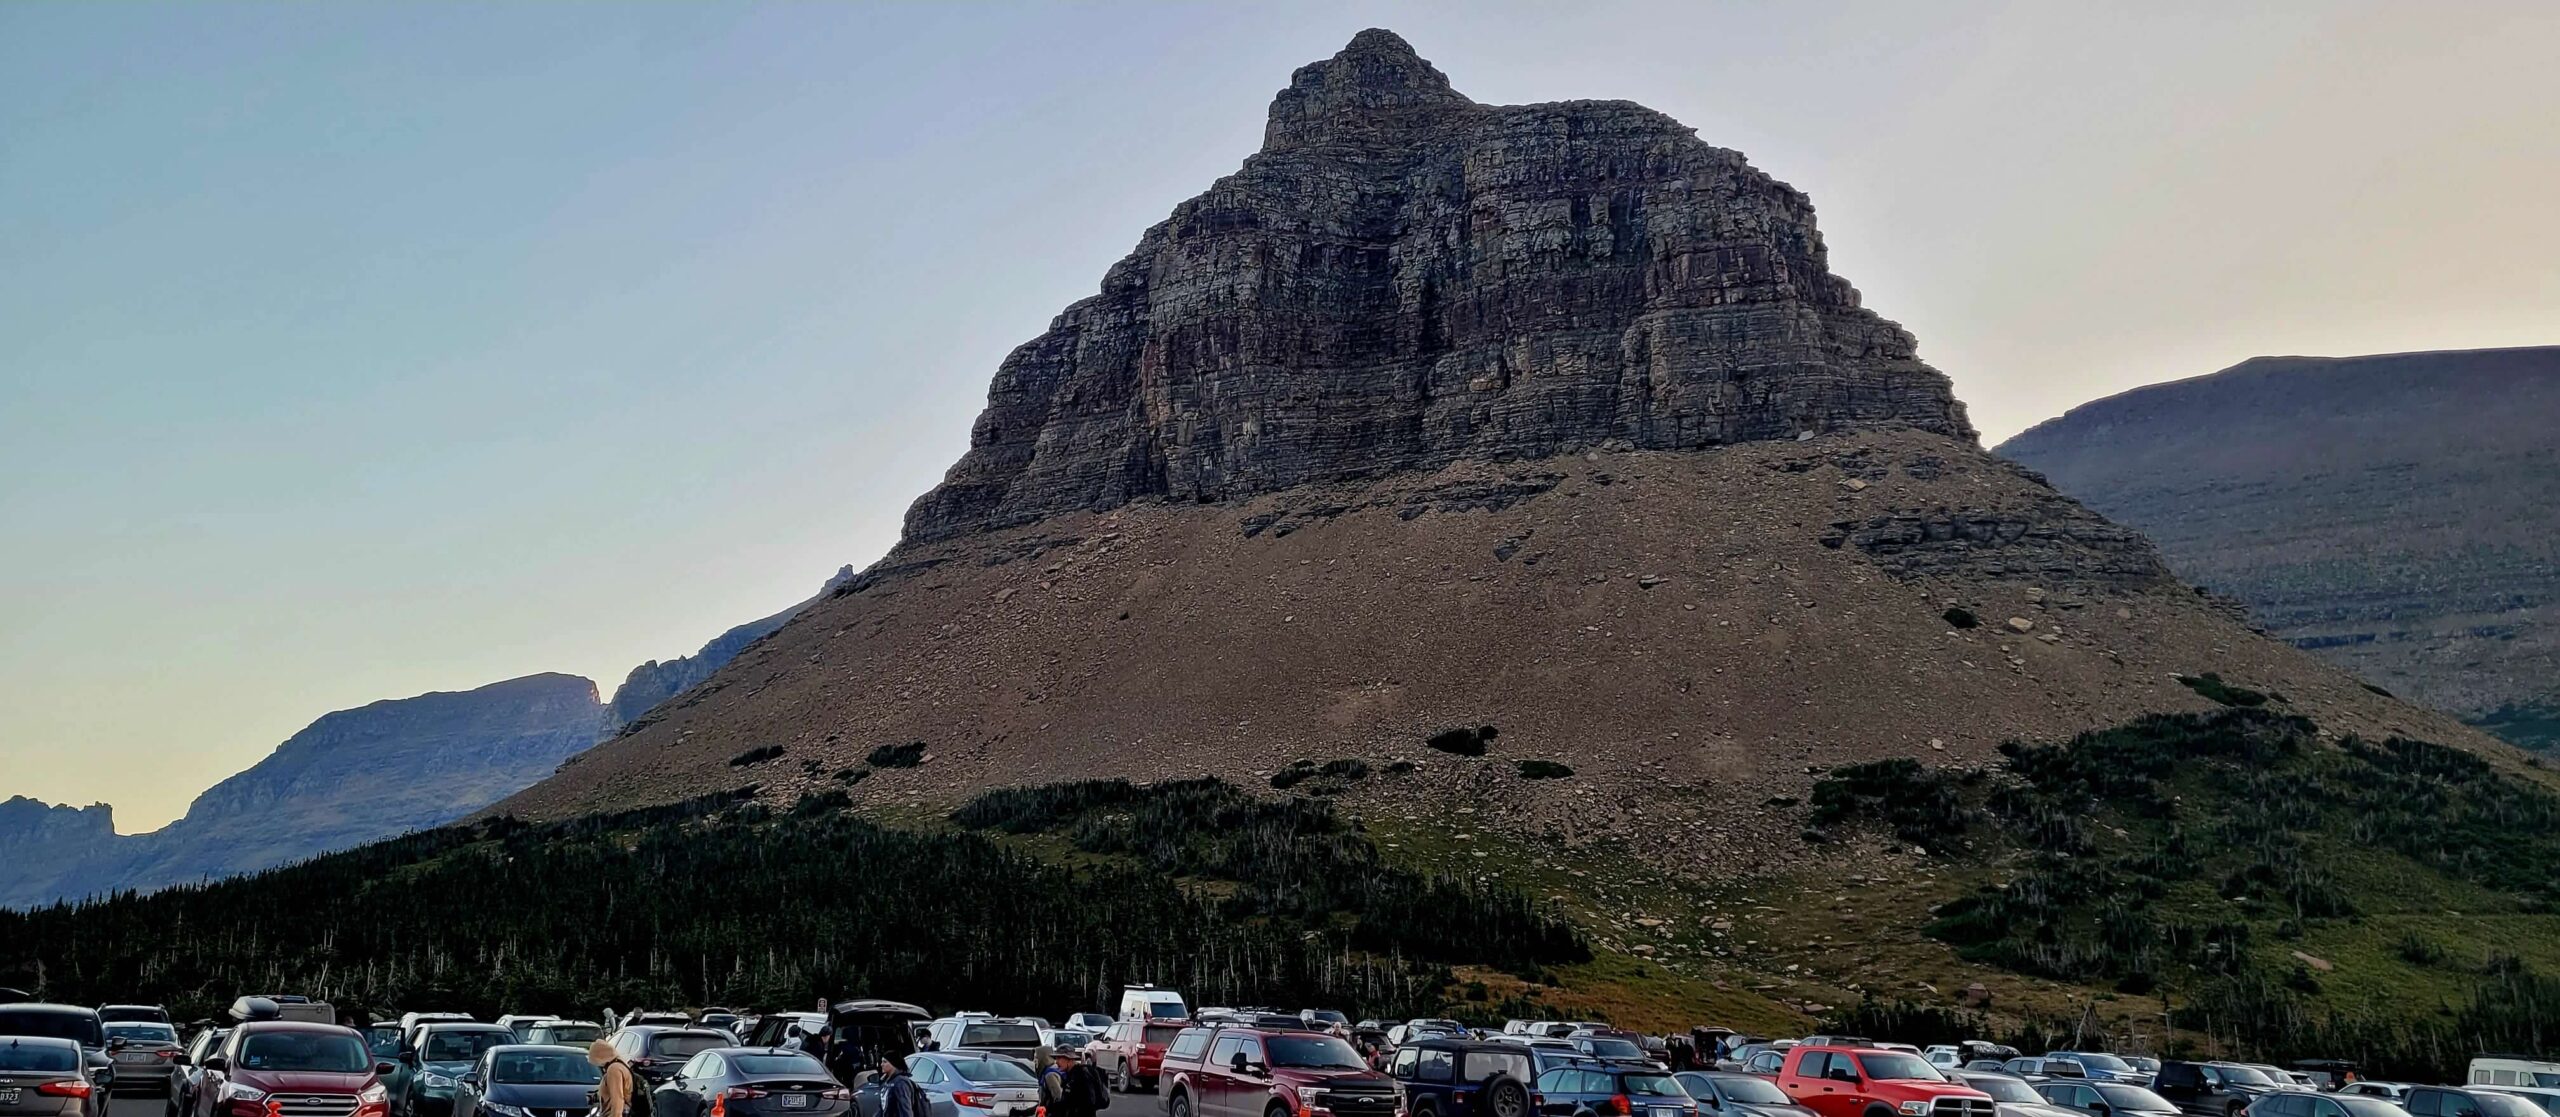
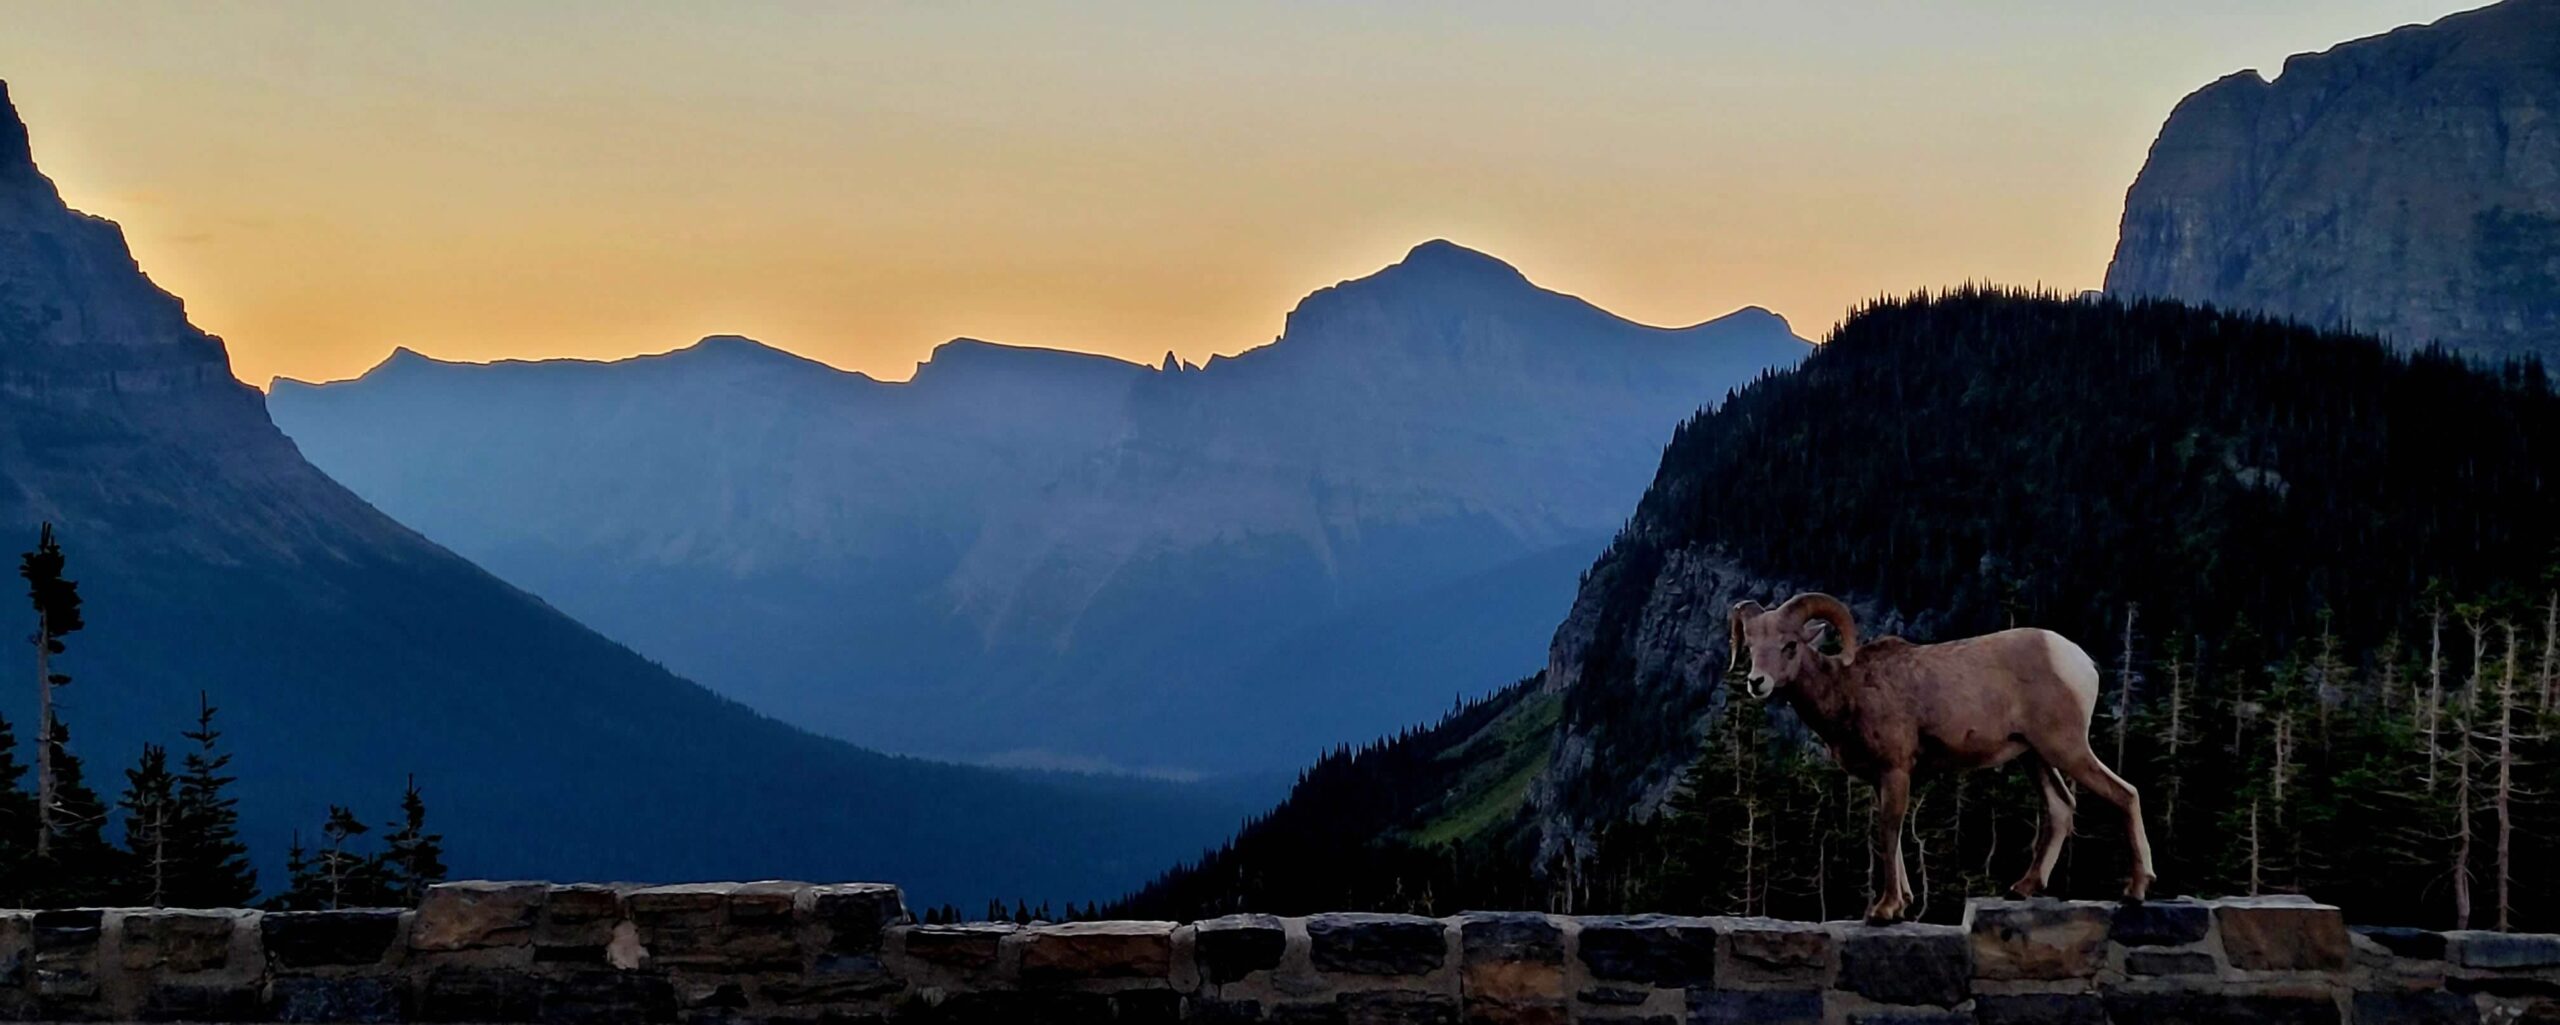
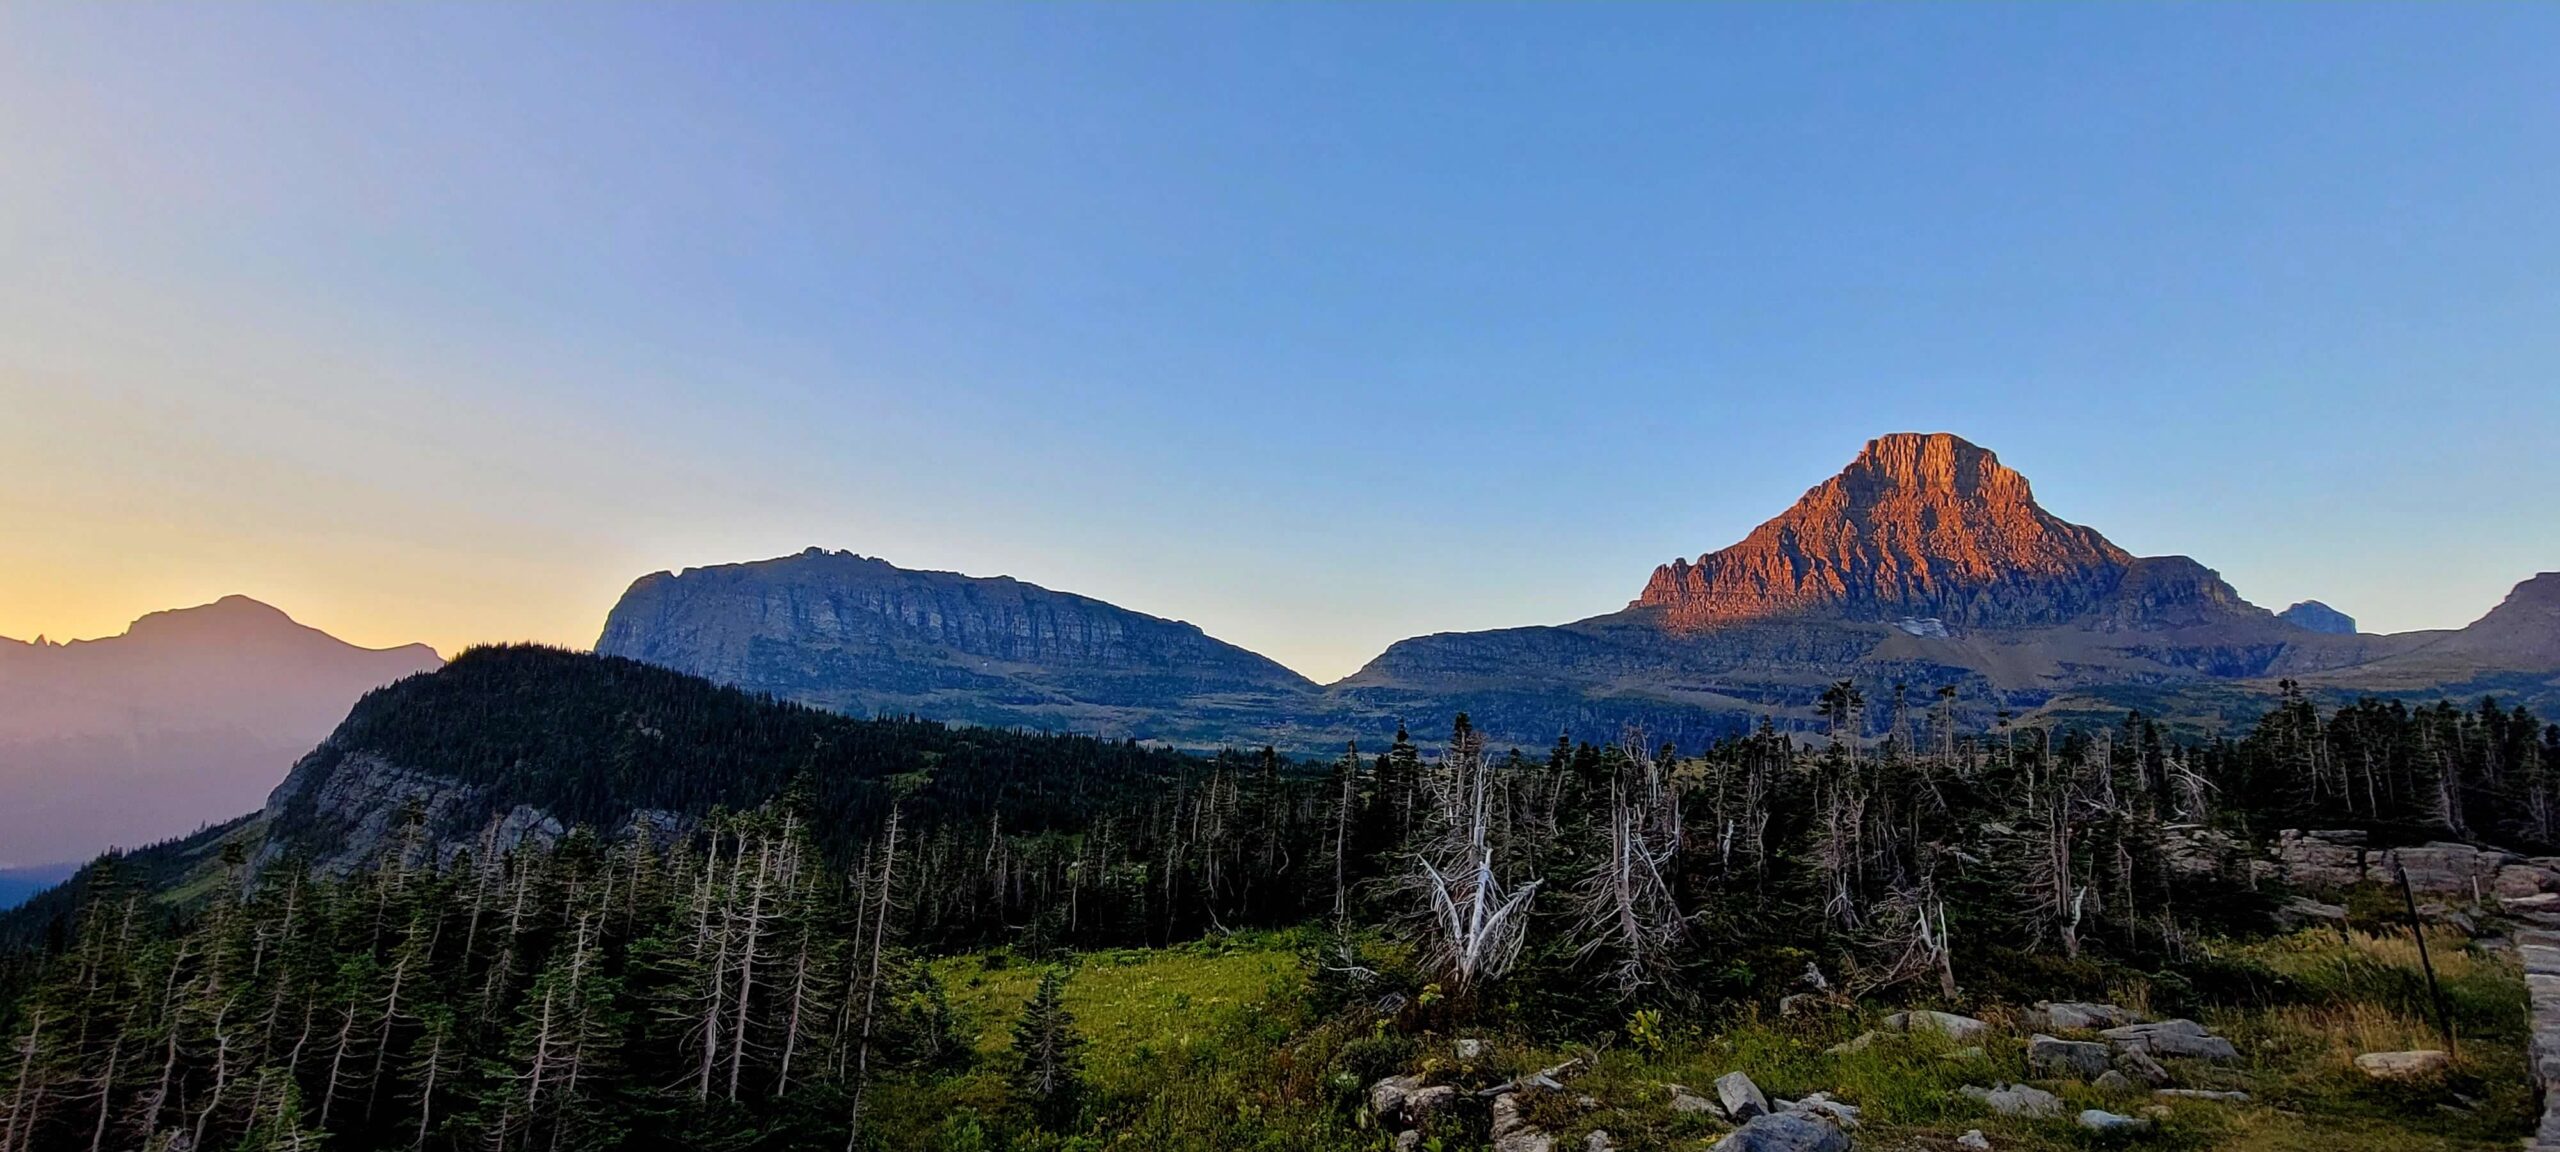
This is the most popular spot in Glacier National Park. It’s located at the top of the Going-to-the-Sun road. If you have made it here, you’ve made it past a lot of the narrow winding turns that this road has to offer (especially if you came from the west side). The views from the parking lot are stunning themselves and there is a really nice visitor center to peruse here for a while as well. You’ll almost always find Big Horned Sheep hanging out in the parking lot at sunrise and chances are you’ll see them at other points of the day as well. The parking lot is the starting point for two of the most popular hikes in the entire park, one that is very long and one that is a more reasonable distance. You’ll need to enter the park well before 7am in order to get to the parking lot and secure a spot as spaces are usually full around sunrise. Otherwise, you will find yourself circling around waiting for someone to leave which can take forever. Another option which avoids dealing with parking is to take the free shuttle system which has stops around the park.
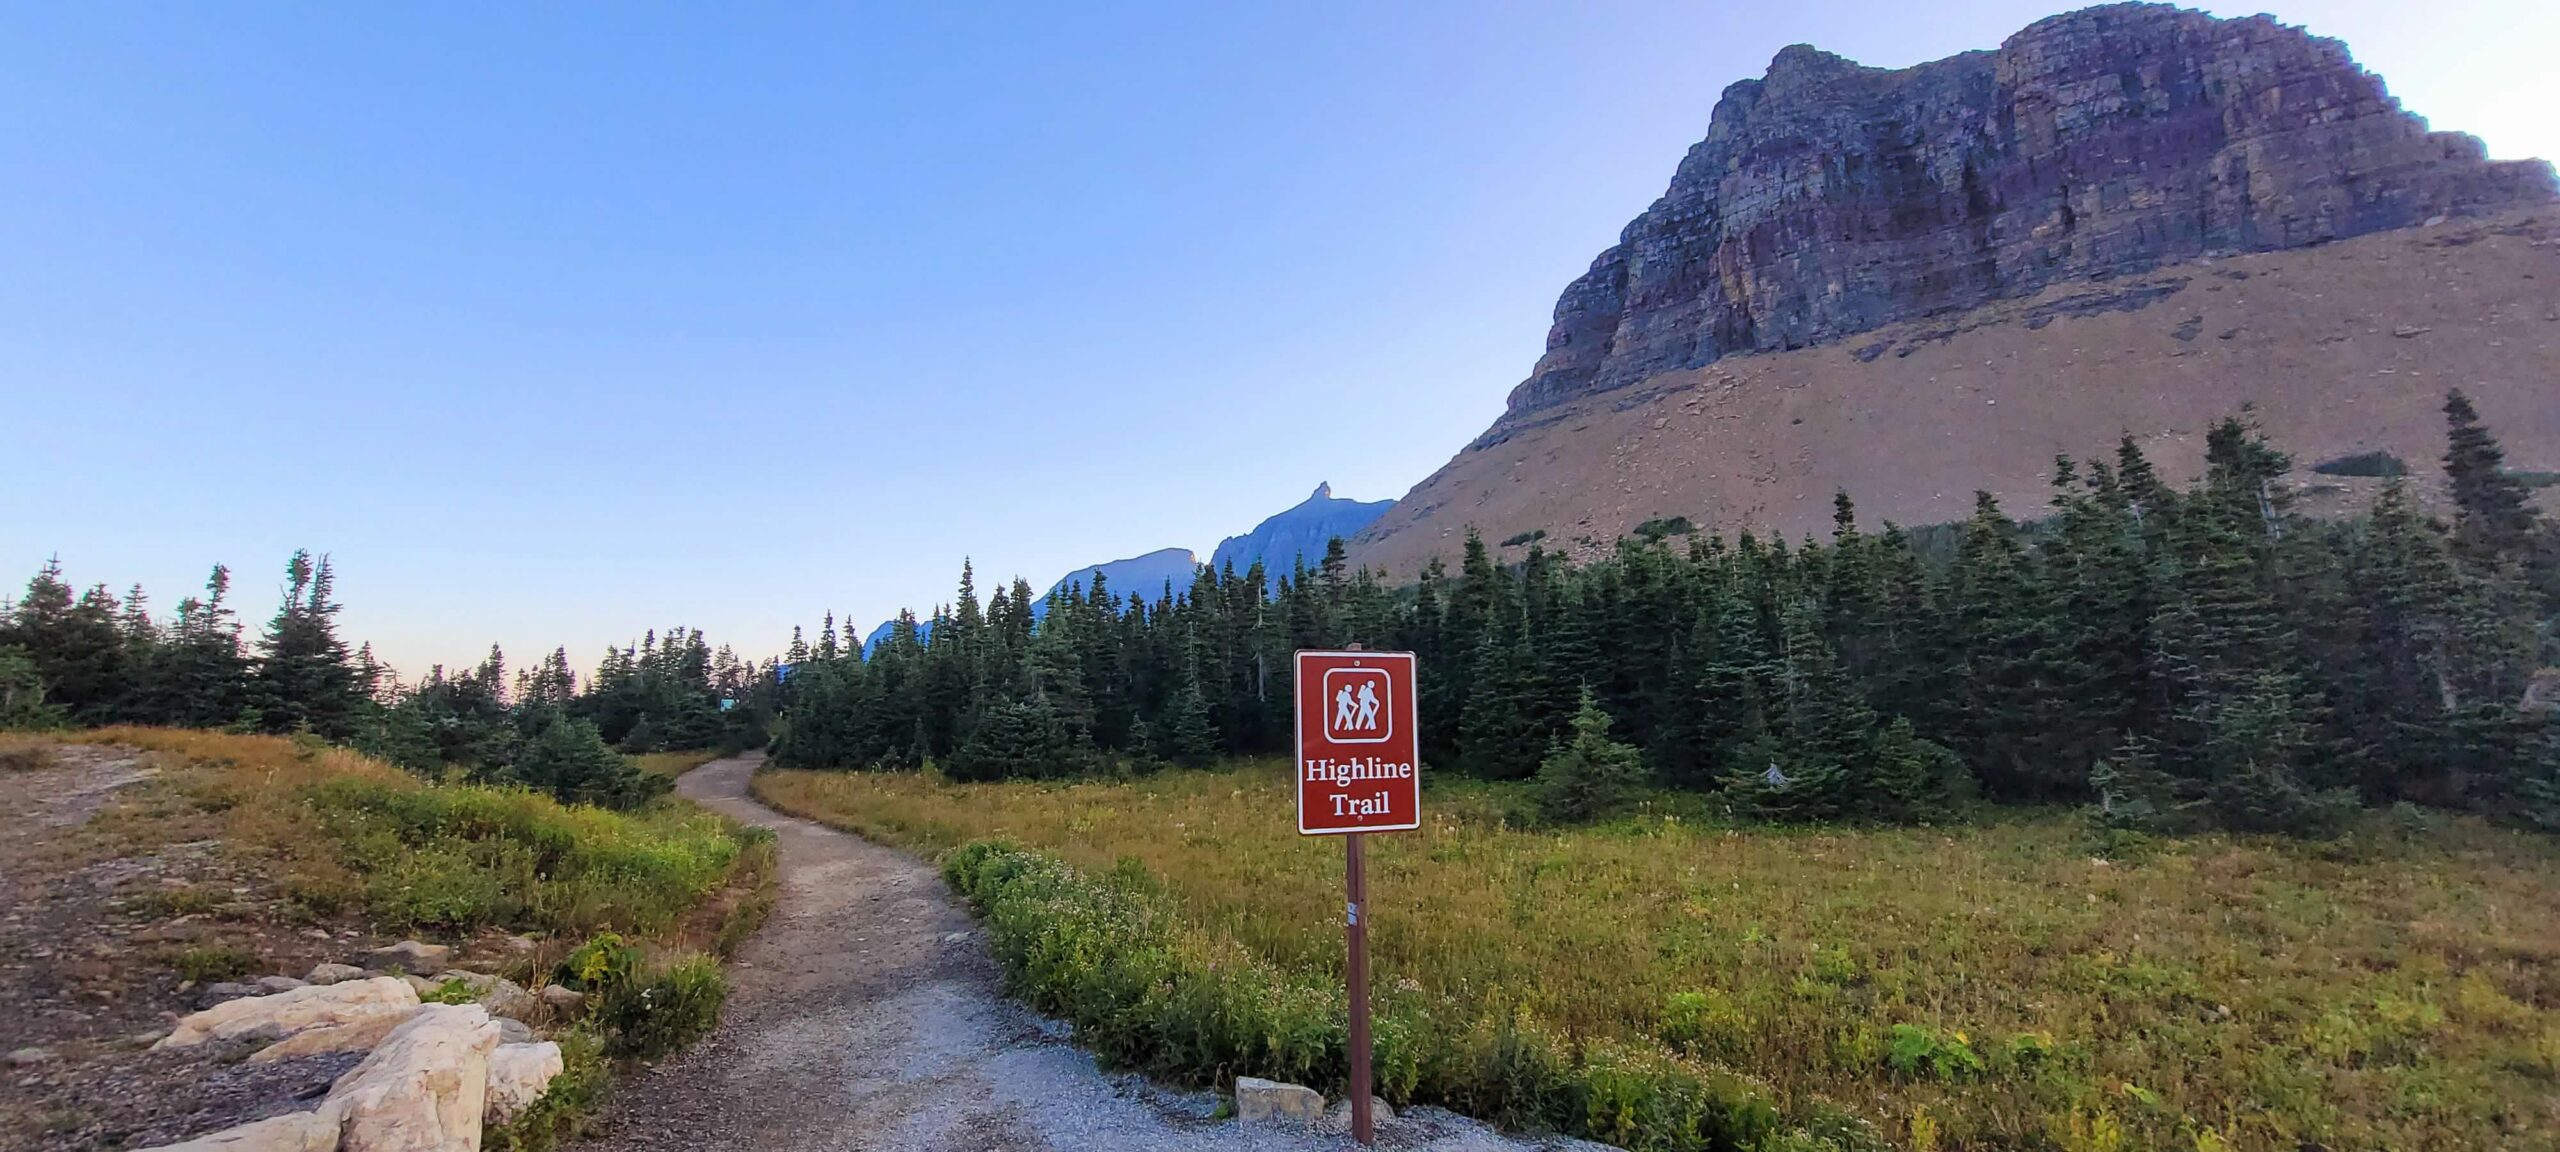
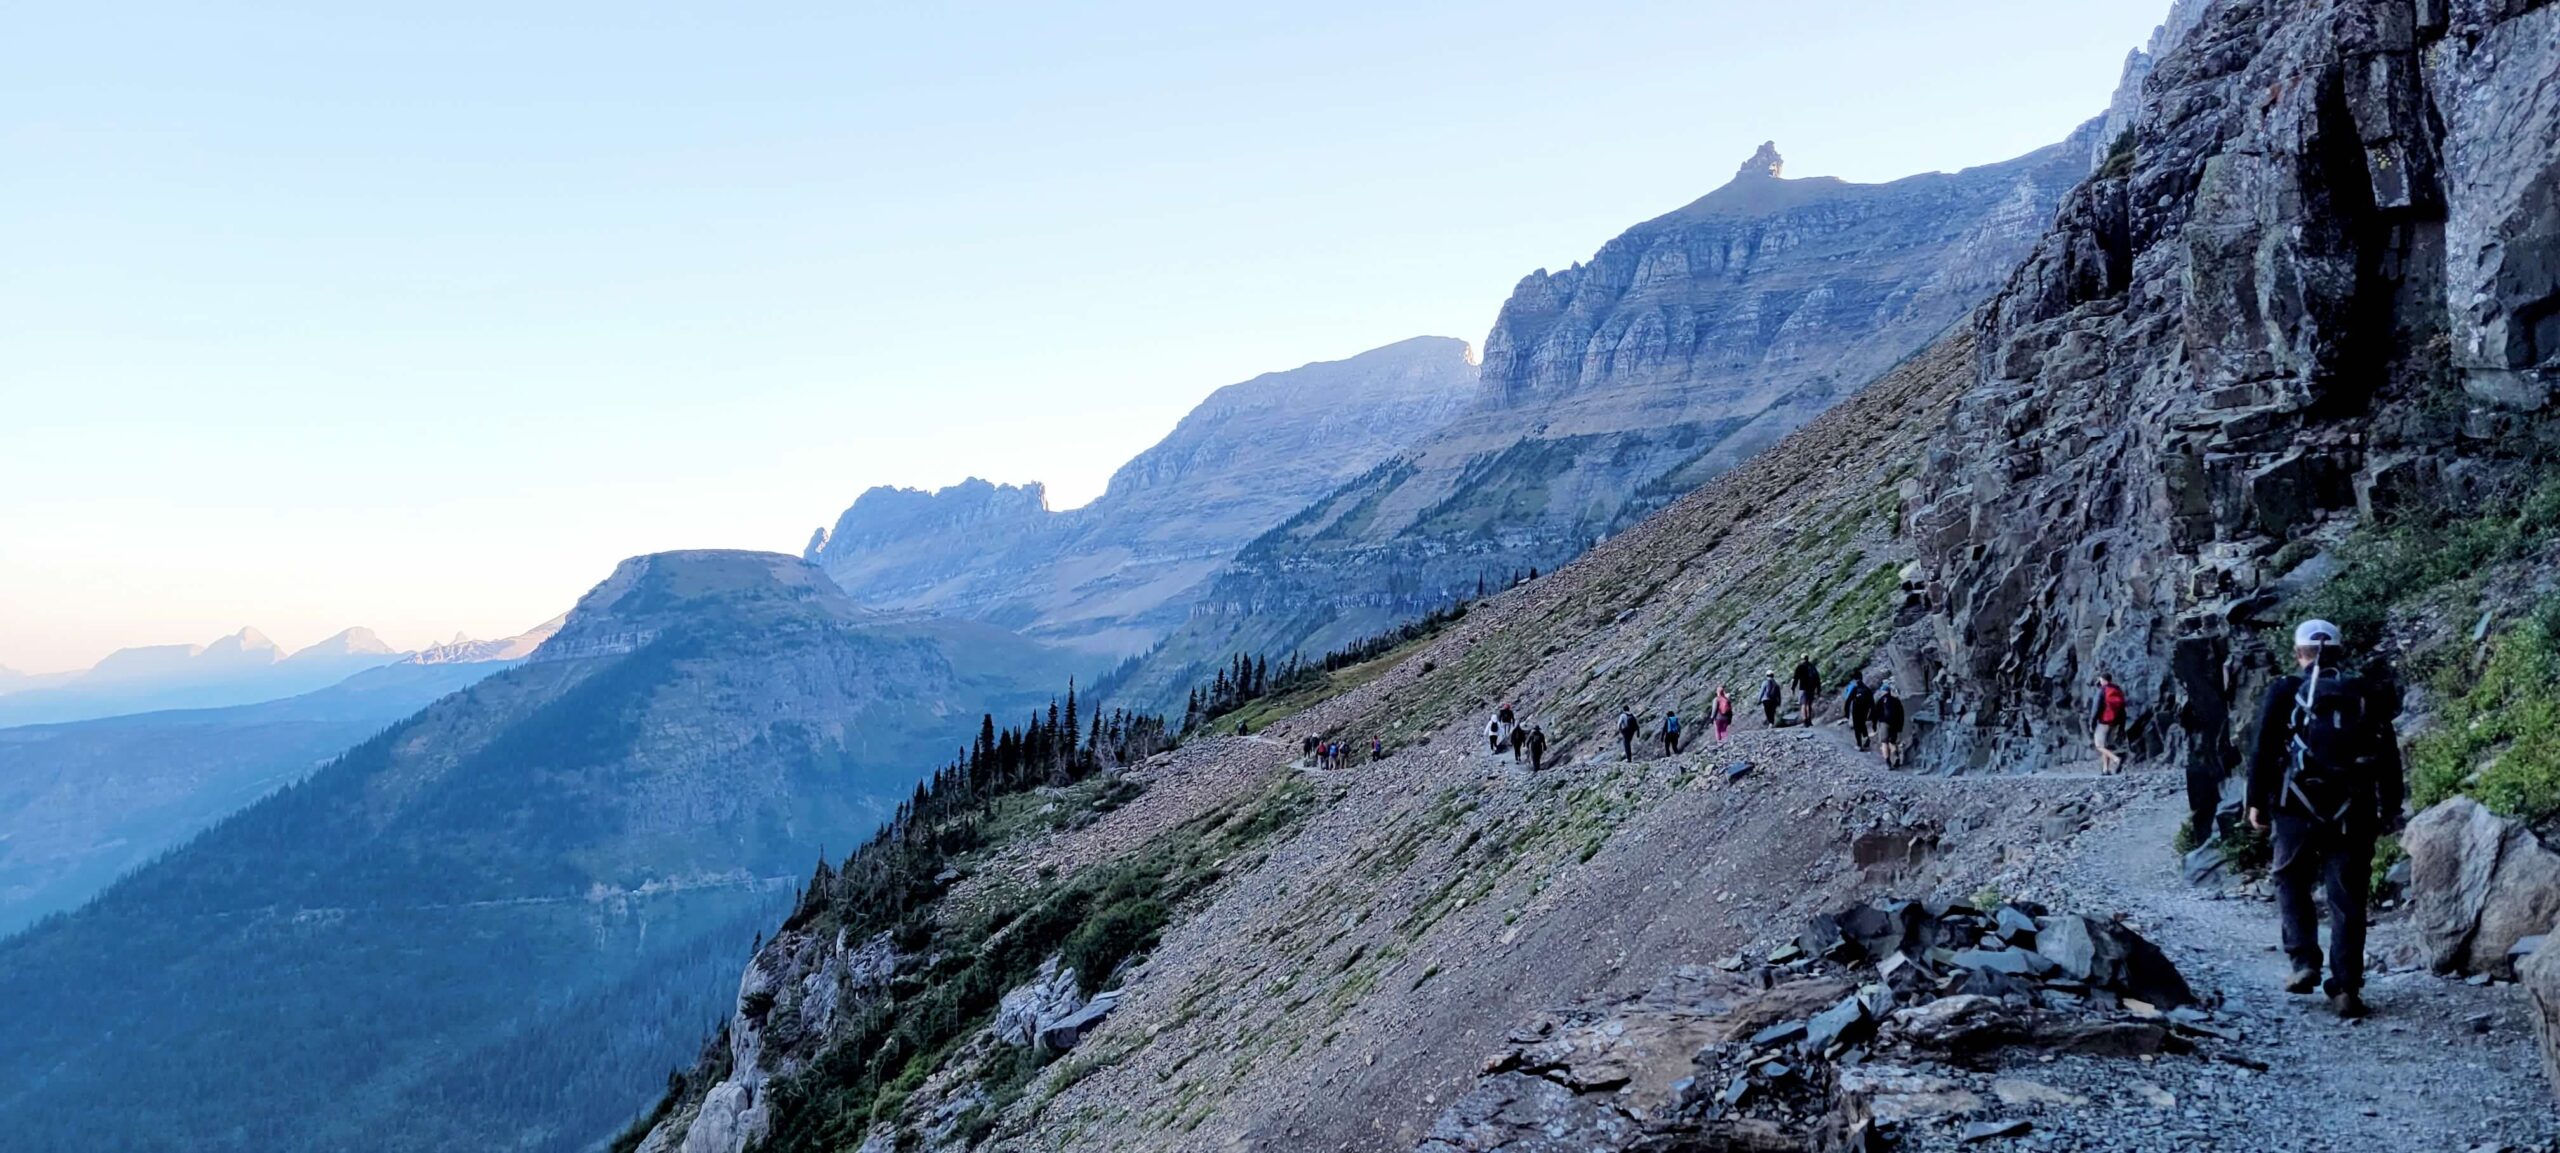
Highline Trail: Logan Pass to the Loop – 12.1 miles one way, Strenuous, 6-7 hours
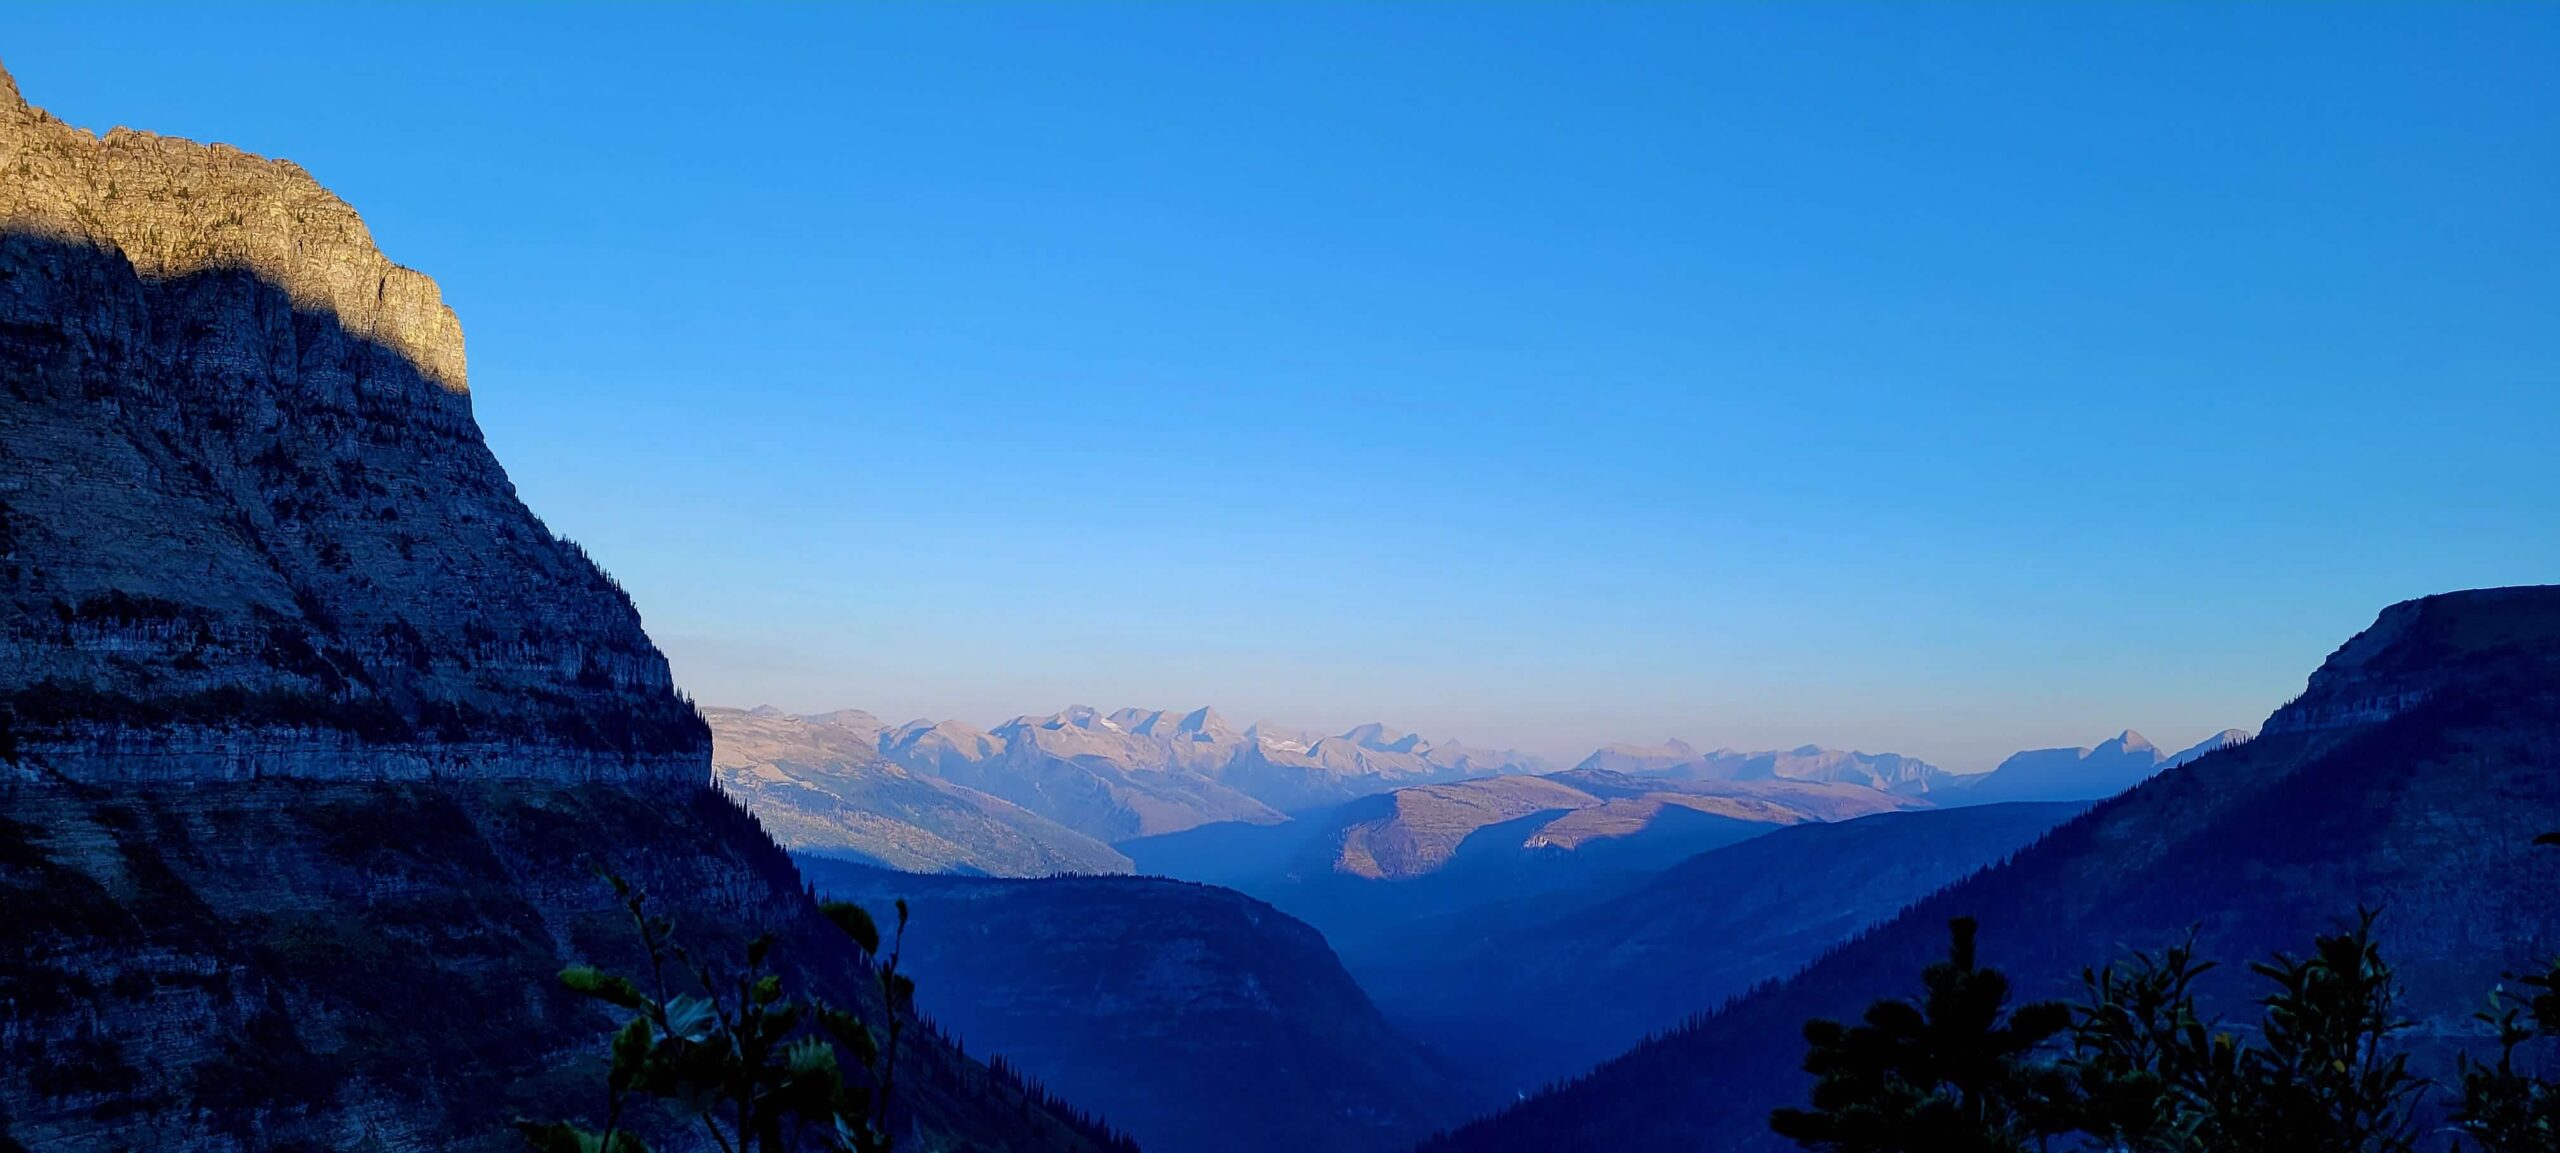
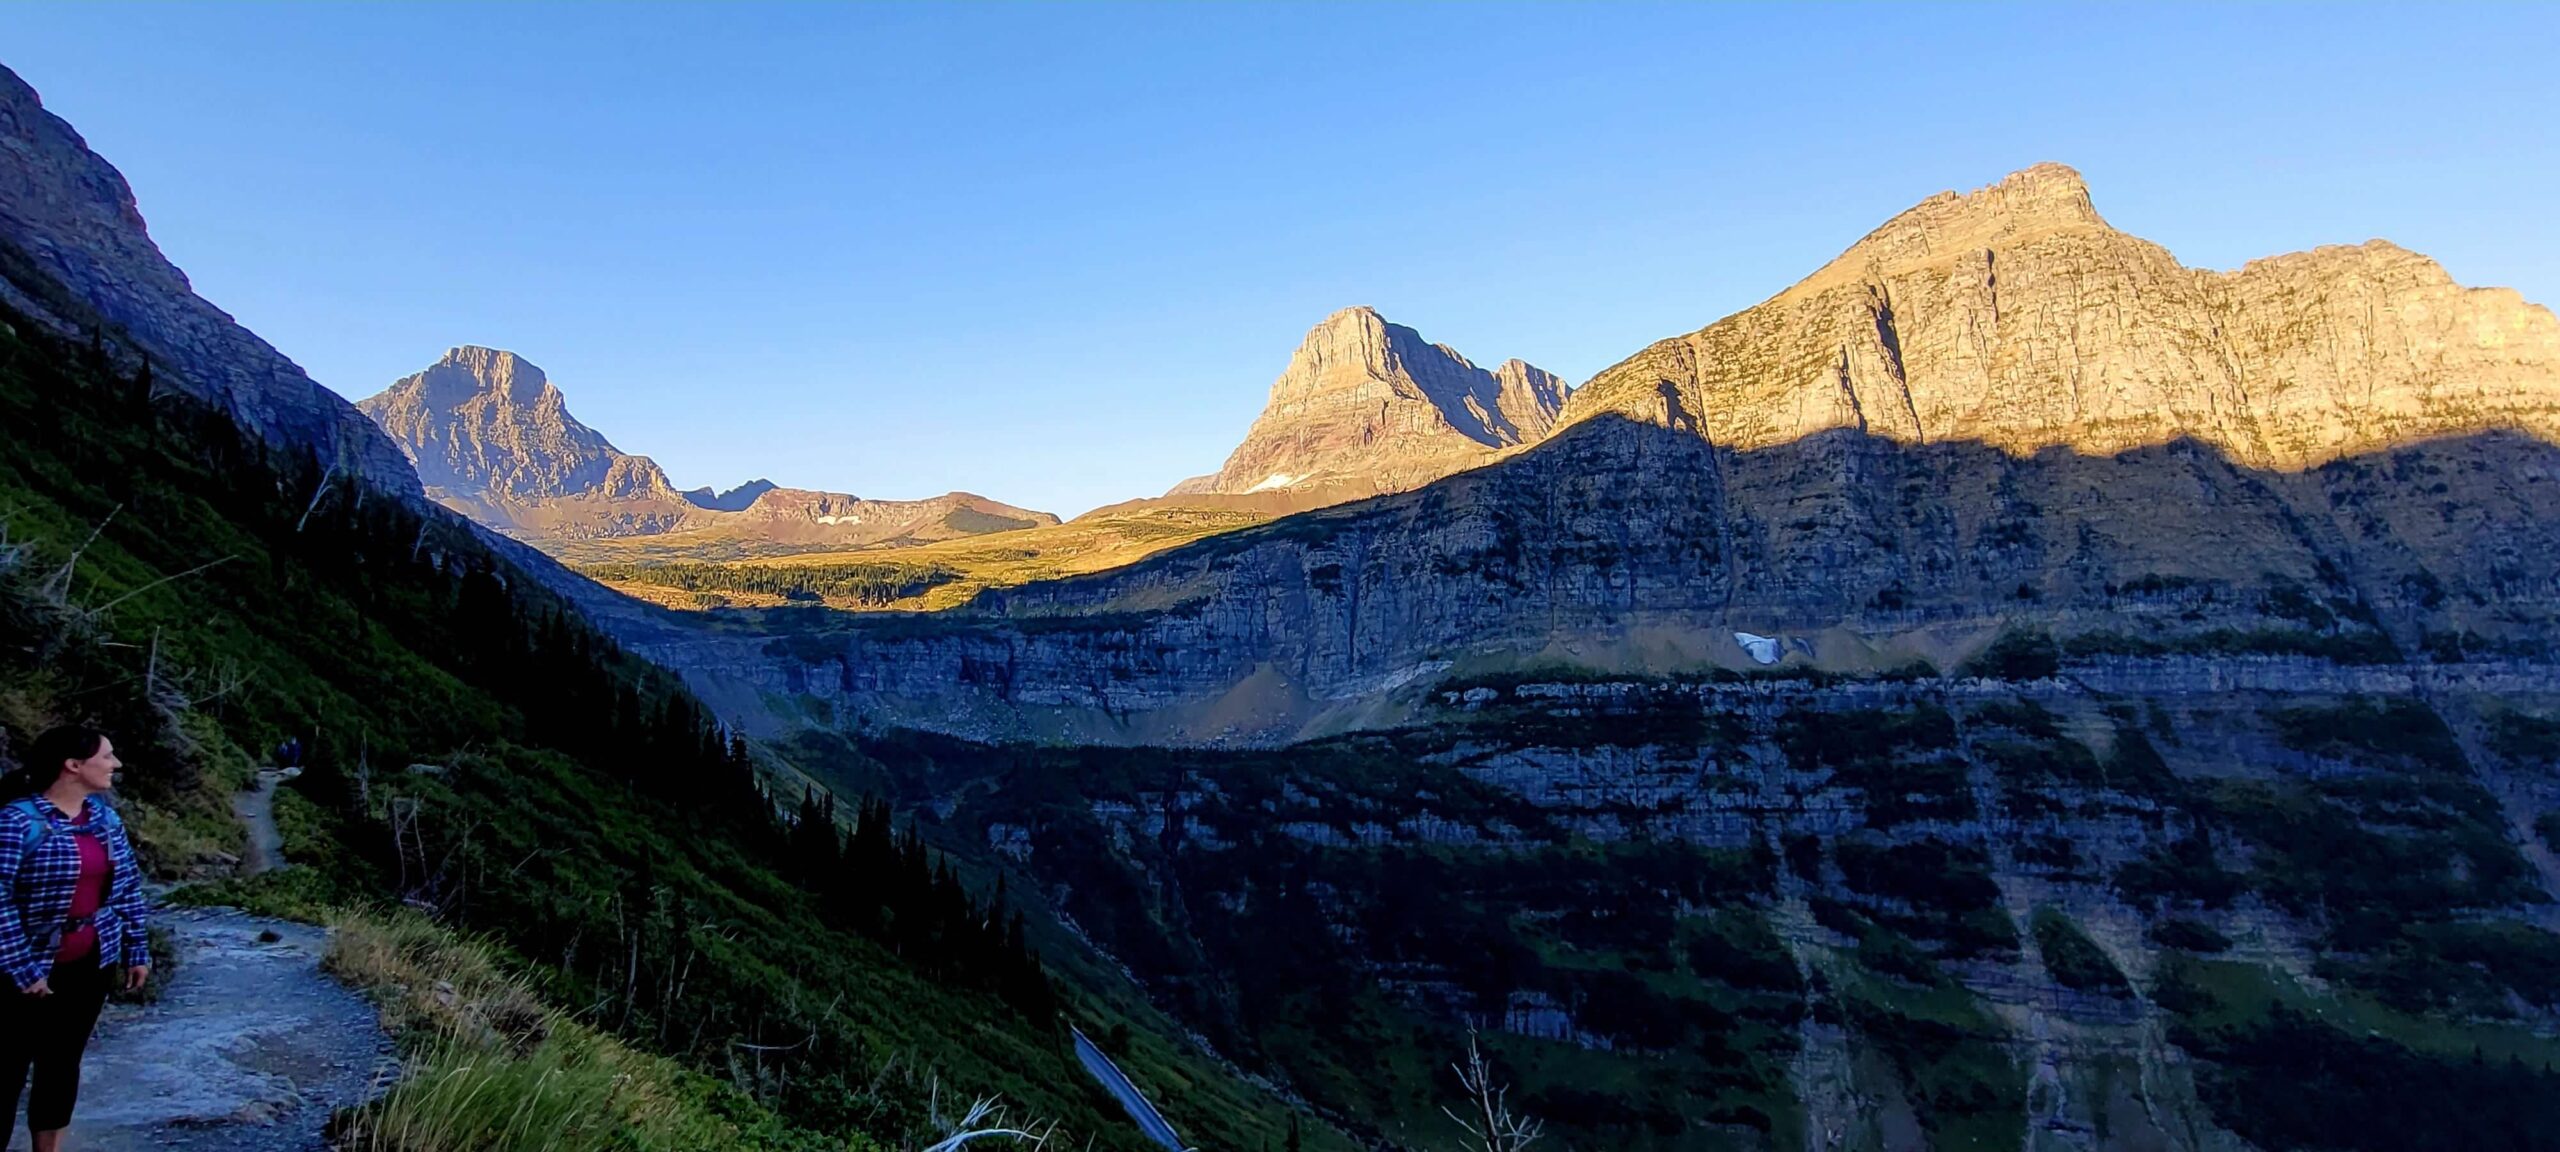
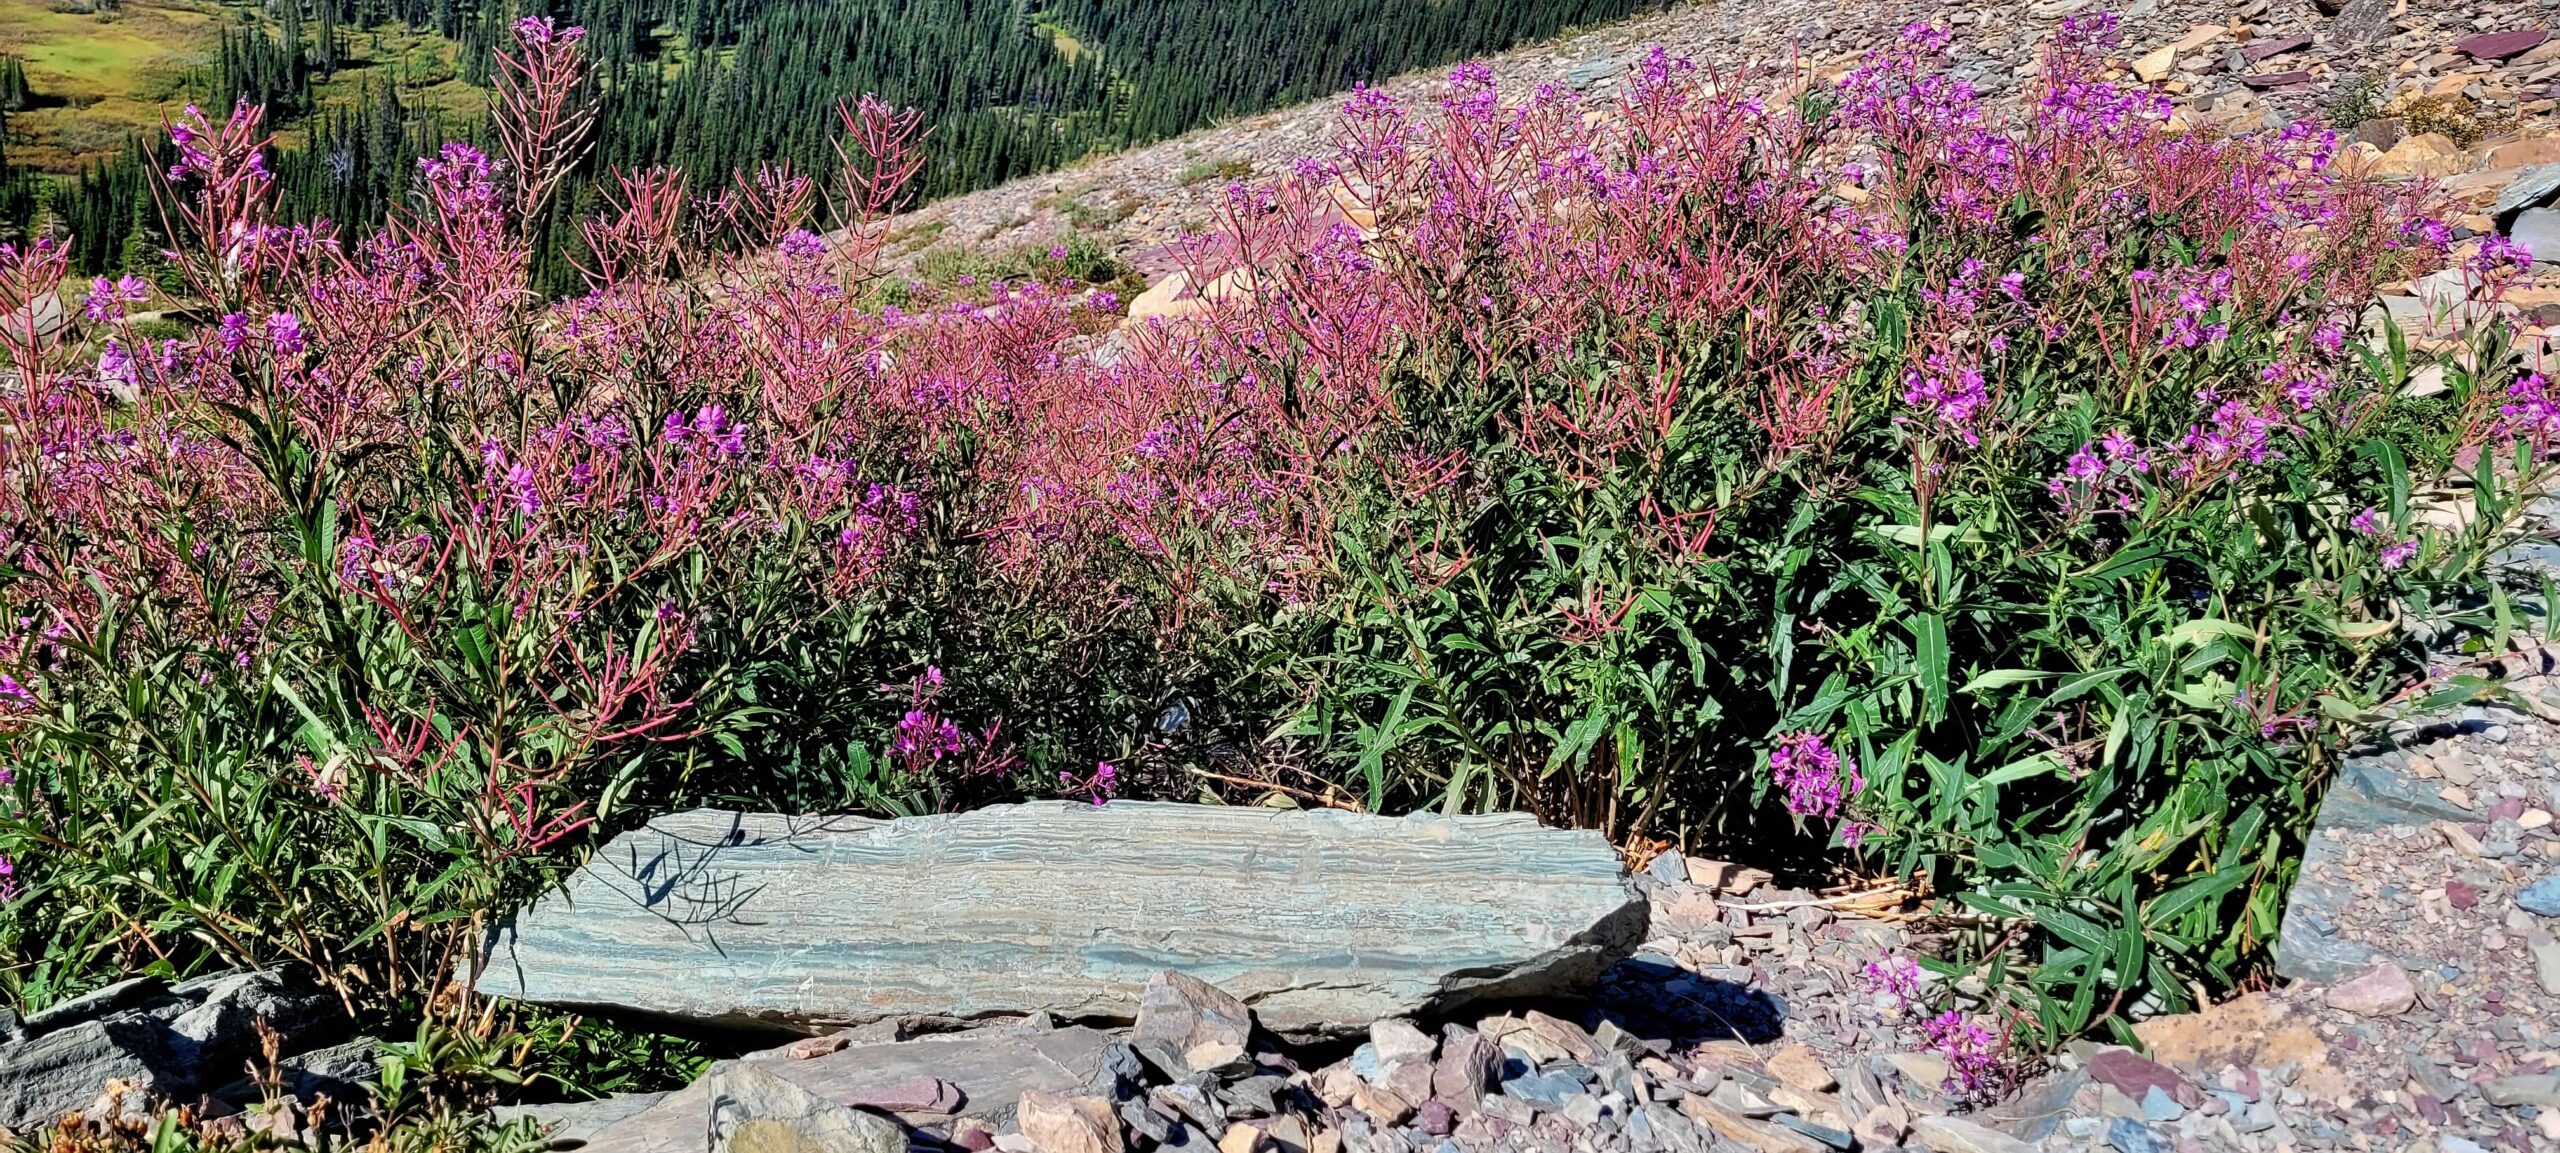
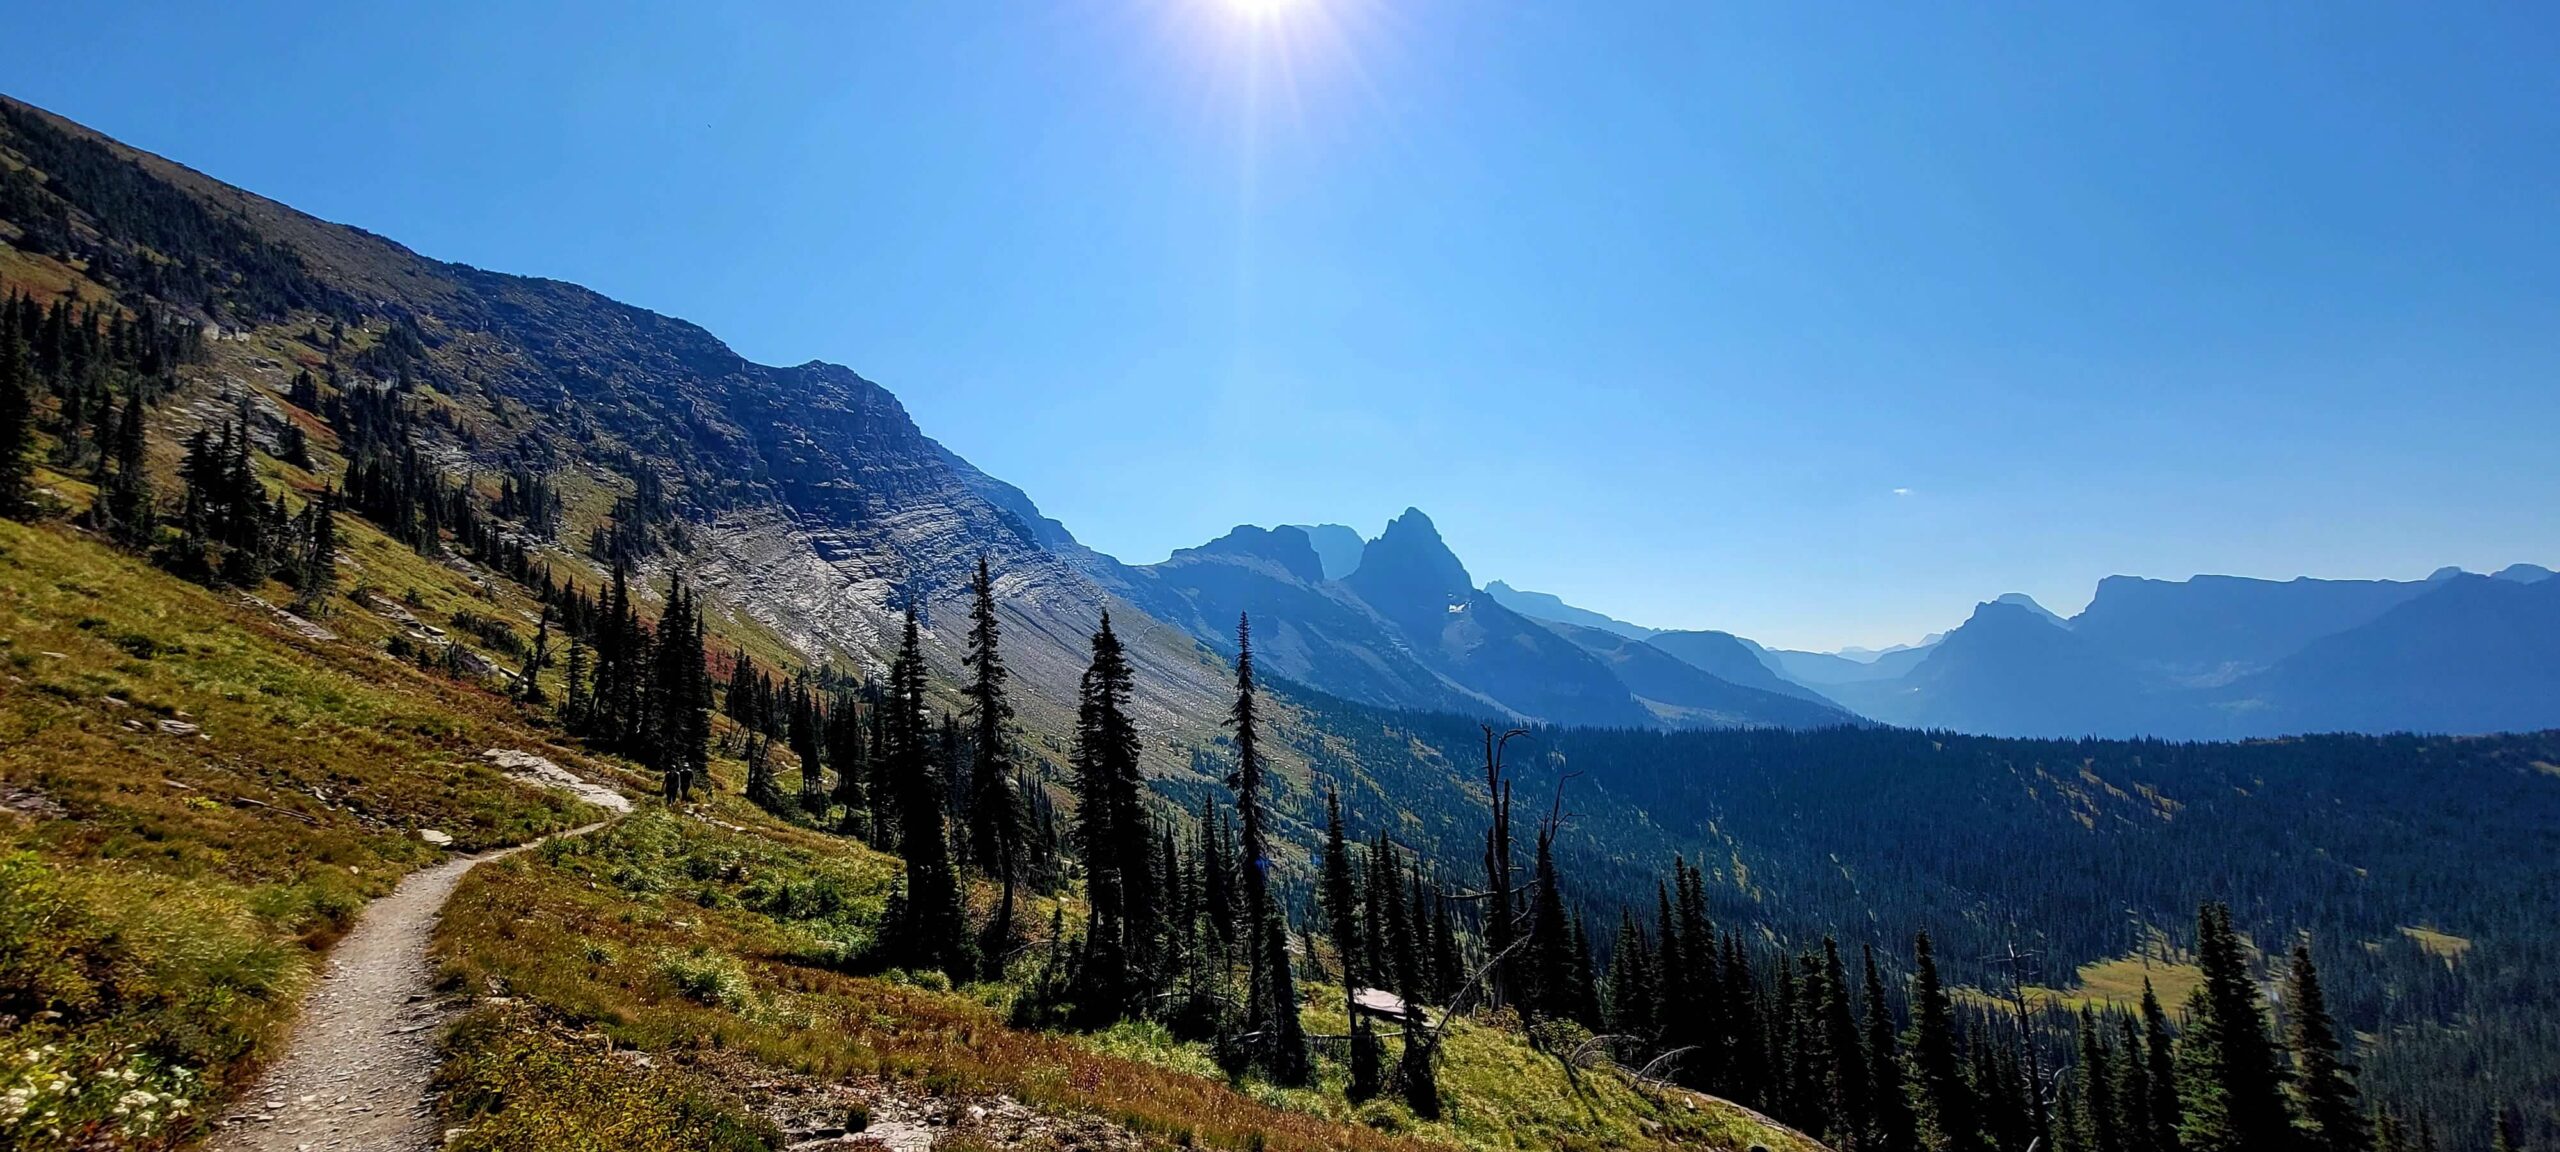
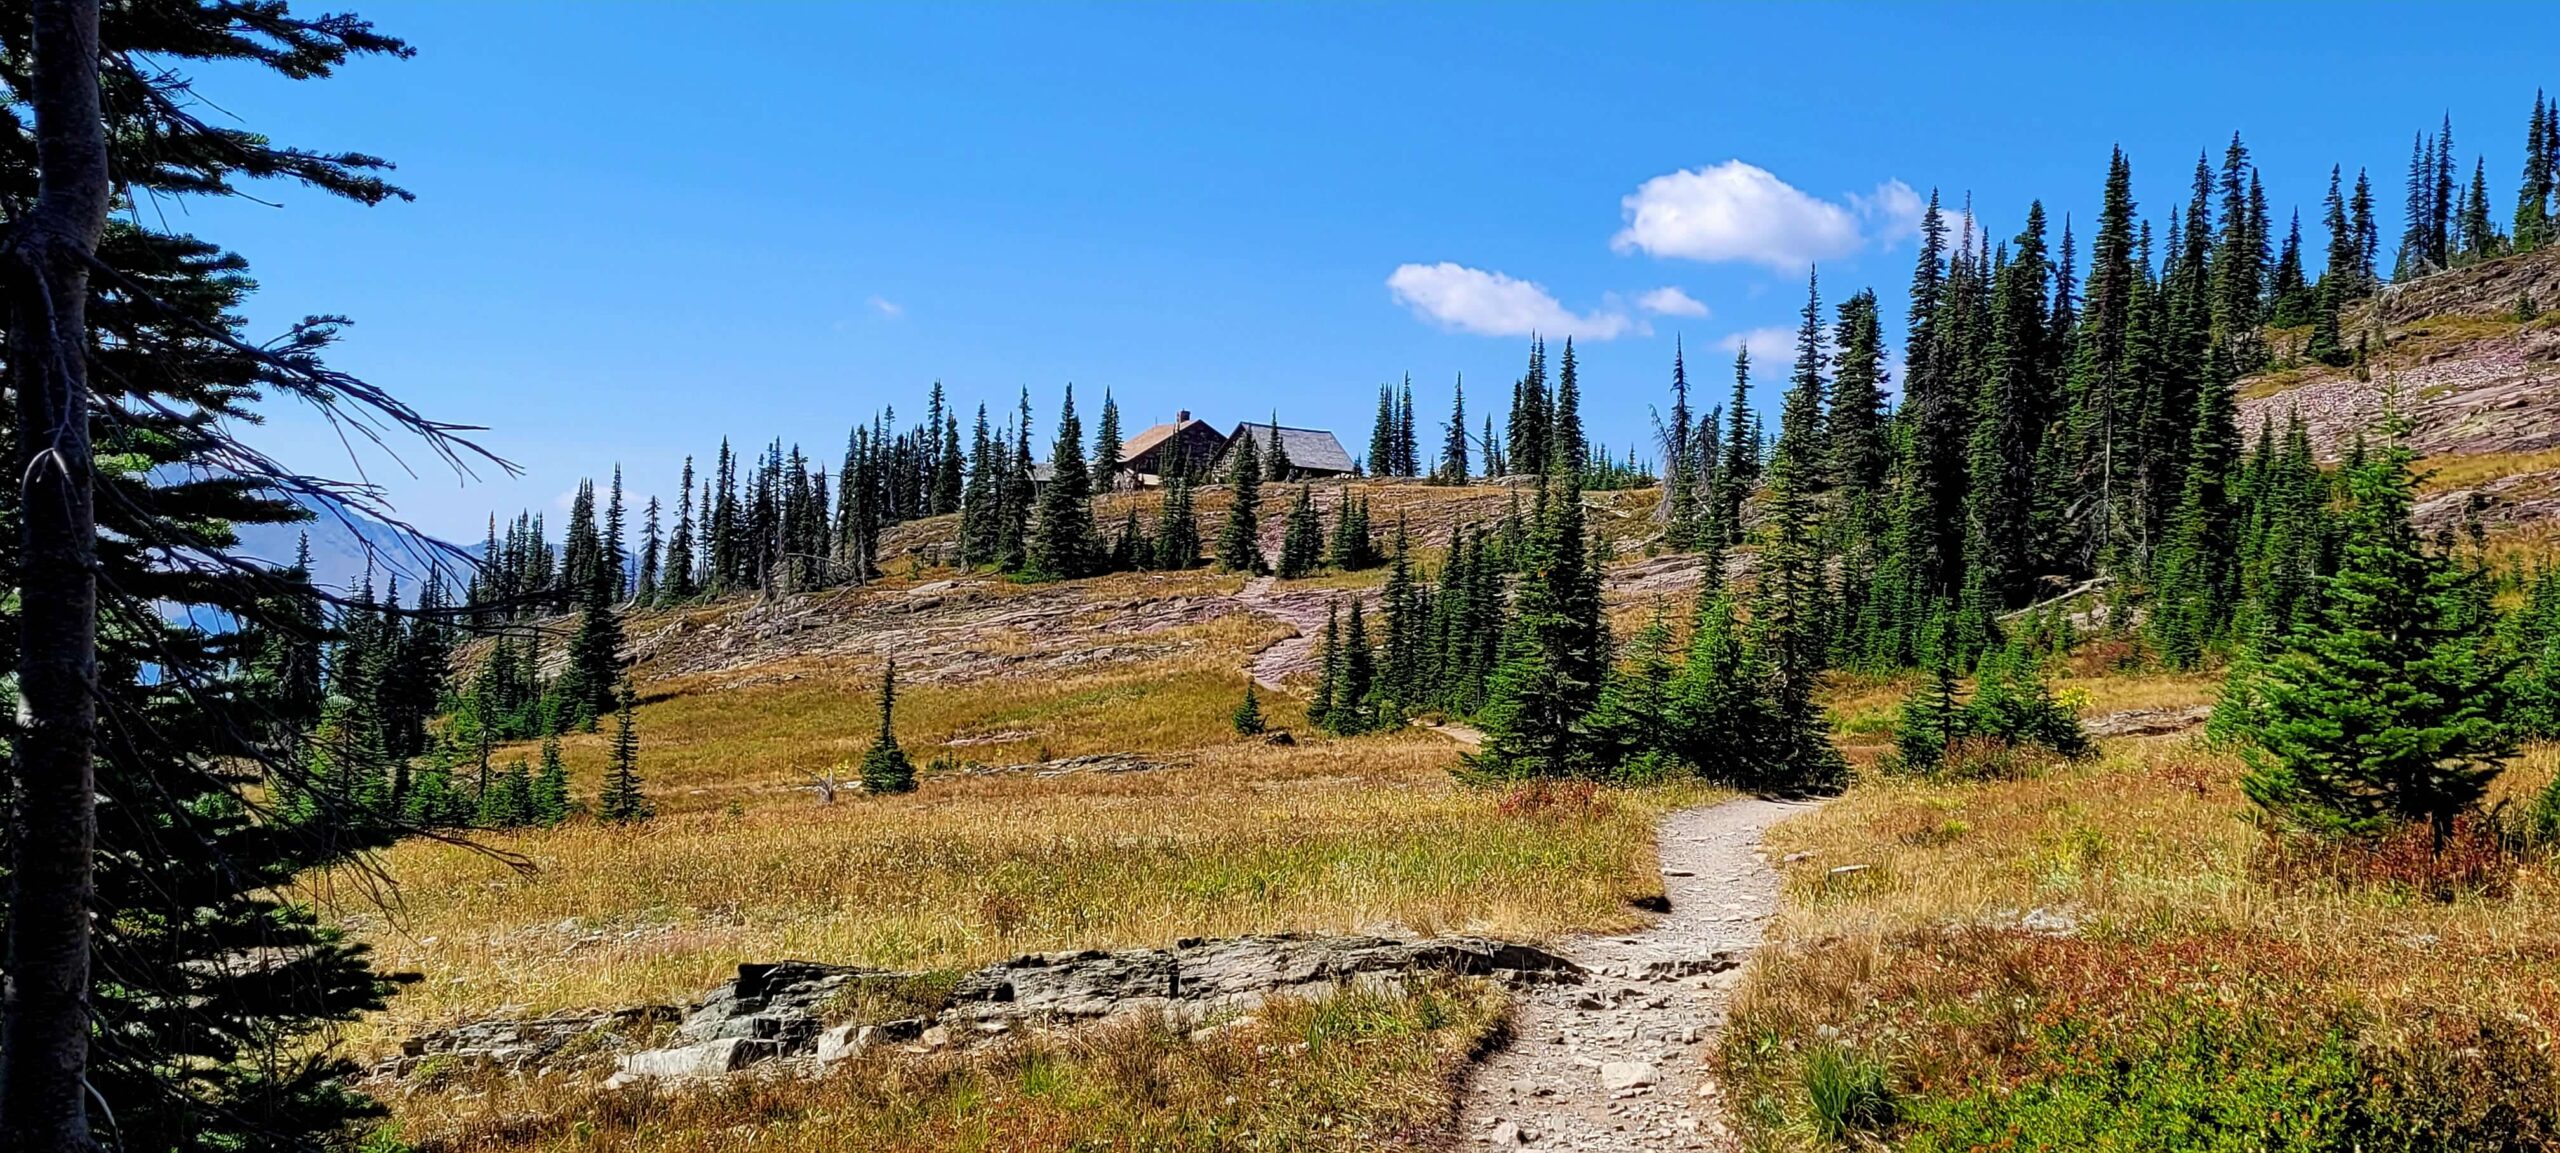
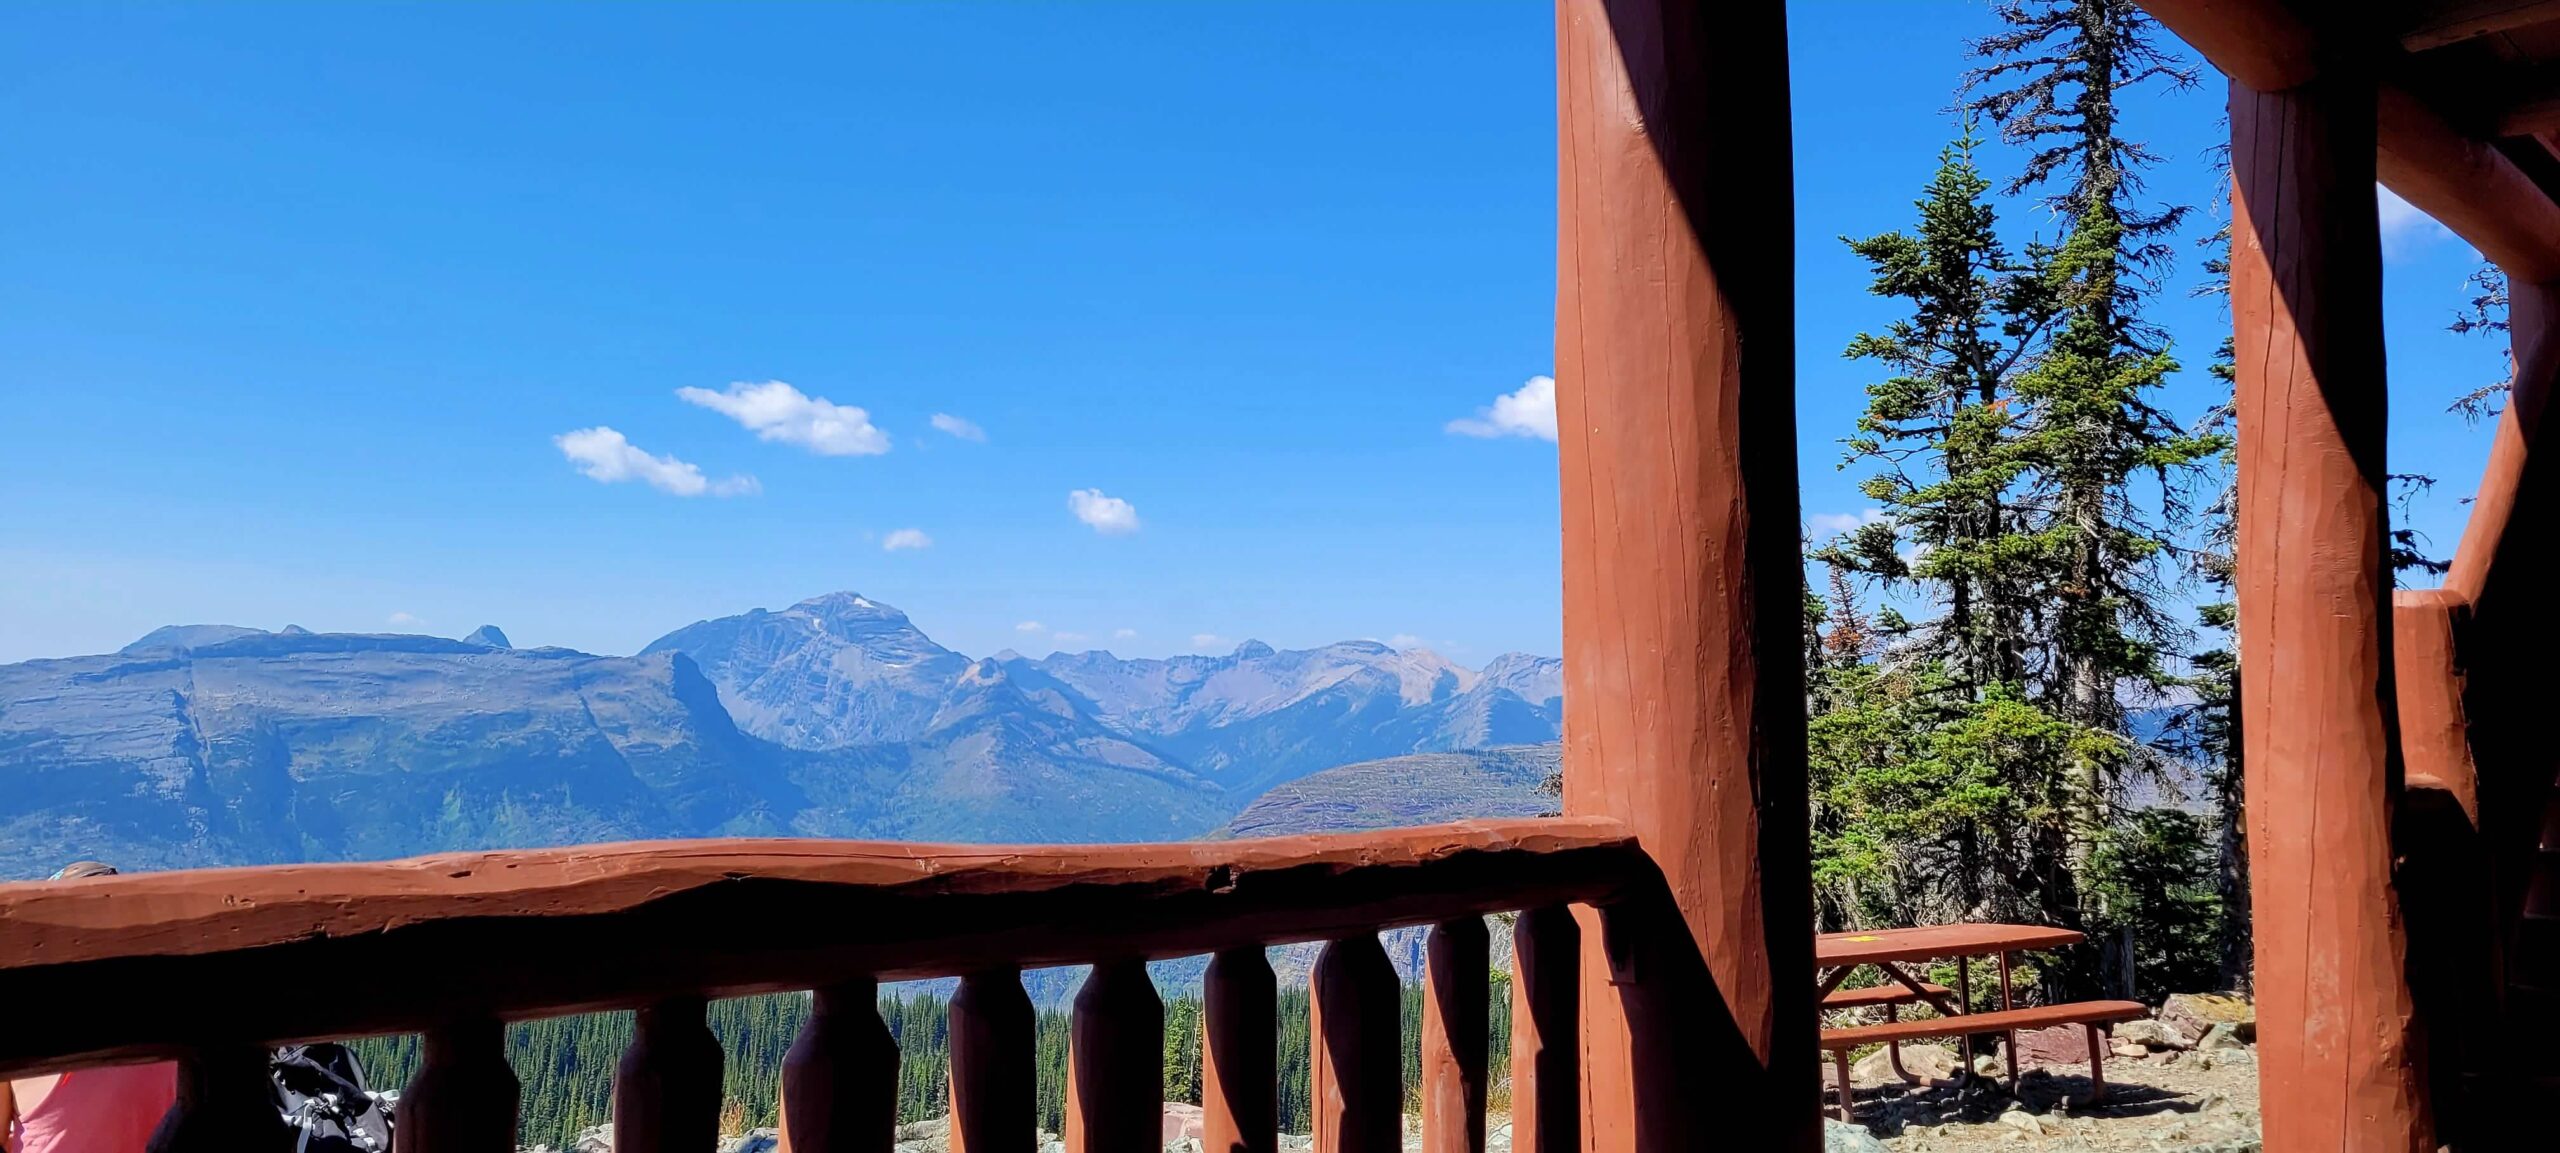
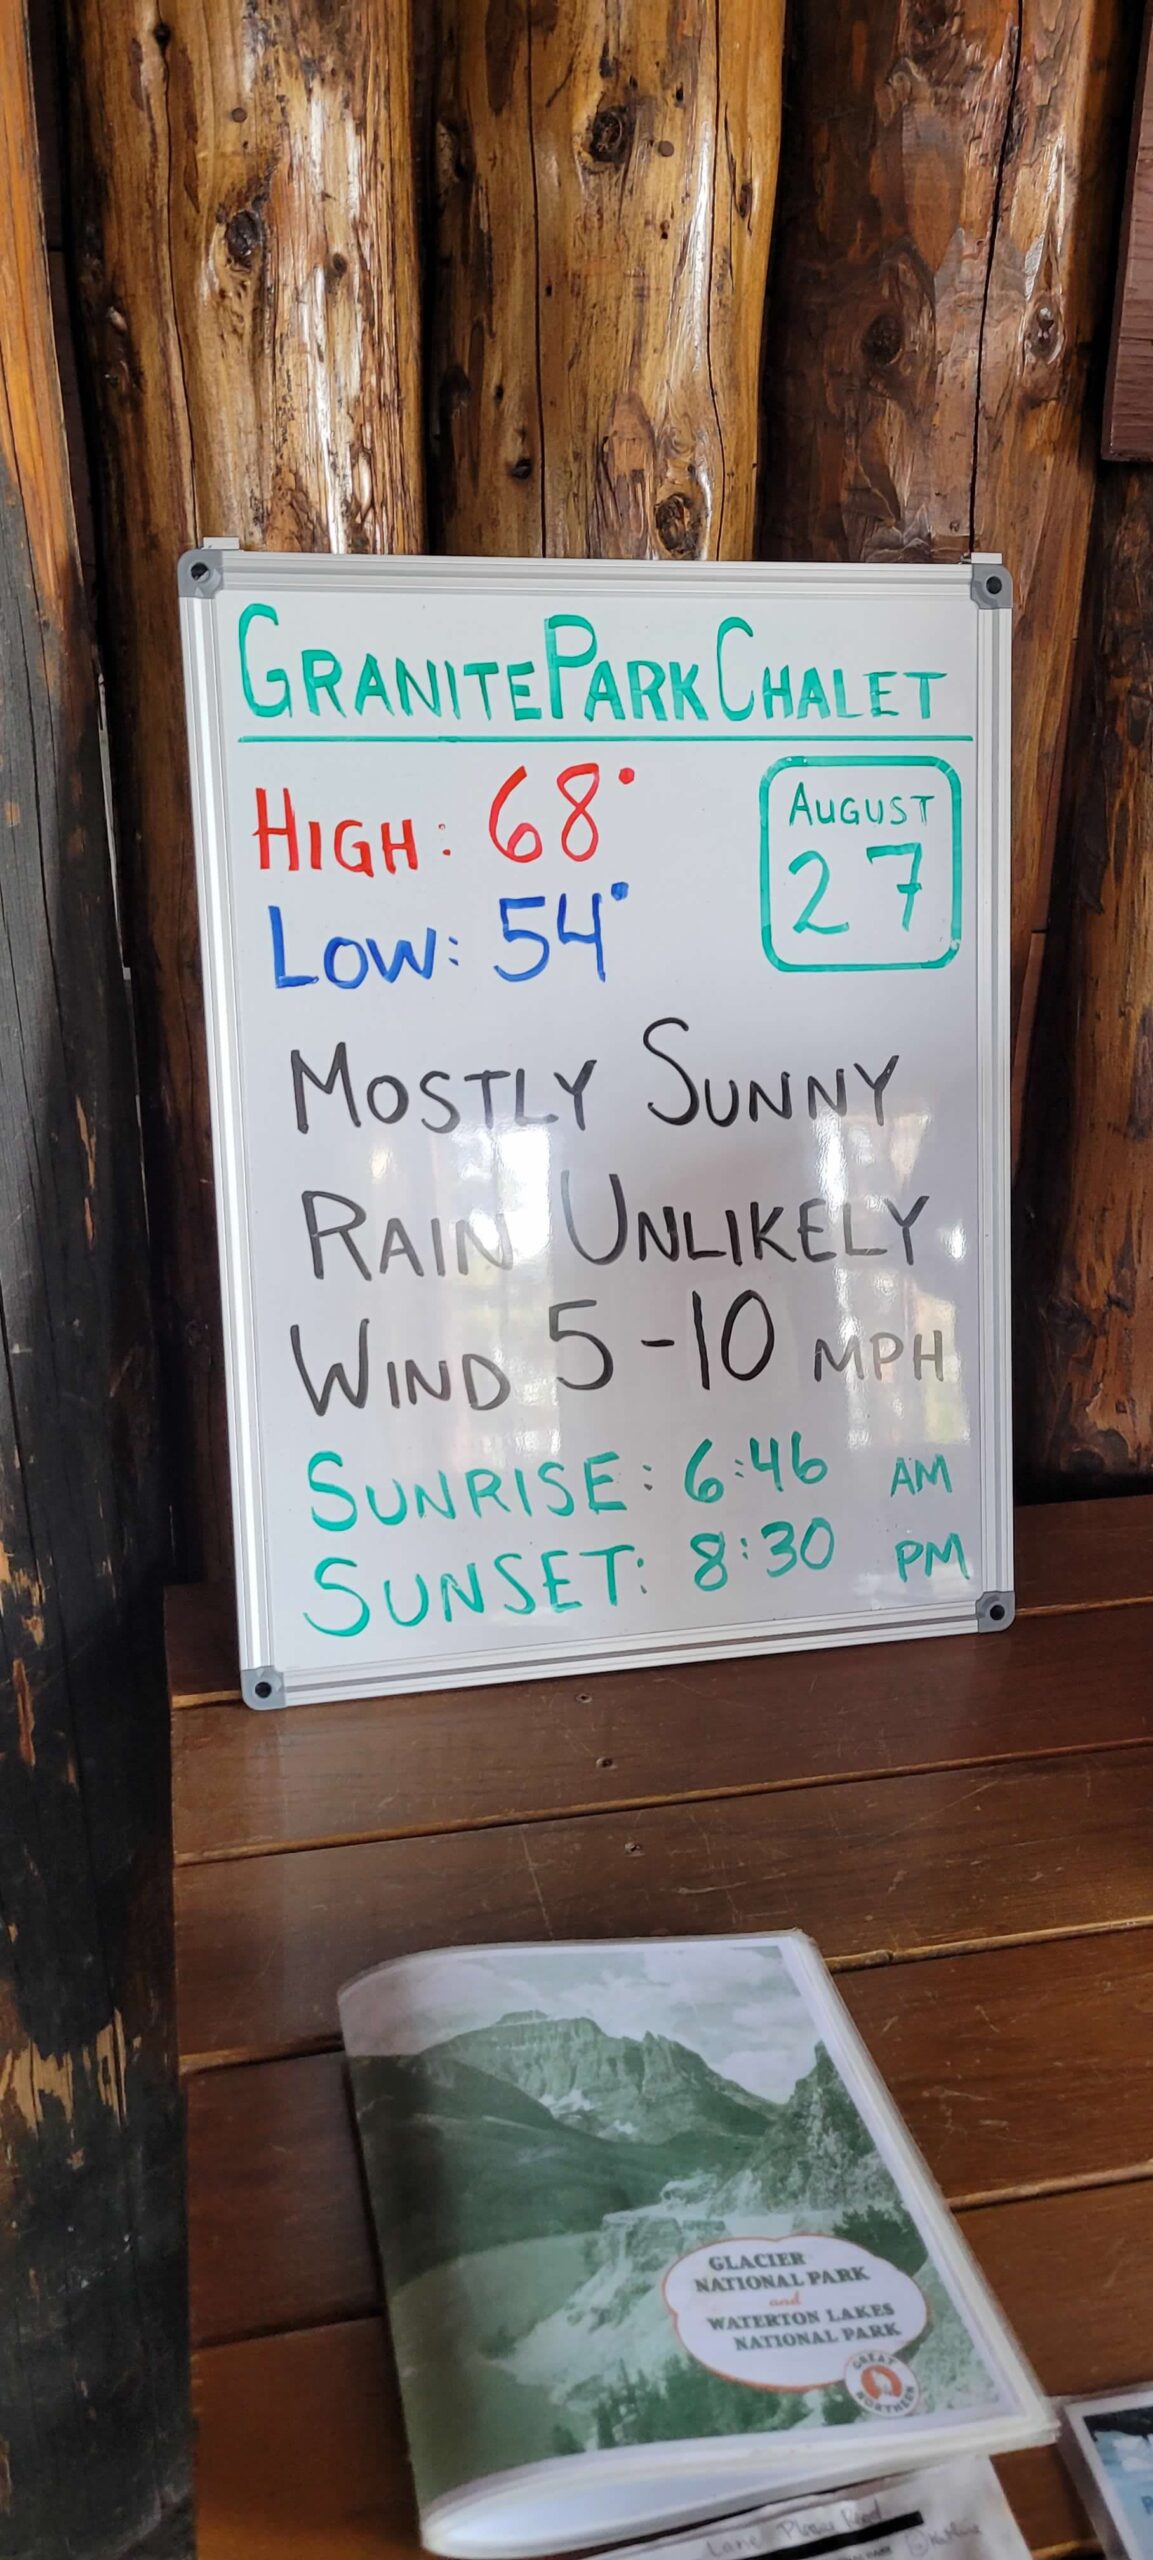
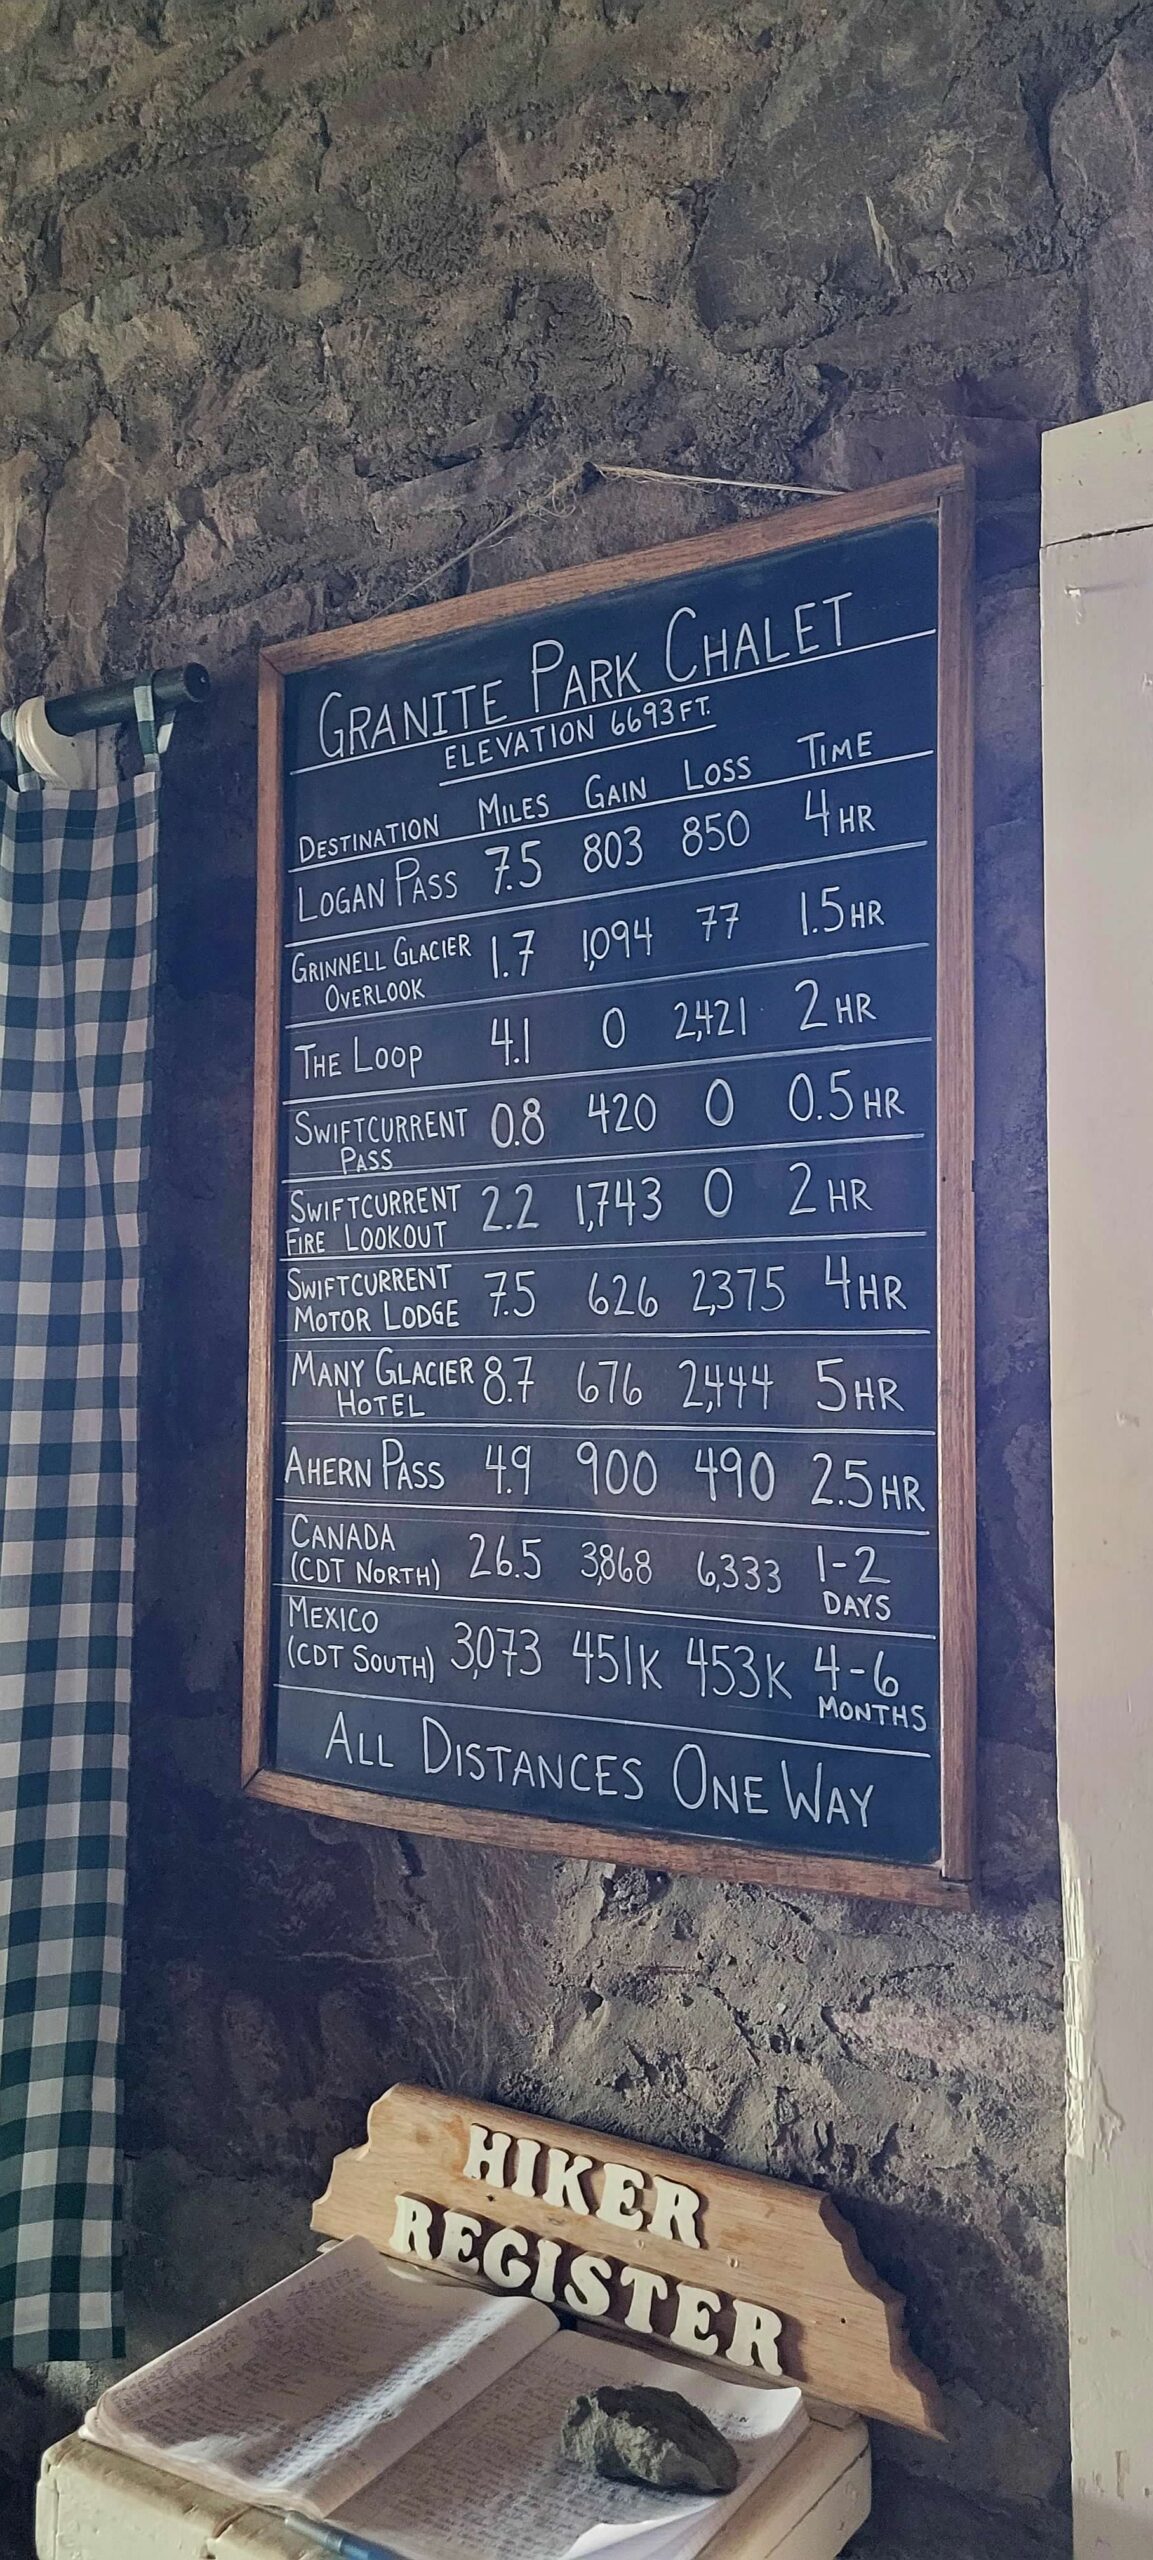
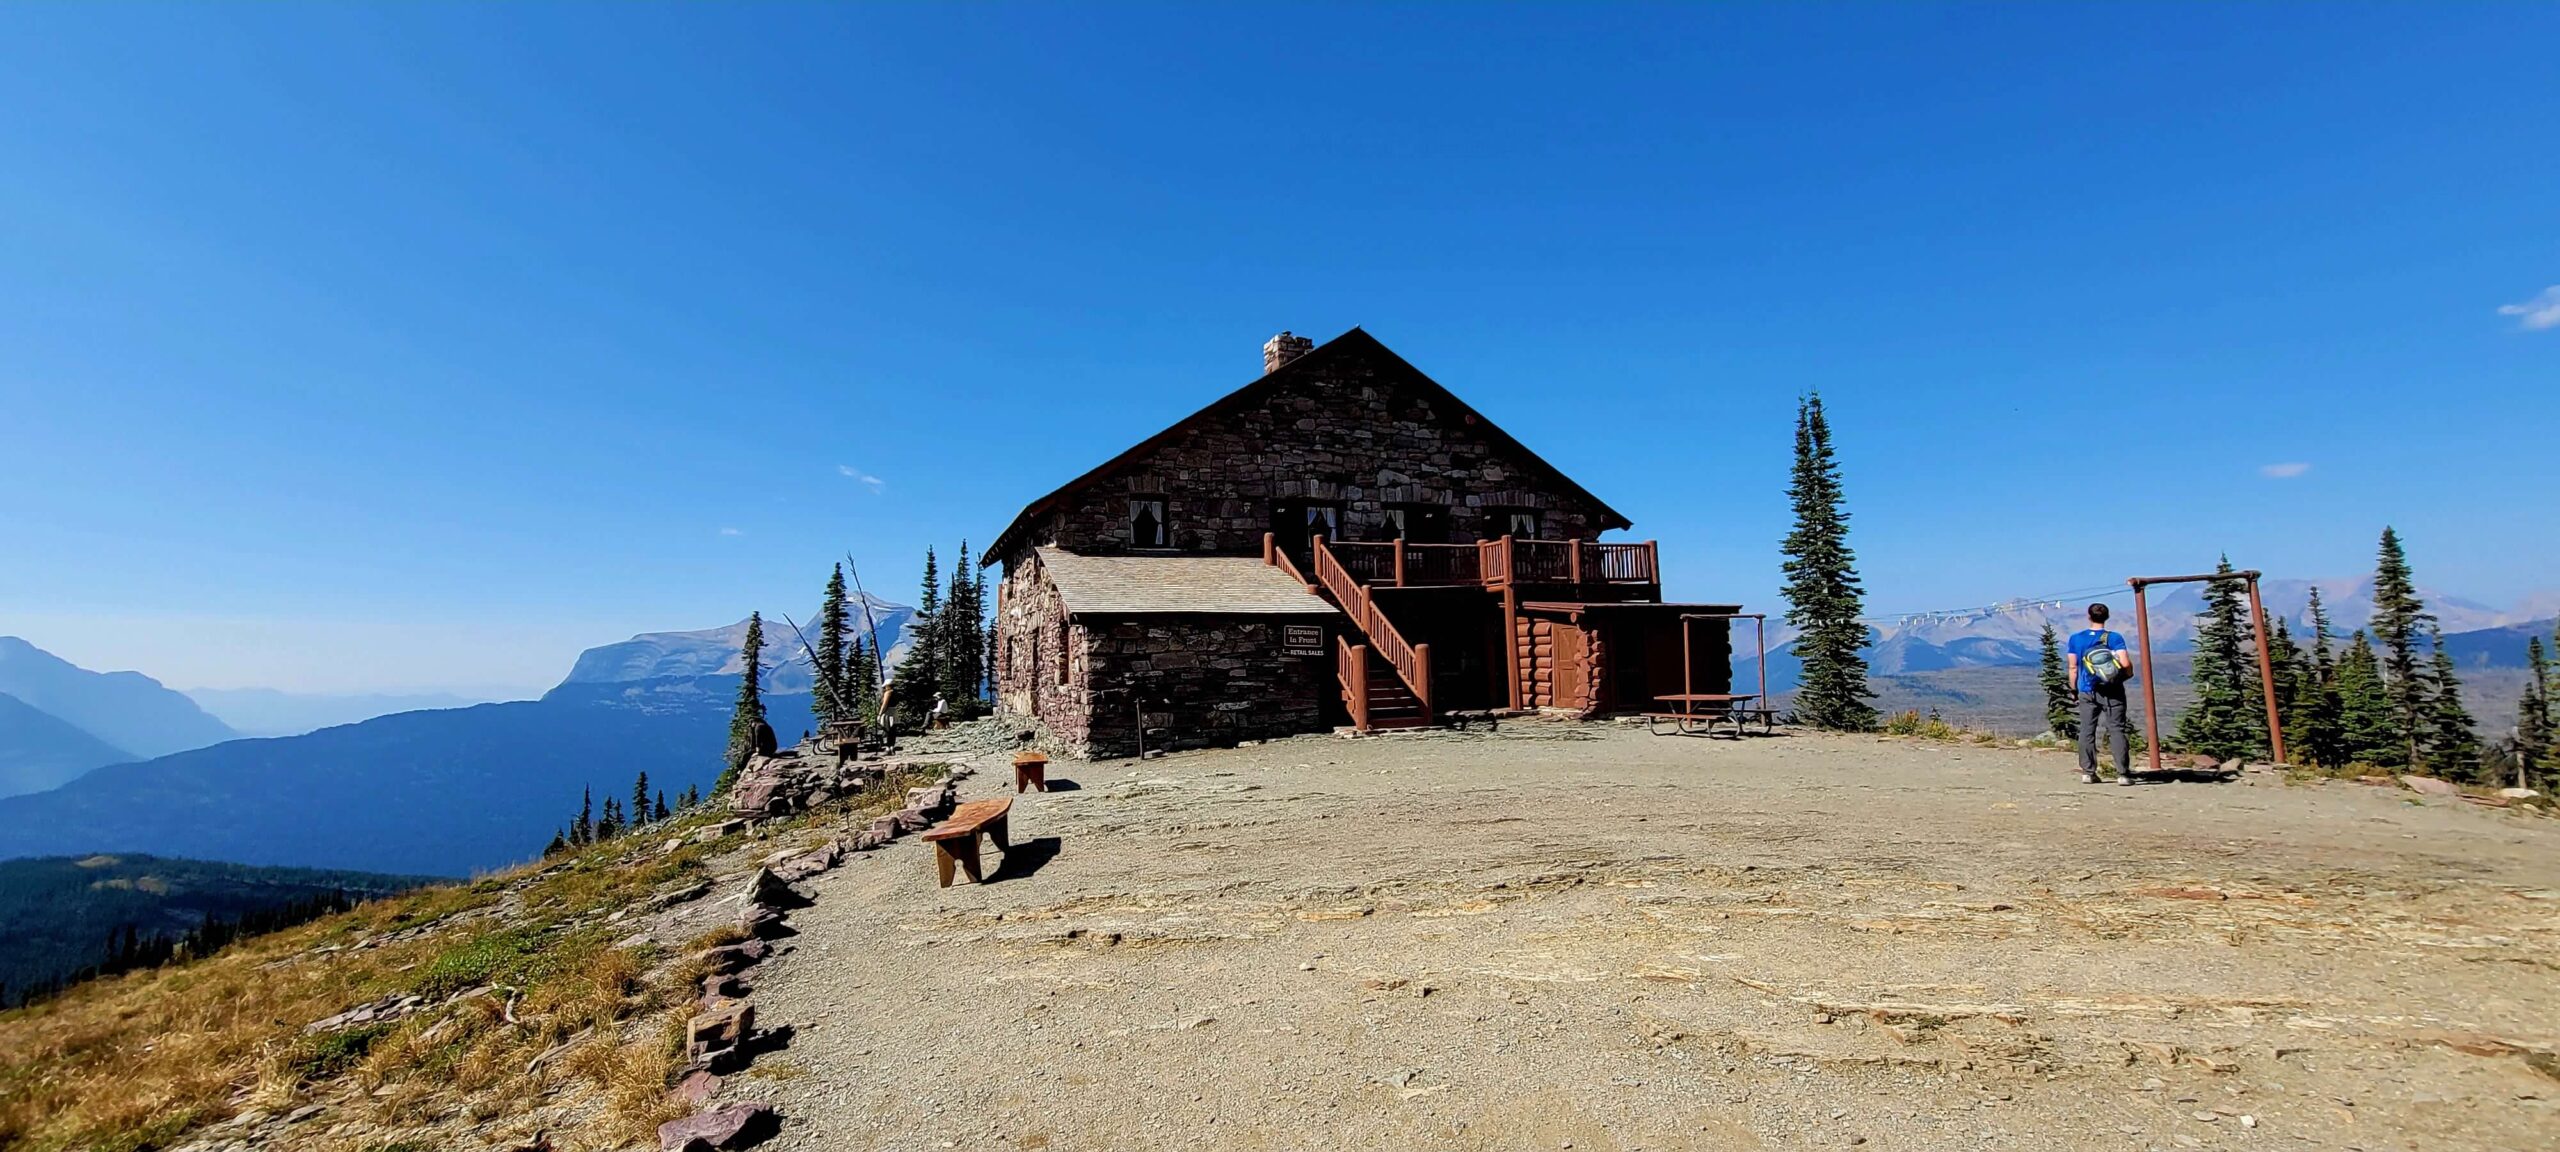
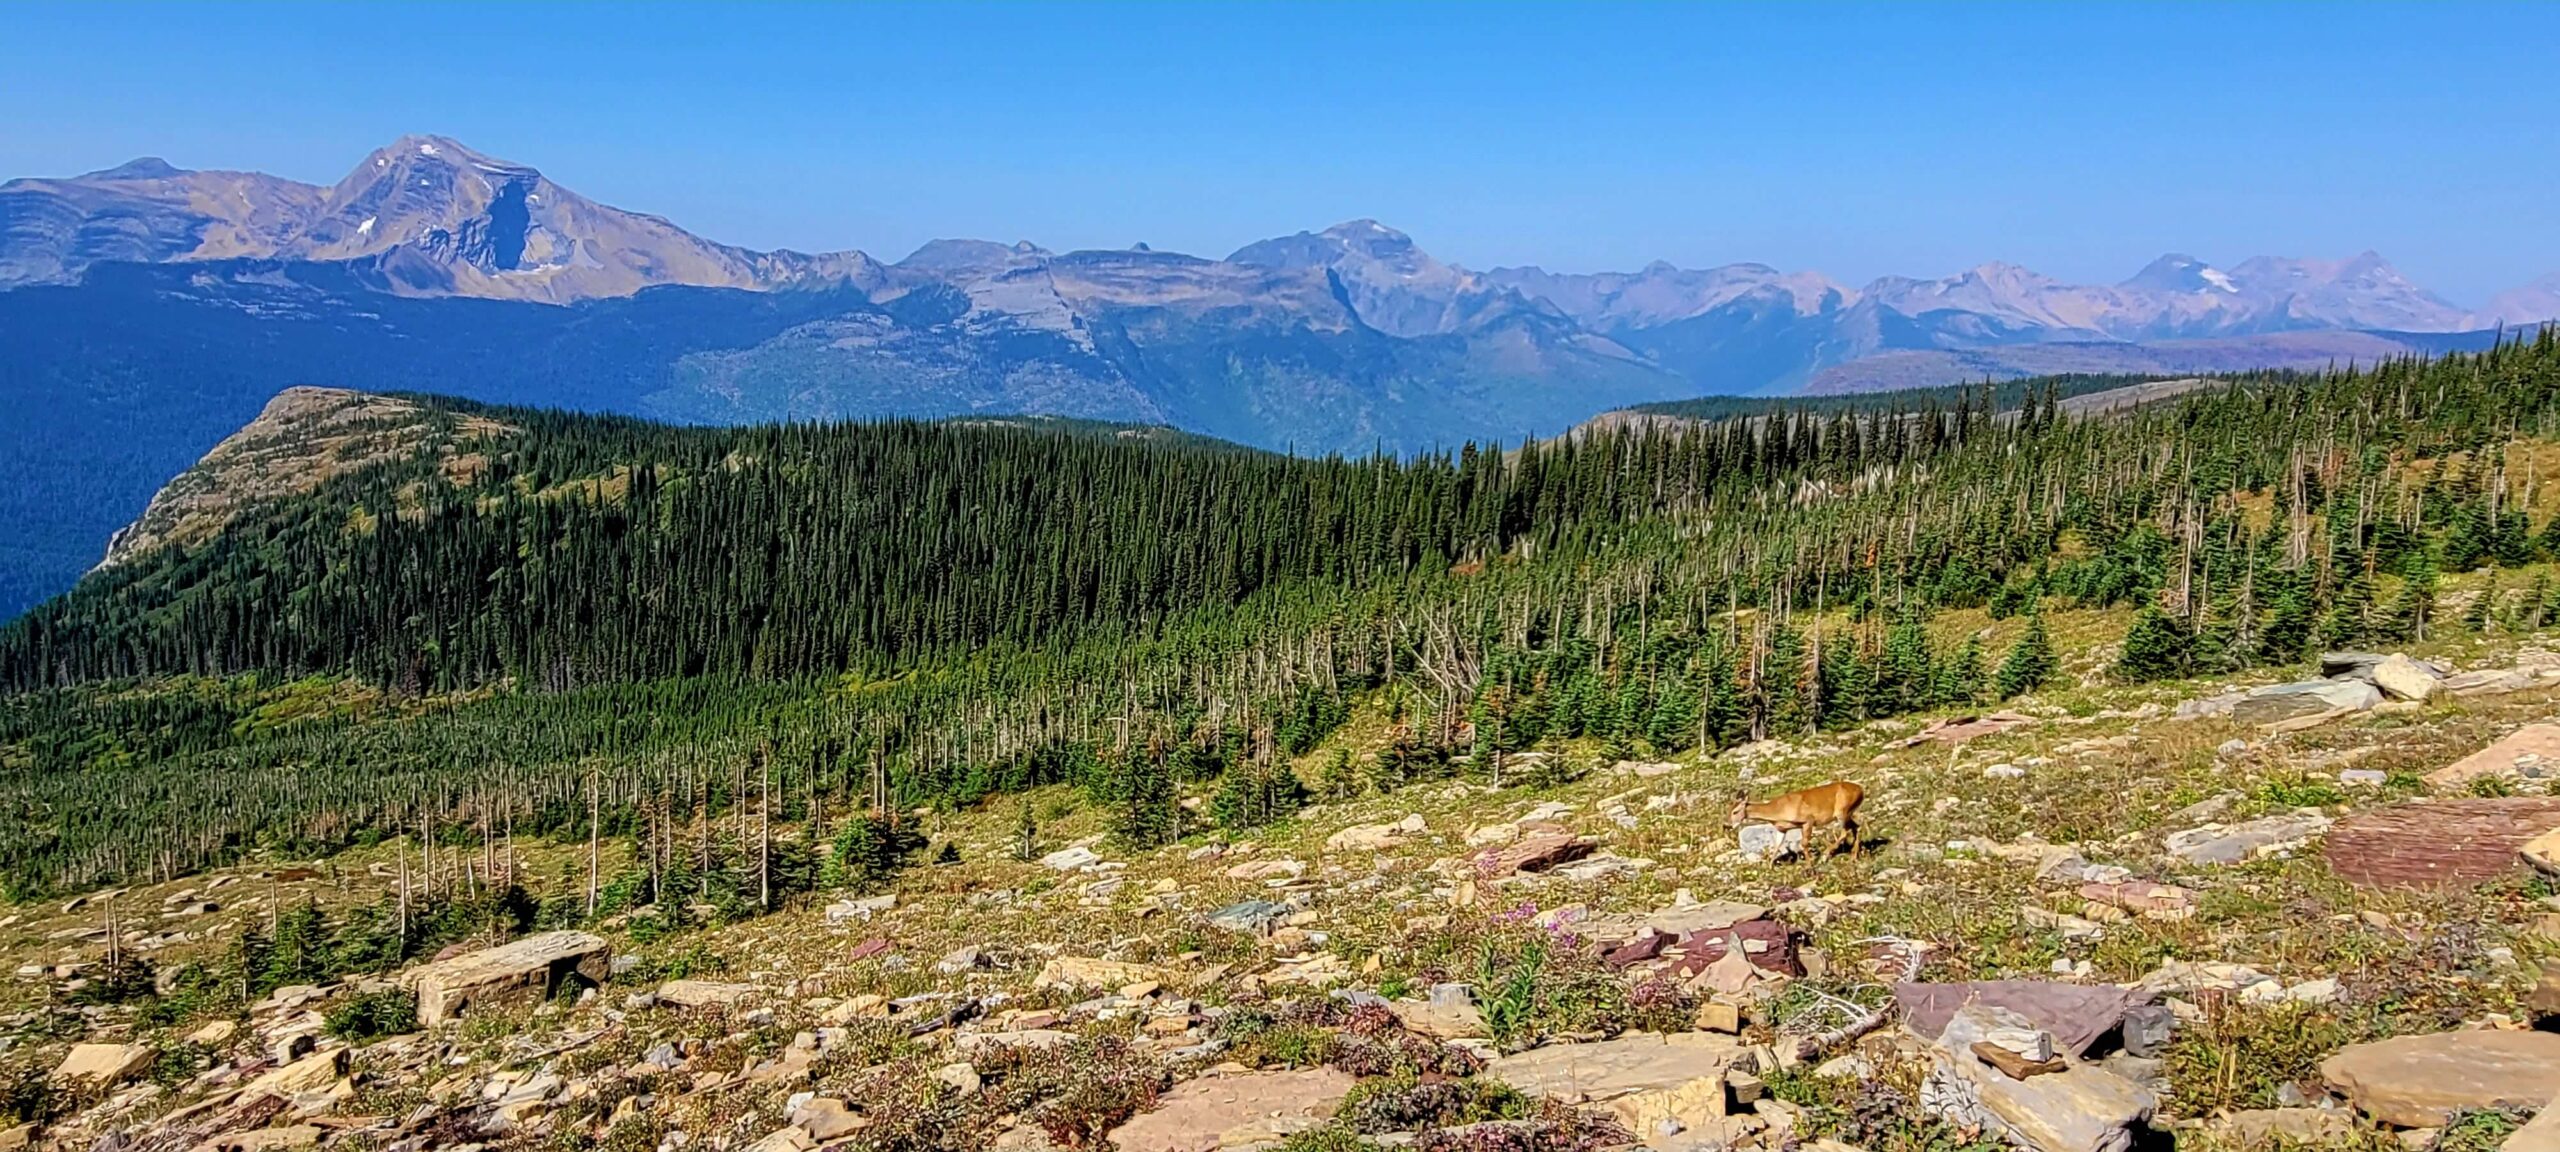
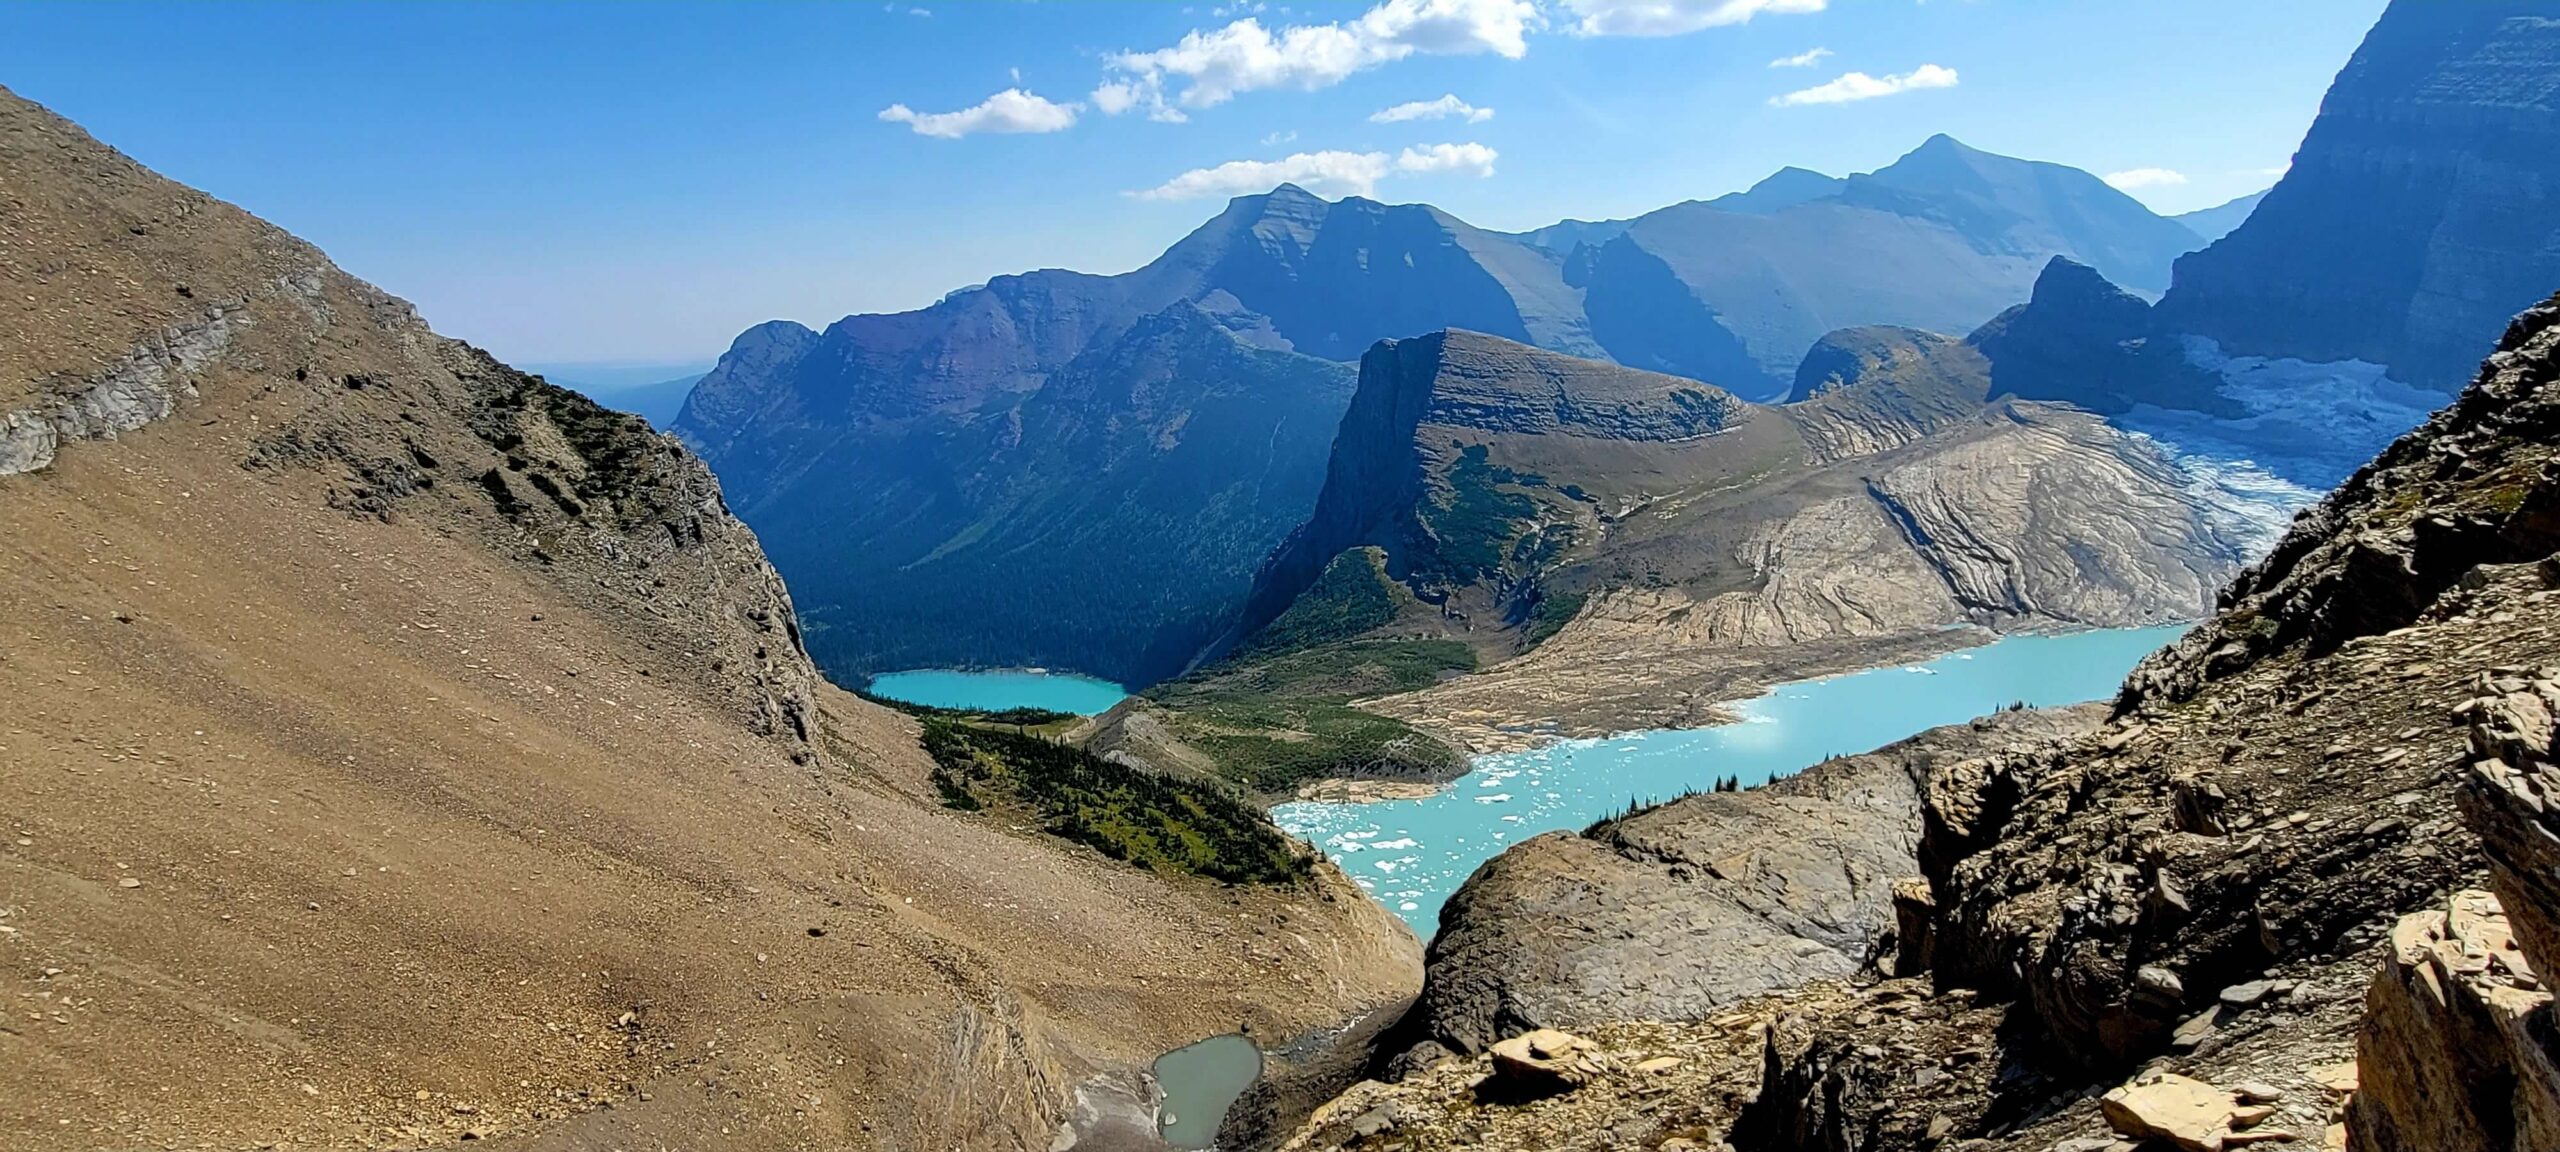
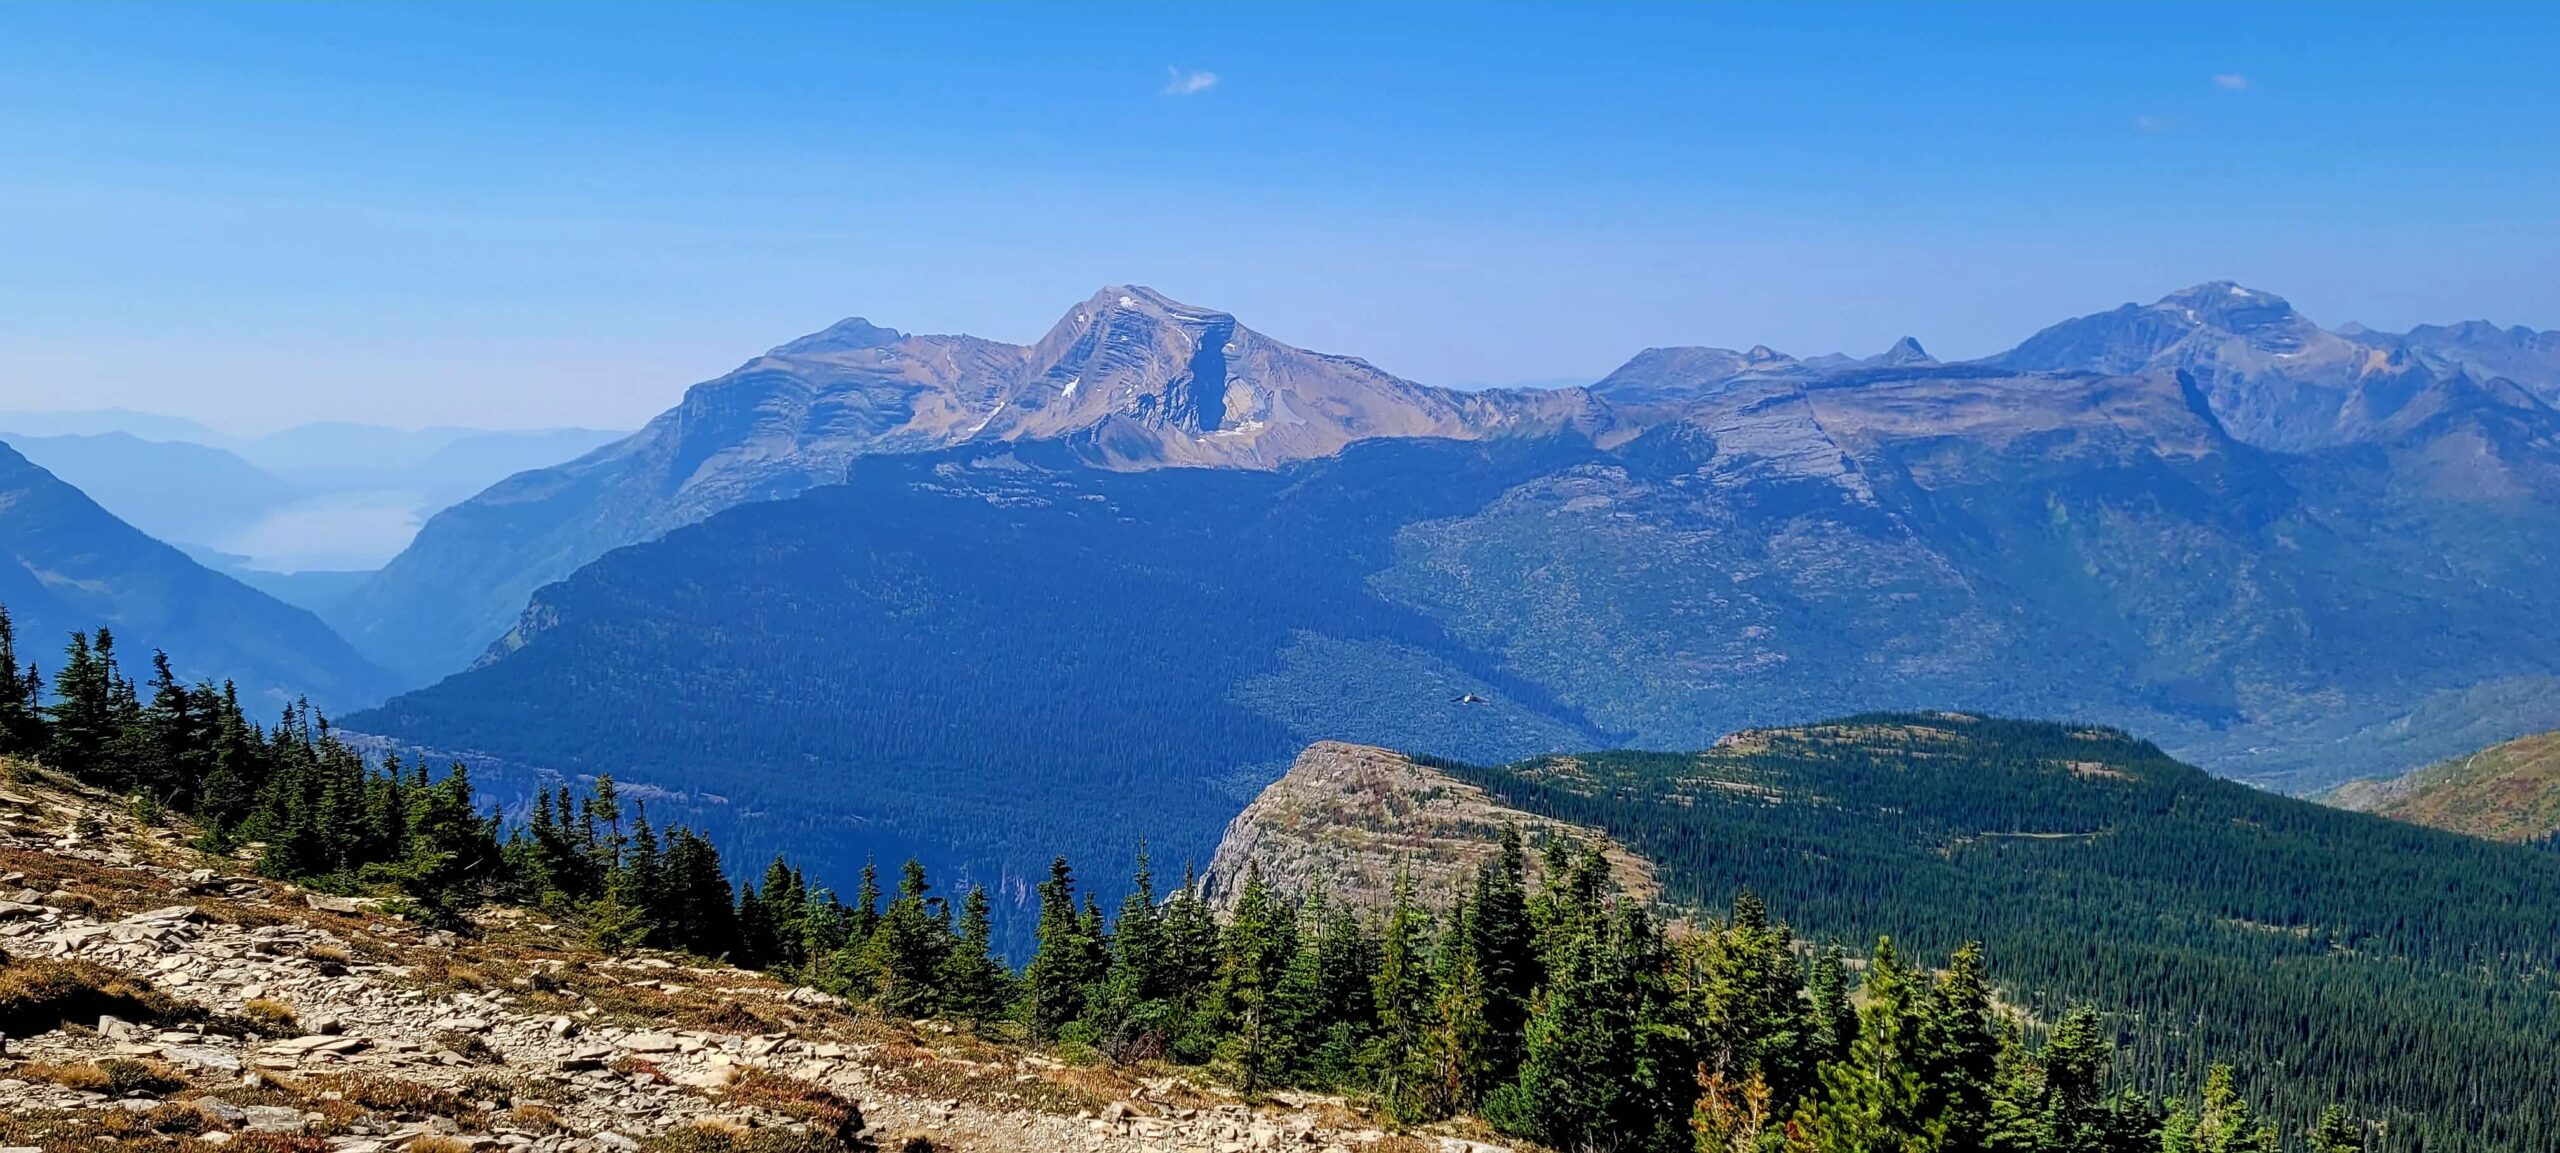
There are so many awesome hikes in this park, it is hard to pick a favorite, but this would be near the top. We had a pretty hazy day due to wildfires in the area (which is a constant problem these days in the short summer season), but the views were still stunning the entire way. While long, the trail itself isn’t too crazy. You’ll climb over 1,500 feet over the 12-mile one way trail. Yes, I said one way because you will come out at “The Loop” portion of the Going-to-the-Sun road and grab a shuttle there to get back to the Logan Pass parking lot. Much easier than turning around and hiking back! Around 8 miles in, you’ll come to the Granite Park Chalet which has some snack options and water if needed and is a good spot for a break before continuing on. Another interesting side trip (not included in the mileage above) is the Grinnell Glacier Overlook. The trail jets off about a mile before the Granite Park Chalet and adds a VERY strenuous half mile (or mile RT), 800-foot climb, to a stunning view of Grinnell Glacier and Grinnell Lake from above. By the time you get here, you are likely fully exposed to the sun in the middle of the day which adds to the strenuous nature of getting up to this overlook, but the reward is totally worth it if you have a little extra to give. Amanda decided to skip this and hike to the chalet and wait for me there. Once you are done hanging out at the chalet, you can continue on for the final ~4 miles to the shuttle stop at the Loop. This section of the trail is still quite exposed to the sun and involves a lot more switch backing down to the road. Word of caution. For the first time ever, we ran out of water on this hike (luckily towards the end) and Amanda was struggling with the heat. Definitely bring more water than you think you might need. We didn’t see a lot of wildlife, but our understanding is you normally see a ton on this trail including mountain goats just laying around right next to the trail.
Hidden Lake Trail – 5.1 miles RT, Moderate to Strenuous, 3 hours
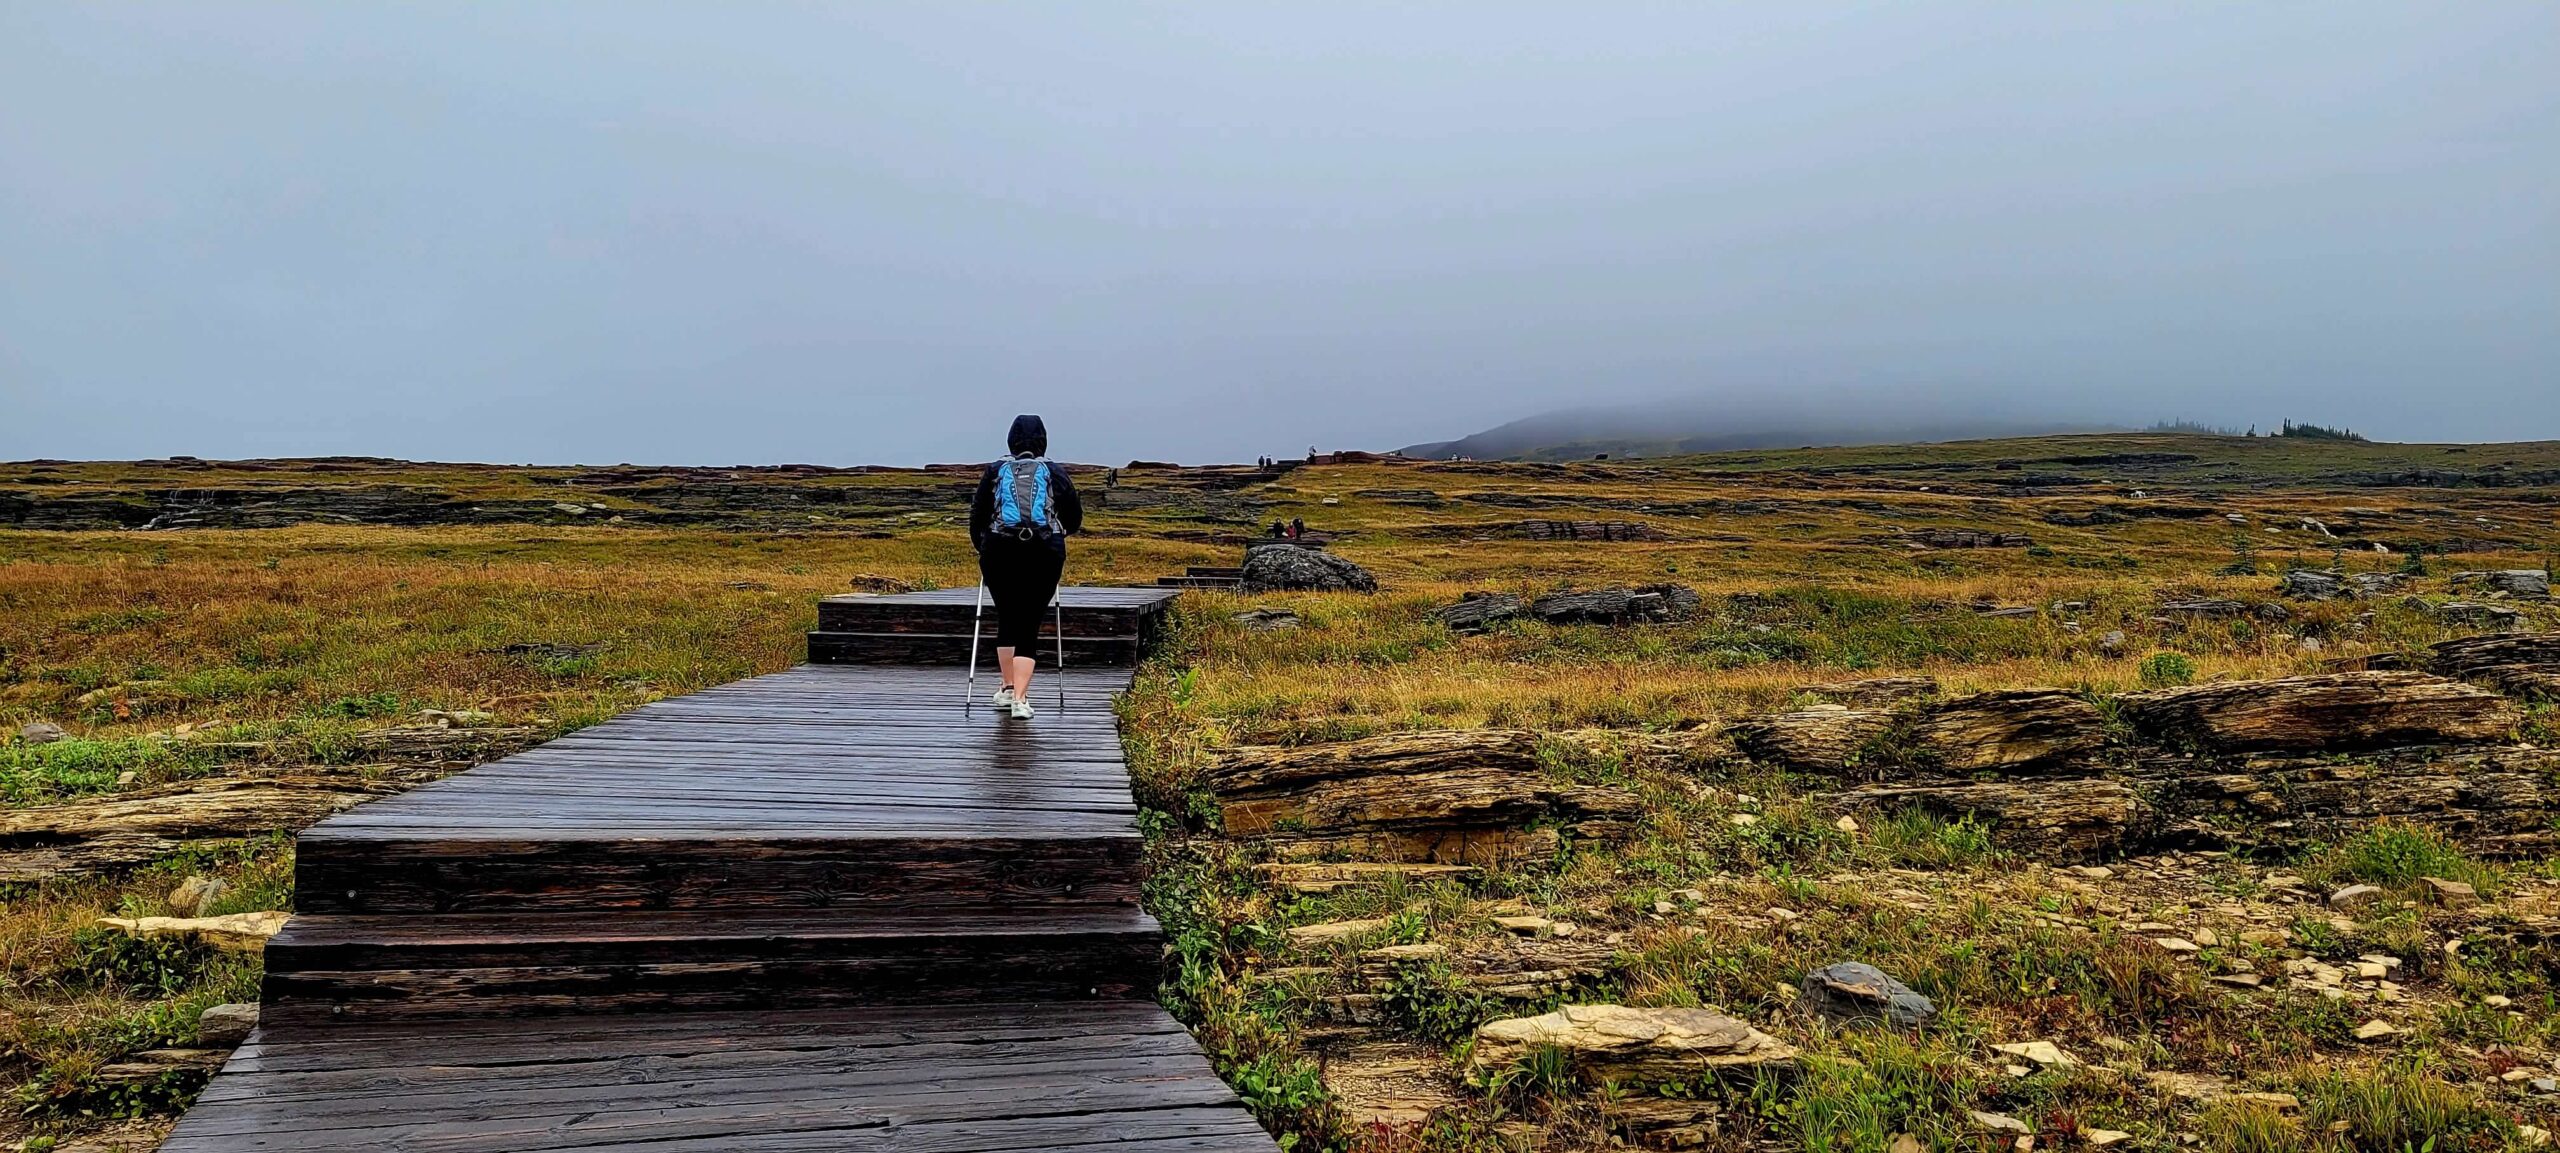
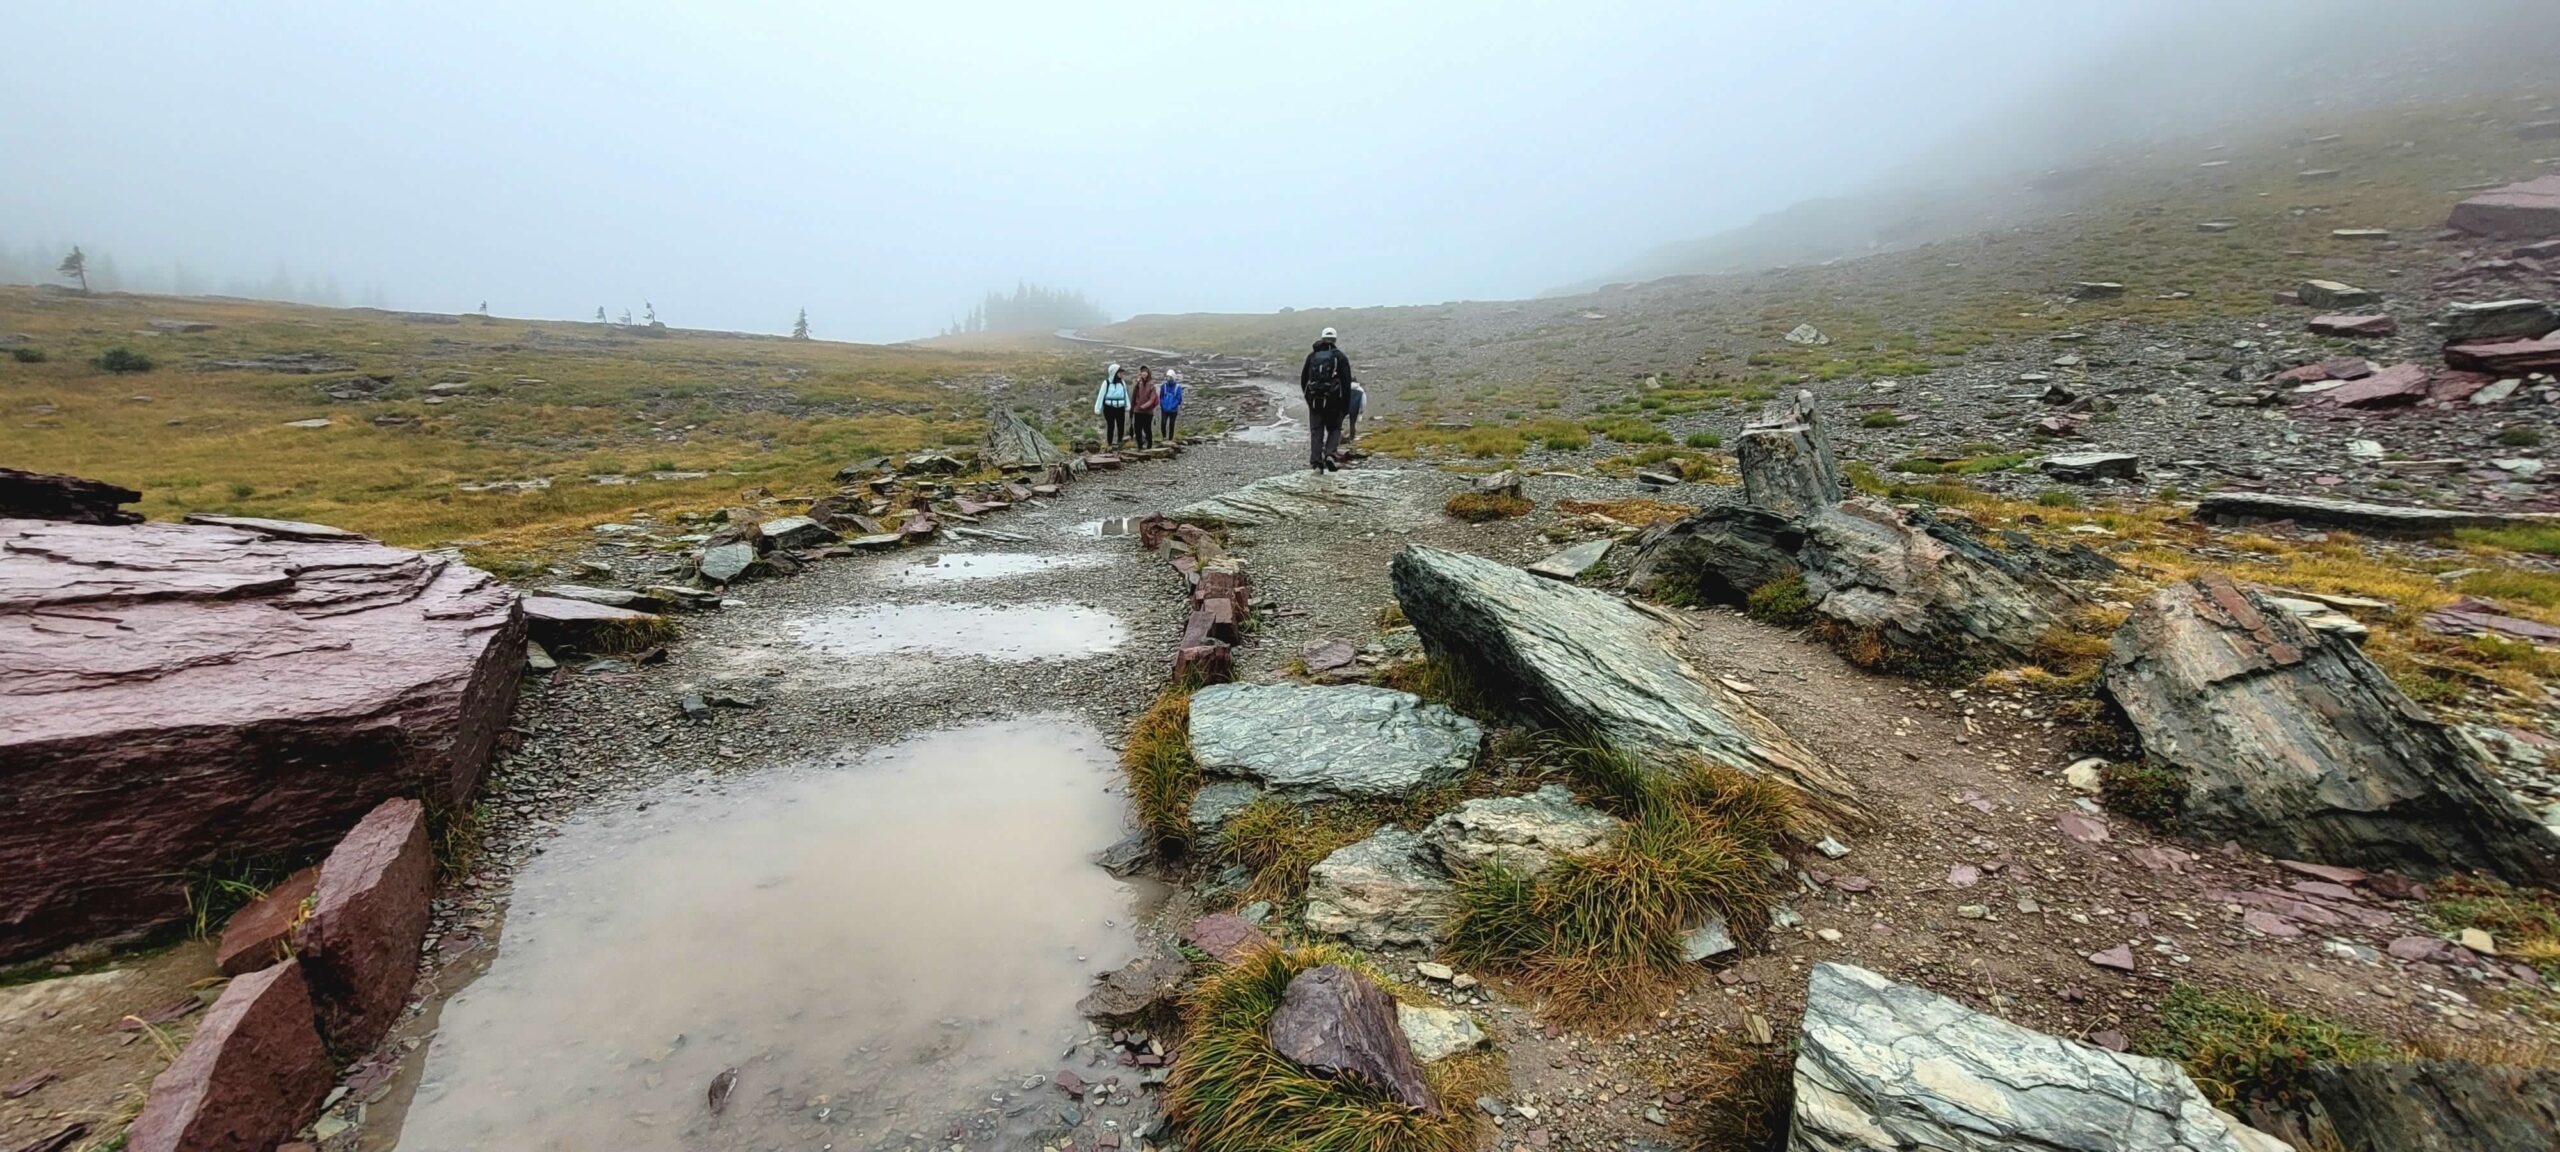
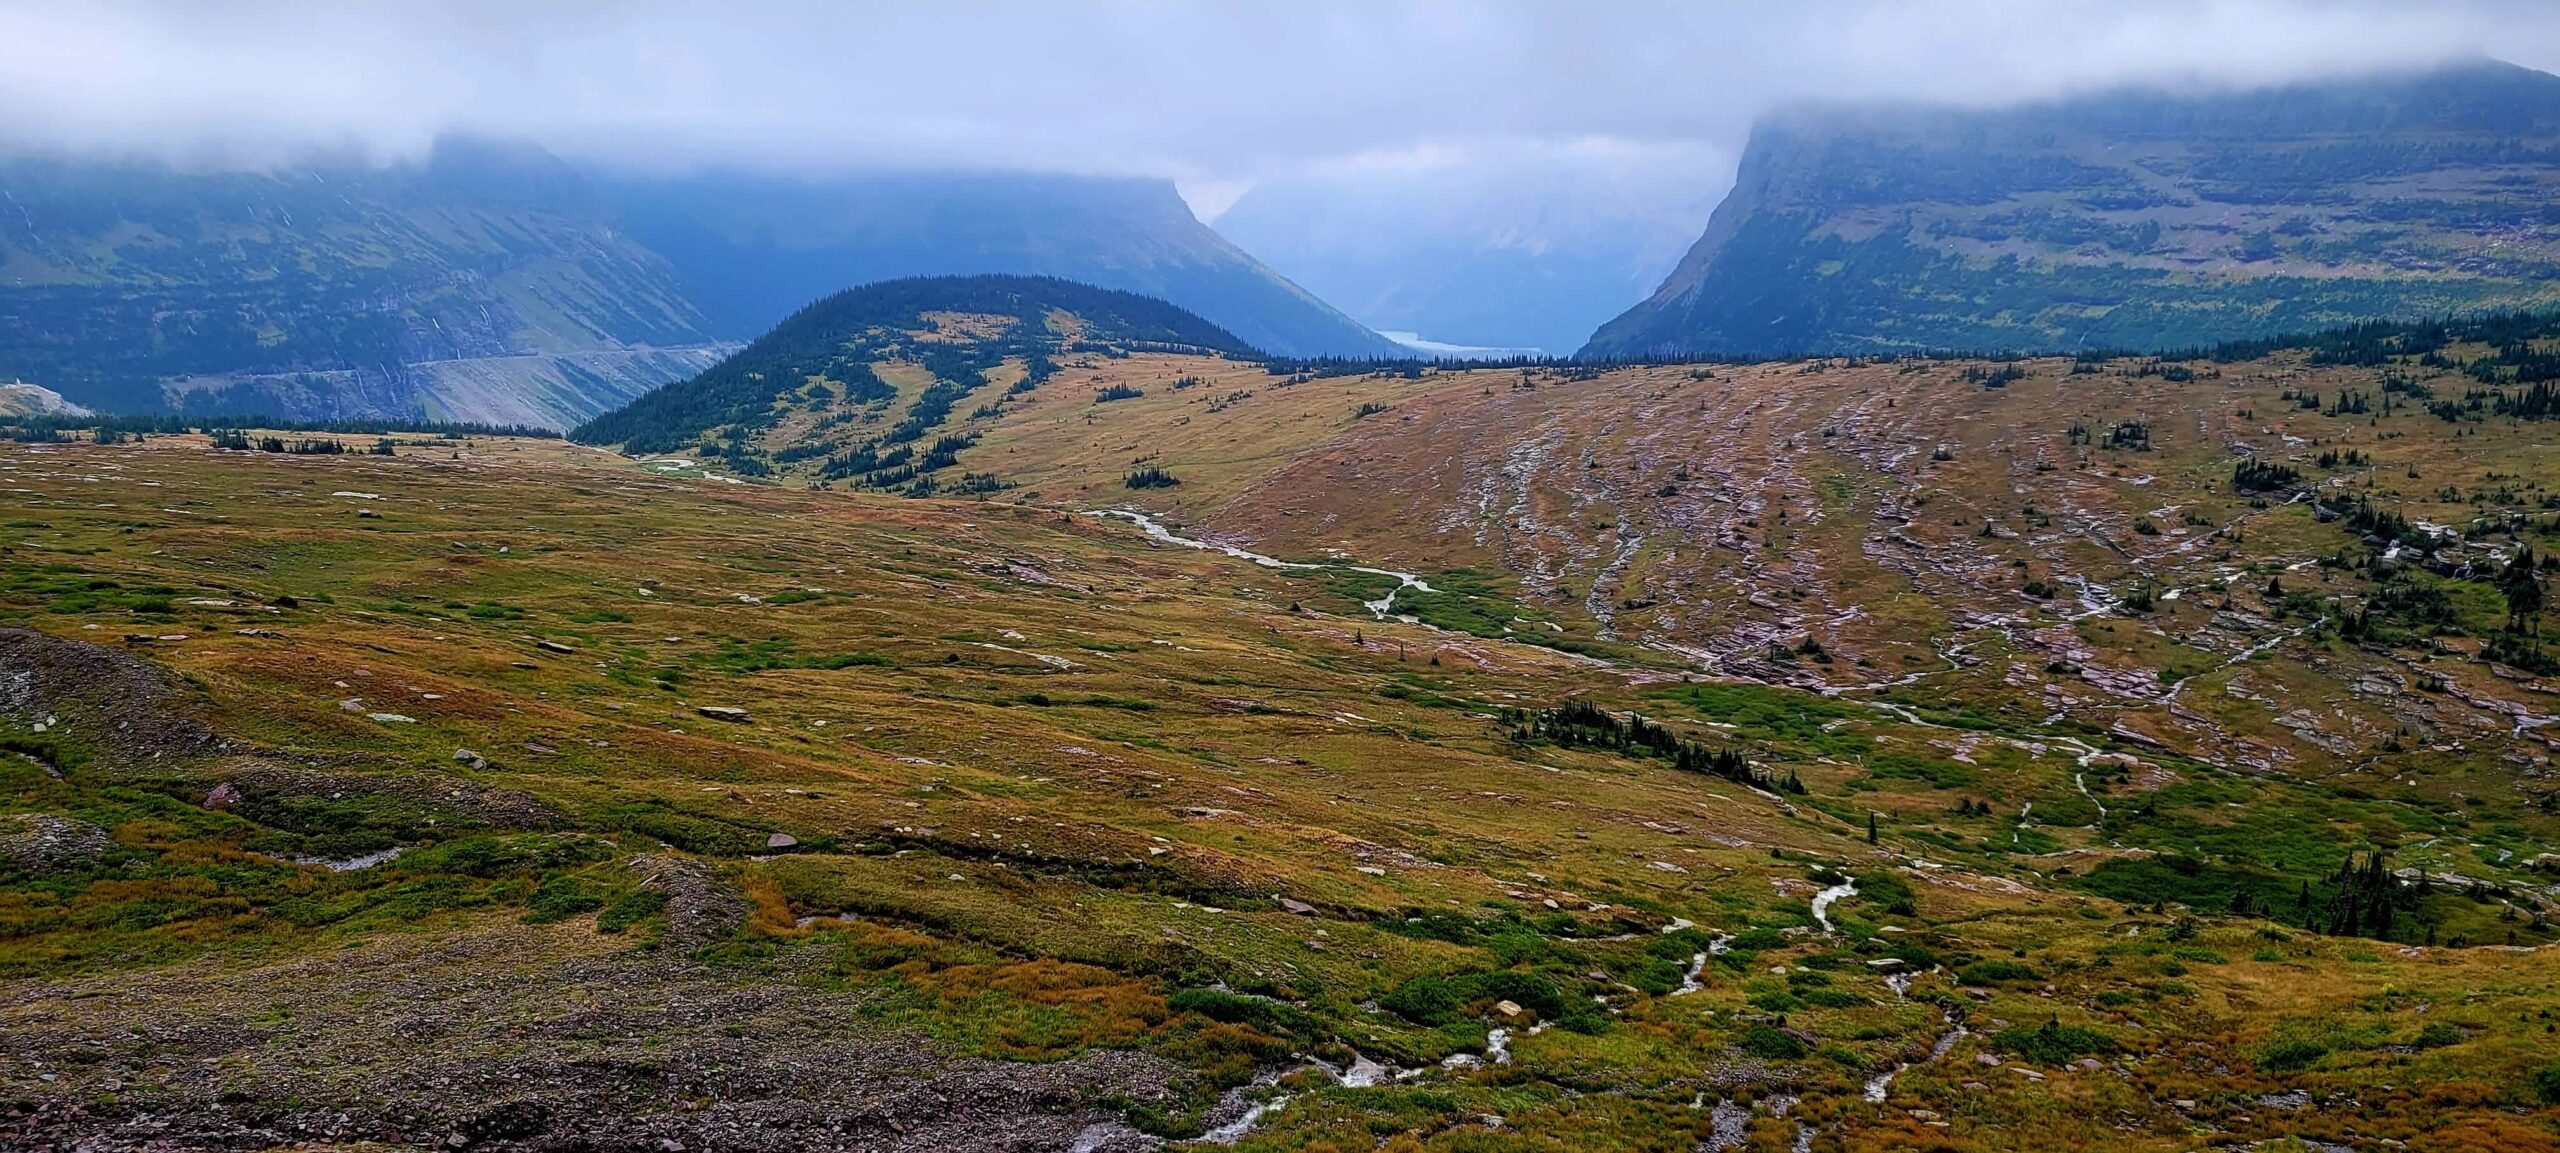
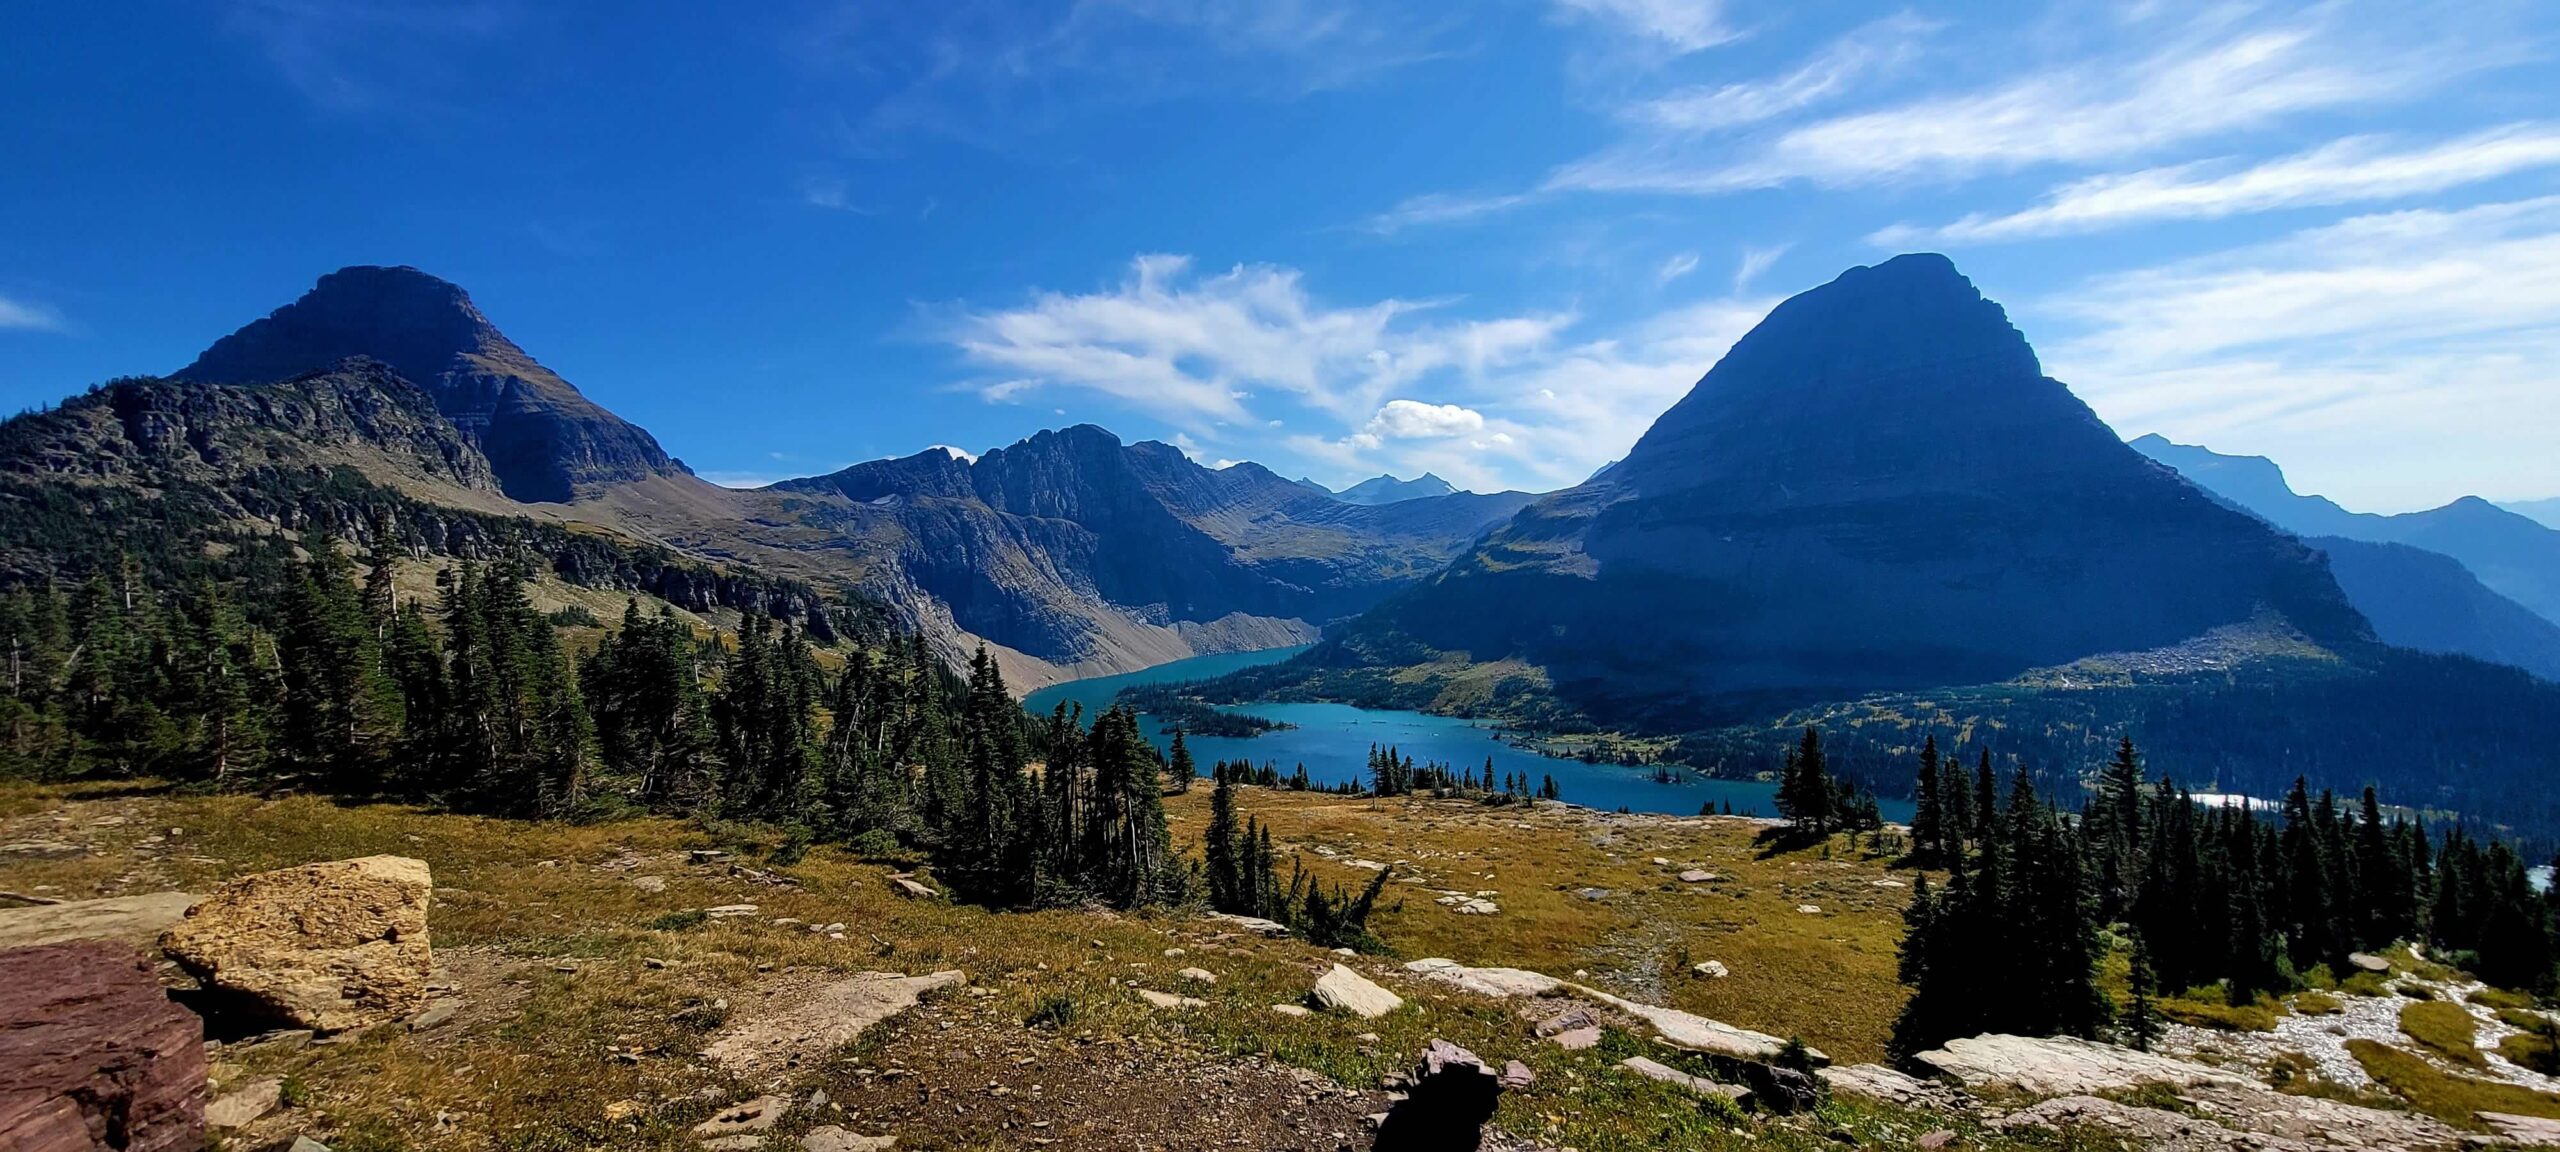
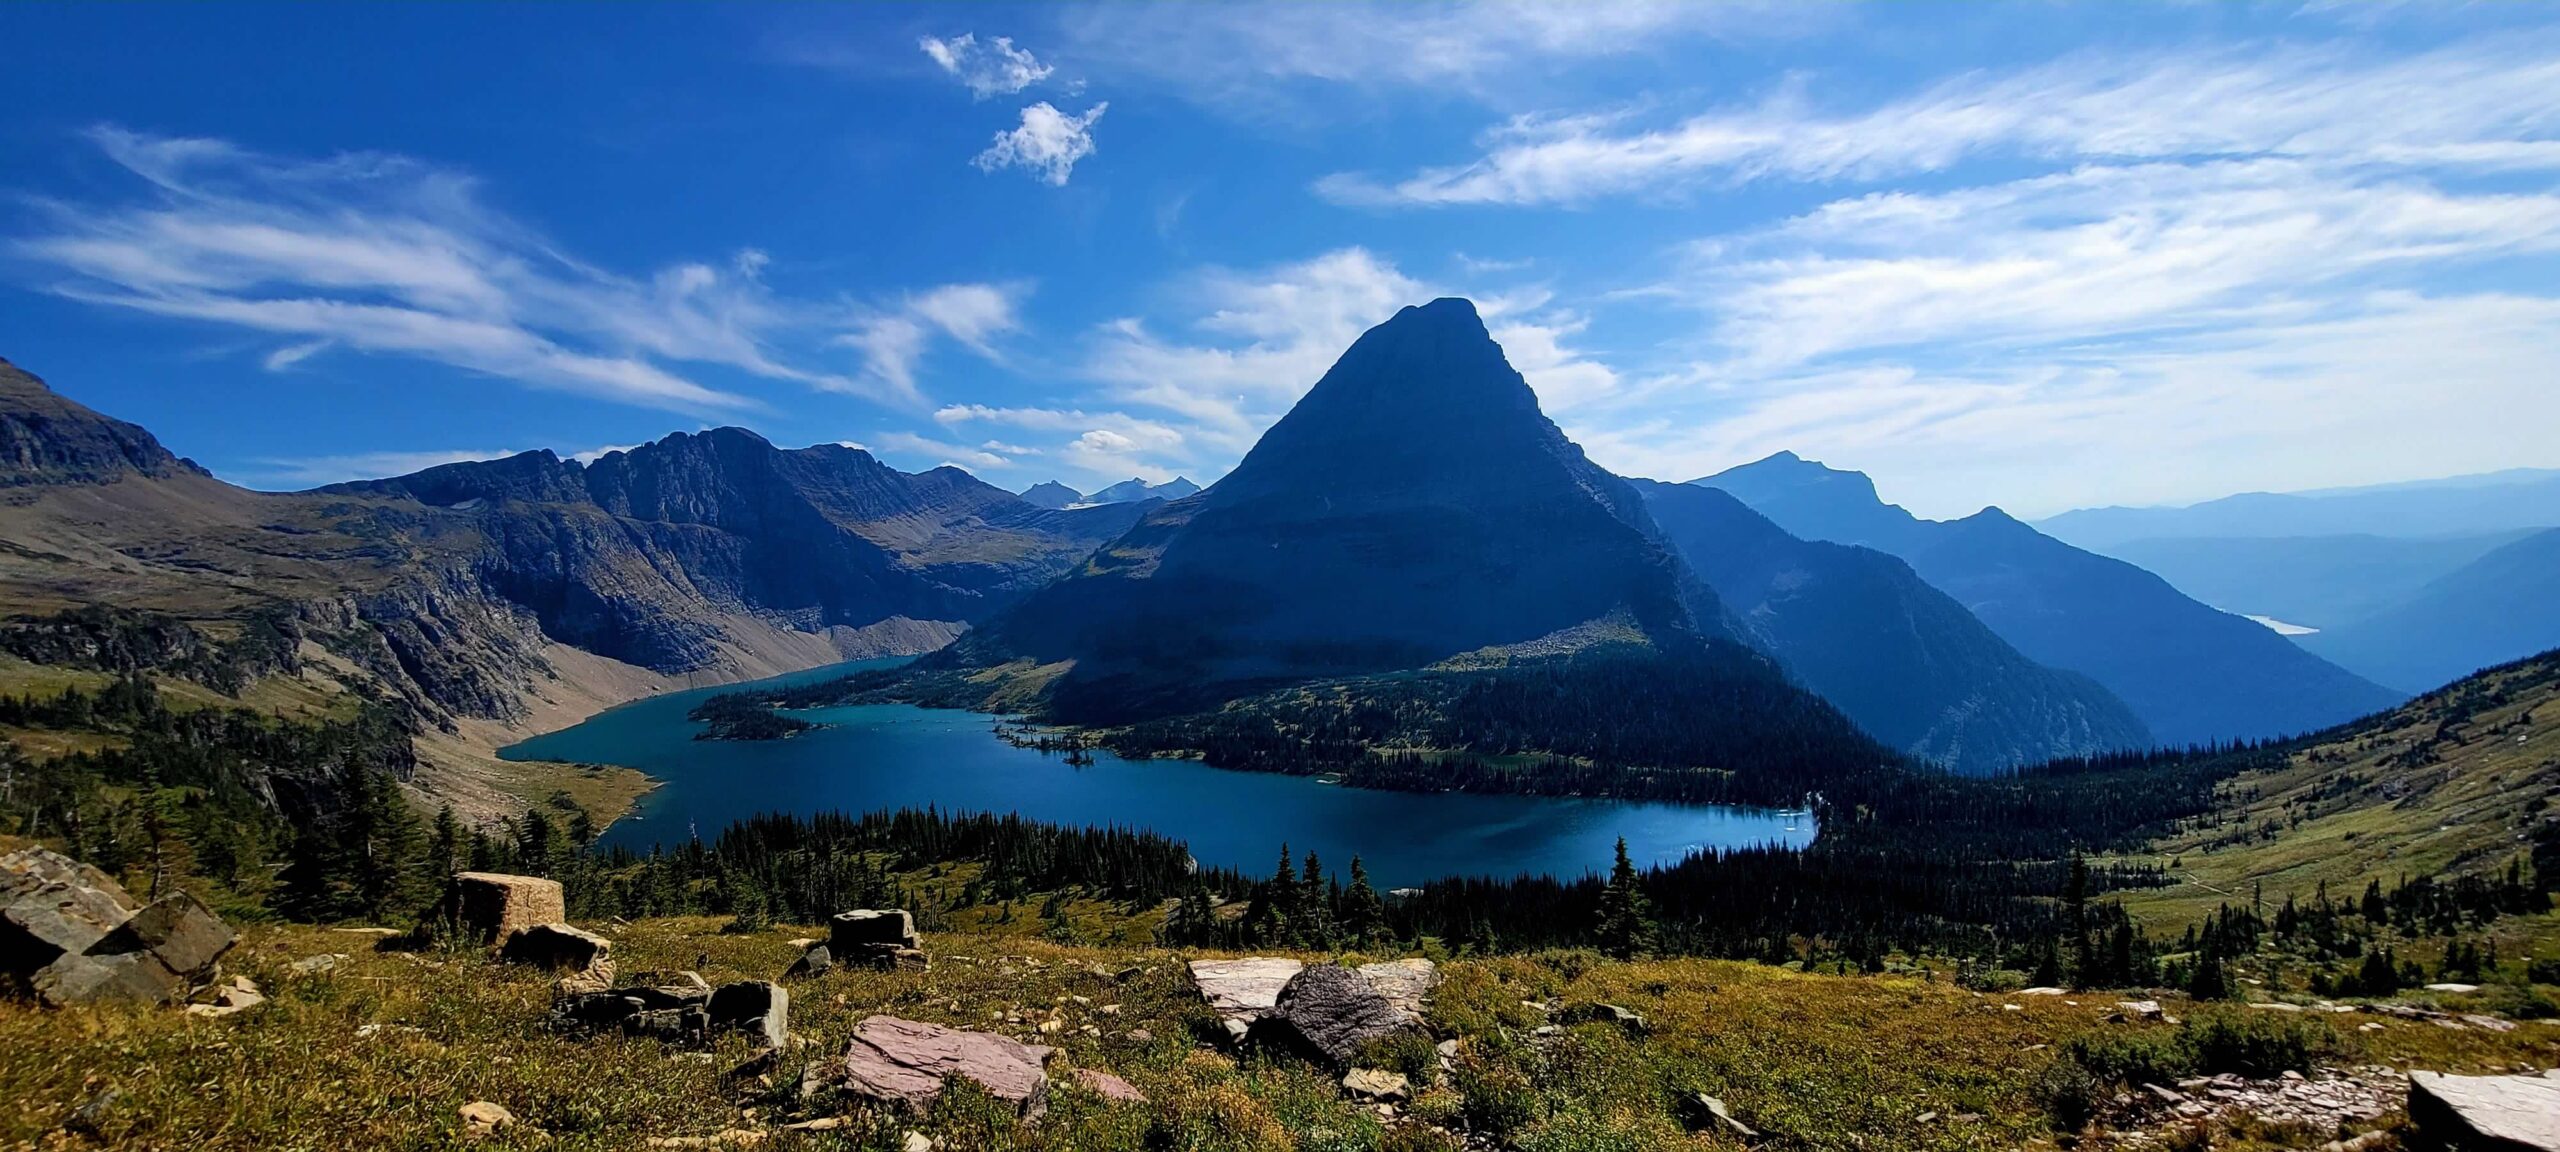
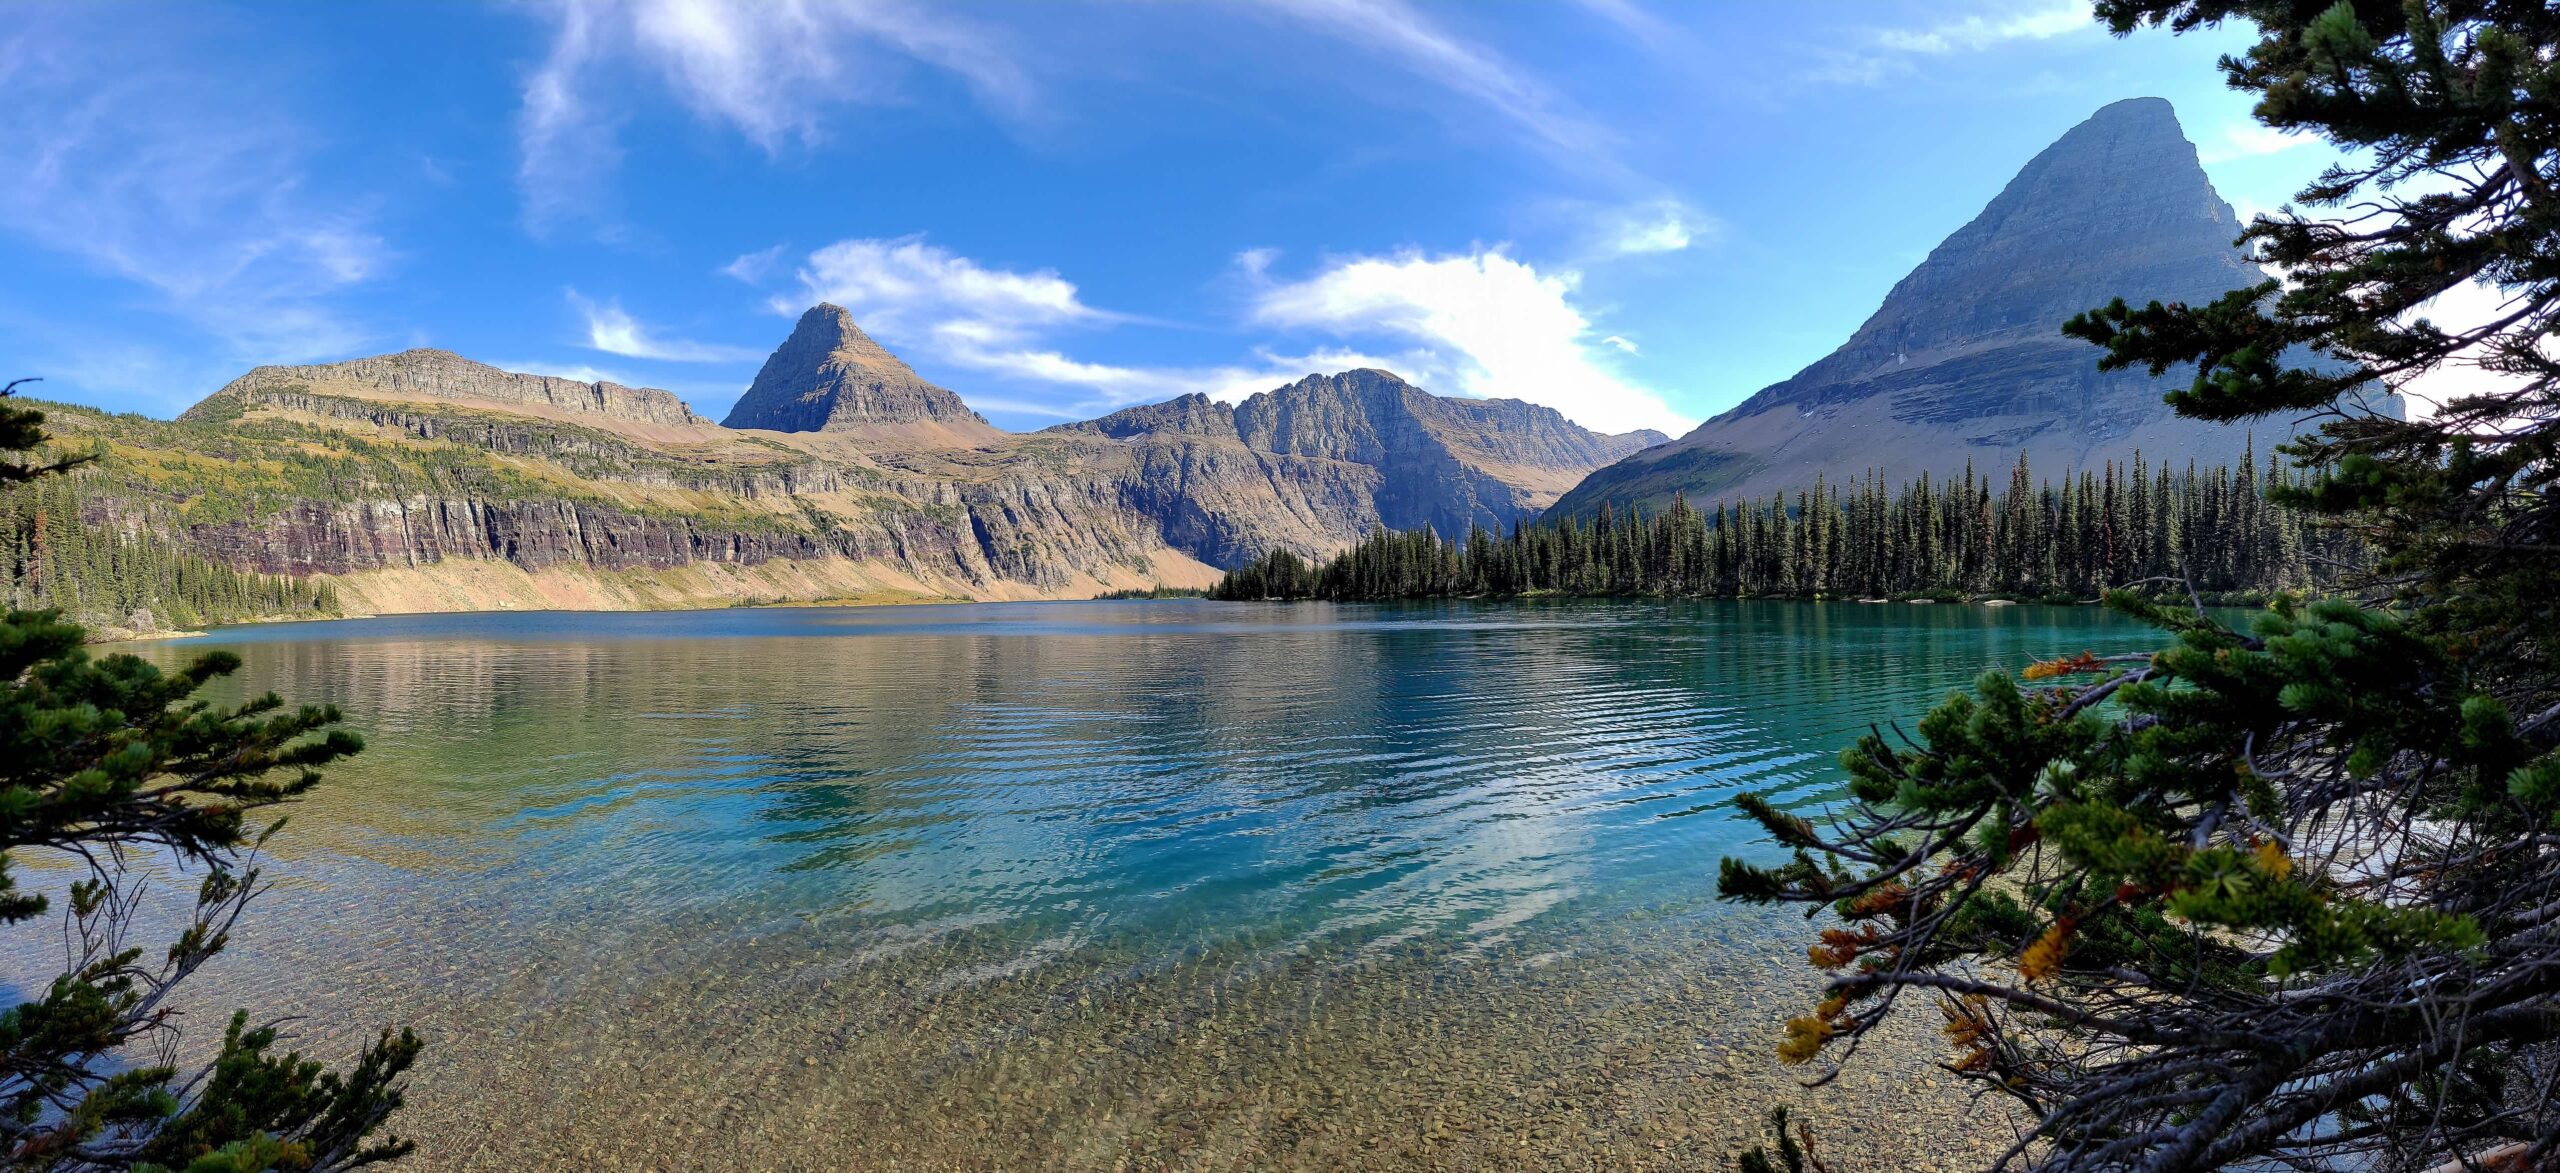
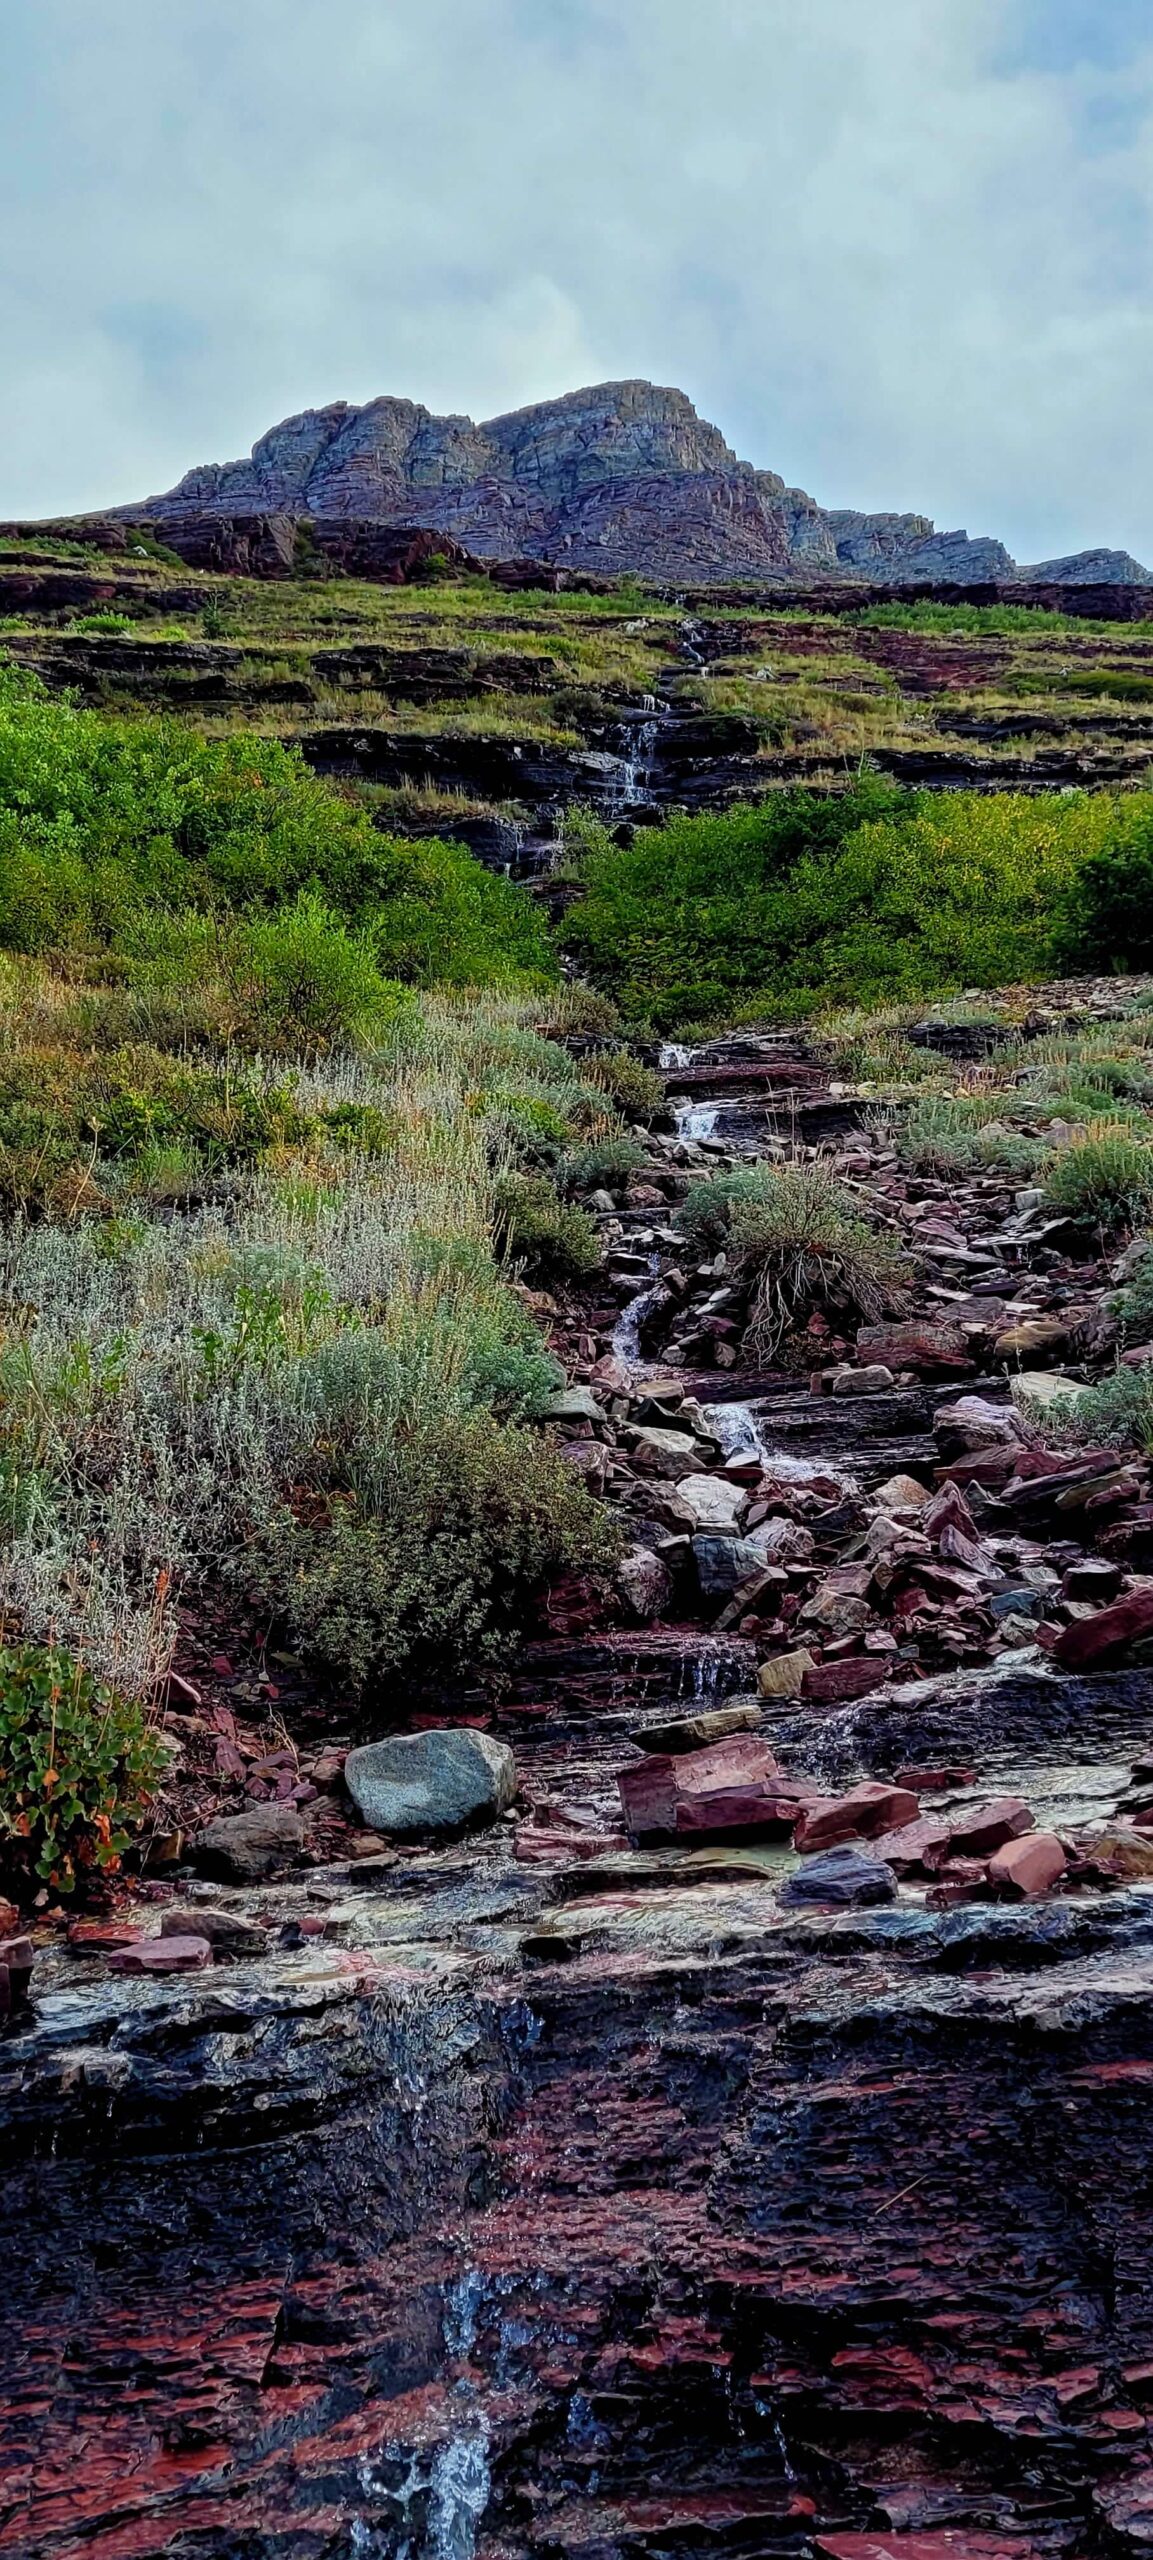
This trail is also extremely popular, so be prepared to deal with a lot of people. There are a couple of options on this one. You can take the more easy to moderate 3 mile RT route to the Hidden Lake overlook (about a 550 foot climb) where you’ll see the lake from above which is an amazing view (weather permitting) or you can go a little over 5 miles RT on a more strenuous hike down to the shoreline of Hidden Lake (making the hike a total of a ~1,400 foot climb). You don’t have to make the decision until you get to the overlook where you can see how you feel. During our latest trip, we hiked this one day in the fog, hoping it would clear when we got to the overlook. Unfortunately, that was not the case as shown in some of the pictures below. Scott decided he would do the hike again another day and had amazing conditions. On your way to the overlook, the views are amazing in all directions on a clear day. You’ll pass by several waterfalls and have a pretty good chance at seeing wildlife along the way (mountain goats and bears do frequent this area). If you choose to go all the way to the shoreline, be forewarned, it will feel great on the way down the many switchbacks. But then you have to turn around and come back up. It’s doable for most people, just take your time and take many water breaks on the way back up. It is cool to see the lake from the shoreline perspective. You can even get in the water and cool down if you want.
Rising Sun / St. Mary Lake Area
This area on the east side of the park has a number of worthwhile hiking options as well as Saint Mary Lake which you can take a boat cruise on. Some of the cruises have an option to get off the boat for a short hike before returning. There is also the Saint Mary Visitor Center which has a number of exhibits and a large parking lot if you want to take a free shuttle into the park from here. There are also Red Bus tour options from this side of the park to consider.
Red Bus Tours
You have the same Crown of the Continent tour option (6-8 hours) on the east side as you did on the west side. We would highly recommend it if you didn’t already take it from the west side. The interesting thing about the east side is you have a couple more options worth considering. The “Old North Trail” option (6-8 hours) will take you to the Many Glacier area (which duplicates the Crown of the Continent tour a bit), but it also gets you down to the Two Medicine area (the only tour to do so). You can also take the “Big Sky Circle” tour (8 hours) which takes you along the Going-to-the-Sun Road but then loops you around the park instead of coming back through. This will give you some new views around the border of the park. If you are not interested in hiking these additional options might be worth your time instead.
Saint Mary Lake Boat Cruise
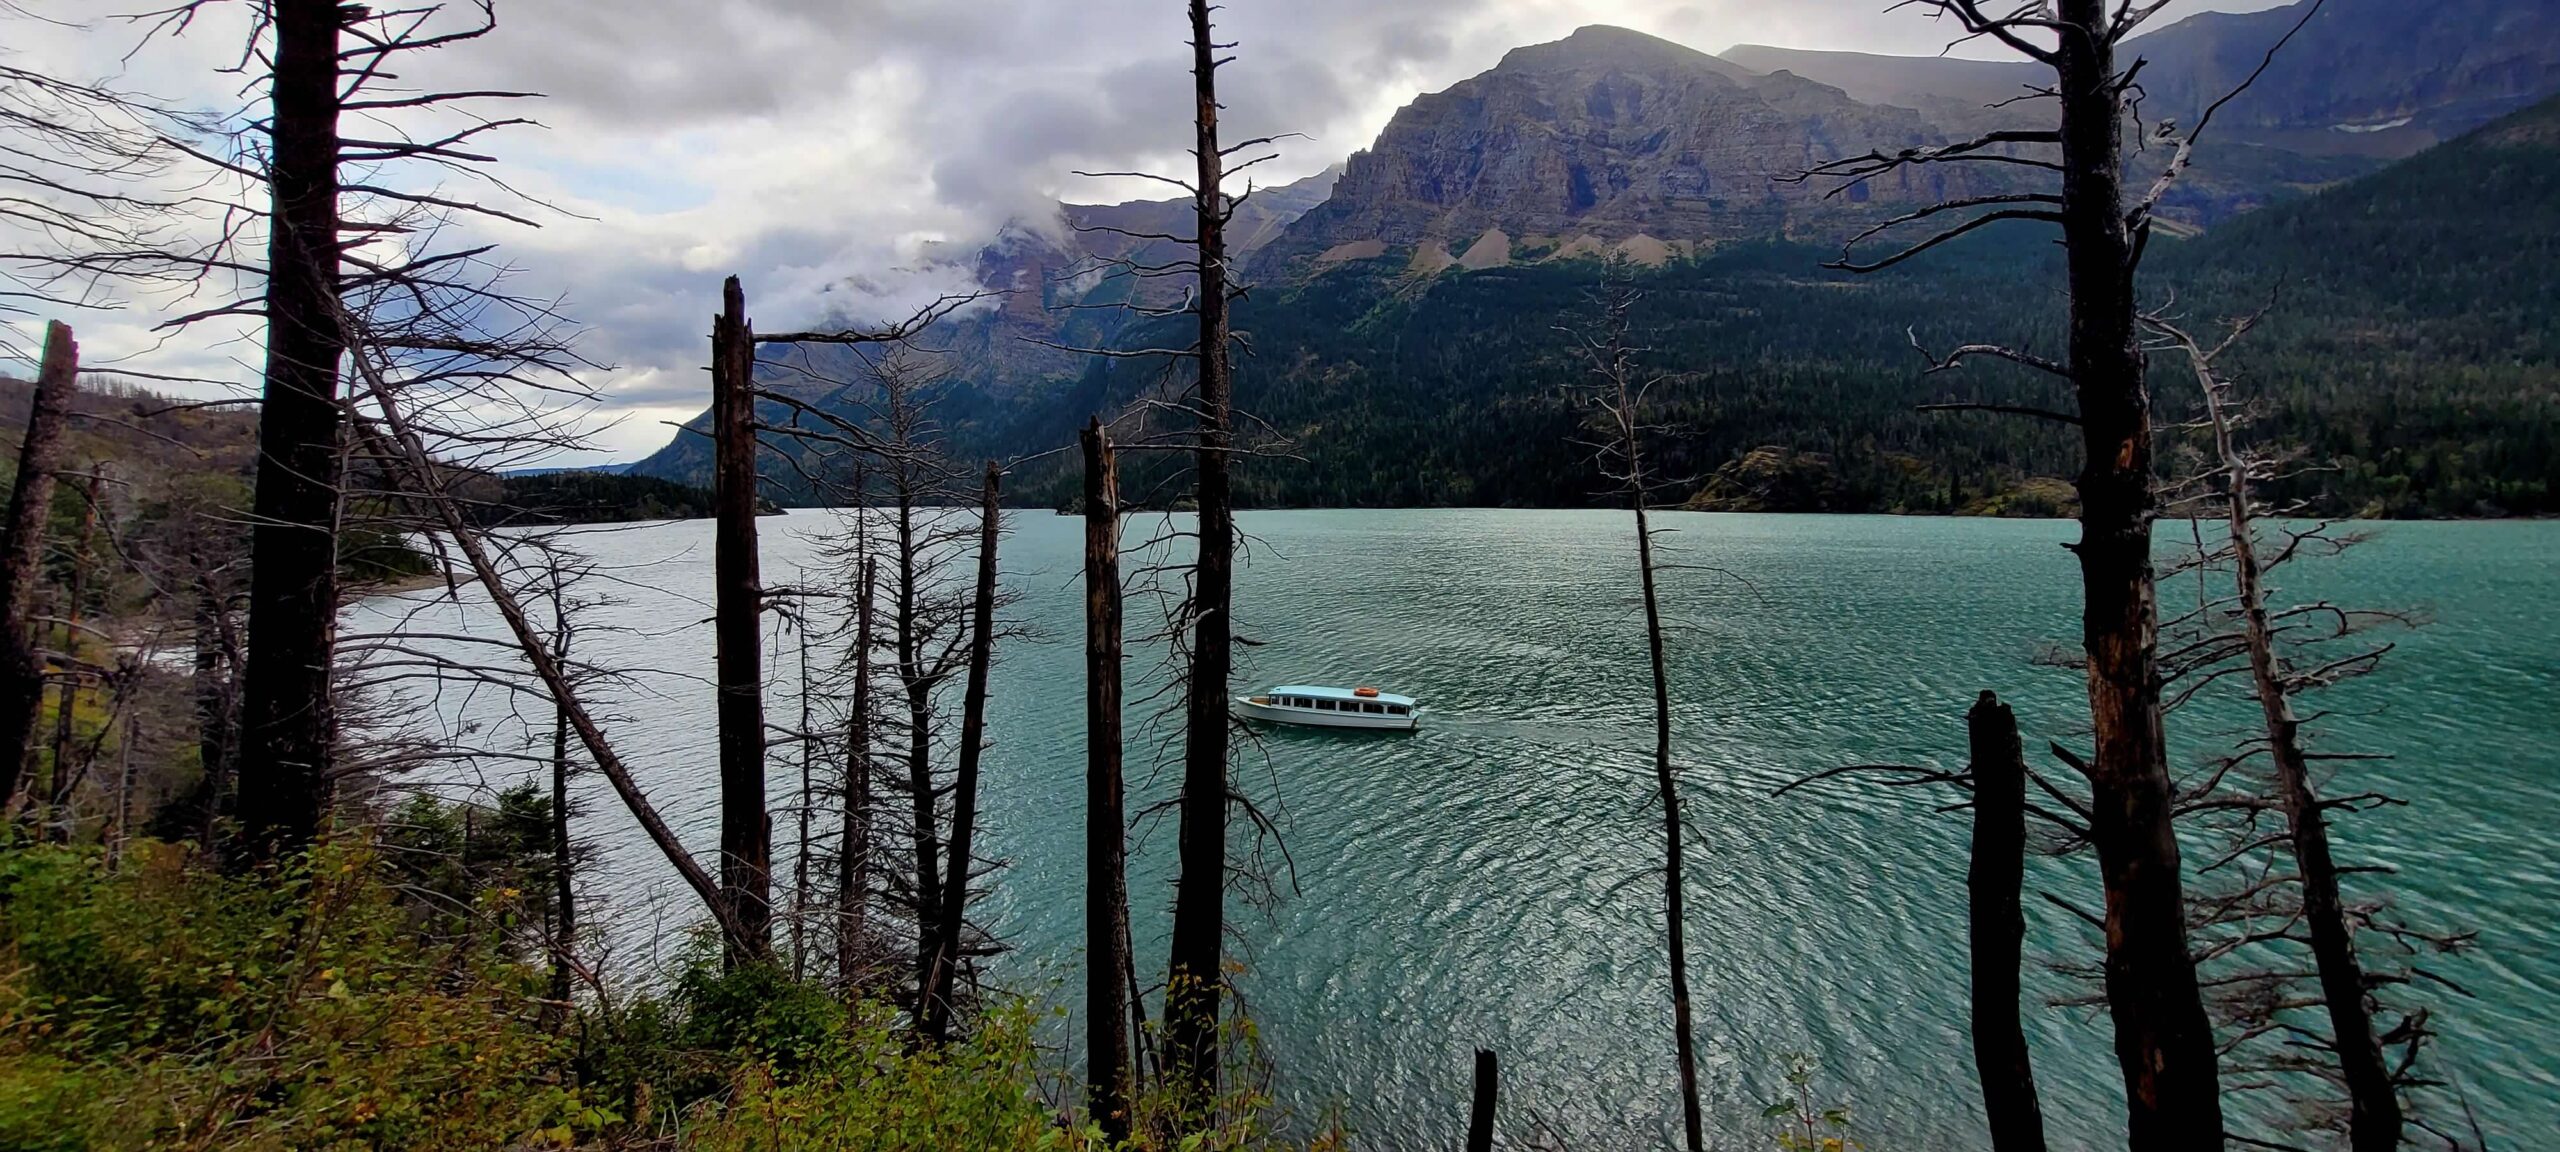
There are multiple options for this cruise. You can do a cruise only which lasts about an hour, but a better option would be to do the 1.5-hour scenic tour. This gives you an opportunity to get some awesome photos, provides an overview of the history of the area and allows you to get off the boat for ~20-30 minutes to take the short level path to see Baring Falls. In 2024, this cost about $40 per person. In 2025, another option is going to be offered for the first time, a 3.5-hour cruise and triple waterfall hike which will drop you off at Baring Falls and give you around 2 hours to hike to St. Mary Falls (3.2 miles RT) and Virginia Falls (another 1.6 miles RT). That would cut off a little bit of the distance on the trail we are about to mention below. The price for this new option is not available at the time we are writing this, but we wouldn’t expect it to be much more.
Sun Point – Baring Falls – St. Mary Falls – Virginia Falls Trail – 6.3 miles RT, Moderate, 3 hours
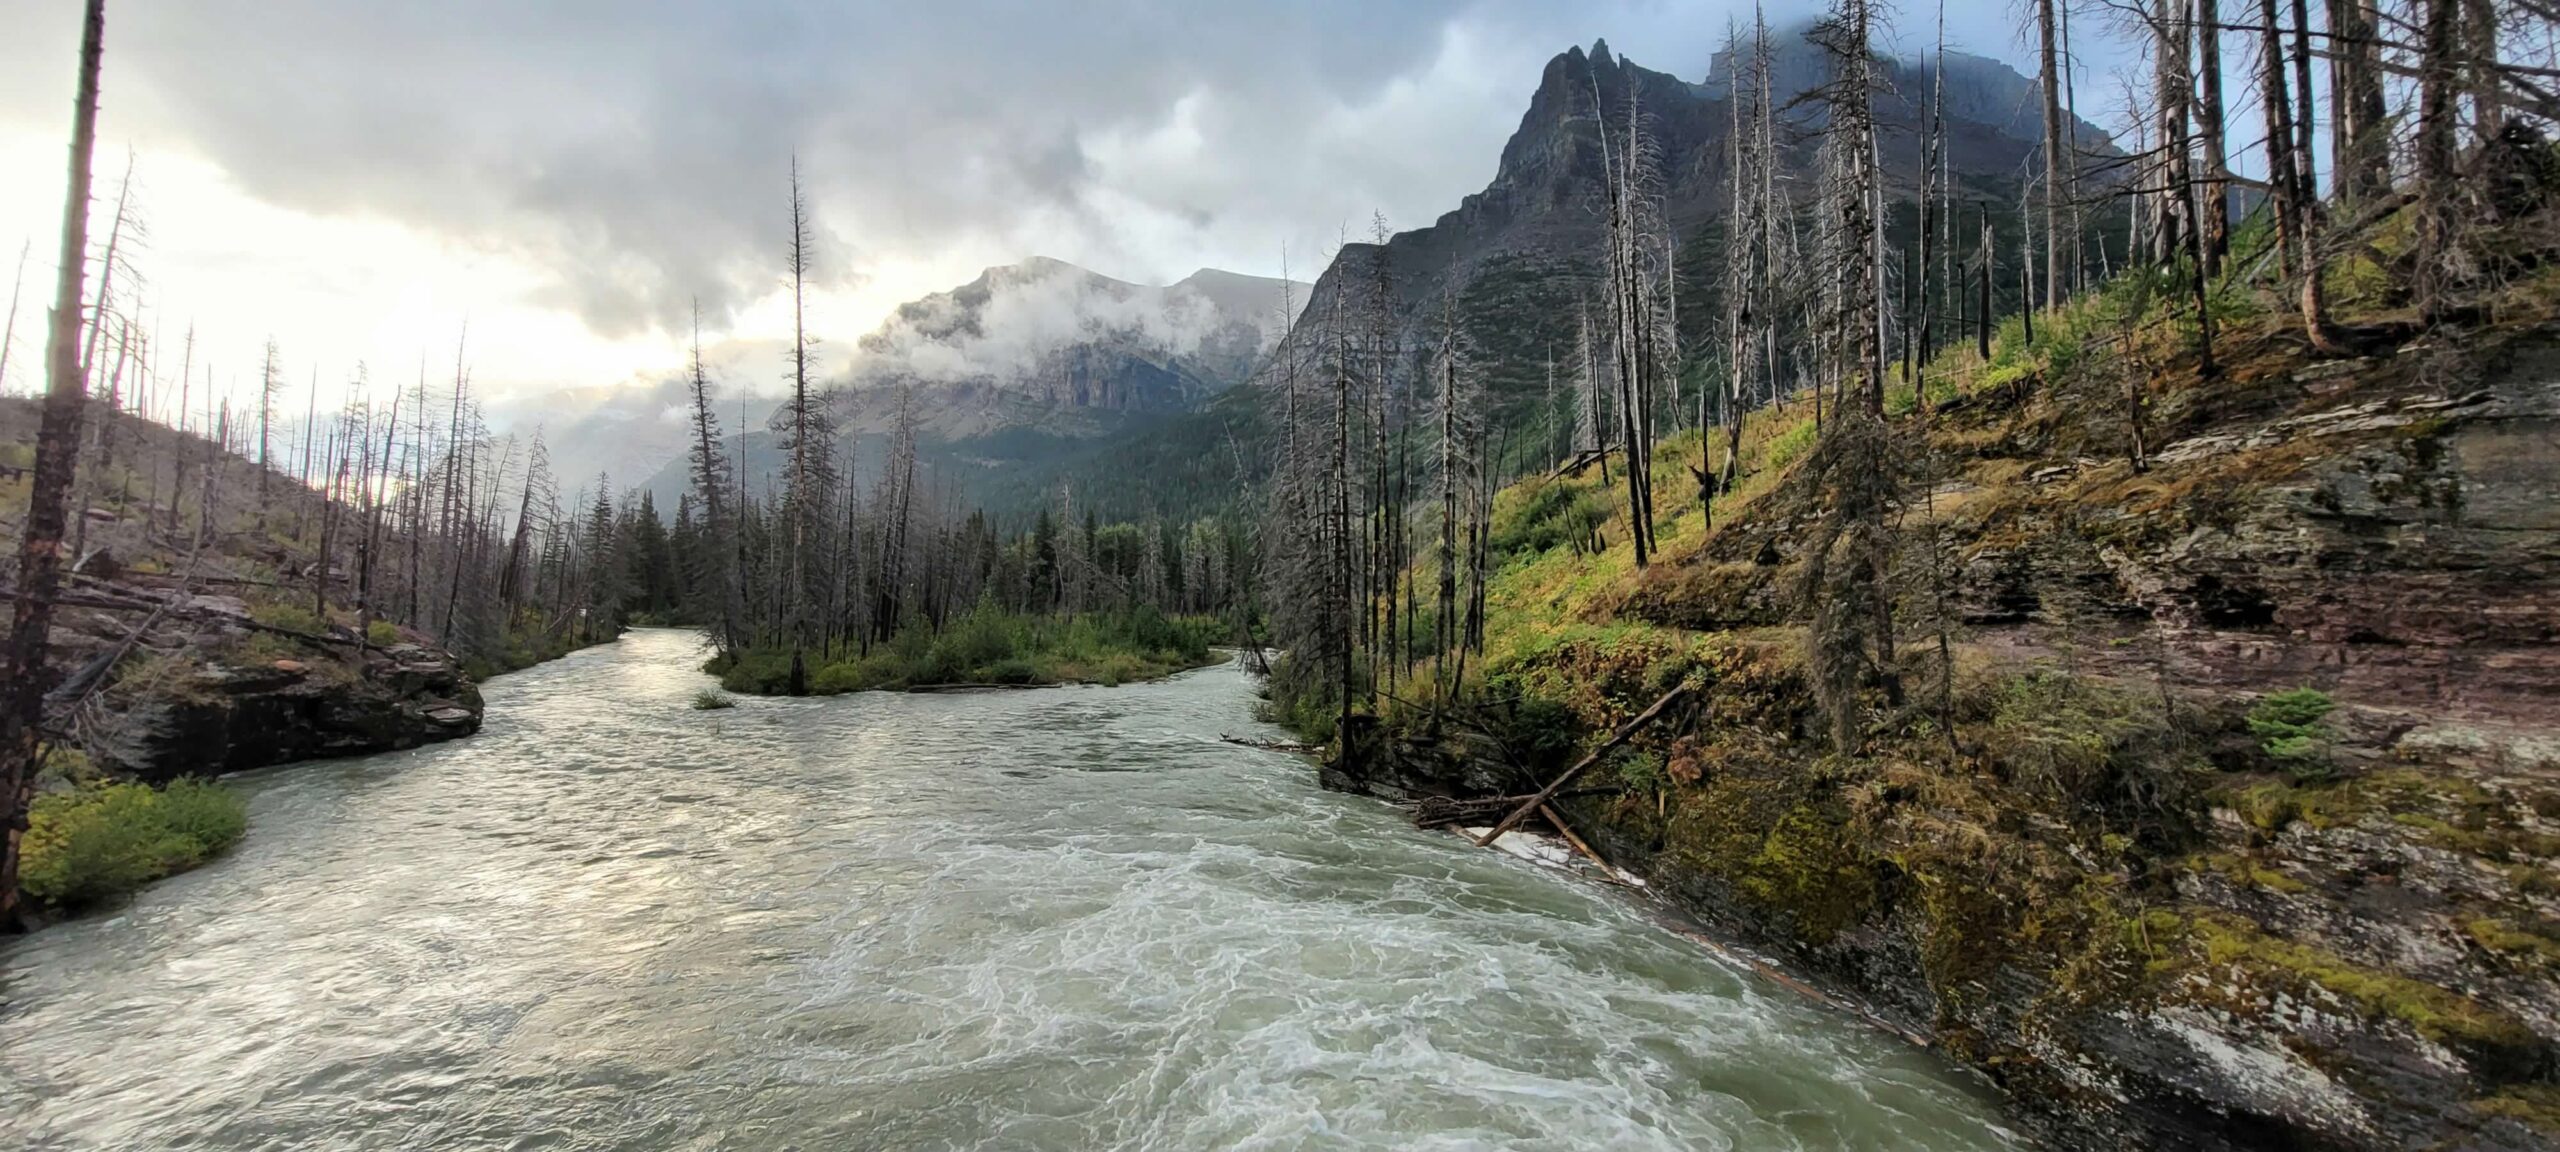
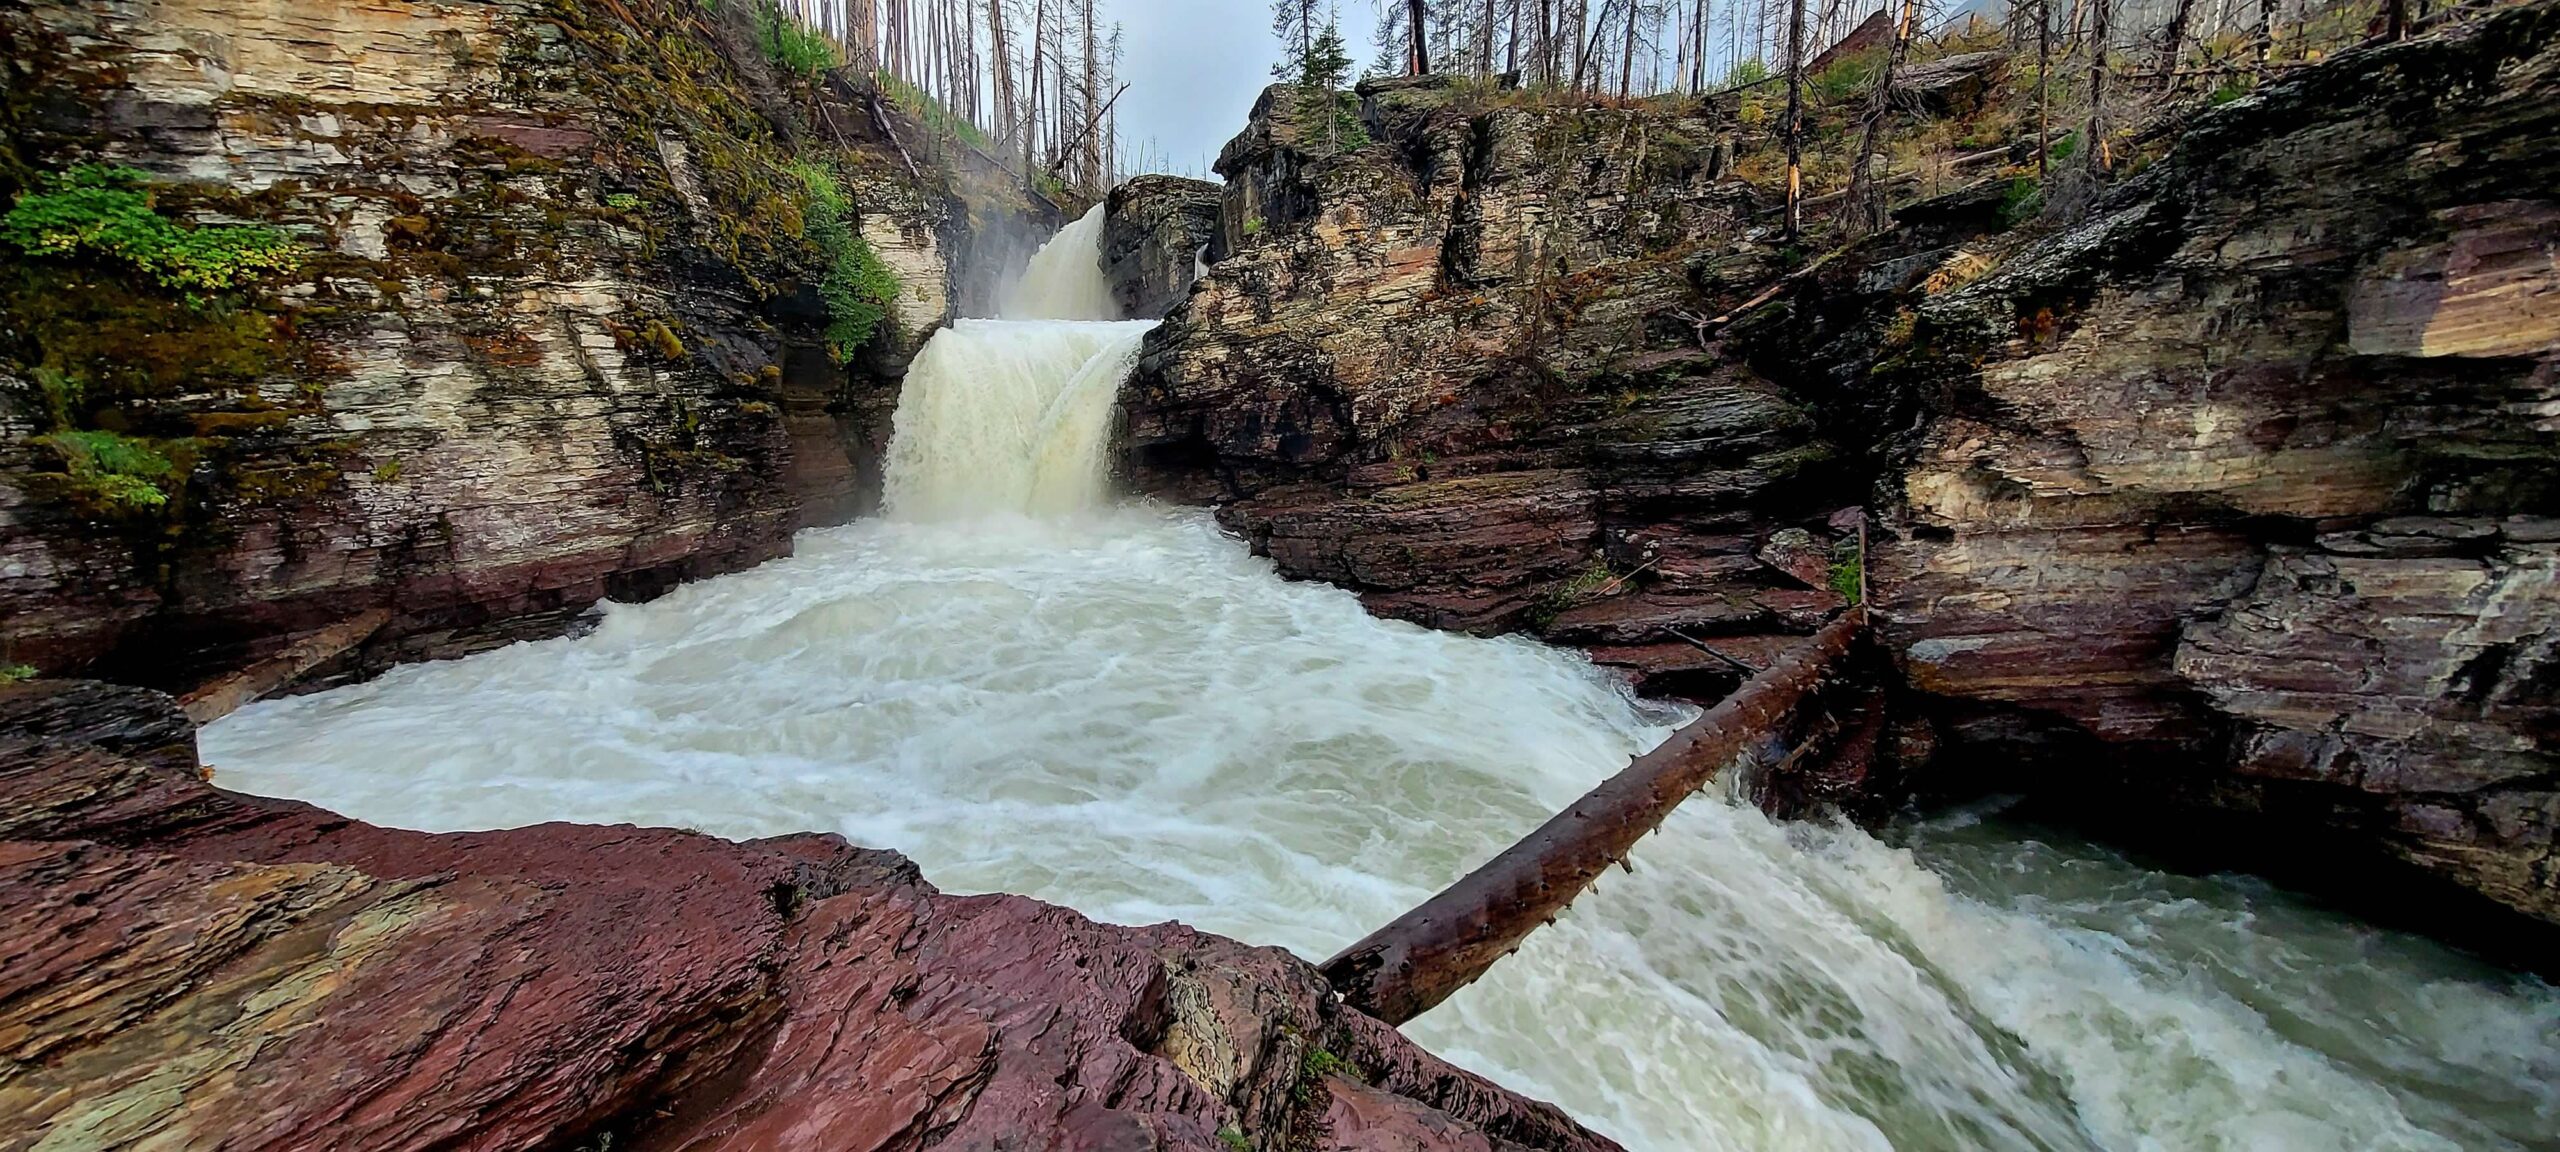
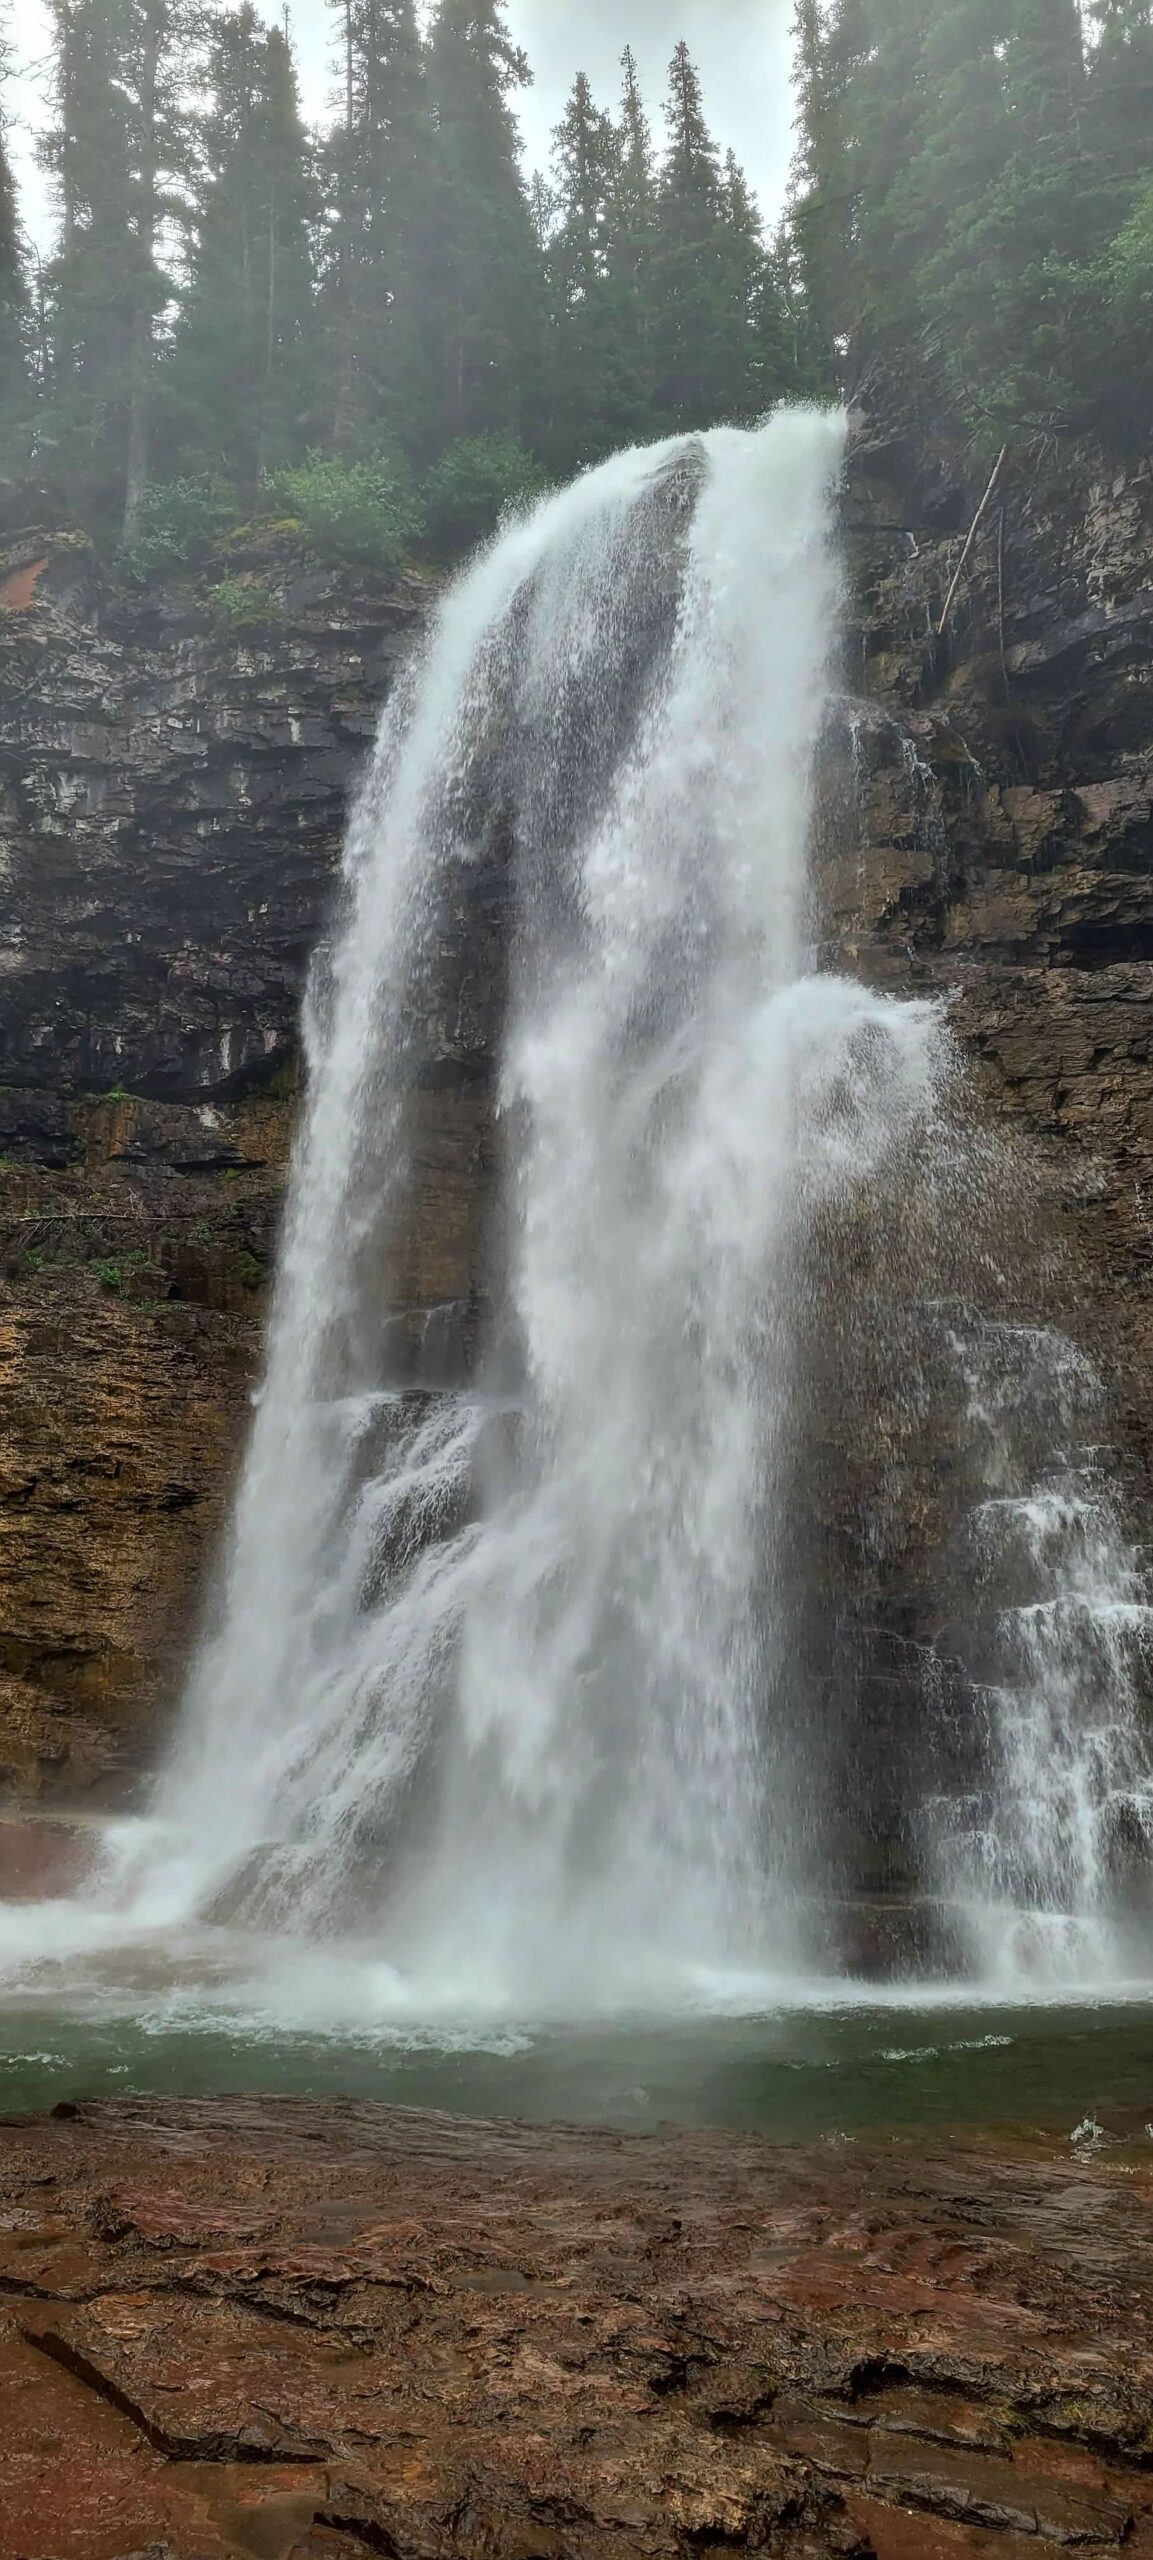
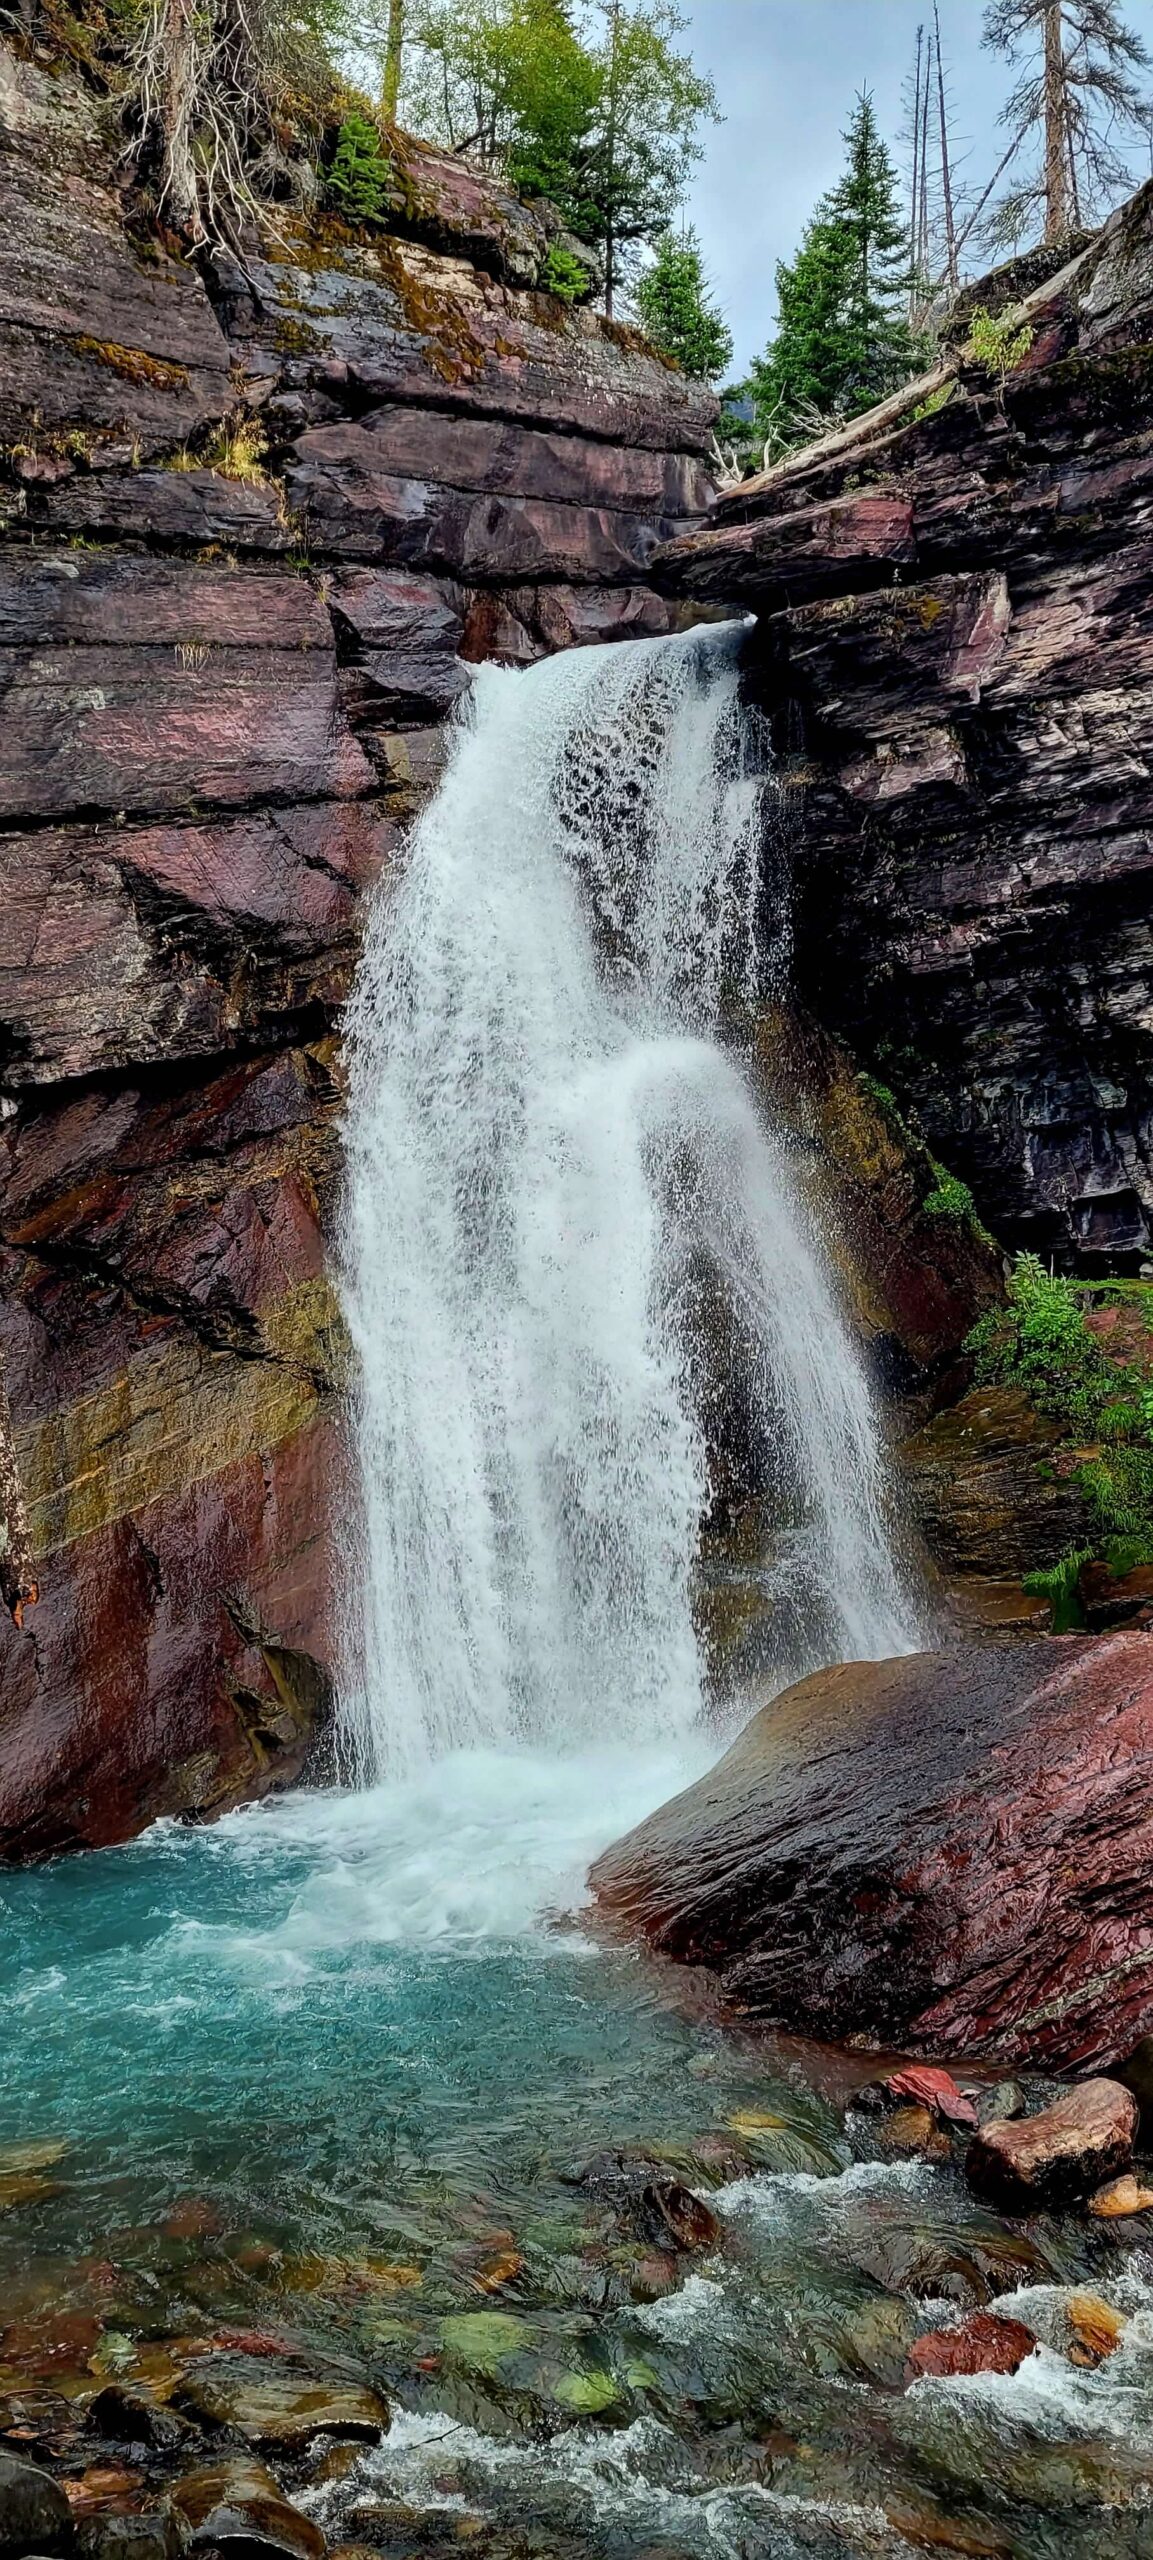
There are some other trails in the area, but this is the combination we would suggest. We recommend you start at the Sun Point area if you can find parking there. Another option is the St. Mary Falls shuttle stop area (but parking is very limited here). You’ll climb about 700 feet on this which comes gradually throughout so you don’t feel it as much. There are also ways to shorten this, notably with the apparent new 2025 boat cruise option mentioned above. But you could also use the free shuttle system to cut off a couple of miles by taking the St. Mary Falls Shuttle Stop to the Sun Point Shuttle Stop on the way back. Starting at Sun Point will give you some great panoramic views of St. Mary Lake and the surrounding area. Once you are done here, you can start the hike to Baring Falls which is a nice waterfall which allows you to get up close if you are daring enough to walk the ledge. You may encounter a lot of people here due to the constant boat cruise traffic. After you have had your fill of pictures here, start the hike to St. Mary Falls which is a powerful short waterfall that also offers great panoramic views before you head up to the larger Virginia Falls which has an Upper and a Lower portion. Once you are done, it’s time to turn back and follow the same path back to your starting point.
Many Glacier Area
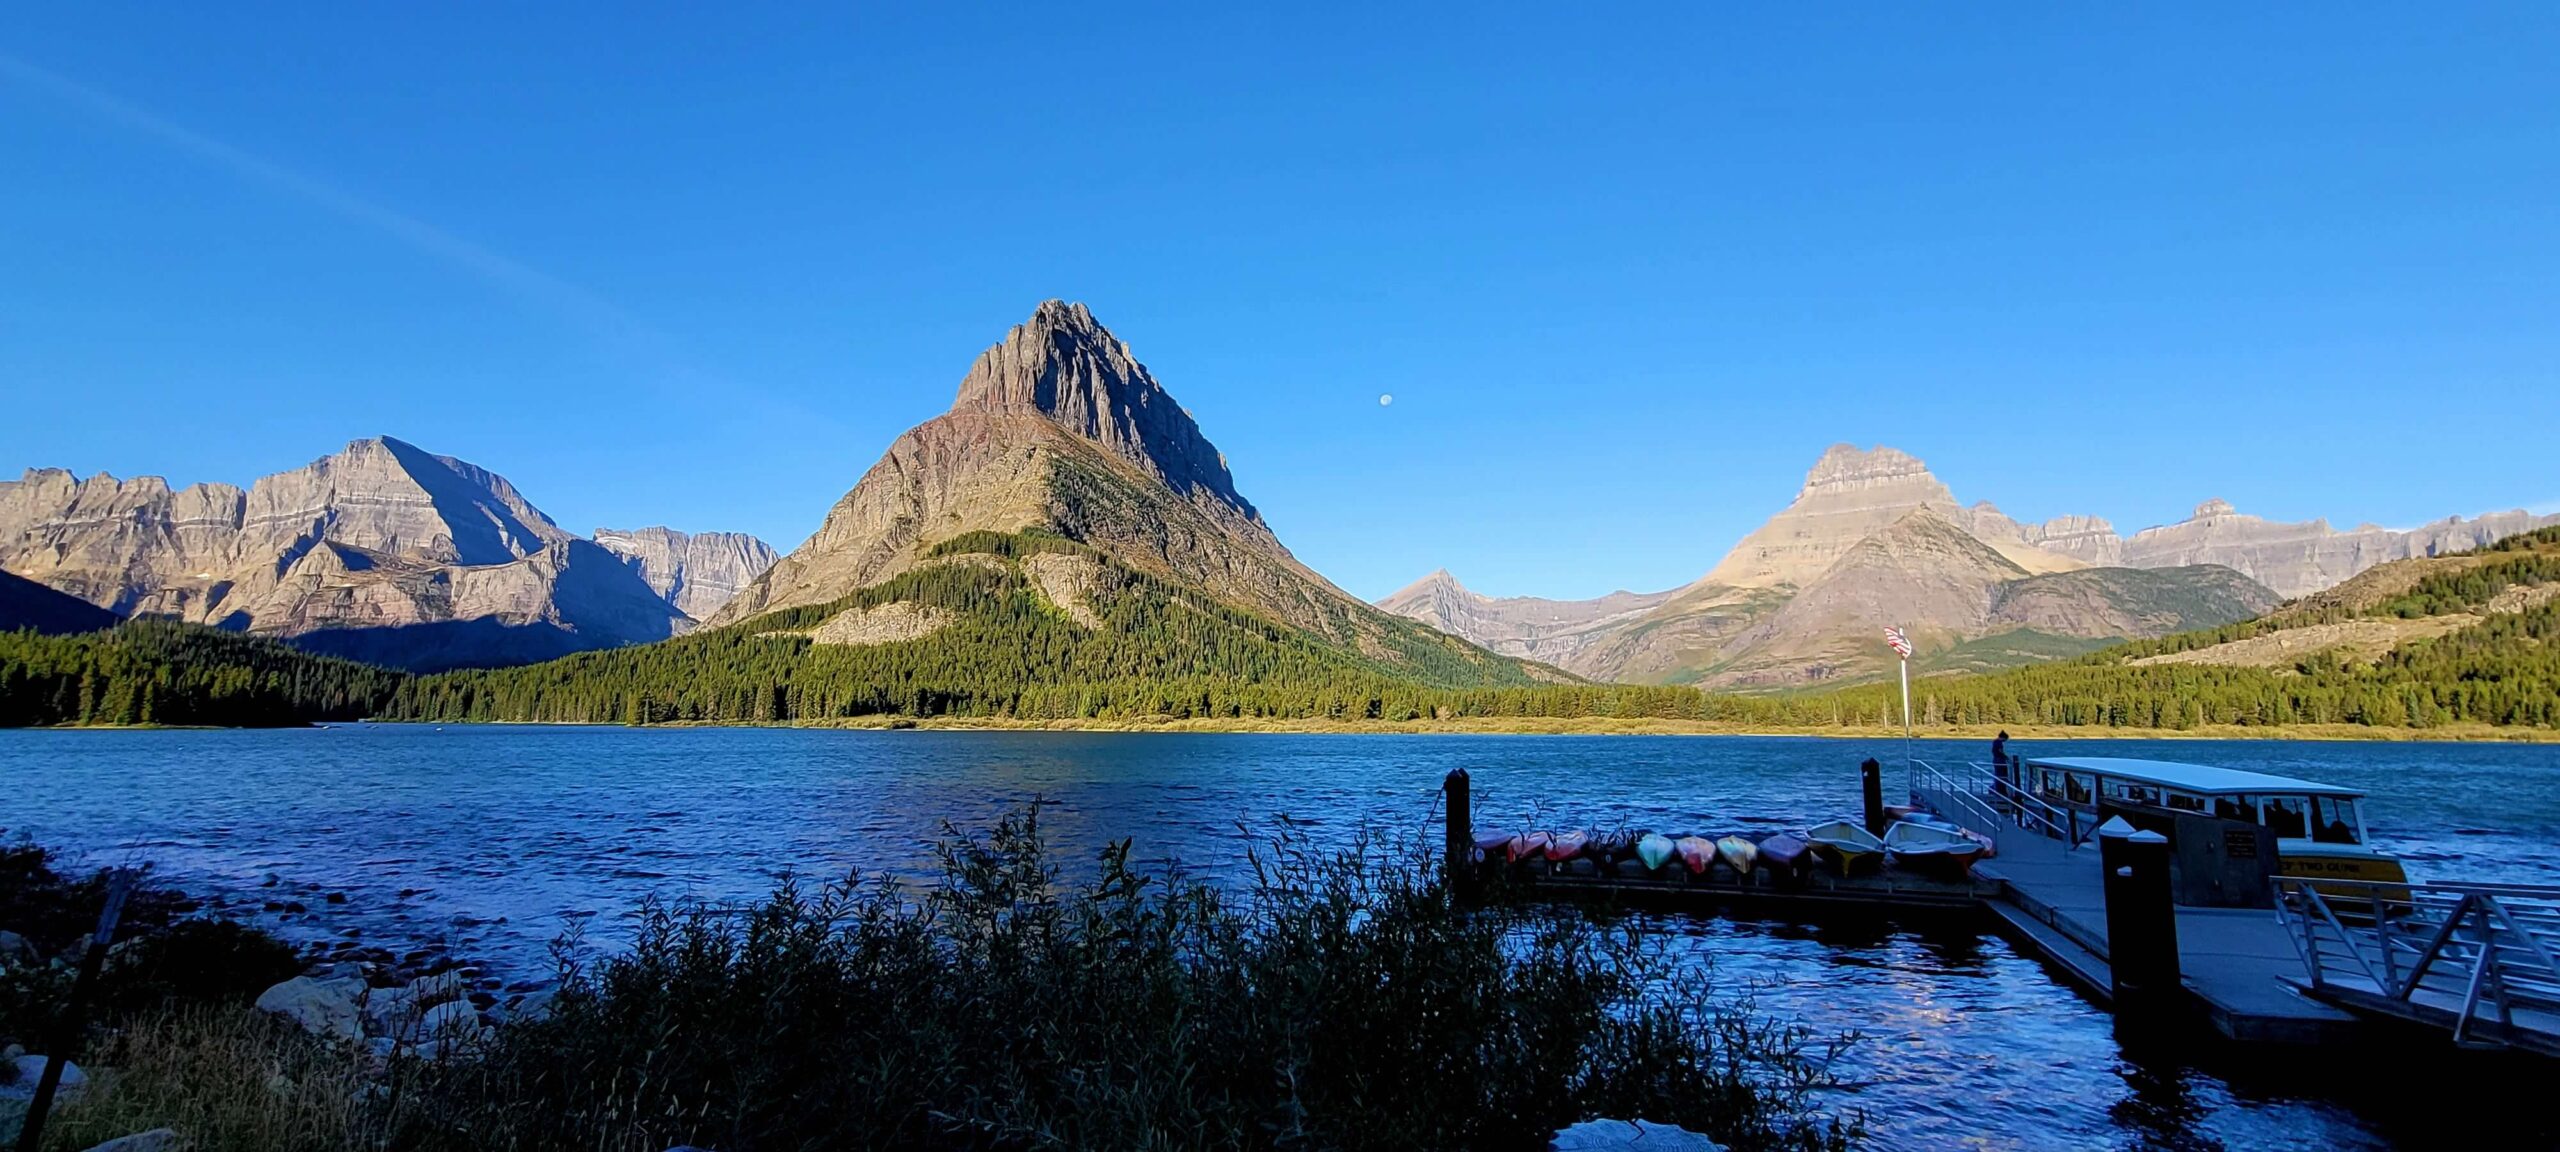
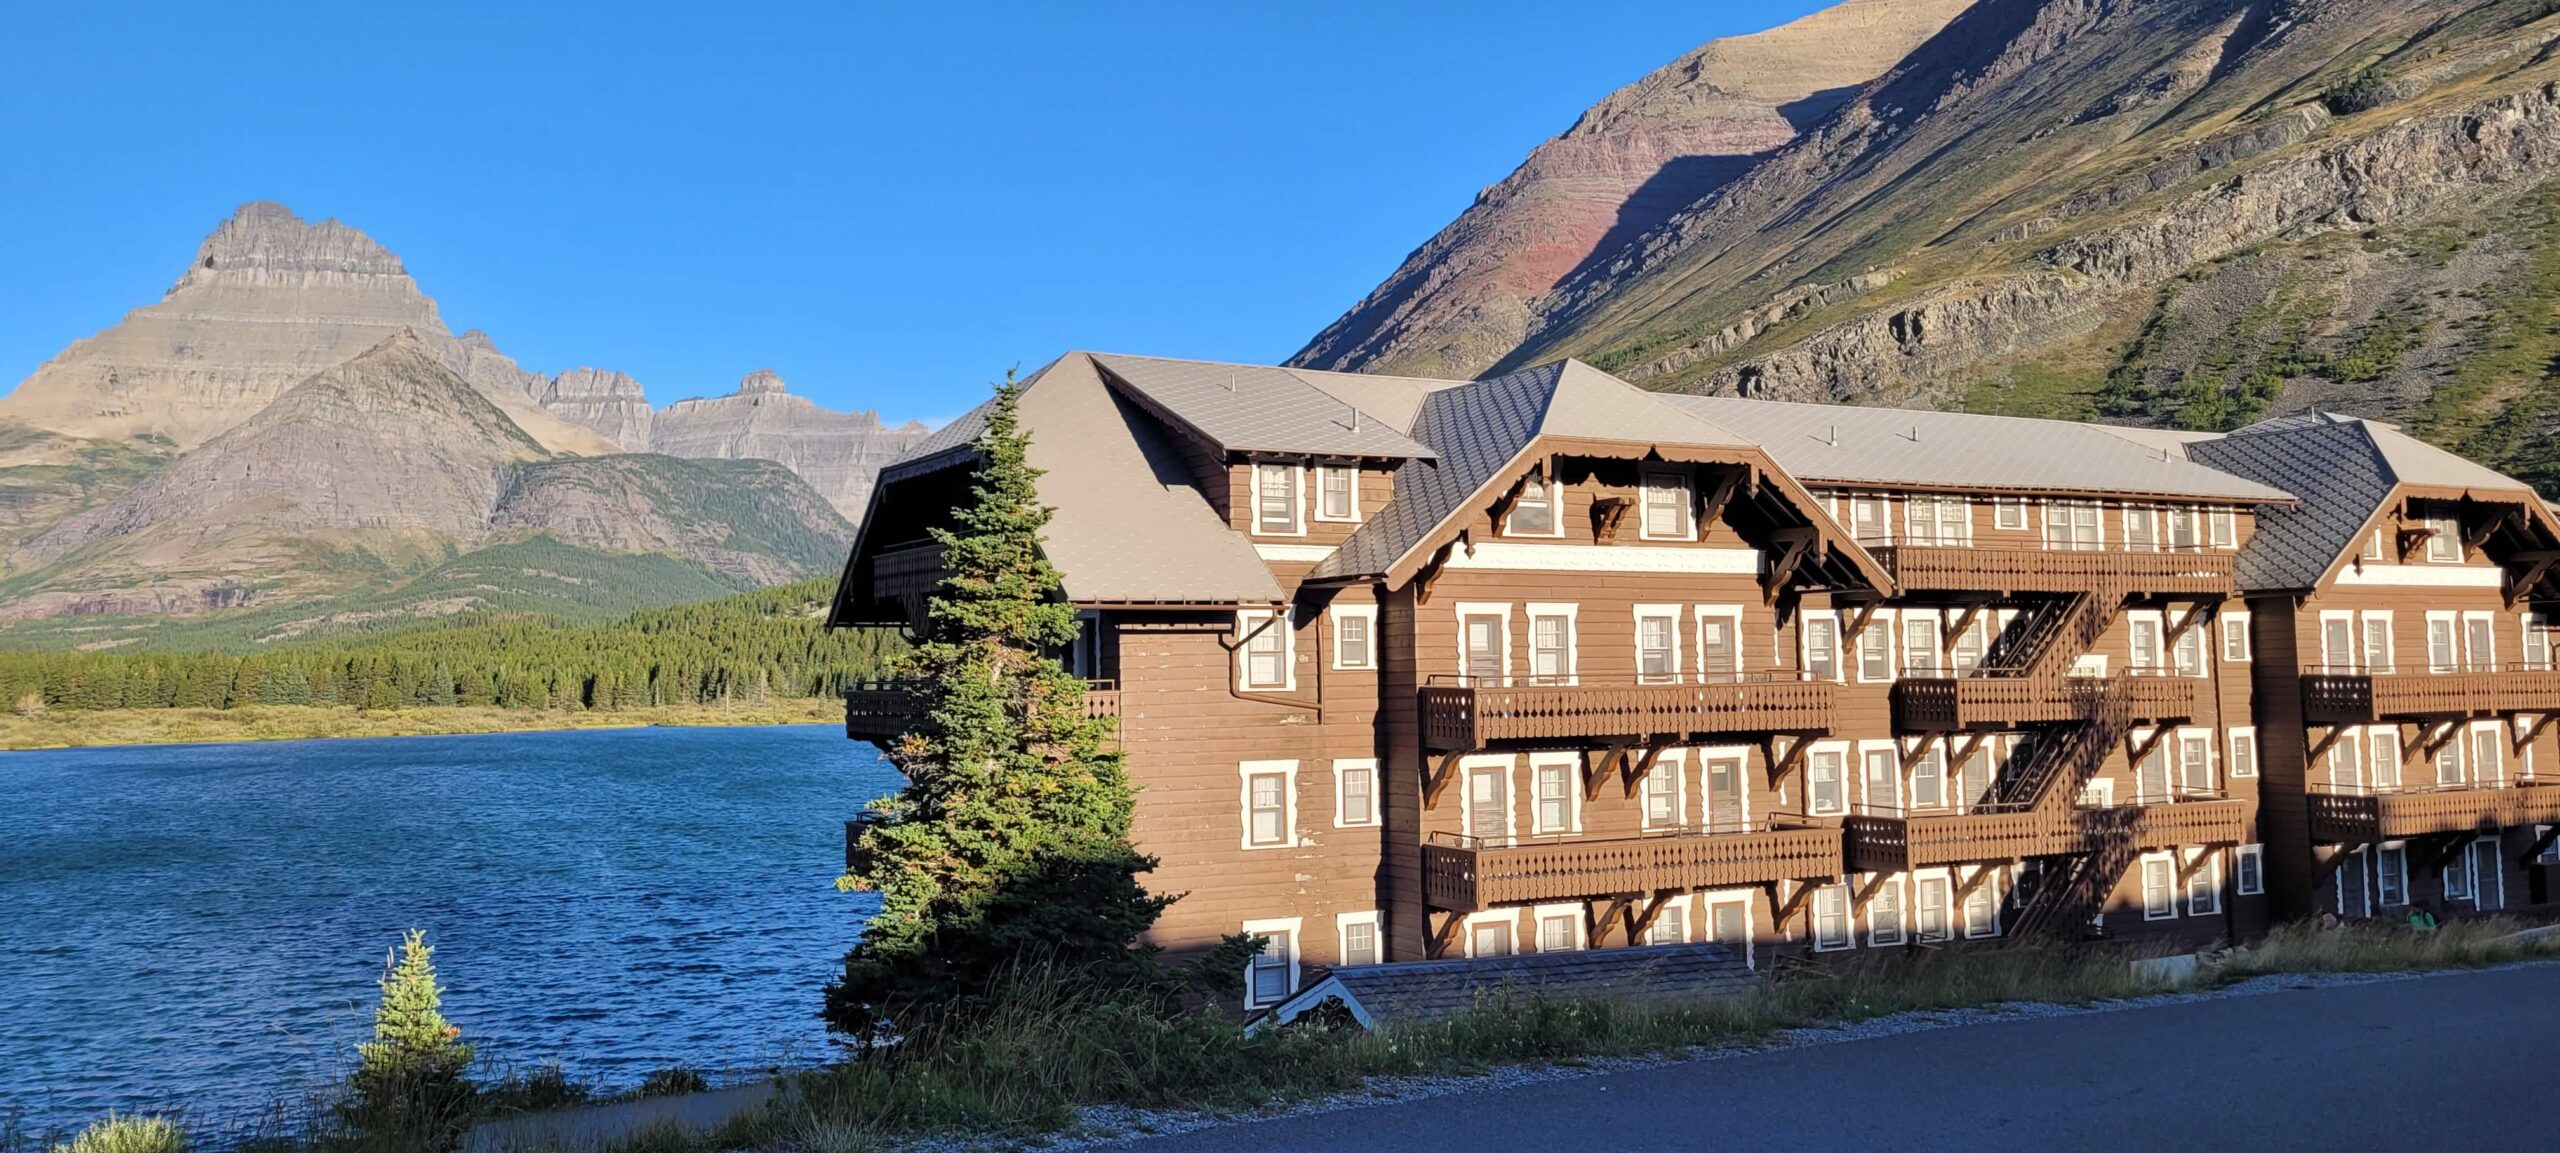
Many Glacier is our favorite area of the park. It is a bit disconnected from the Going-to-the-Sun Road and what people would consider the main part of the park, but it’s a hiker’s paradise. You could spend multiple days here as there are some amazing hikes. There also is another lake which means another lake cruise option. Here you actually get to cruise two separate lakes with one required short hike or an optional longer hike between the two. Booking a lake cruise or staying in one of the two lodges in this area also gives you full access to the road for the entire day(s) as this area requires a vehicle registration and is treated separately from the Going-to-the-Sun Road one.
Many Glacier Boat Cruise
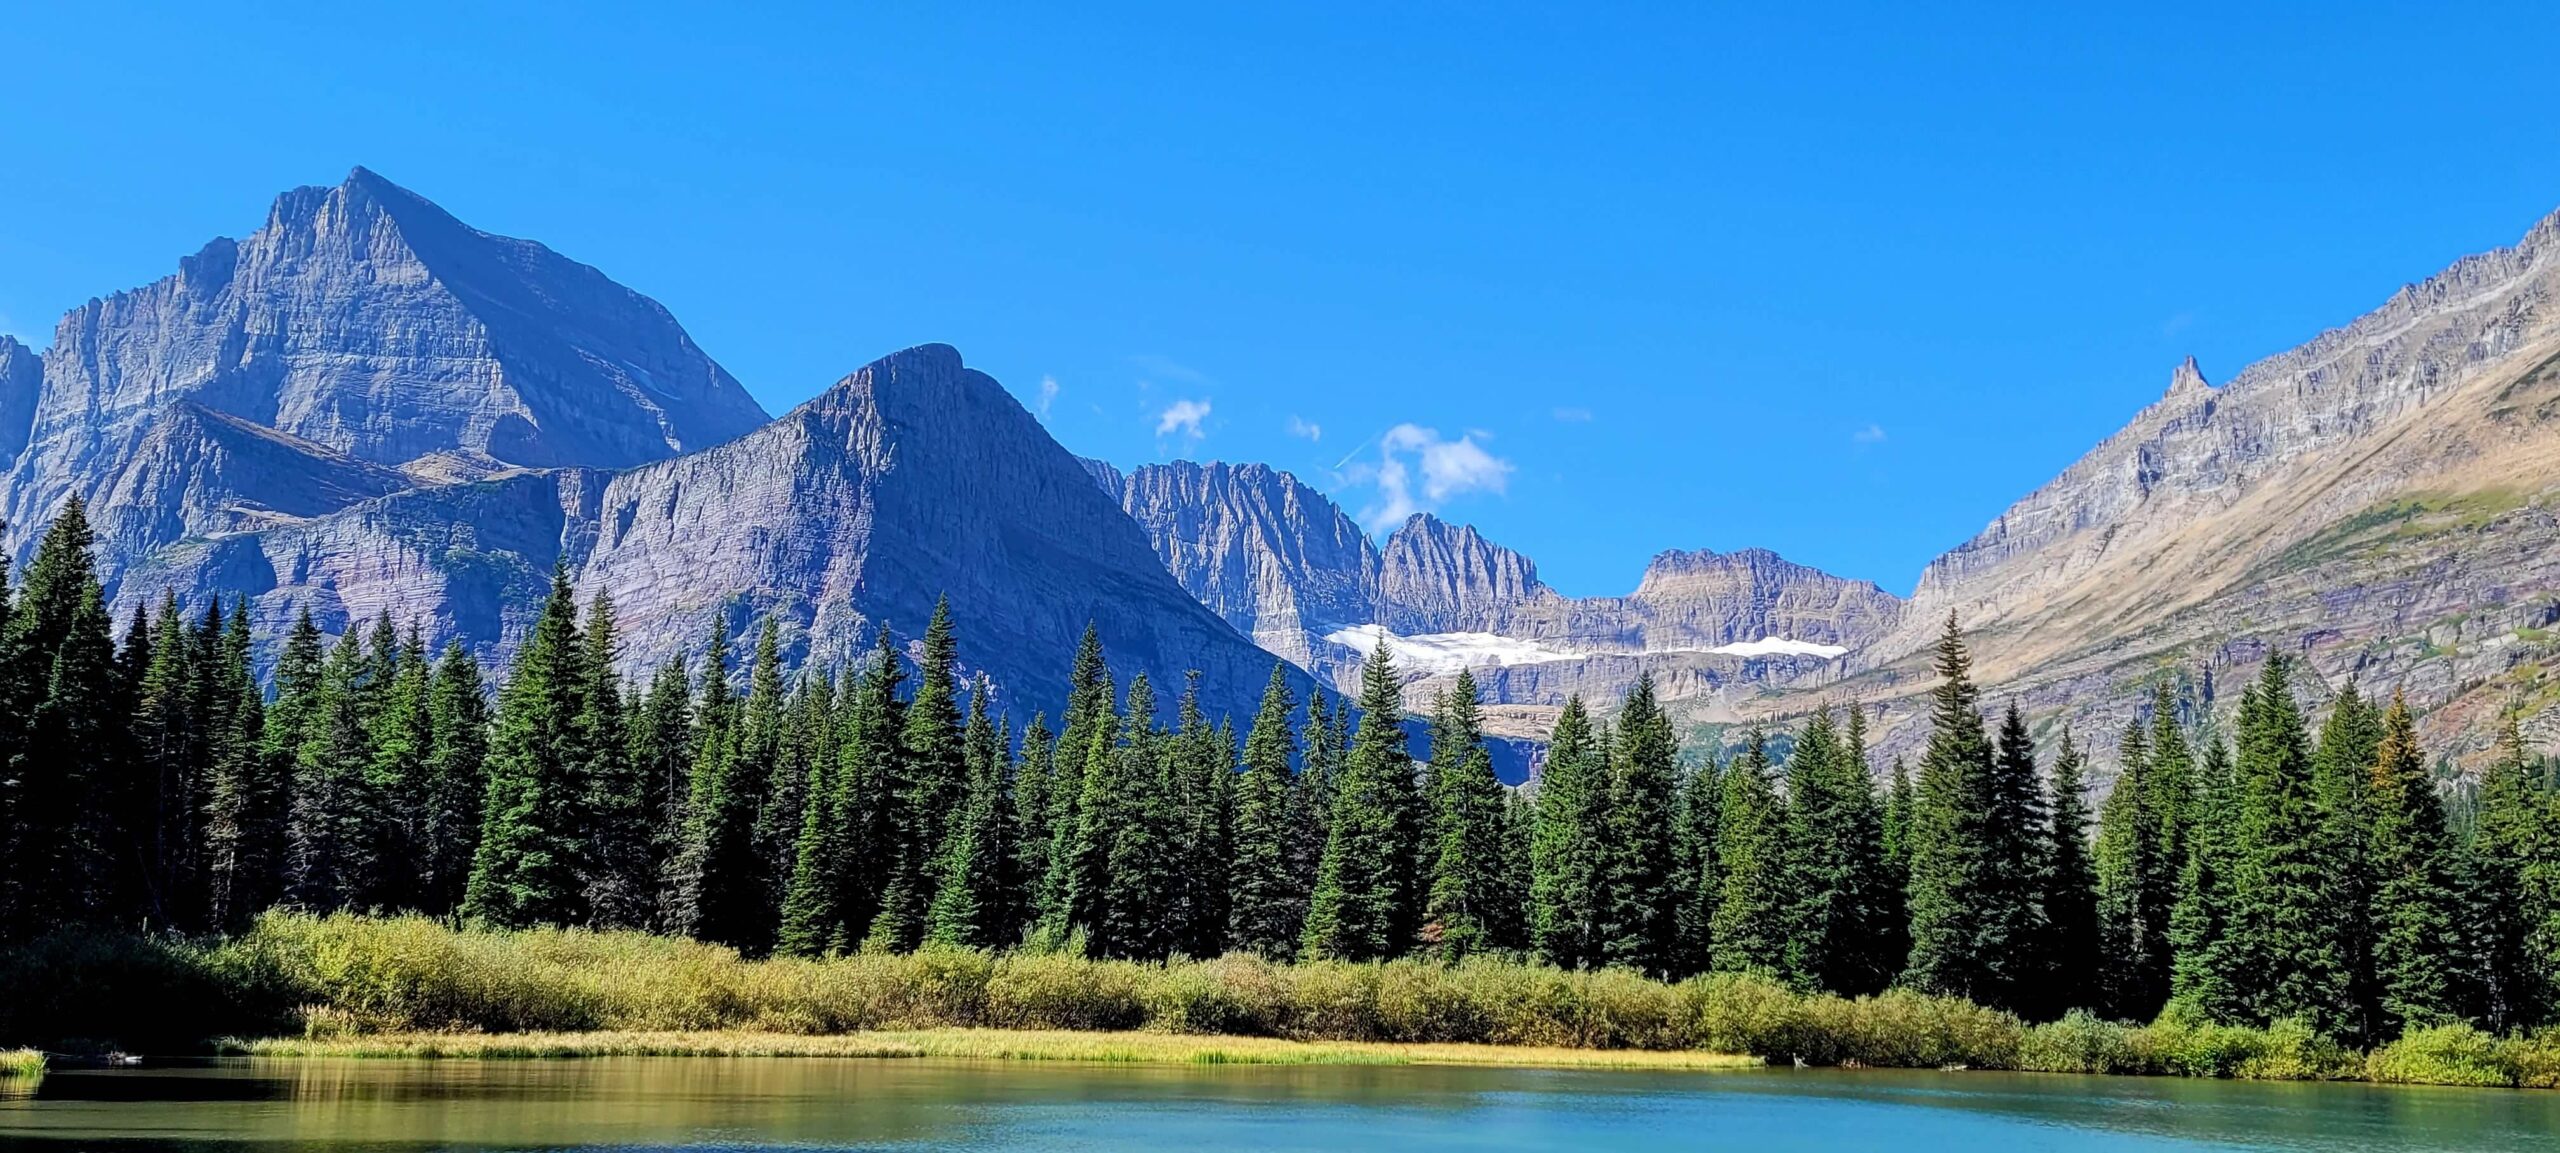
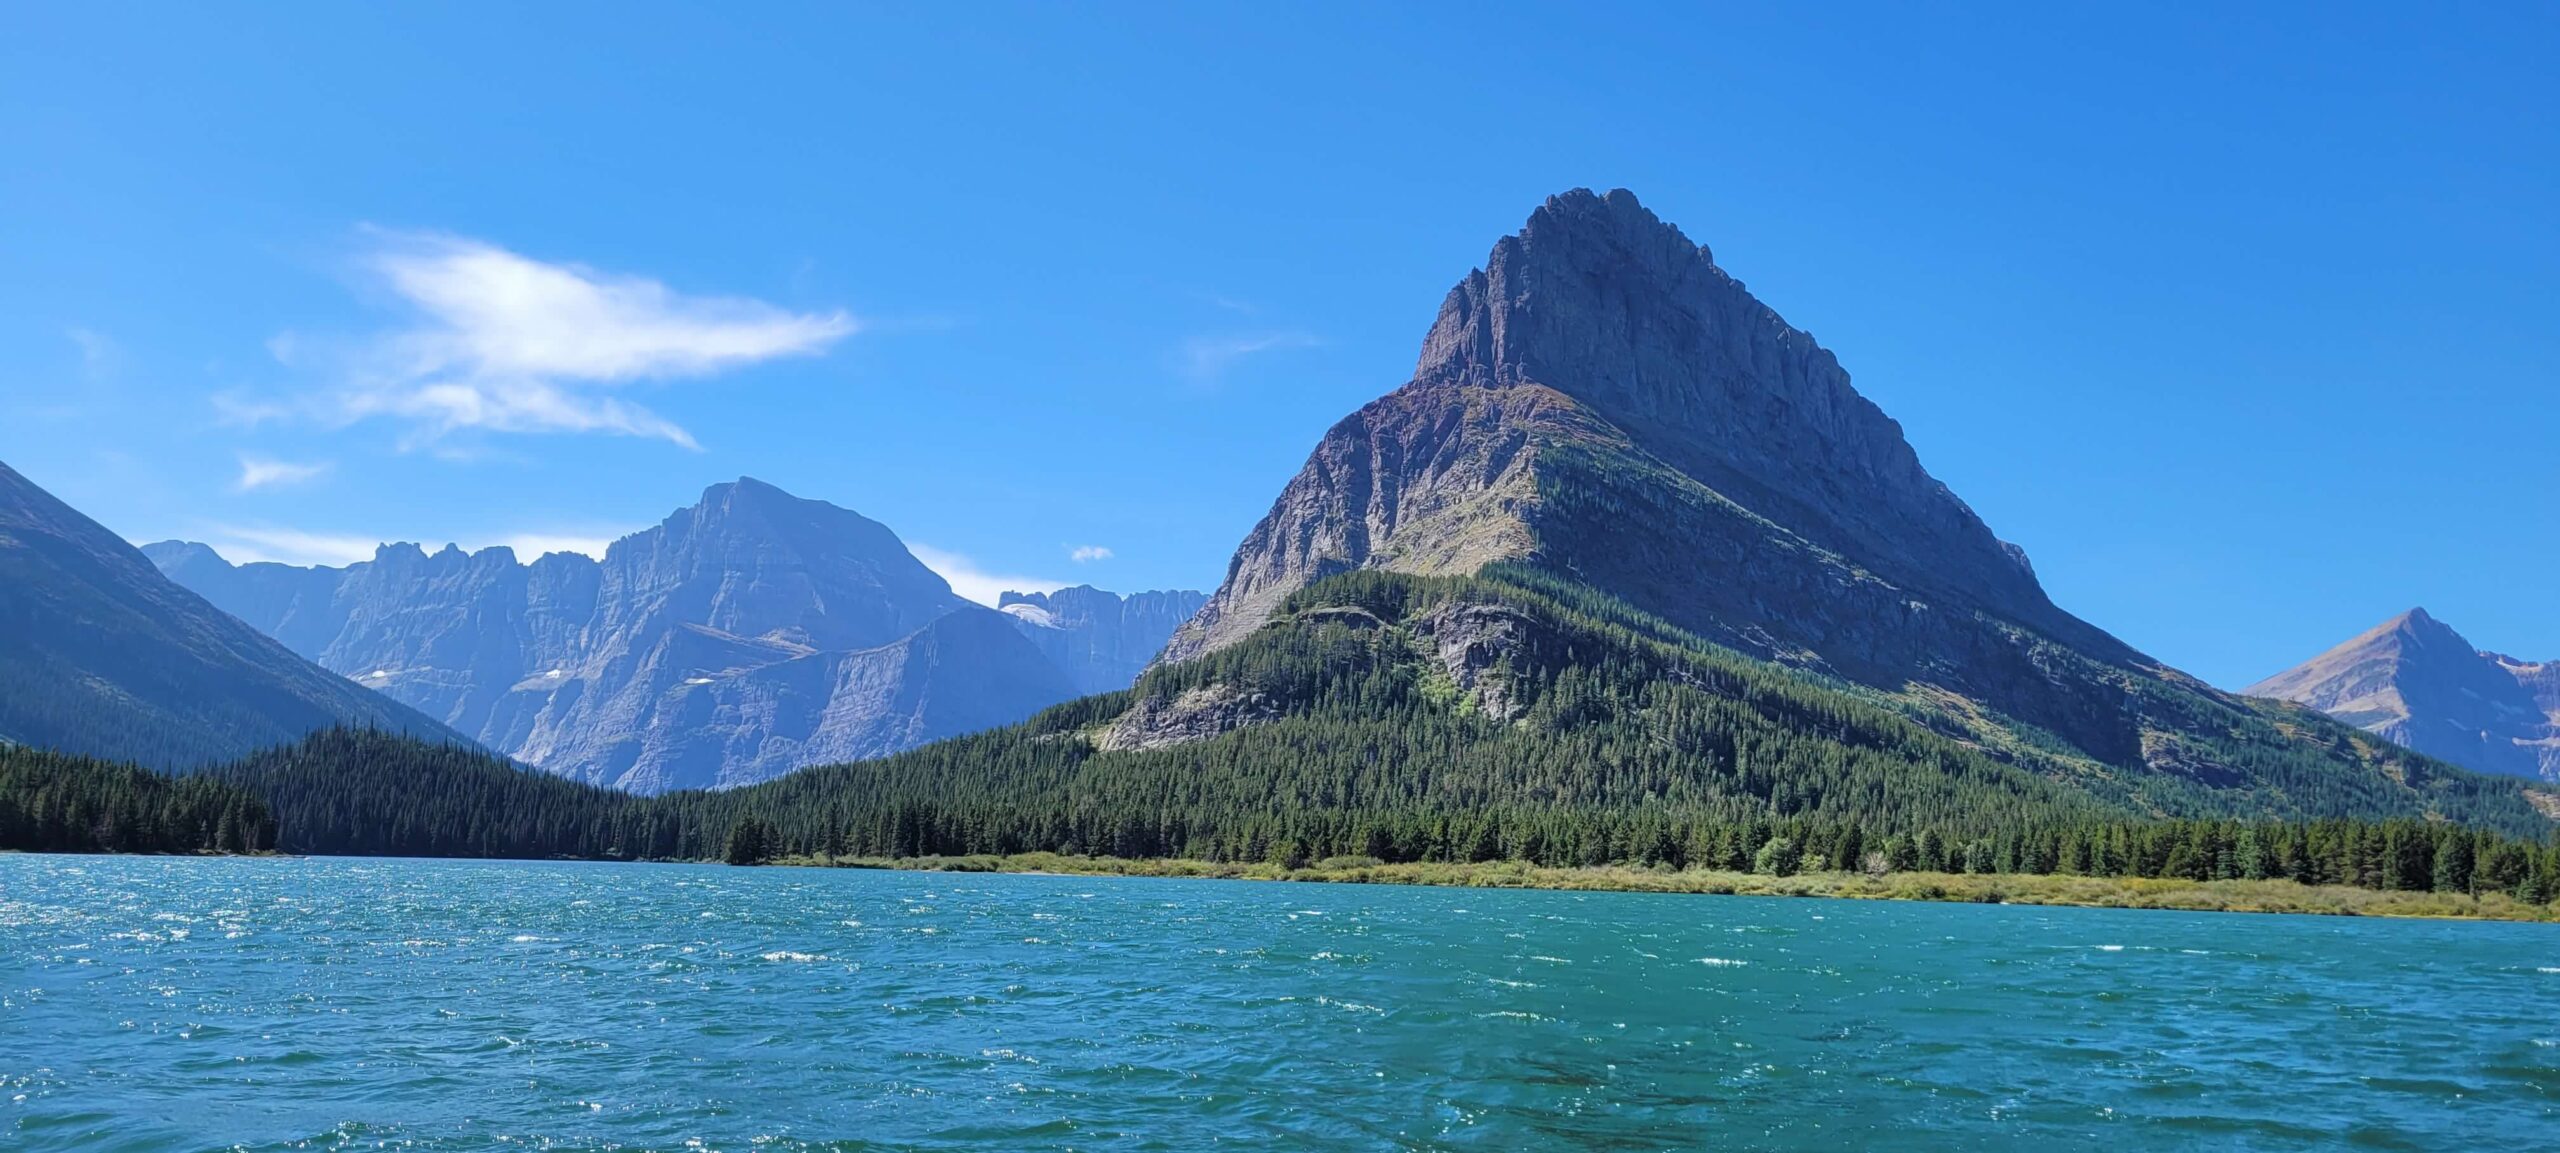
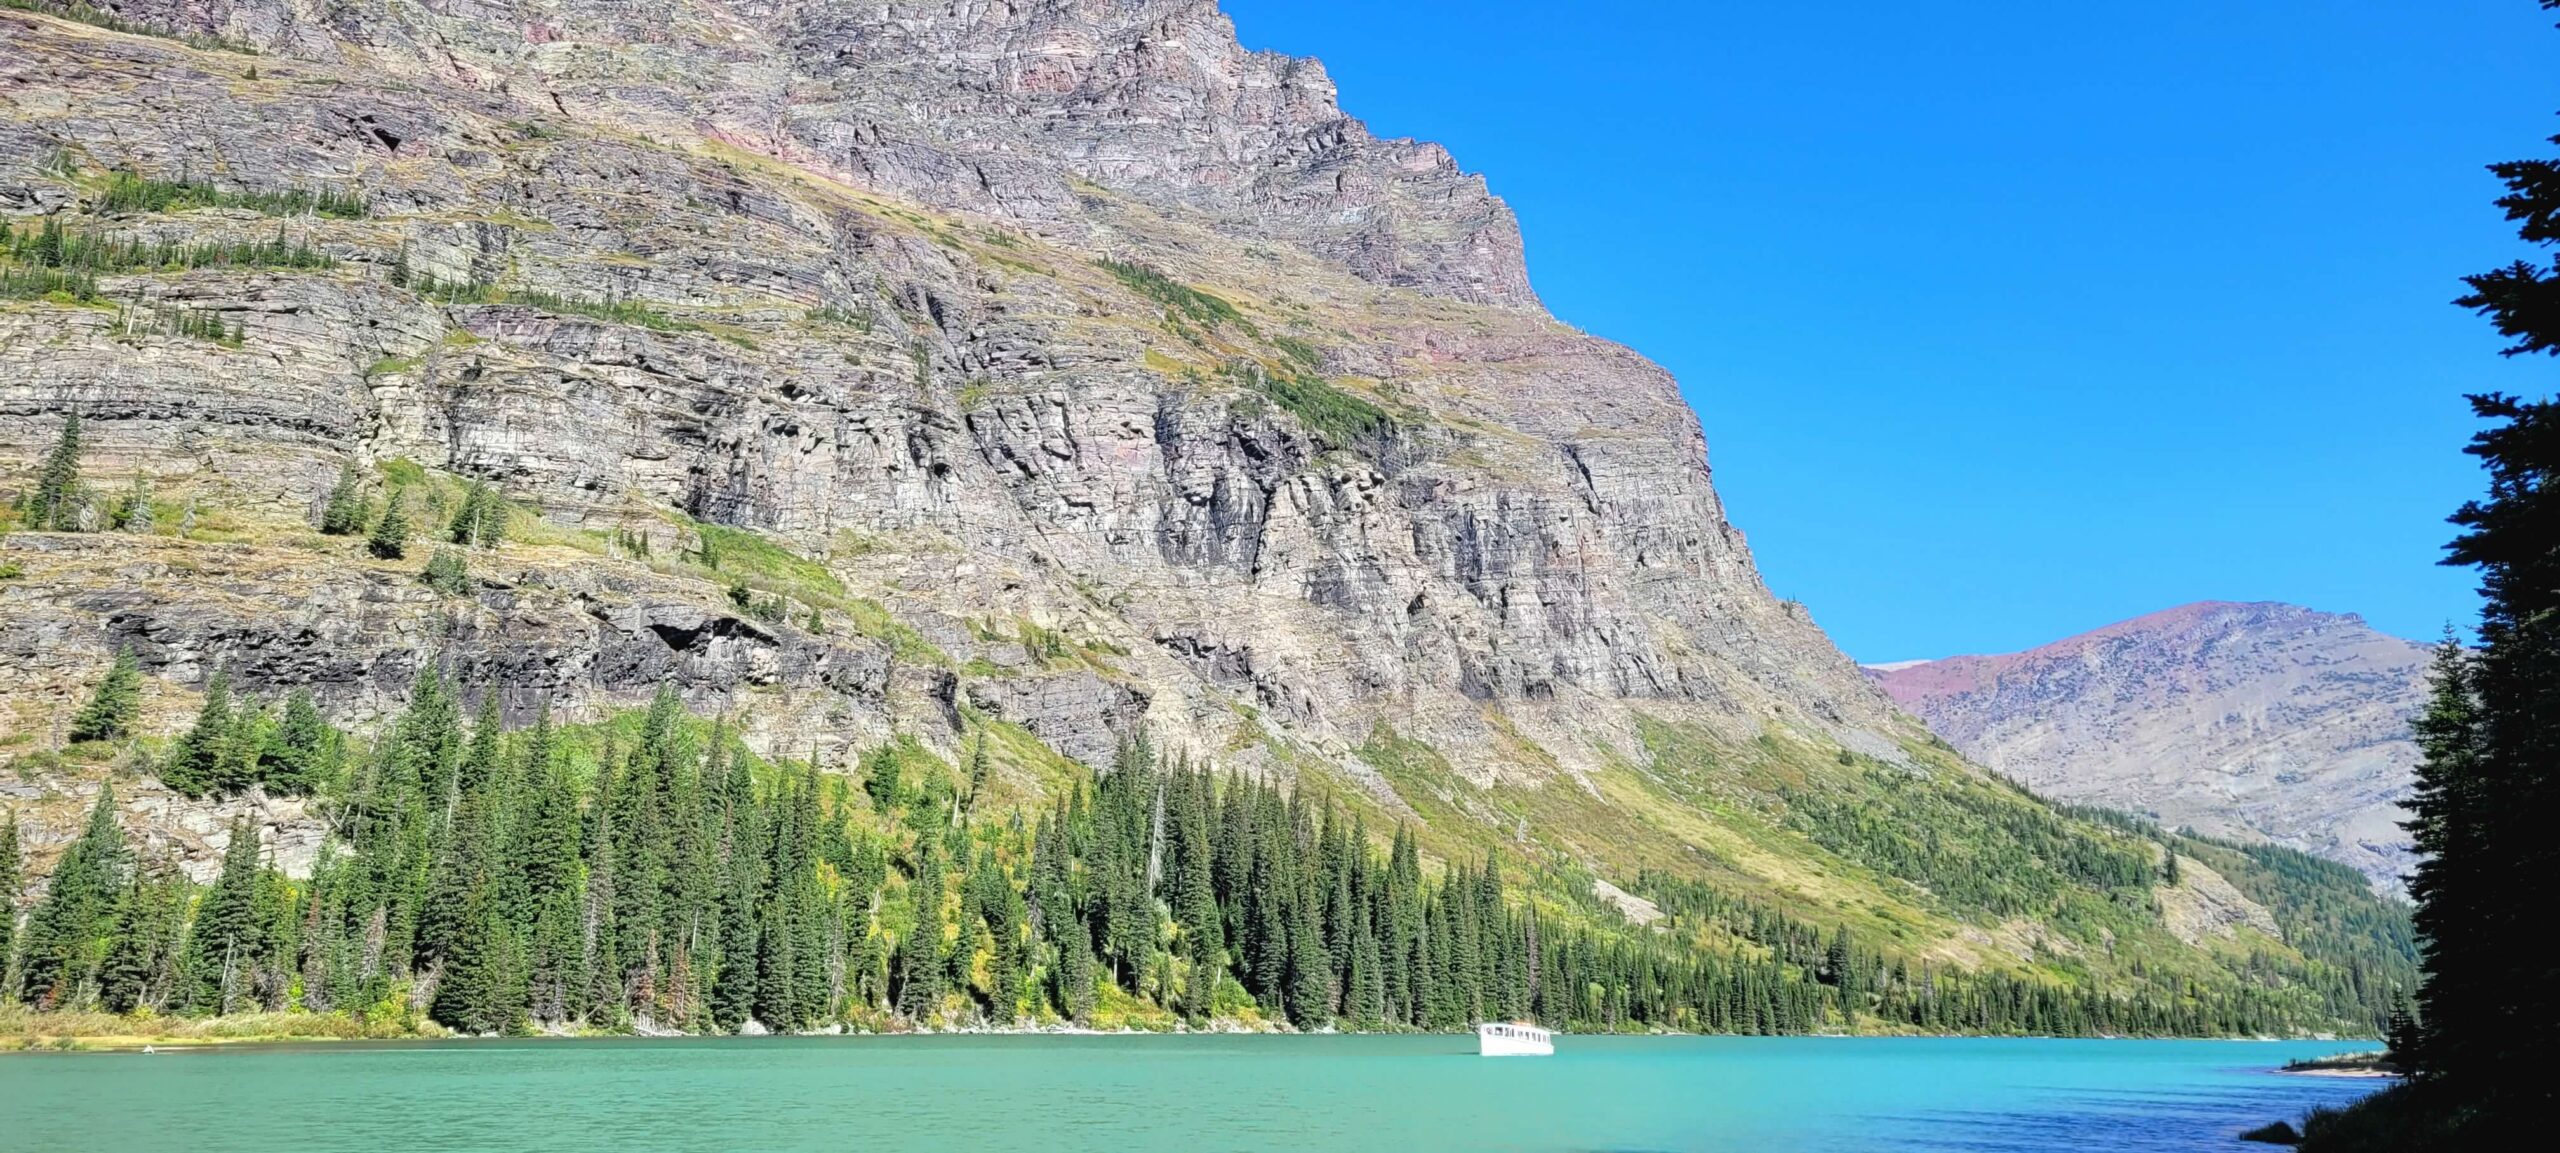
Perhaps the most popular boat cruise in the park is in the Many Glacier area. This one is a little bit different than cruises in other areas. Here, you will start by crossing Swiftcurrent Lake on a boat and then you will disembark and walk 0.2 miles over what was a fairly steep hill in order to reach Lake Josephine. Once you arrive, you will board another boat and get some amazing glacier views as you cross the lake. Once you get to the other side of Lake Josephine, you have a decision to make. You can choose to just stay on the boat and head back across both lakes the same way you came, or you can get out and do some hiking. For hiking, you have a couple of options, the 1.8 miles RT to Grinnell Lake or a longer 7.6 miles RT to Grinnell Glacier. Or you could do both! If you want to take a boat back, you just need to be aware at what times the return boat is at and make sure you get back in time. You also have the option to hike all the way back along the lakes but that will certainly add some miles! The round-trip boat portion of the trip is about 1.5 hours and cost ~$41 in 2024.
Iceberg Lake – 9.6 miles RT, Moderate, 4.5 hours
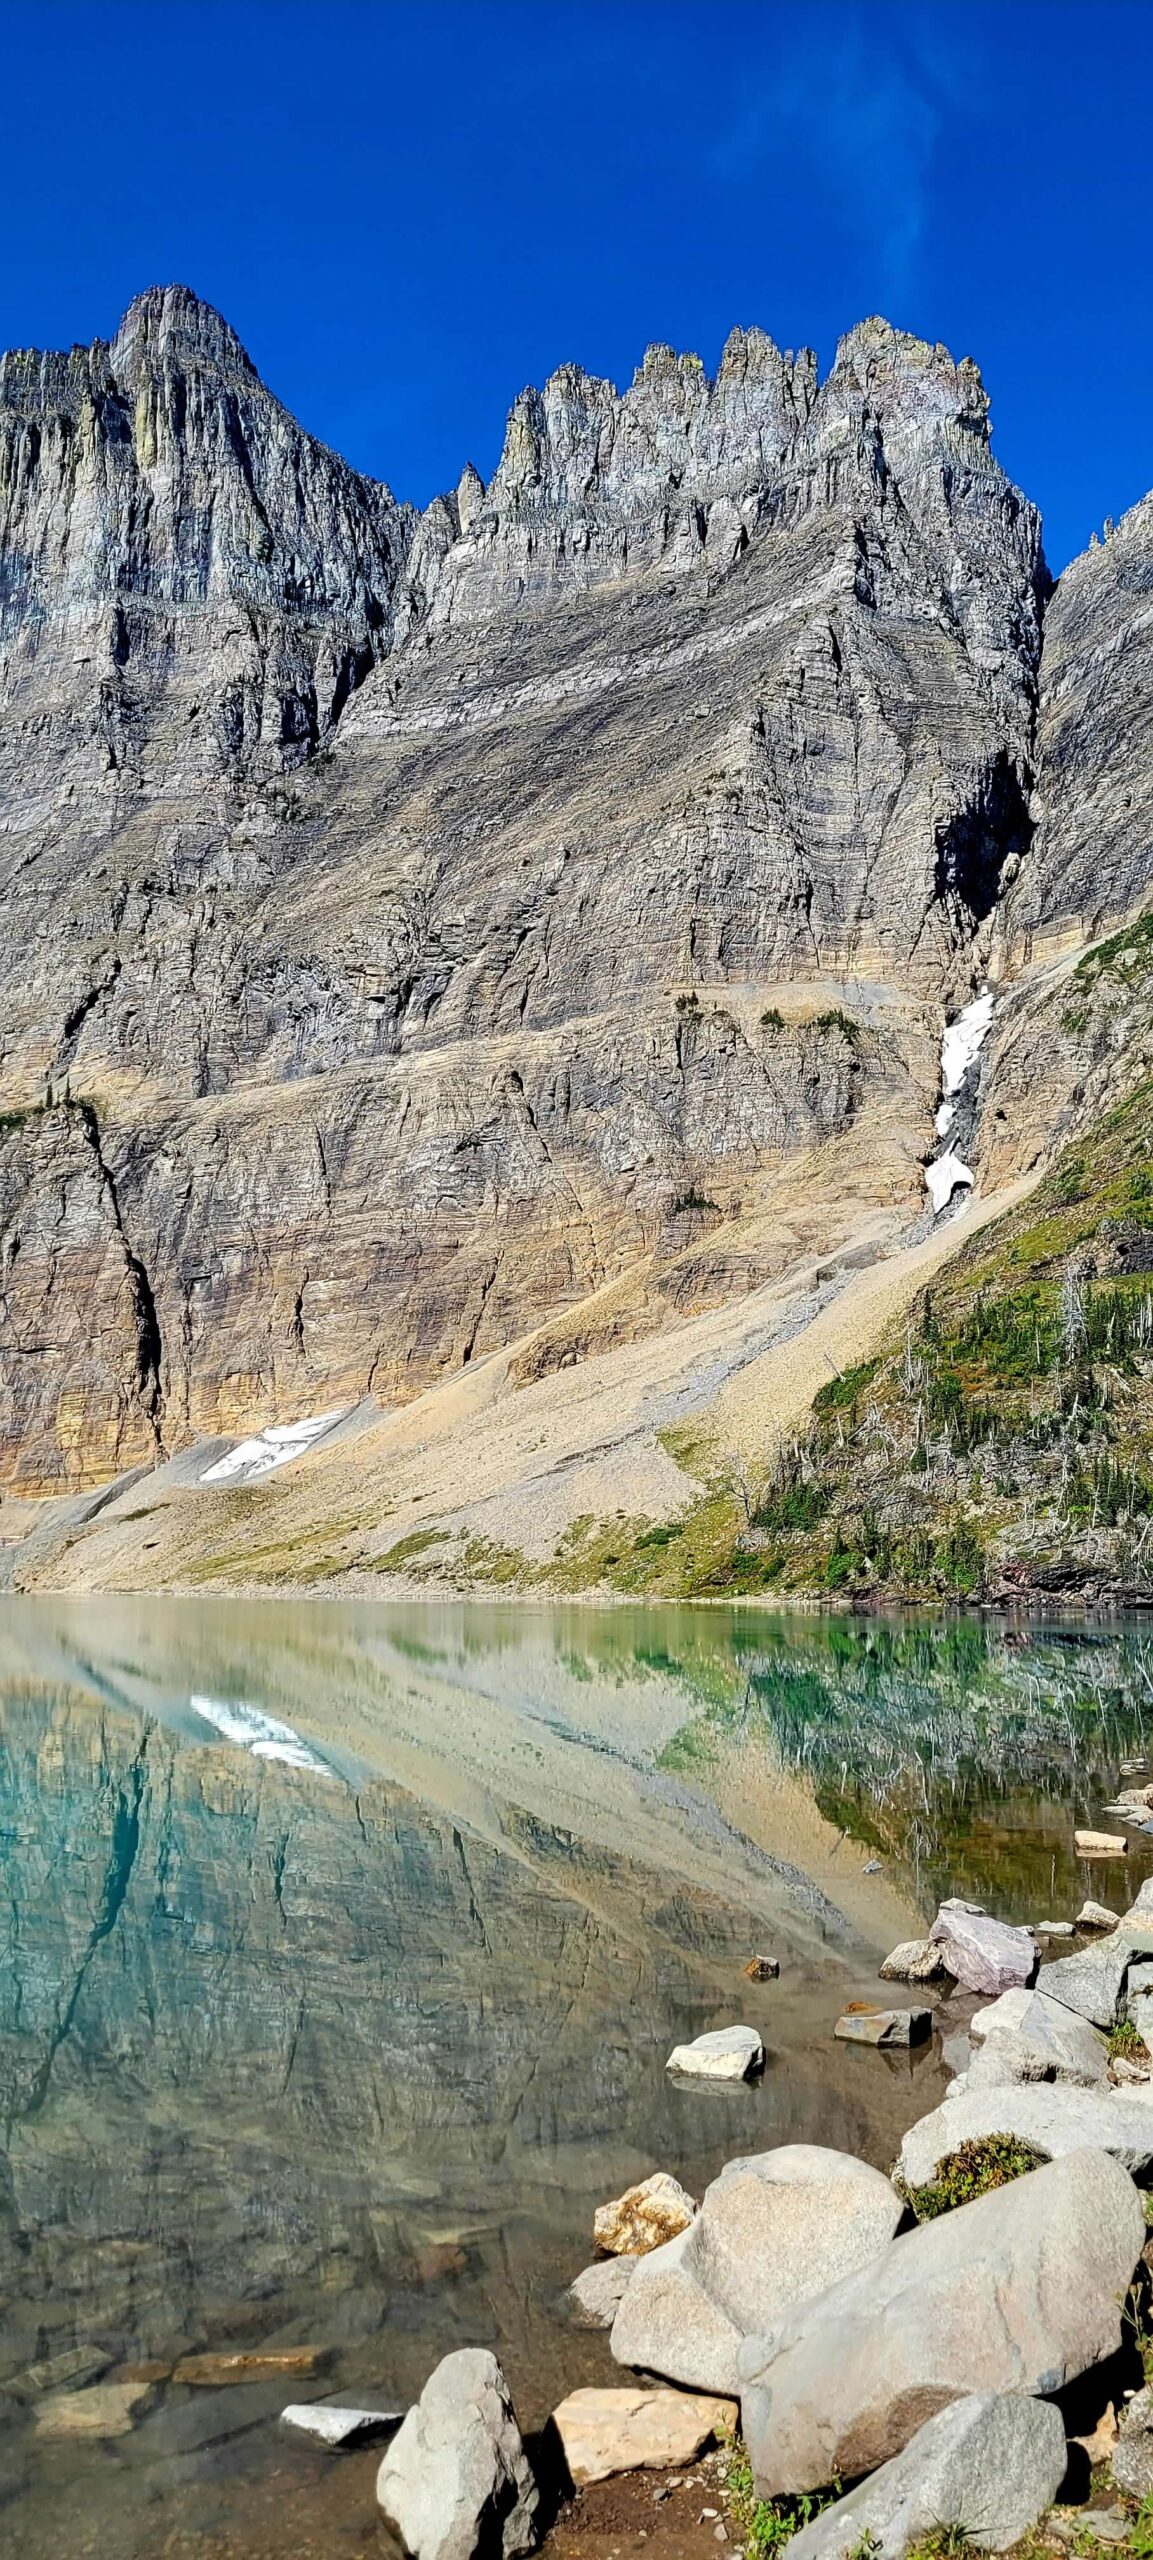
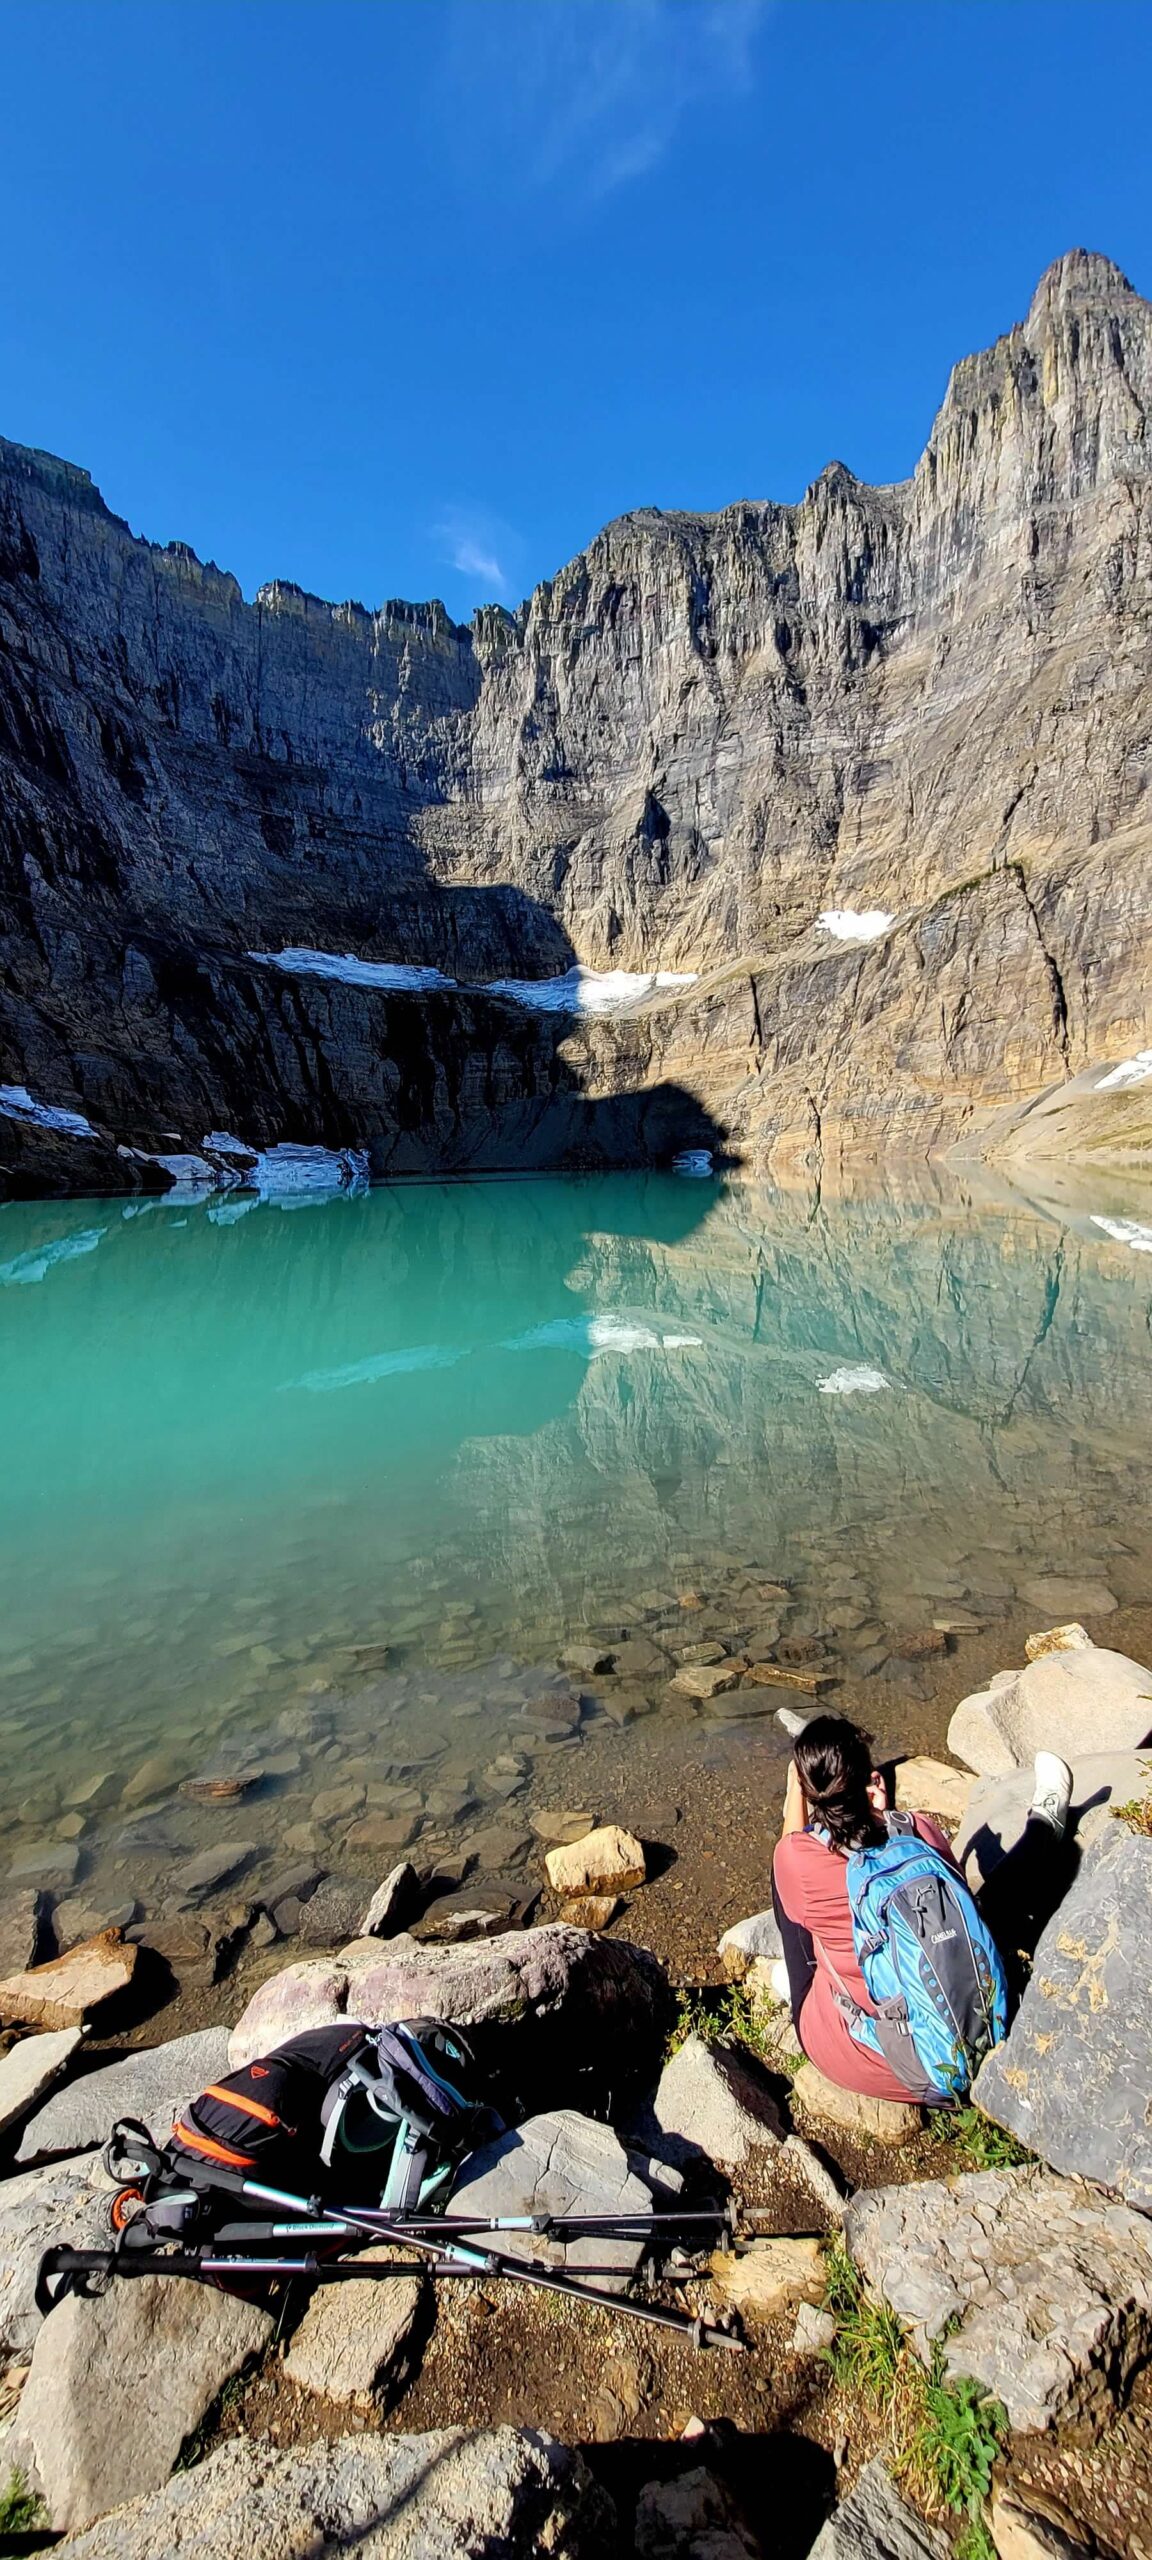
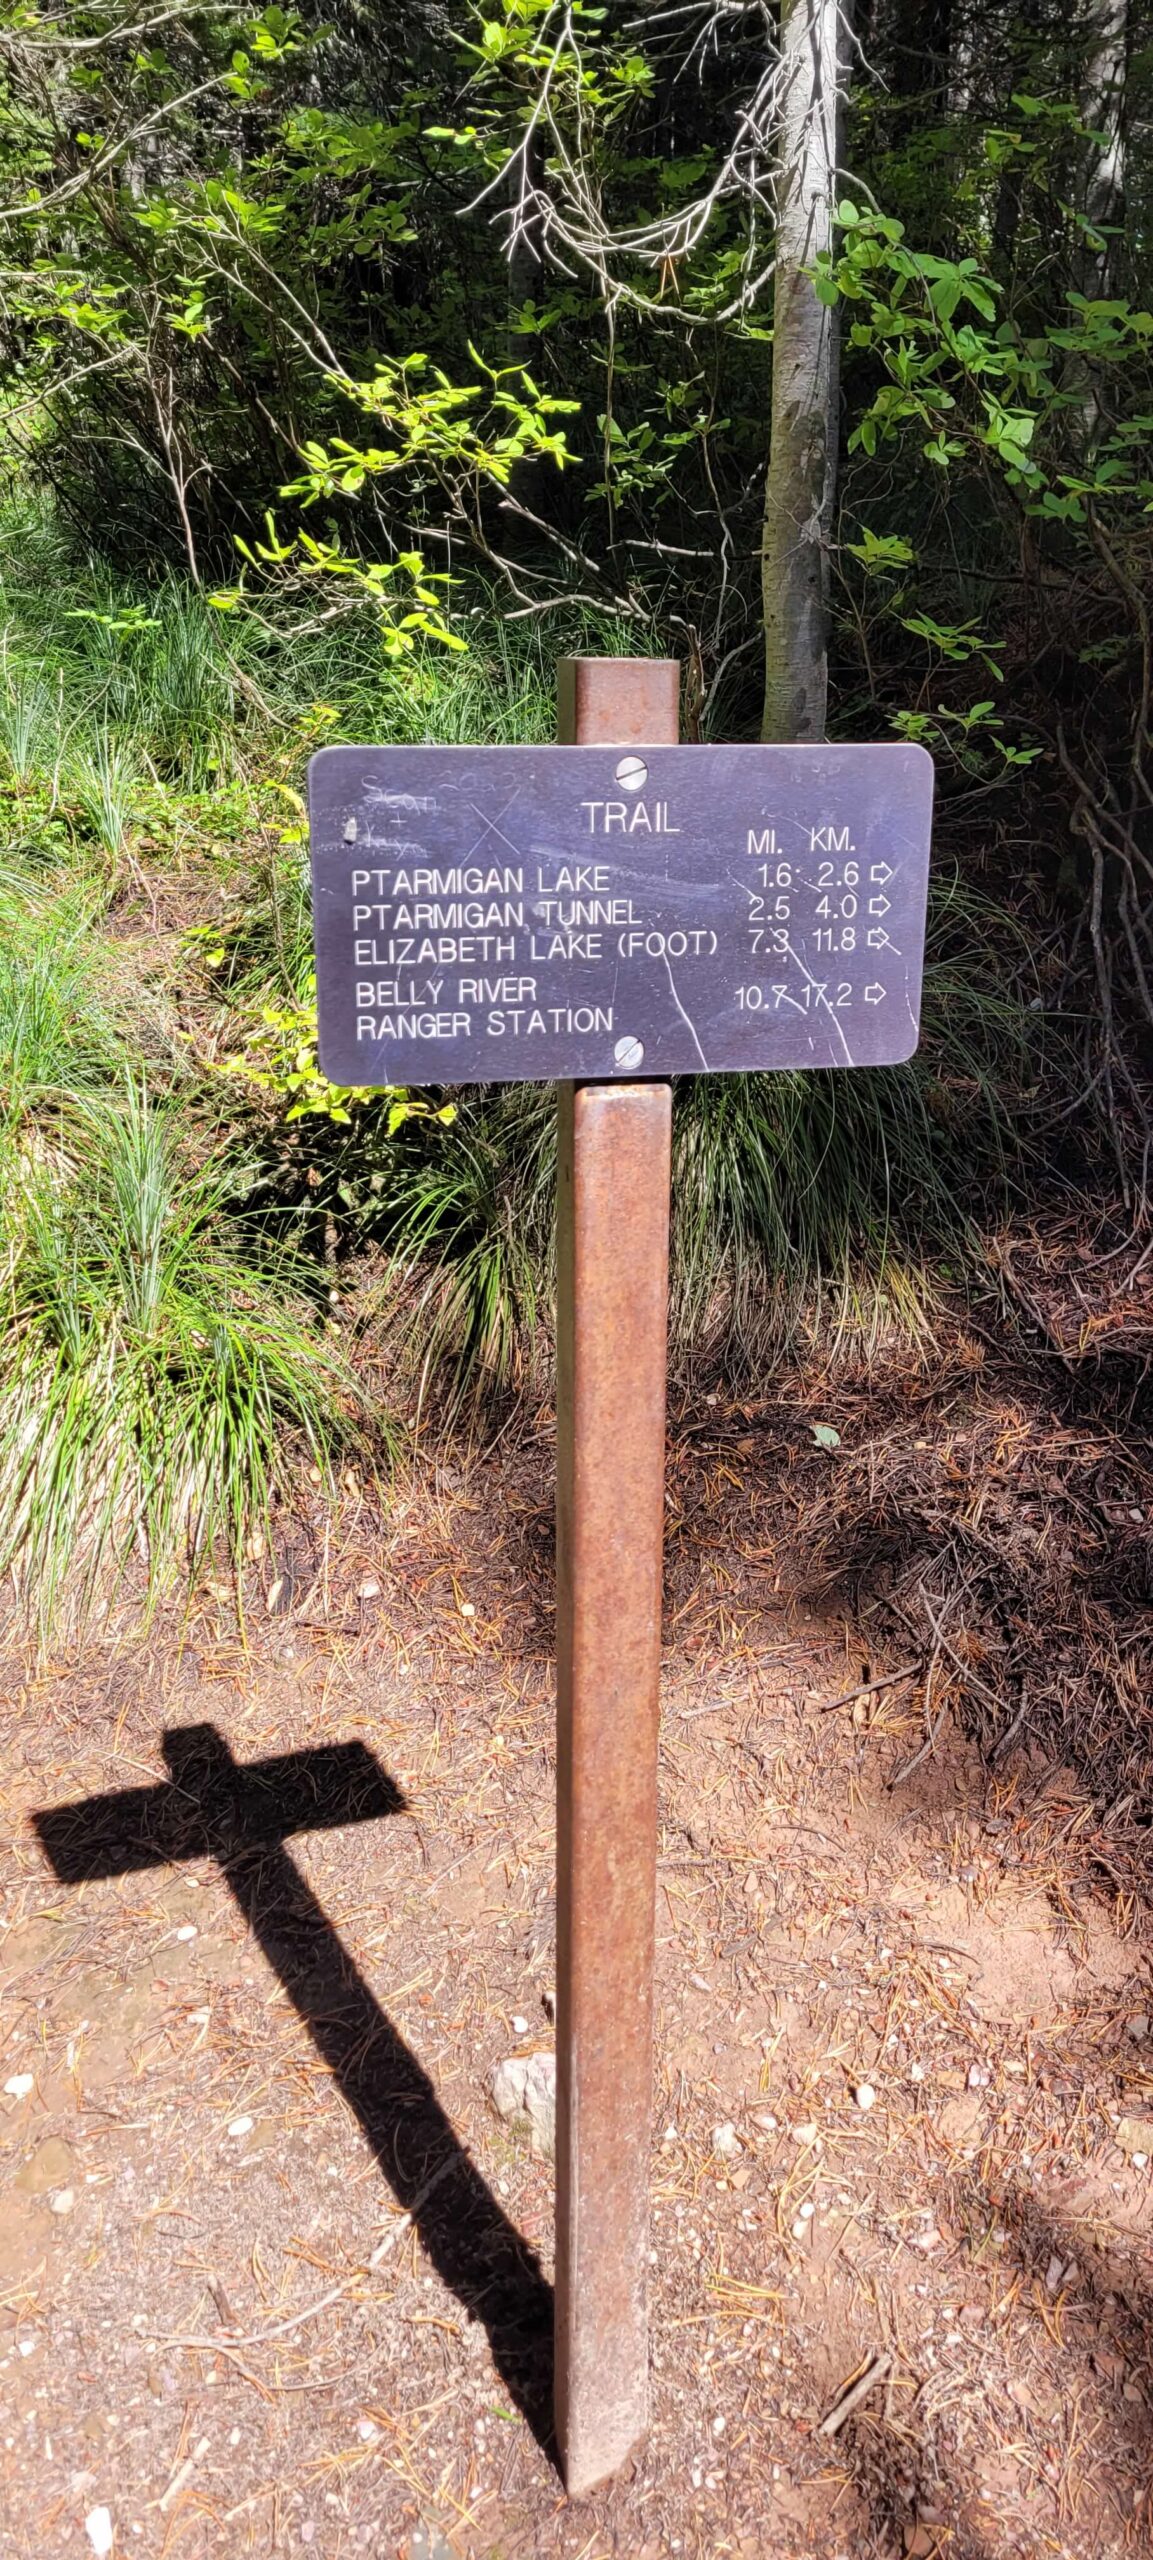
There are many amazing trails in this area, but we think if we had to pick our favorite – it would be Iceberg Lake. To get to the trailhead, you will want to park over by the Swiftcurrent Motor Inn (not the Many Glacier Hotel!). This trailhead is shared with the Ptarmigan Tunnel trail (also epic and discussed below!) and if you are physically fit enough, we would recommend doing both Iceberg Lake and Ptarmigan Tunnel in one hike because the first 2.7 miles is a shared trail (5.4 miles RT of shared trail). Just know that is going to be over 16 miles of hiking and many thousand feet of elevation if you combine them. We barely pulled it off and were absolutely dragging by the time we got to the car, so you might still consider separating and just doing that 5.4 miles RT twice.
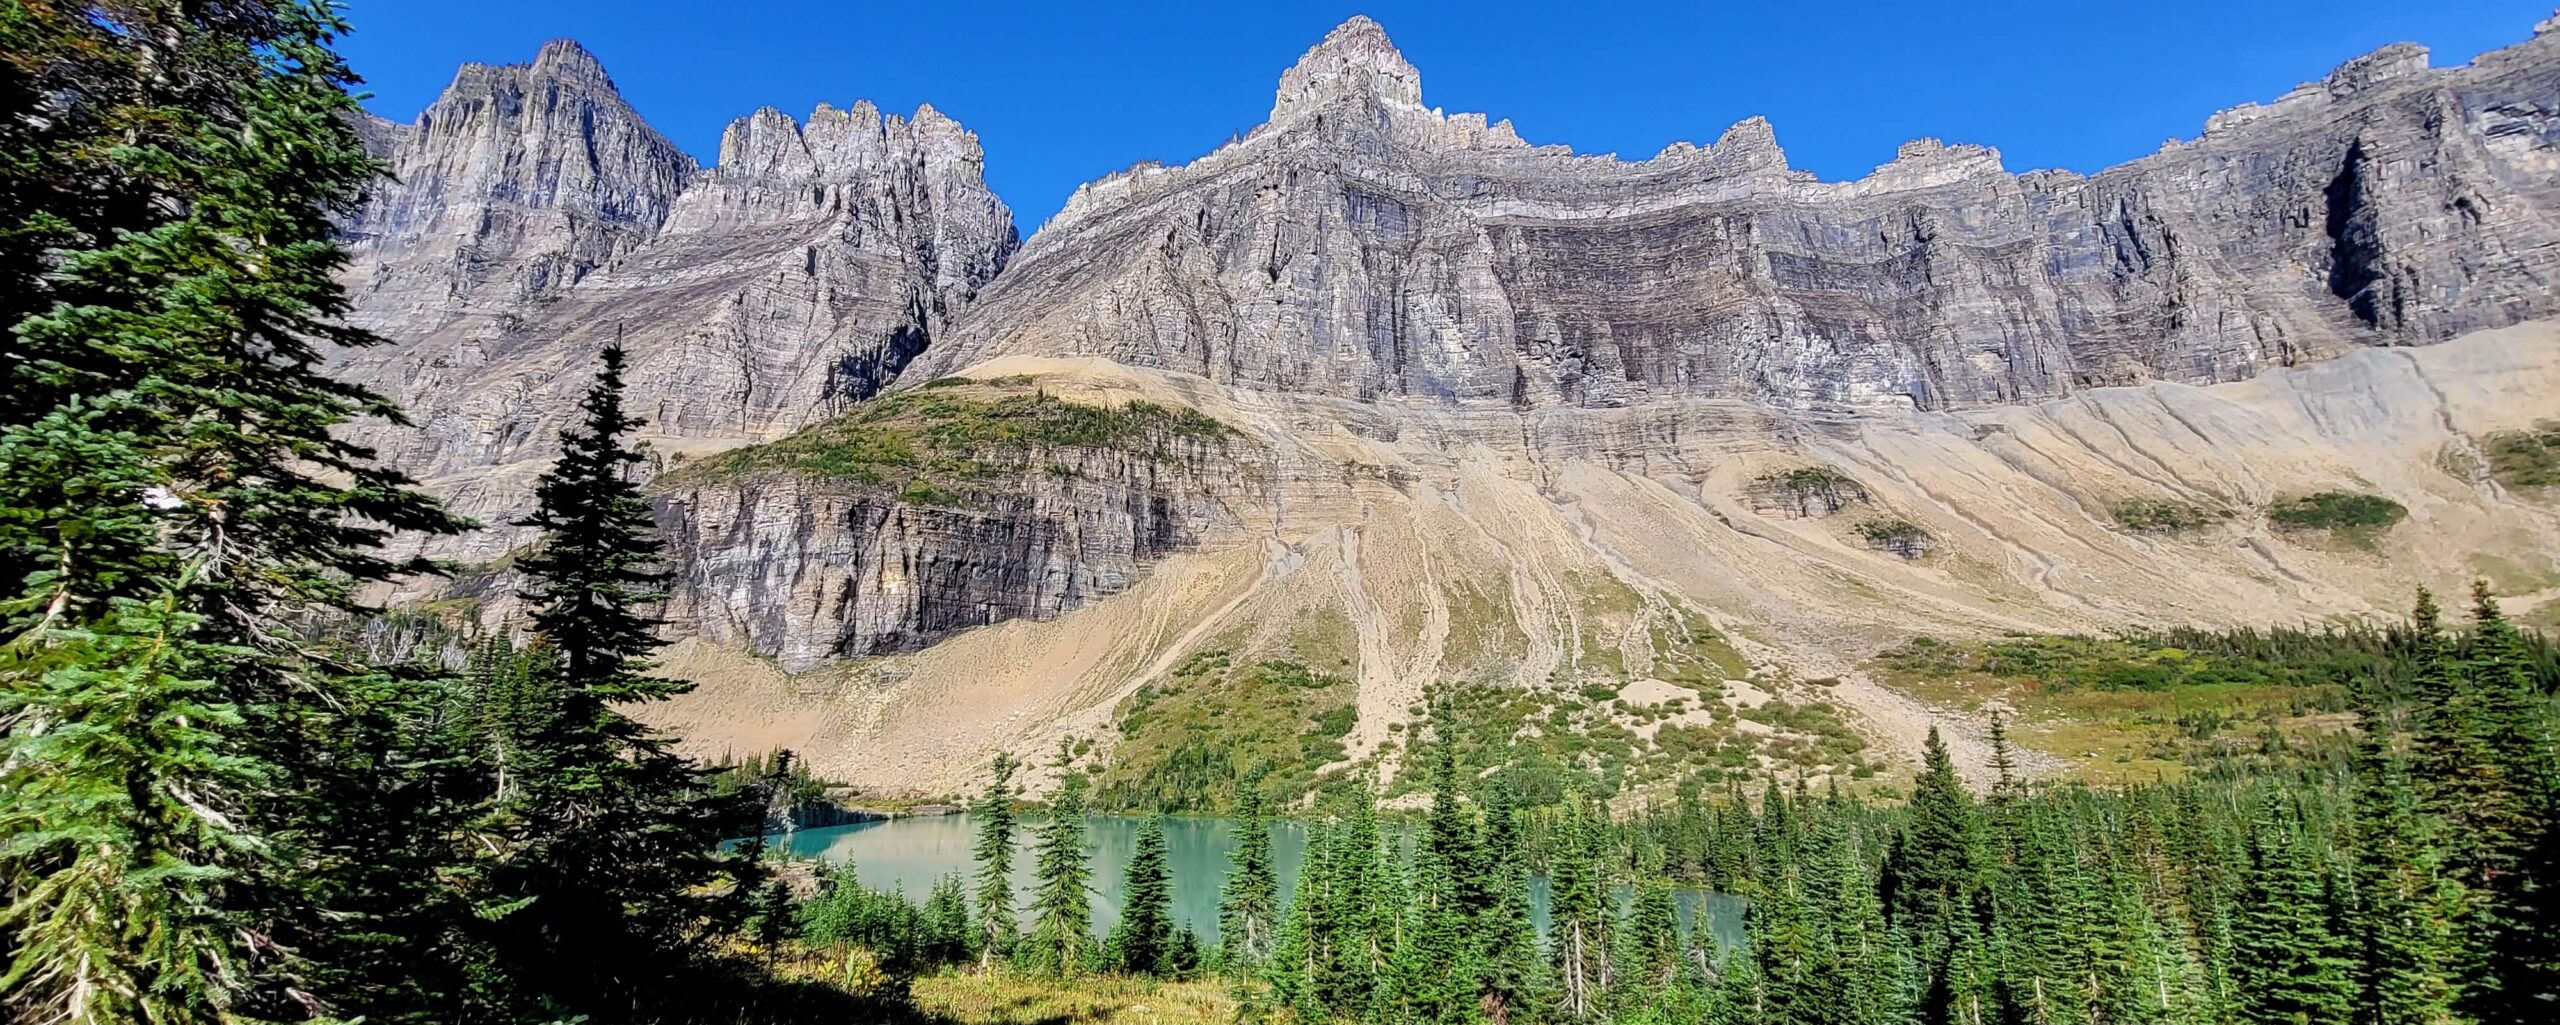
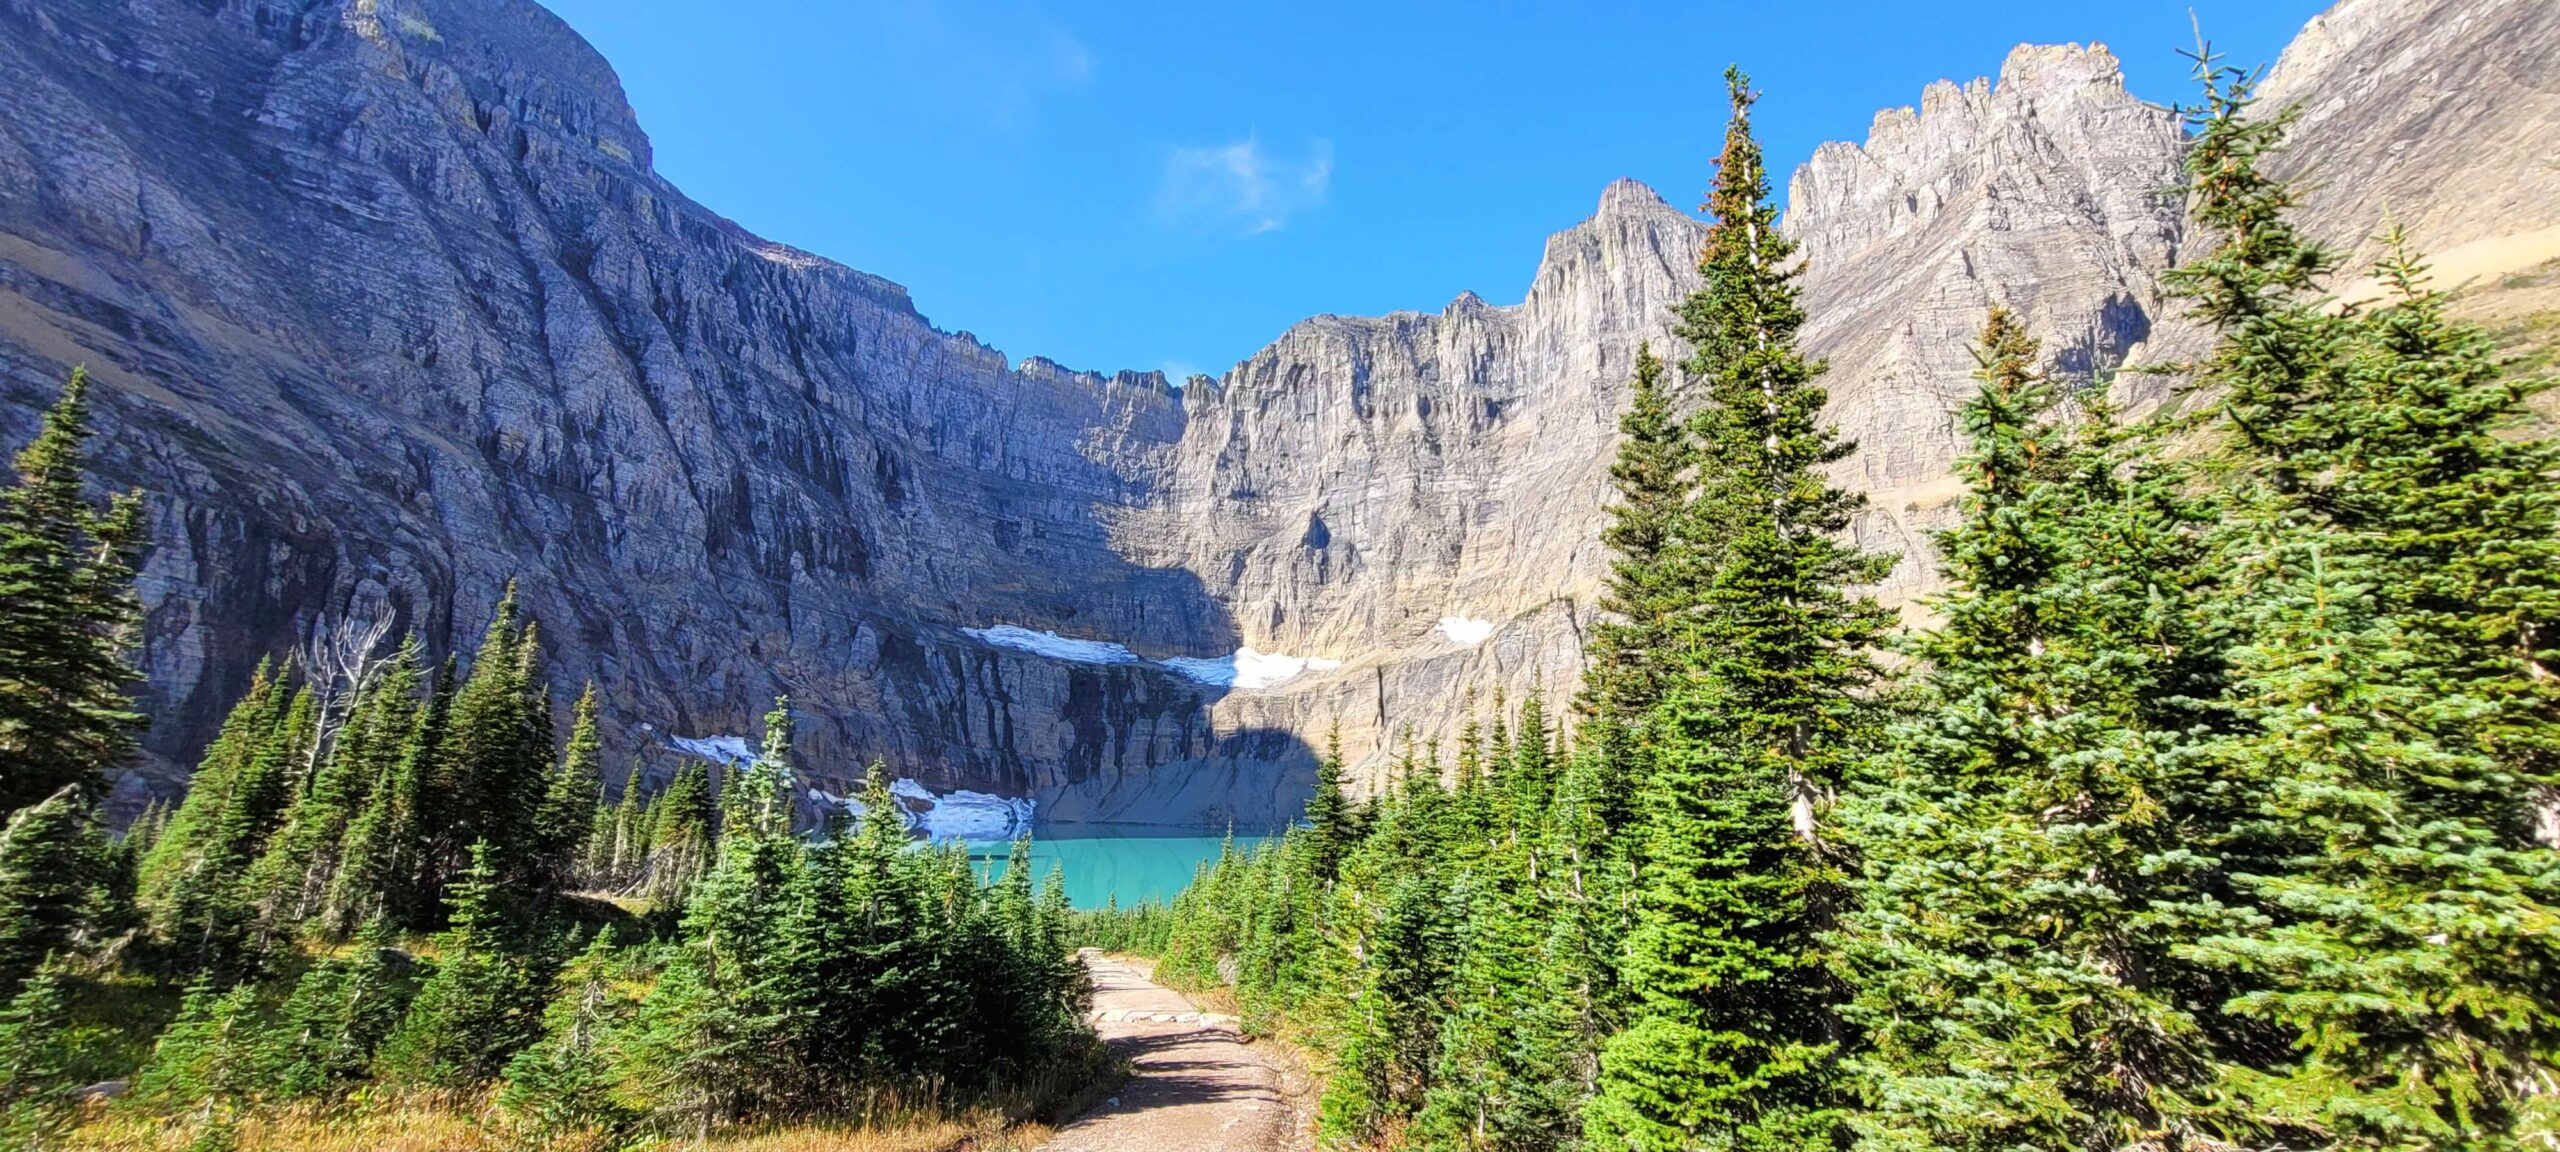
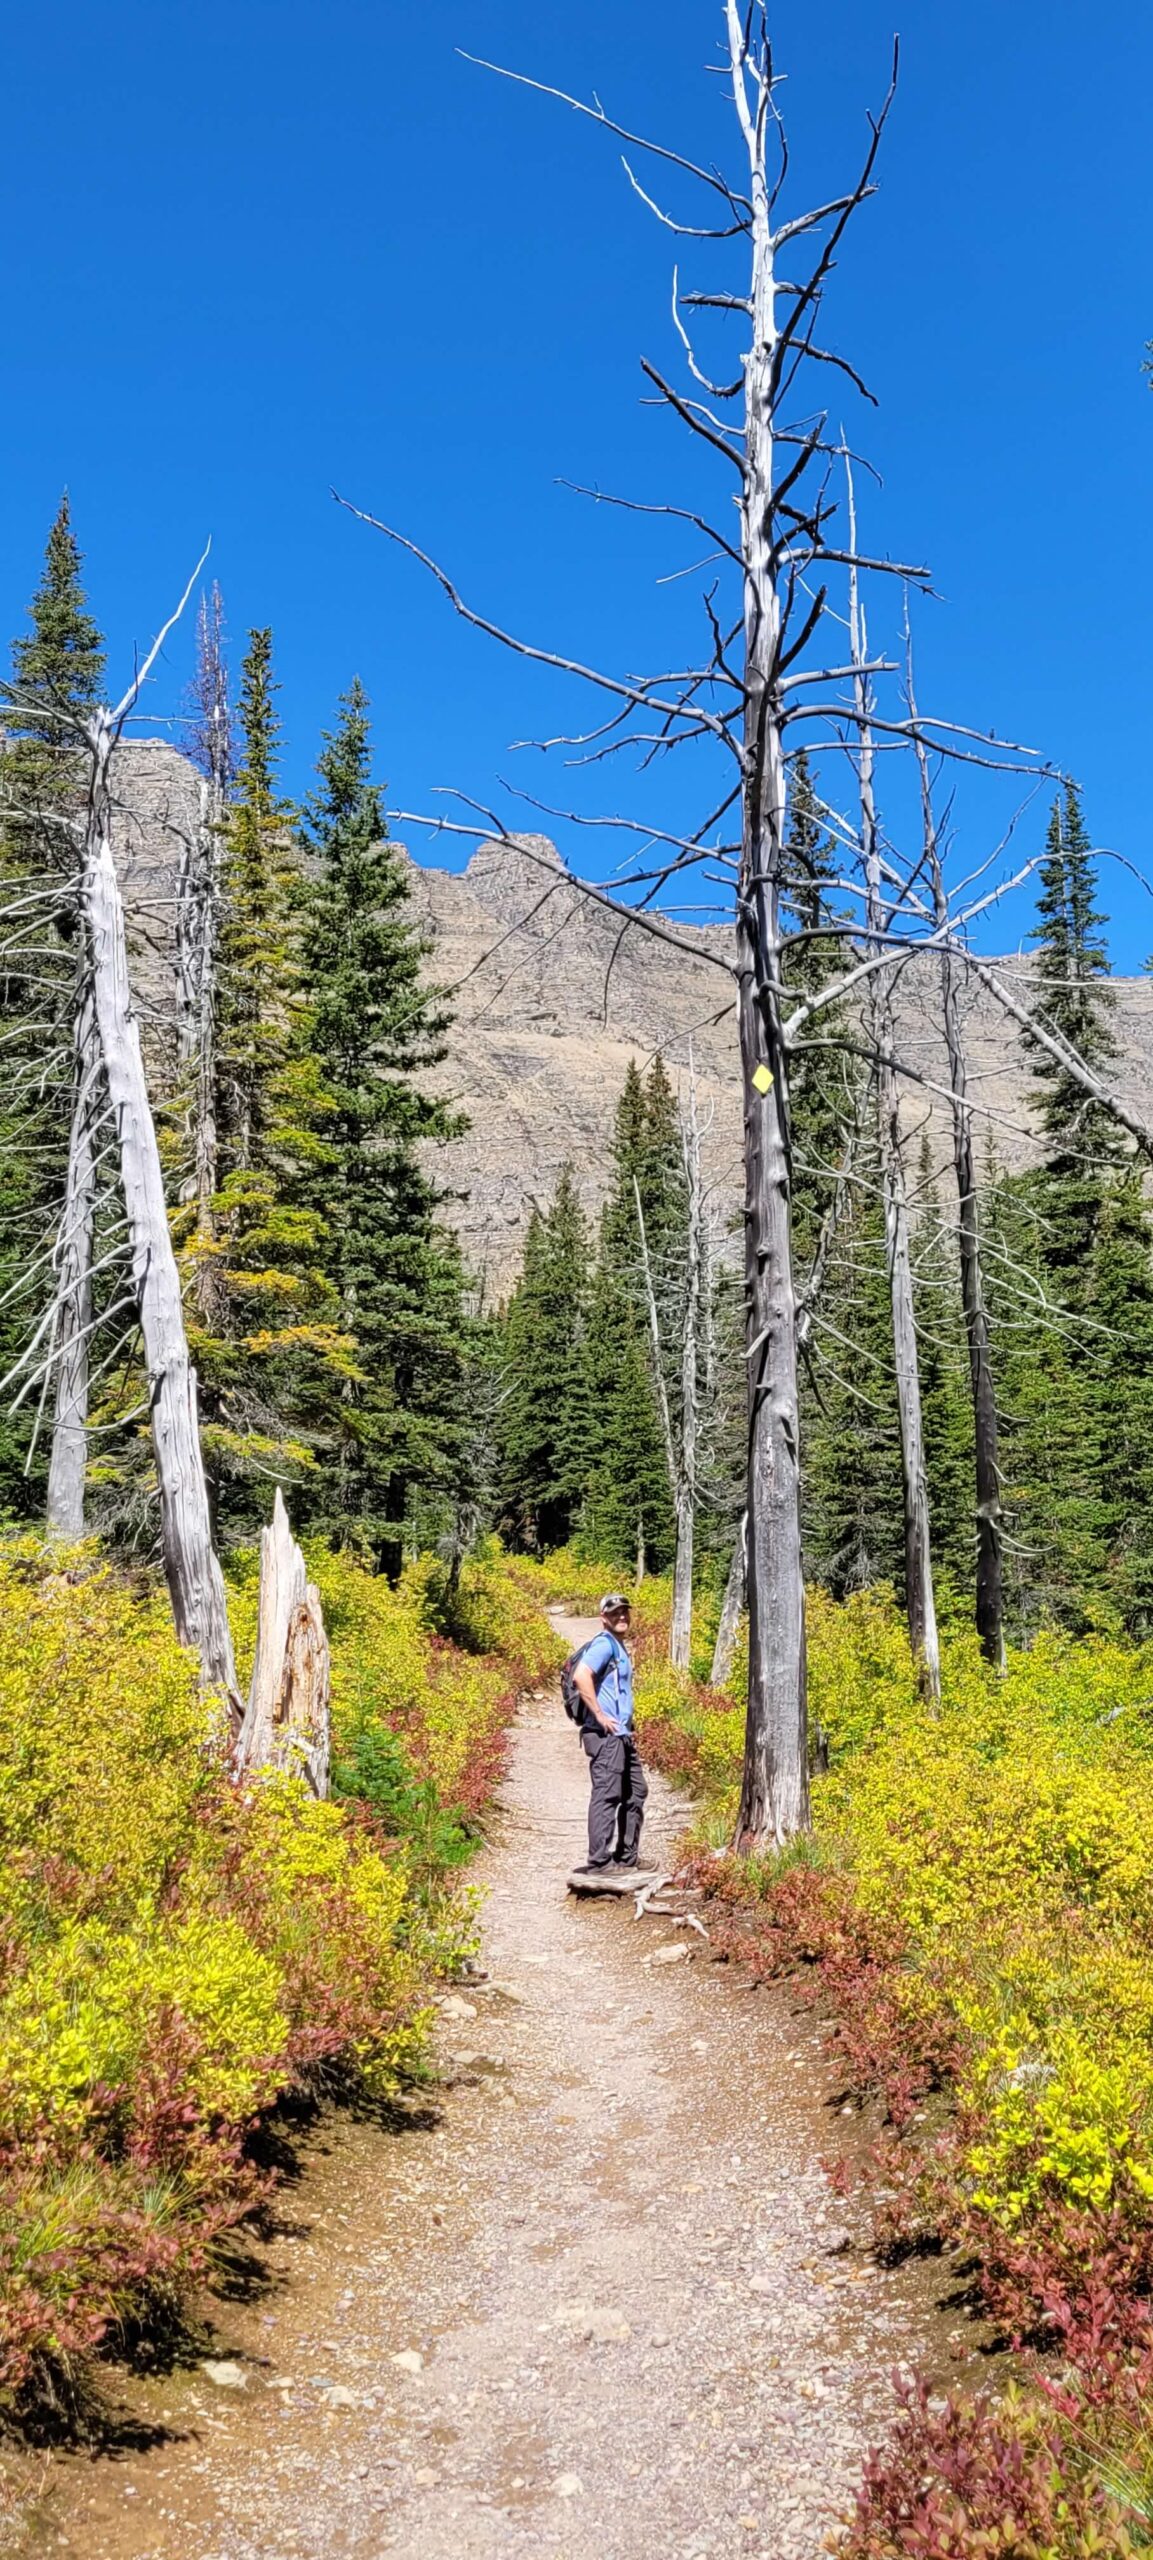
As for Iceberg Lake by itself – you are looking at almost 10 miles with ~1,500 feet of elevation gain though we didn’t really feel the elevation gain as much given it was spread out over ~5 or so miles on the way out. Check in at a visitor center or the Glacier National Park website the day before doing this trail because it tends to close often due to grizzly bear activity as there are a lot of berry bushes along the trail they like to eat. We didn’t see any bears on this trail – but we did see a very large moose chowing down on some bushes along the trail. We also saw a couple of mountain goats in the distance. The views along the trail are absolutely epic and then once you actually make it to the lake itself – it is just incredible. You can sit on the lakeshore and have lunch while you take in the views before heading back to the beginning or to the fork in the trail taking you to Ptarmigan Tunnel.
Ptarmigan Tunnel – 10.6 miles RT, Hard, 5.5 hours
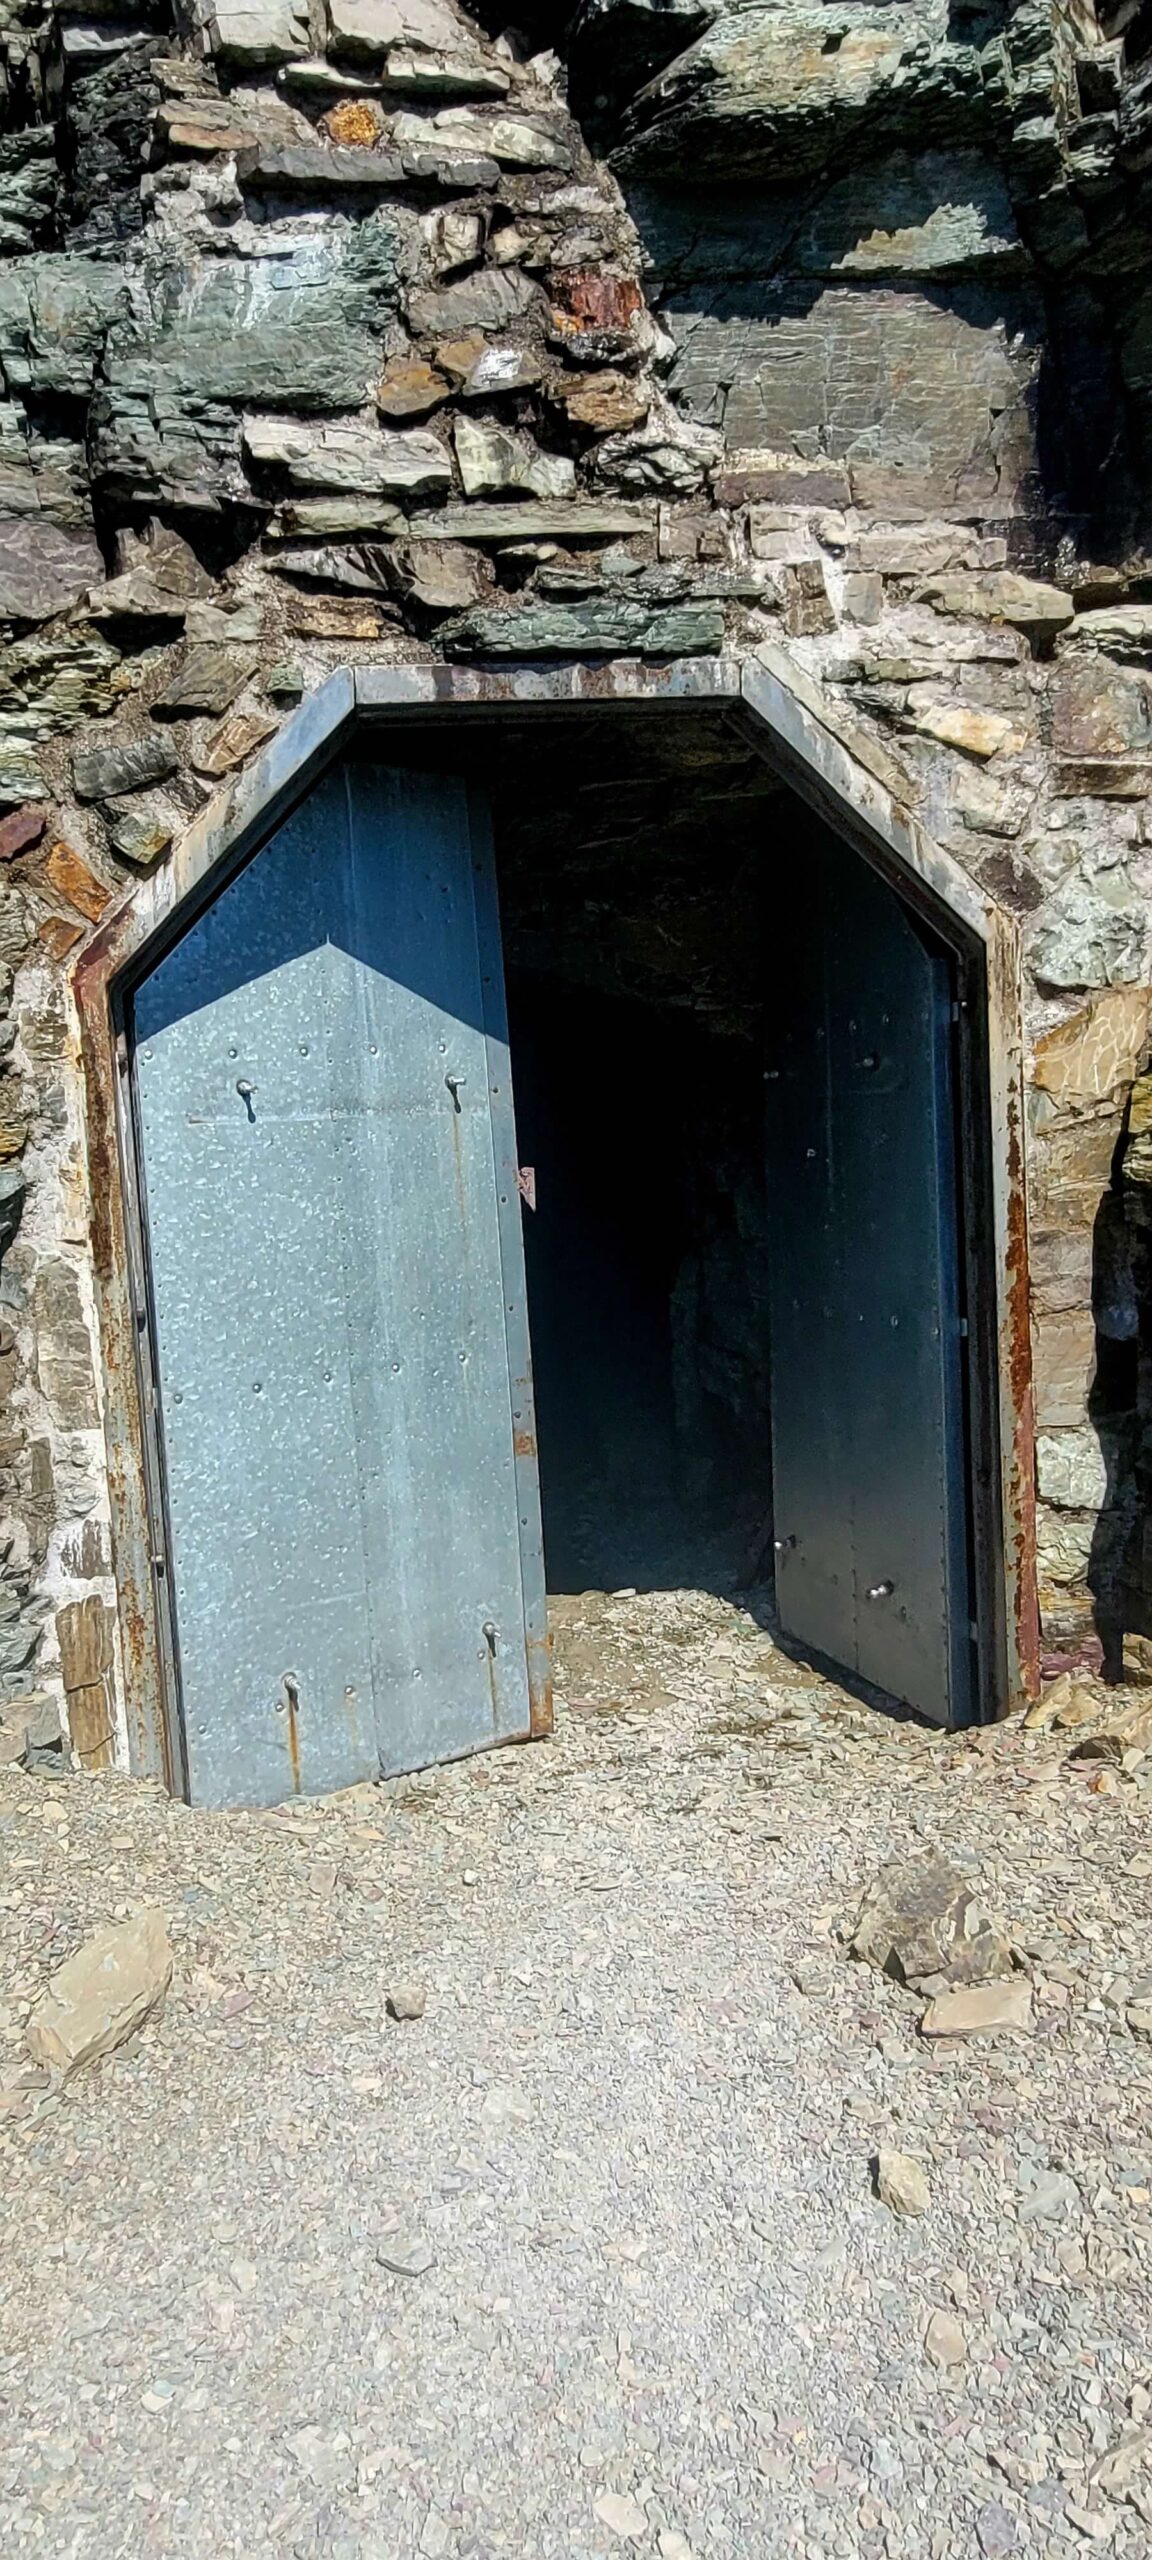
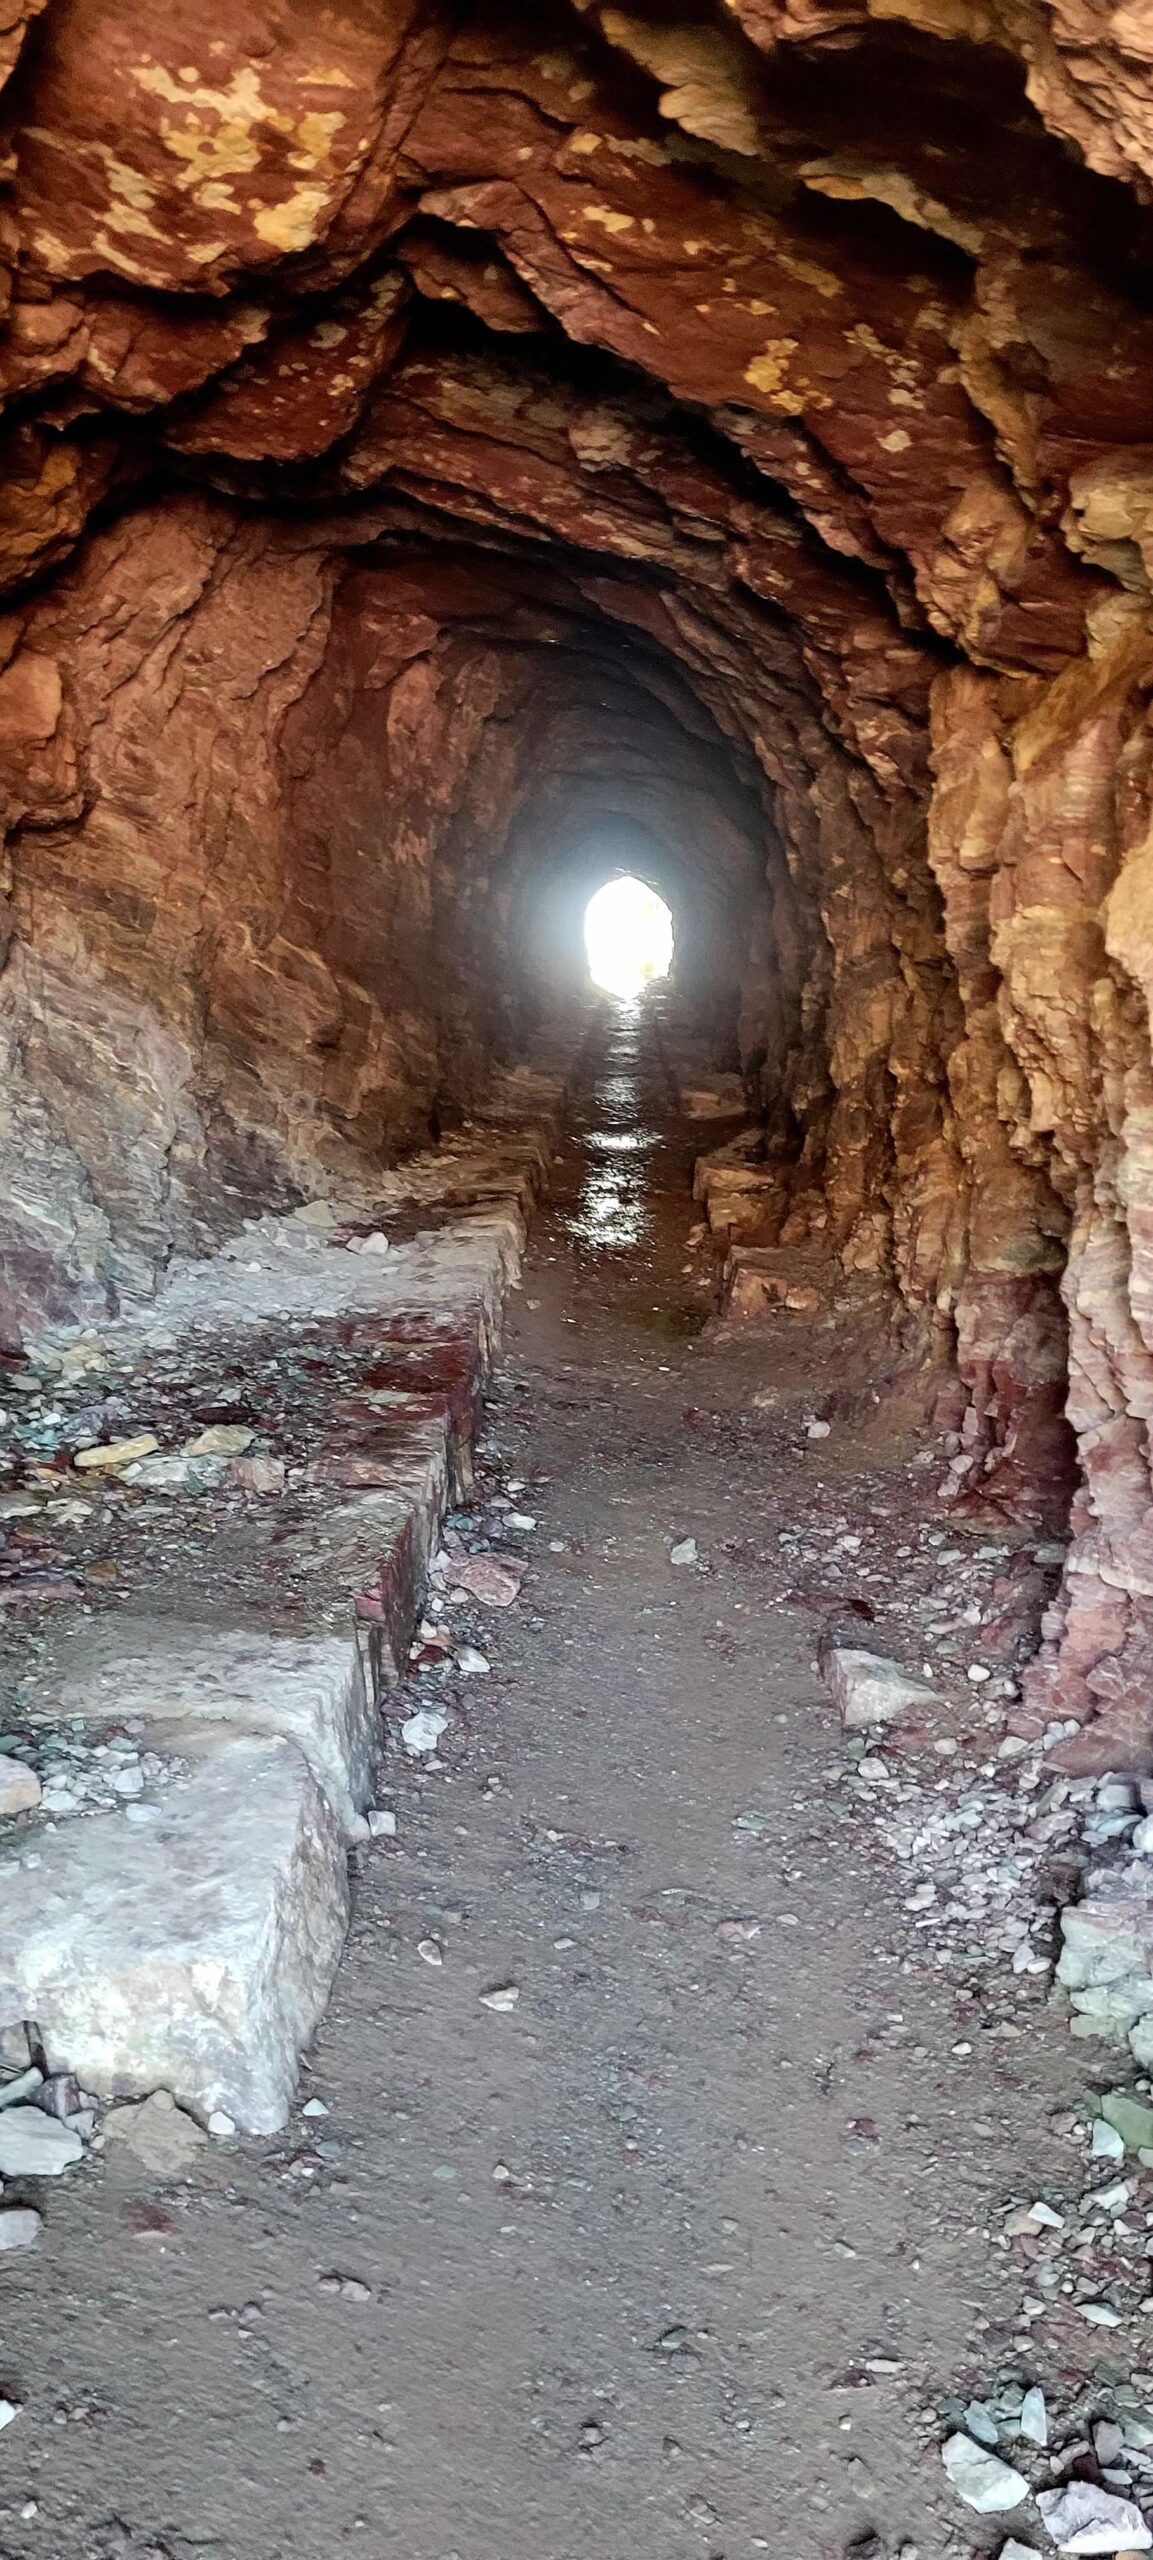
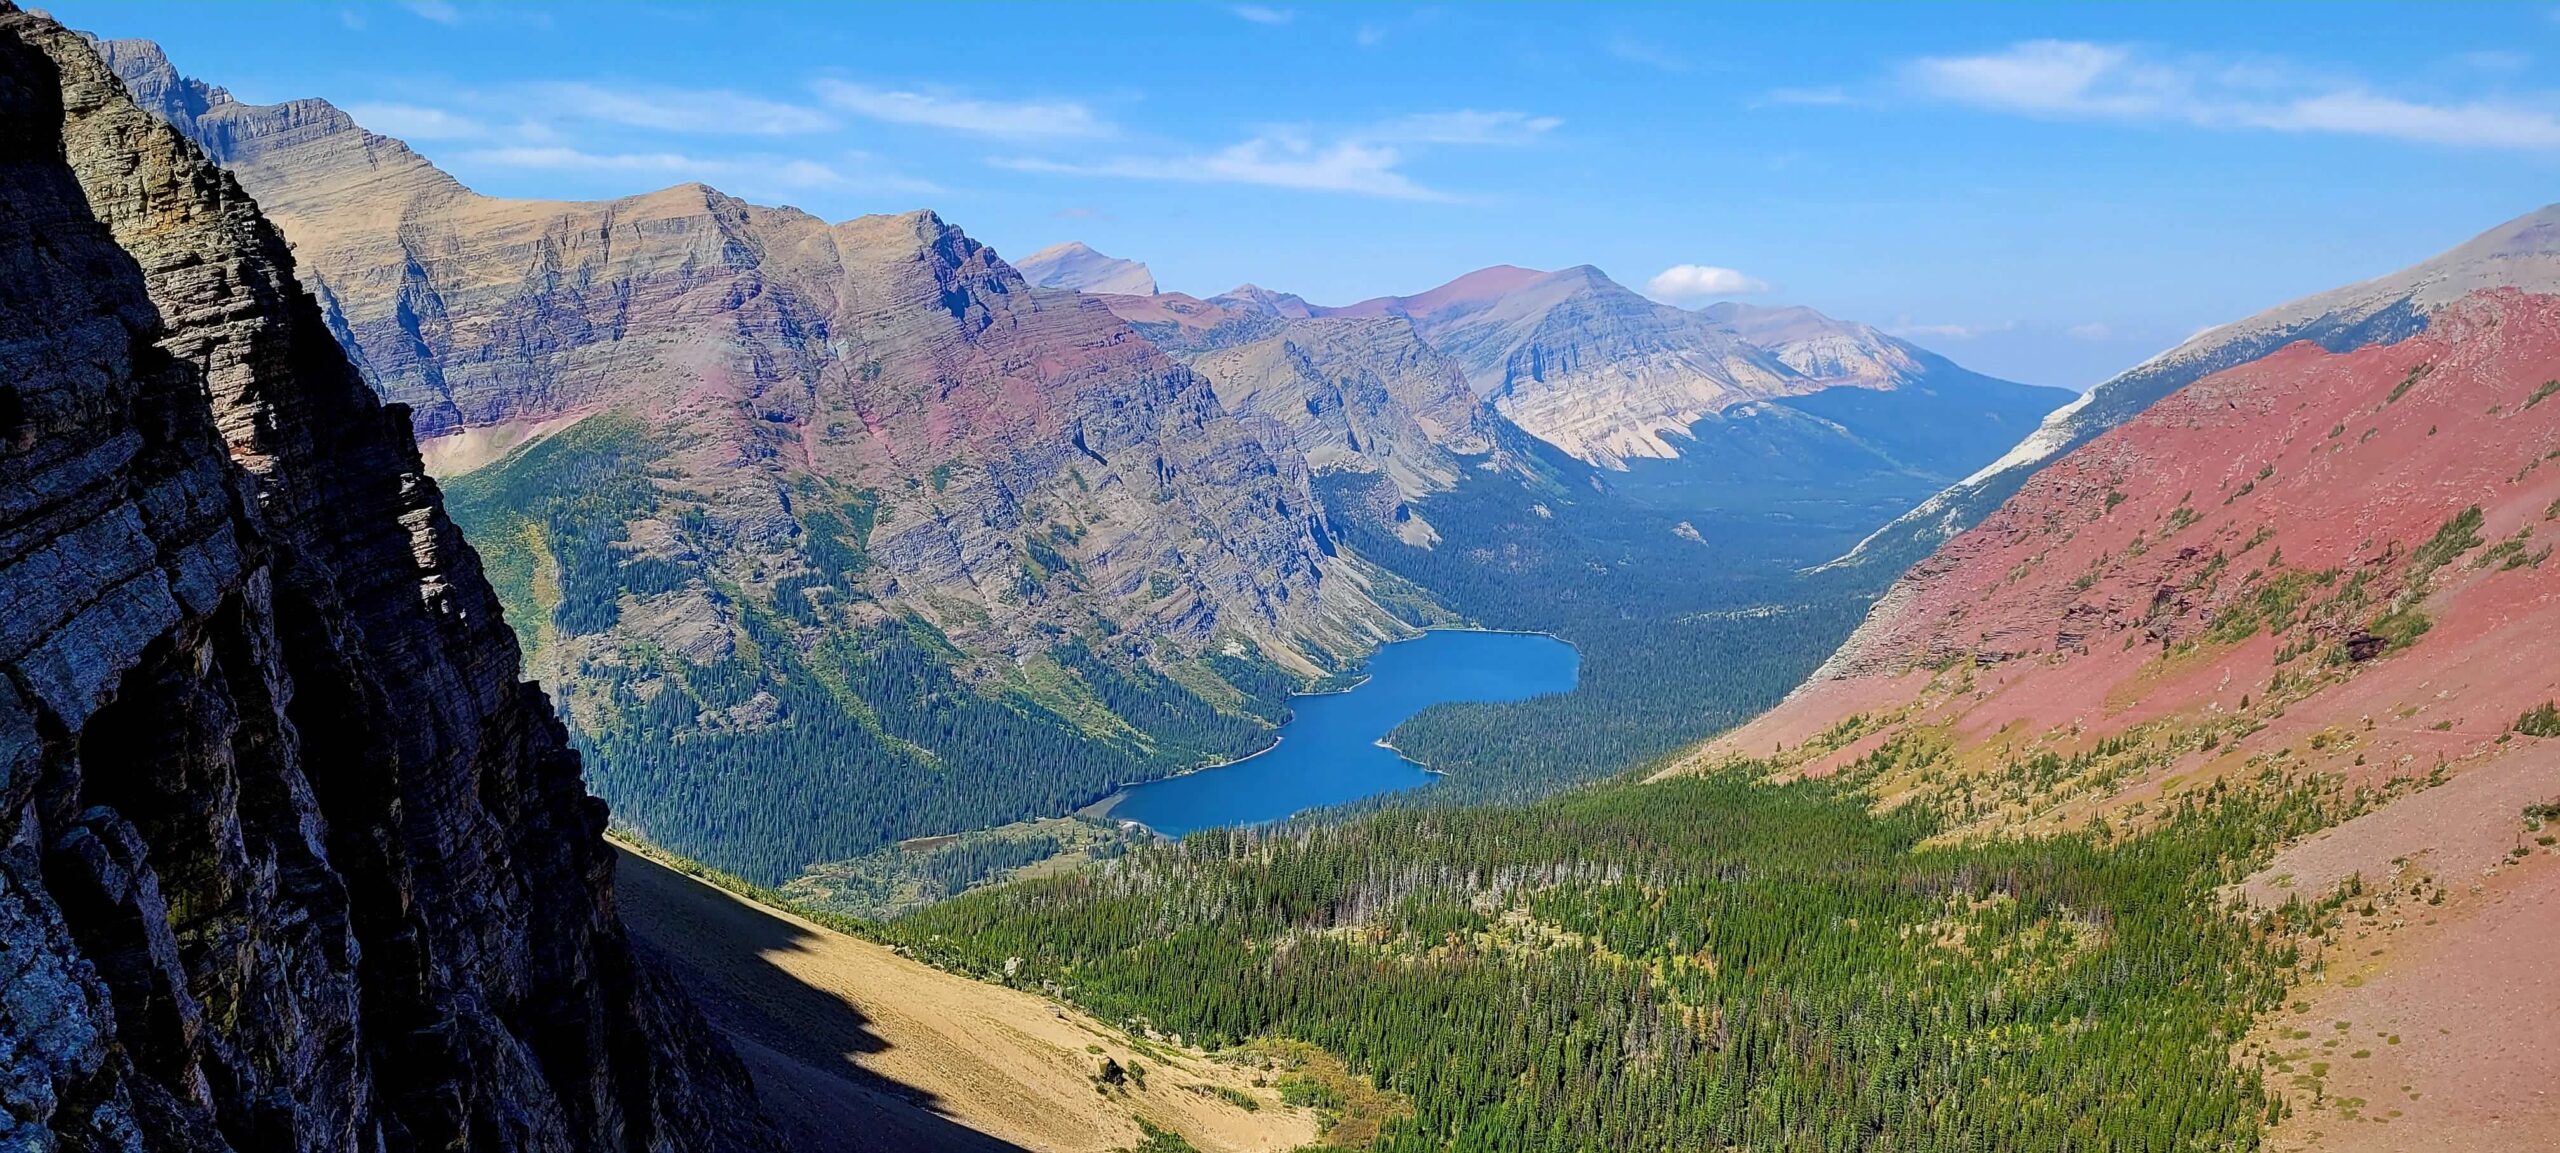
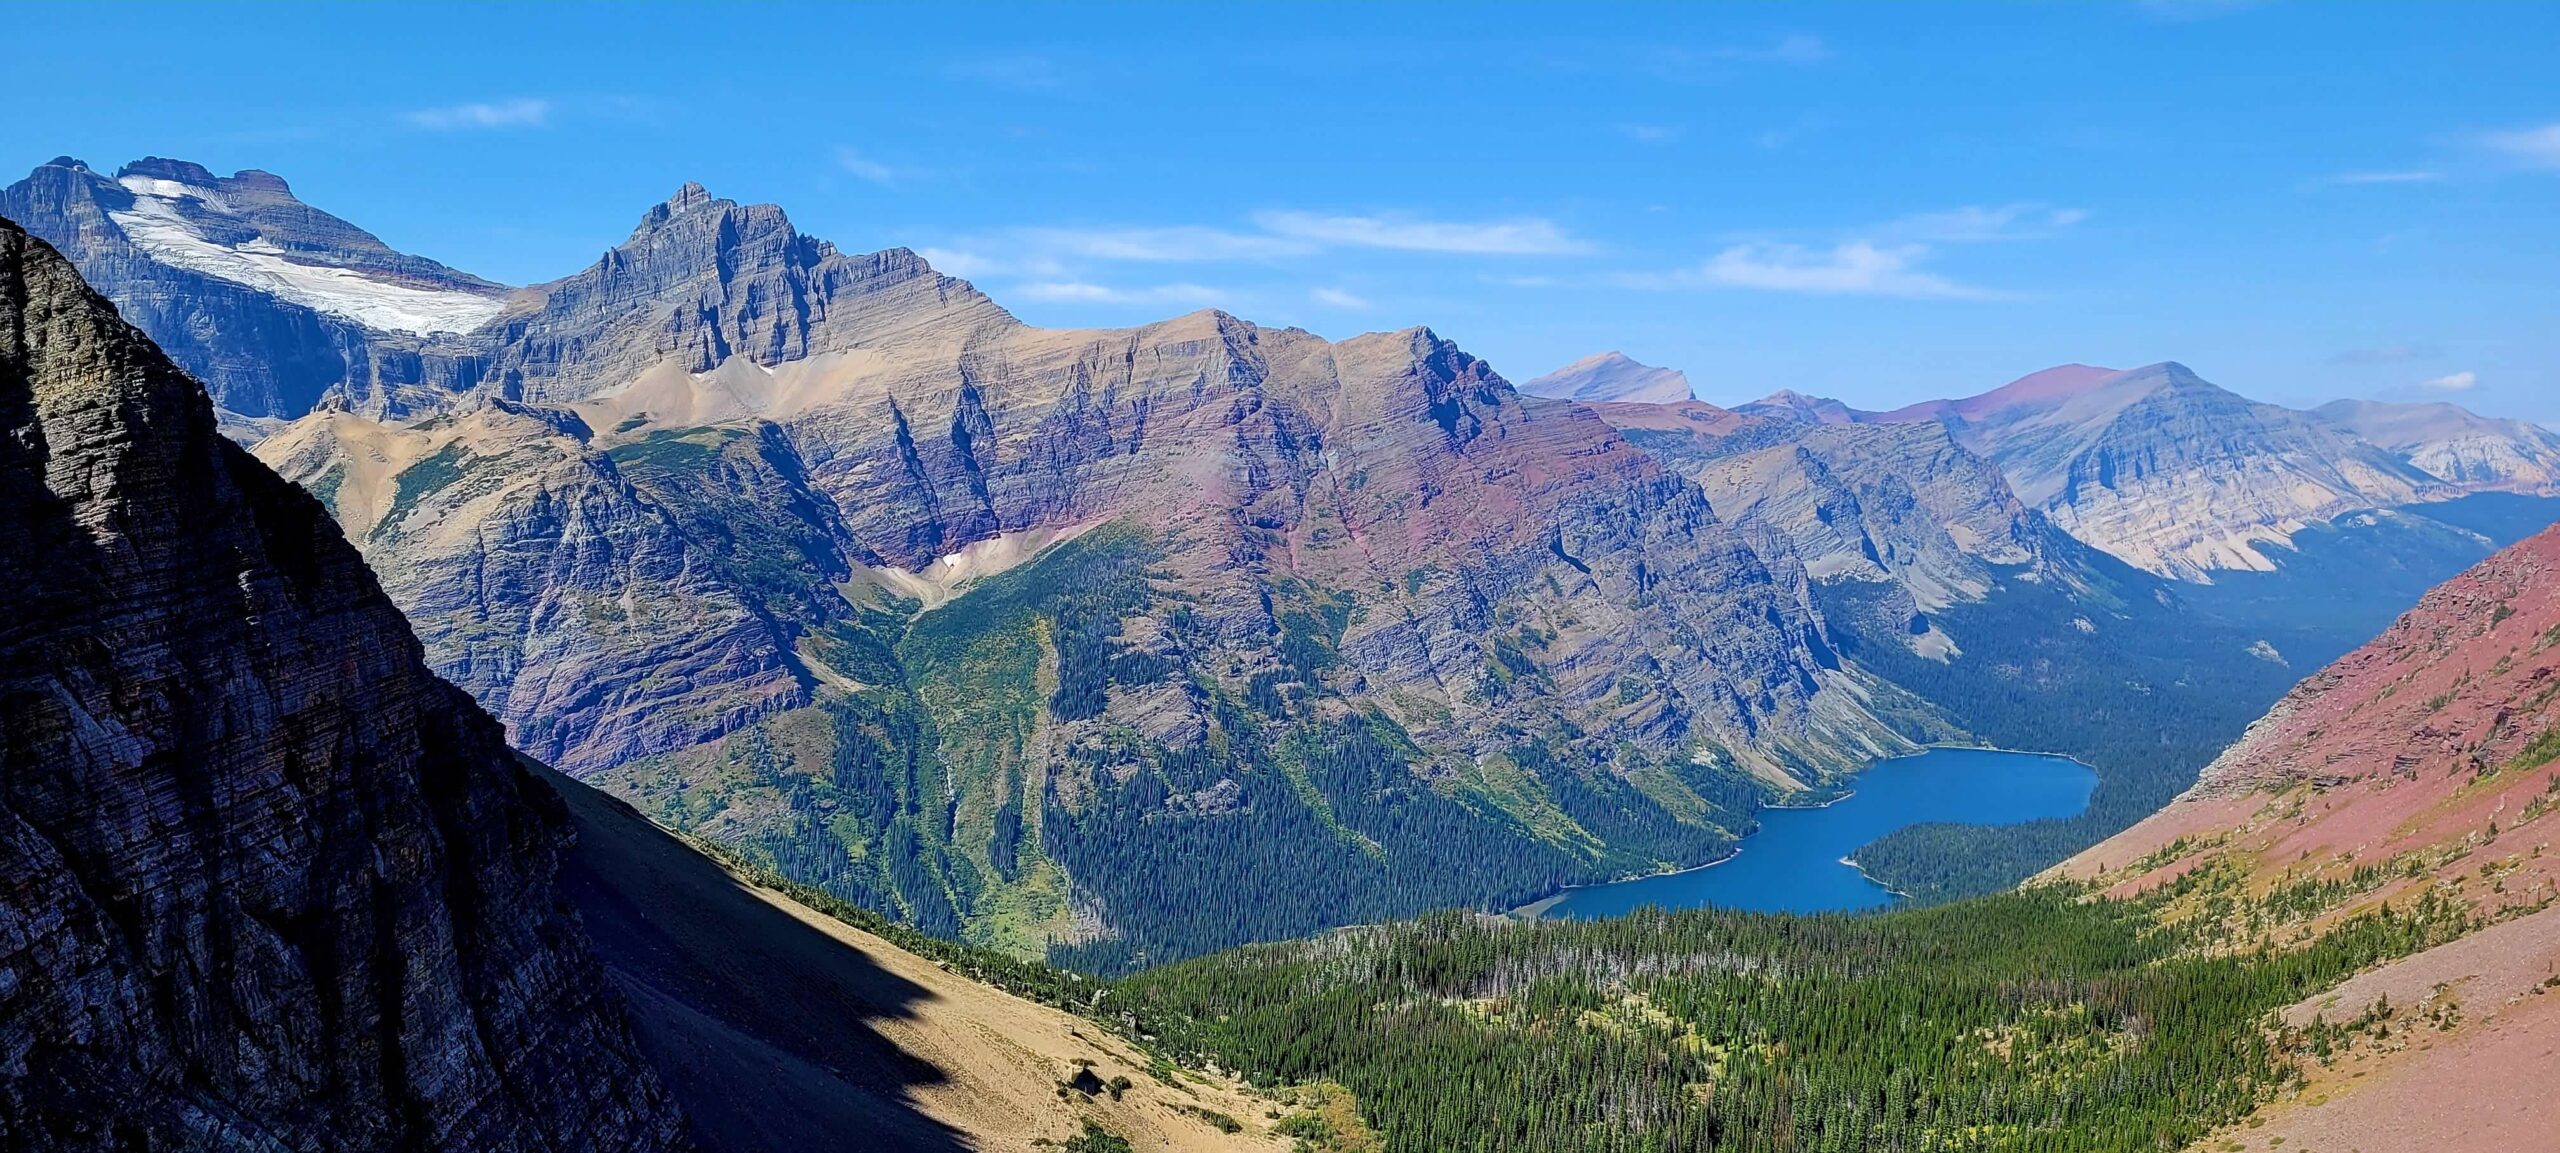
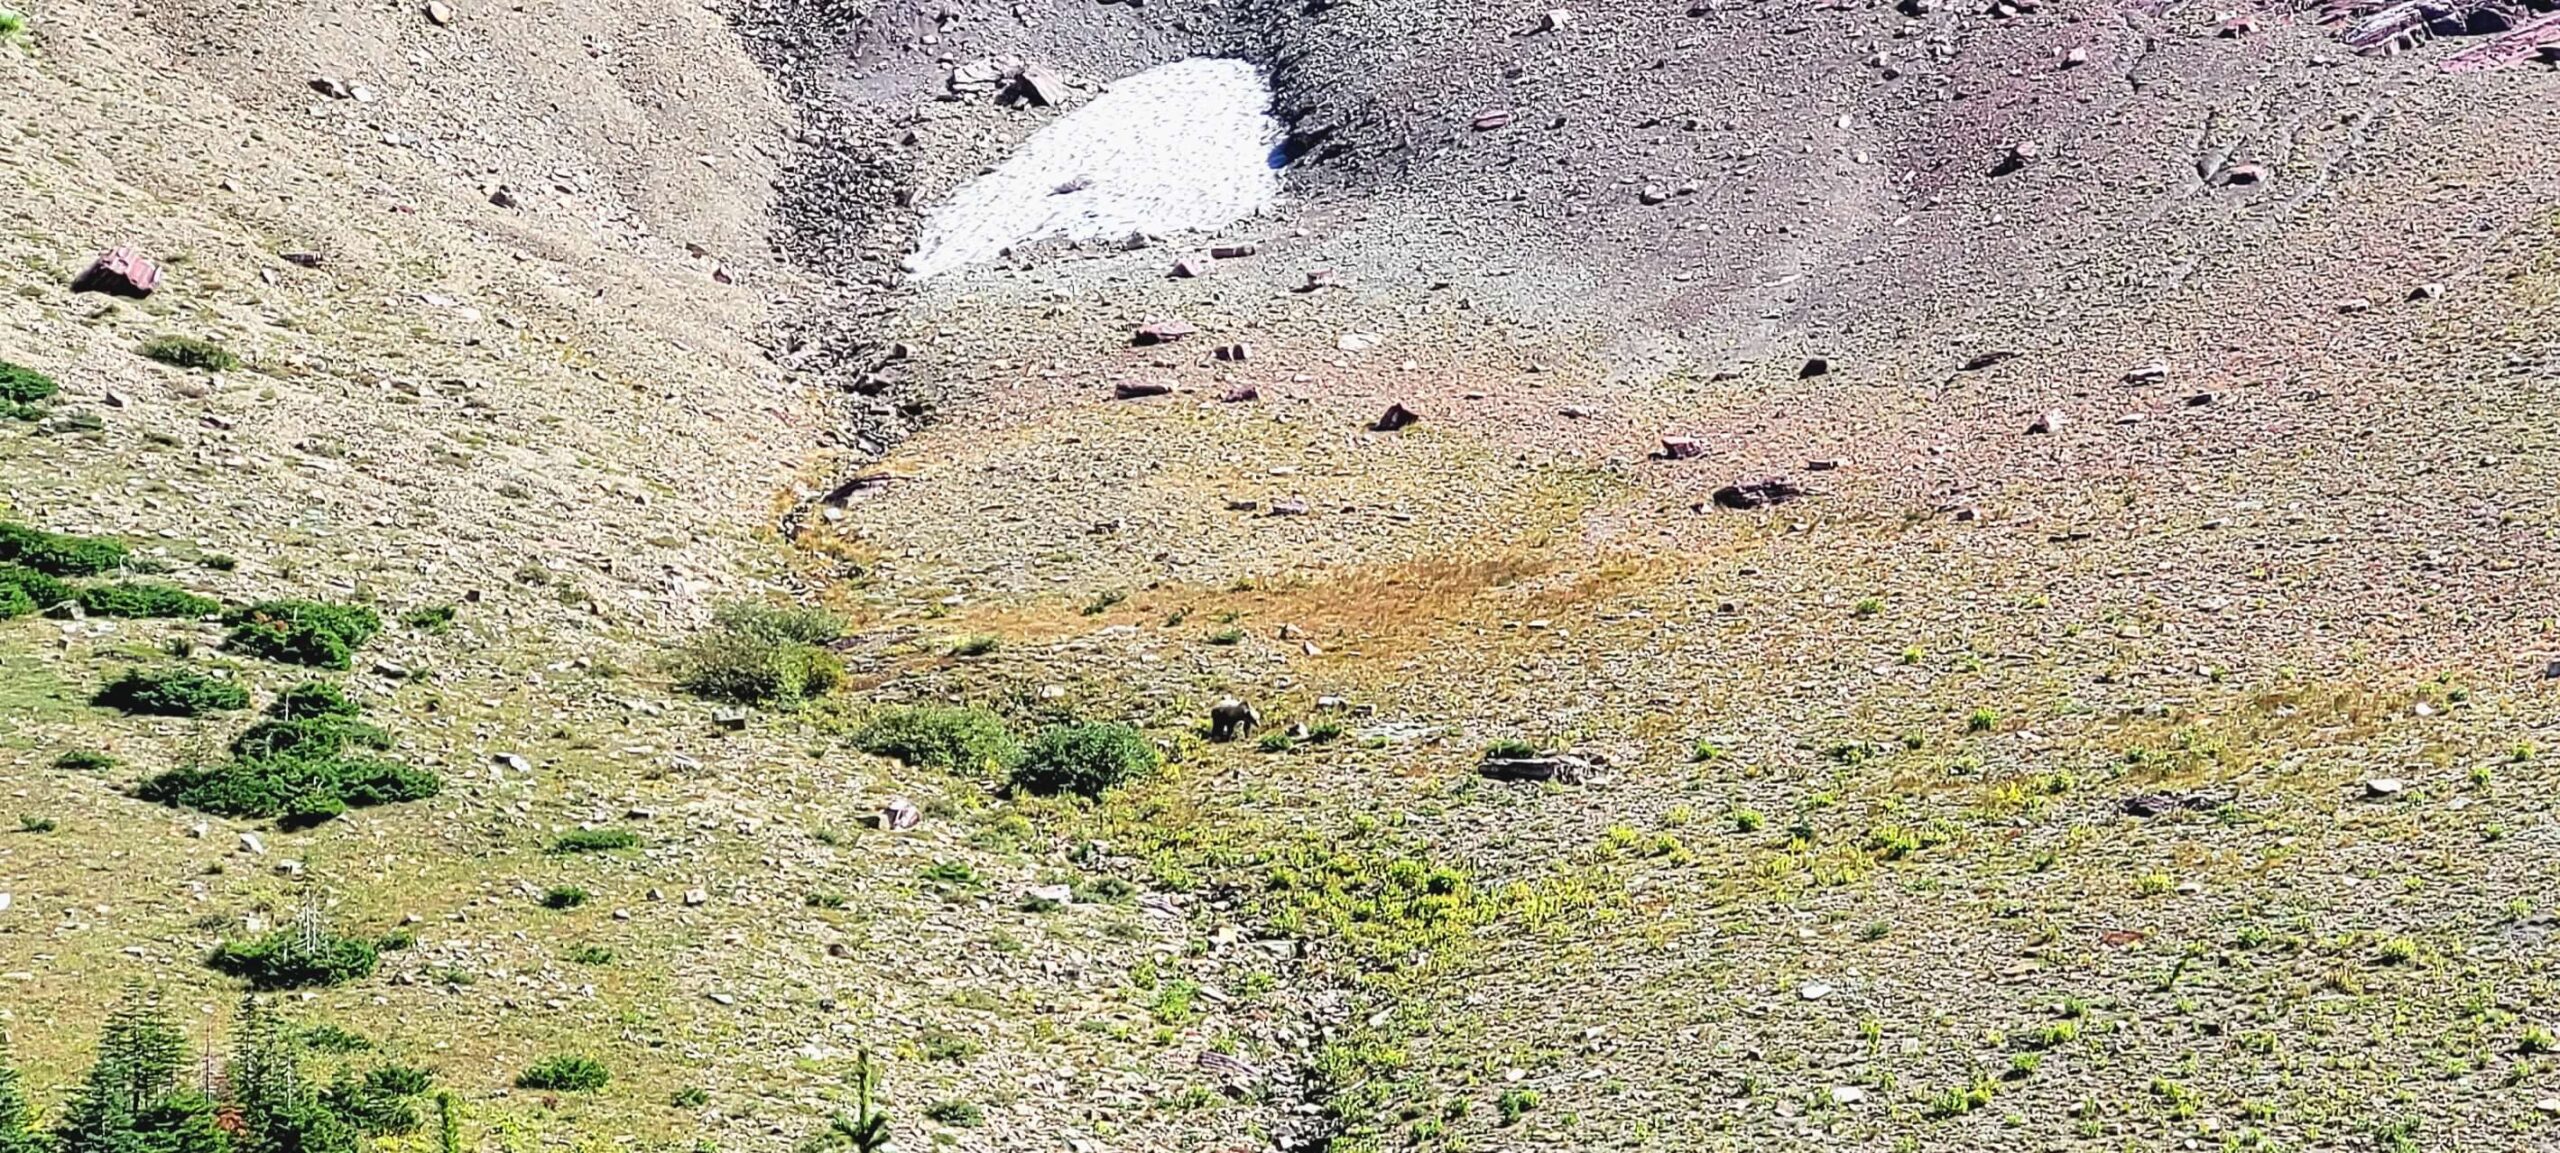
As mentioned above, the first 2.7 miles of this trail are shared with the Iceberg Lake trail. We did Iceberg Lake and then came back to the fork in the trail and after much discussion decided we were going to combo it and do 16 miles all in one day. If you are not that crazy and decided to do this trail separately, you are looking at almost 11 miles with ~2,400 feet of elevation gain. Unlike Iceberg Lake, we really felt this elevation gain which was likely because our legs were extremely tired by the time we got to this point. The views along the way are just amazing. After about 2 miles, you will come to Ptarmigan Lake which presents a decision for you. You can either stop there or you can continue for another half mile or so up a very steep and very intimidating switchback trail to the top of the surrounding cliffs. Amanda made the decision to stay while Scott made the decision to go all the way. While it was quite challenging to get up the switchbacks, there were many big horned sheep hanging out which made the pain subside a bit. When you get to the top, you are presented with double doors that open to a tunnel which you cross through to the other side of the mountains. As you emerge from the tunnel, it’s like a whole different world. The view is amazing with mountains, a lake in the valley below, and a glacier to top things off (you have to walk down the trail a bit to the right to see the glacier). Another trail actually continues on from this point if you really wanted more punishment, but the Ptarmigan Tunnel trail ends as soon as you cross the through the tunnel. Once you are finished taking those views in, turn around and head back down the switchbacks and back to the shared trailhead at the parking lot which is over 5 miles away from you at this point. We did see a grizzly bear around Ptarmigan Lake on this trail, so be on the lookout.
Grinnell Lake – 3.6- or 6.9-miles RT, Moderate, 1.5-2.5 hours
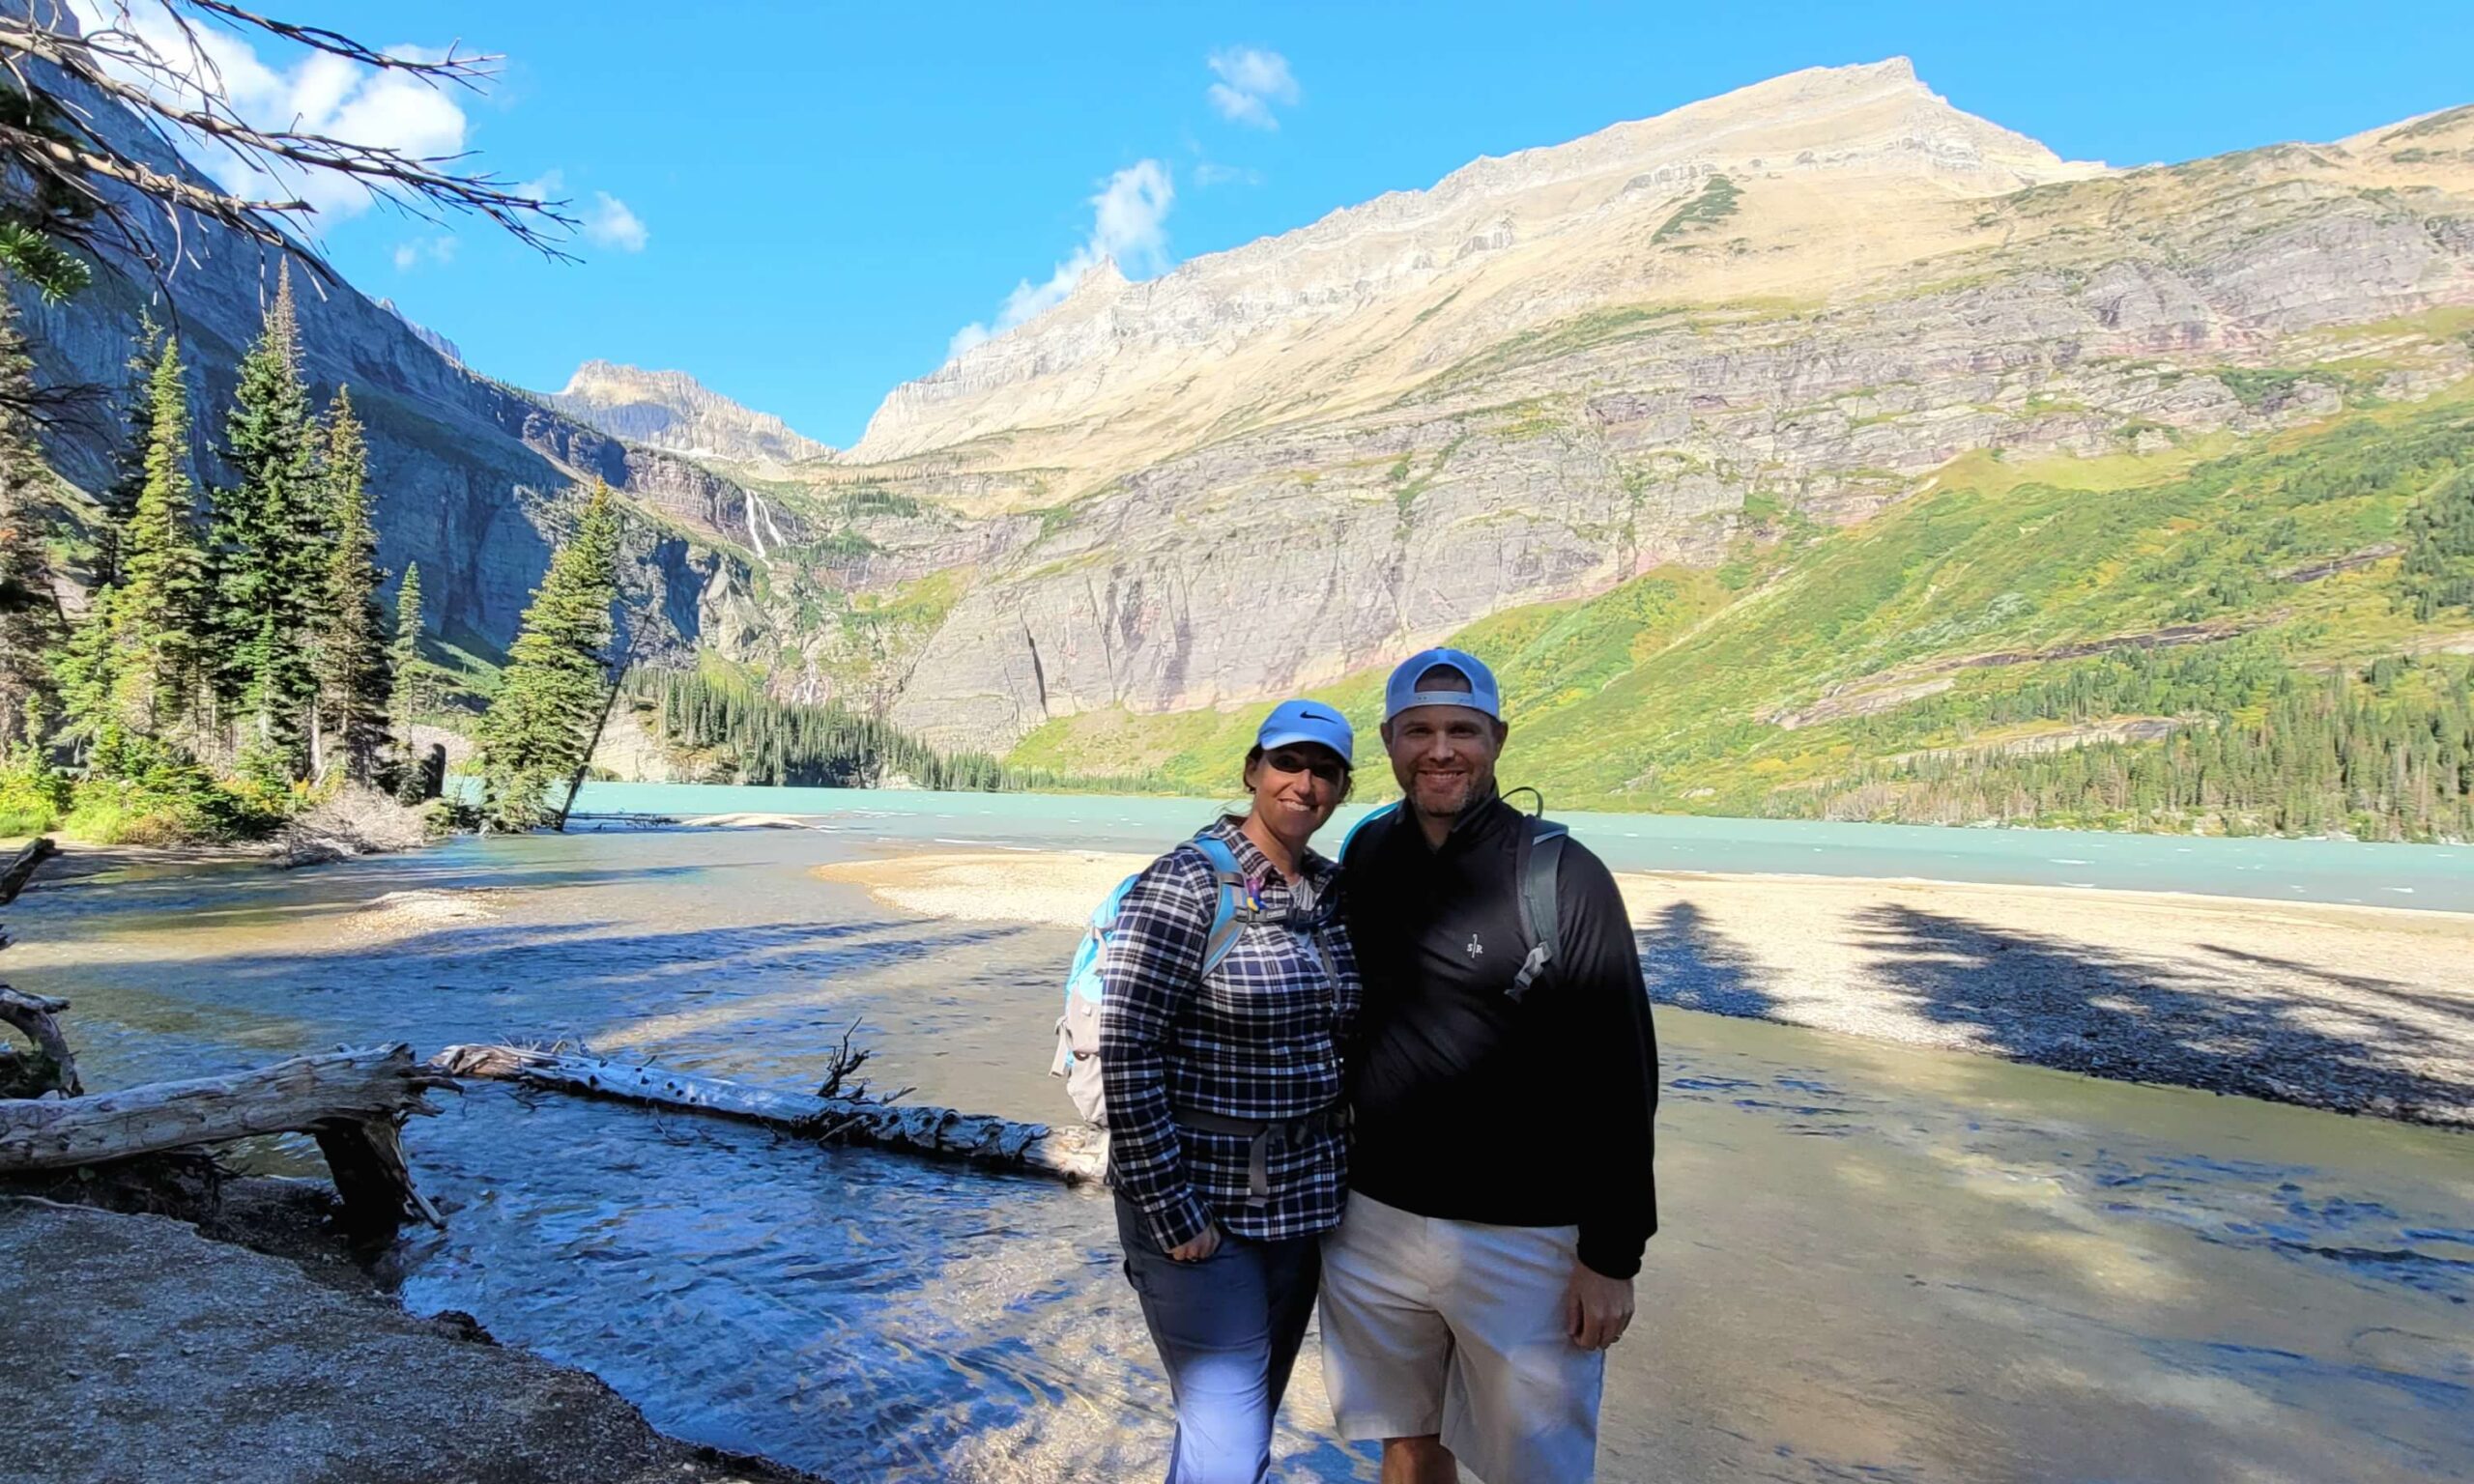
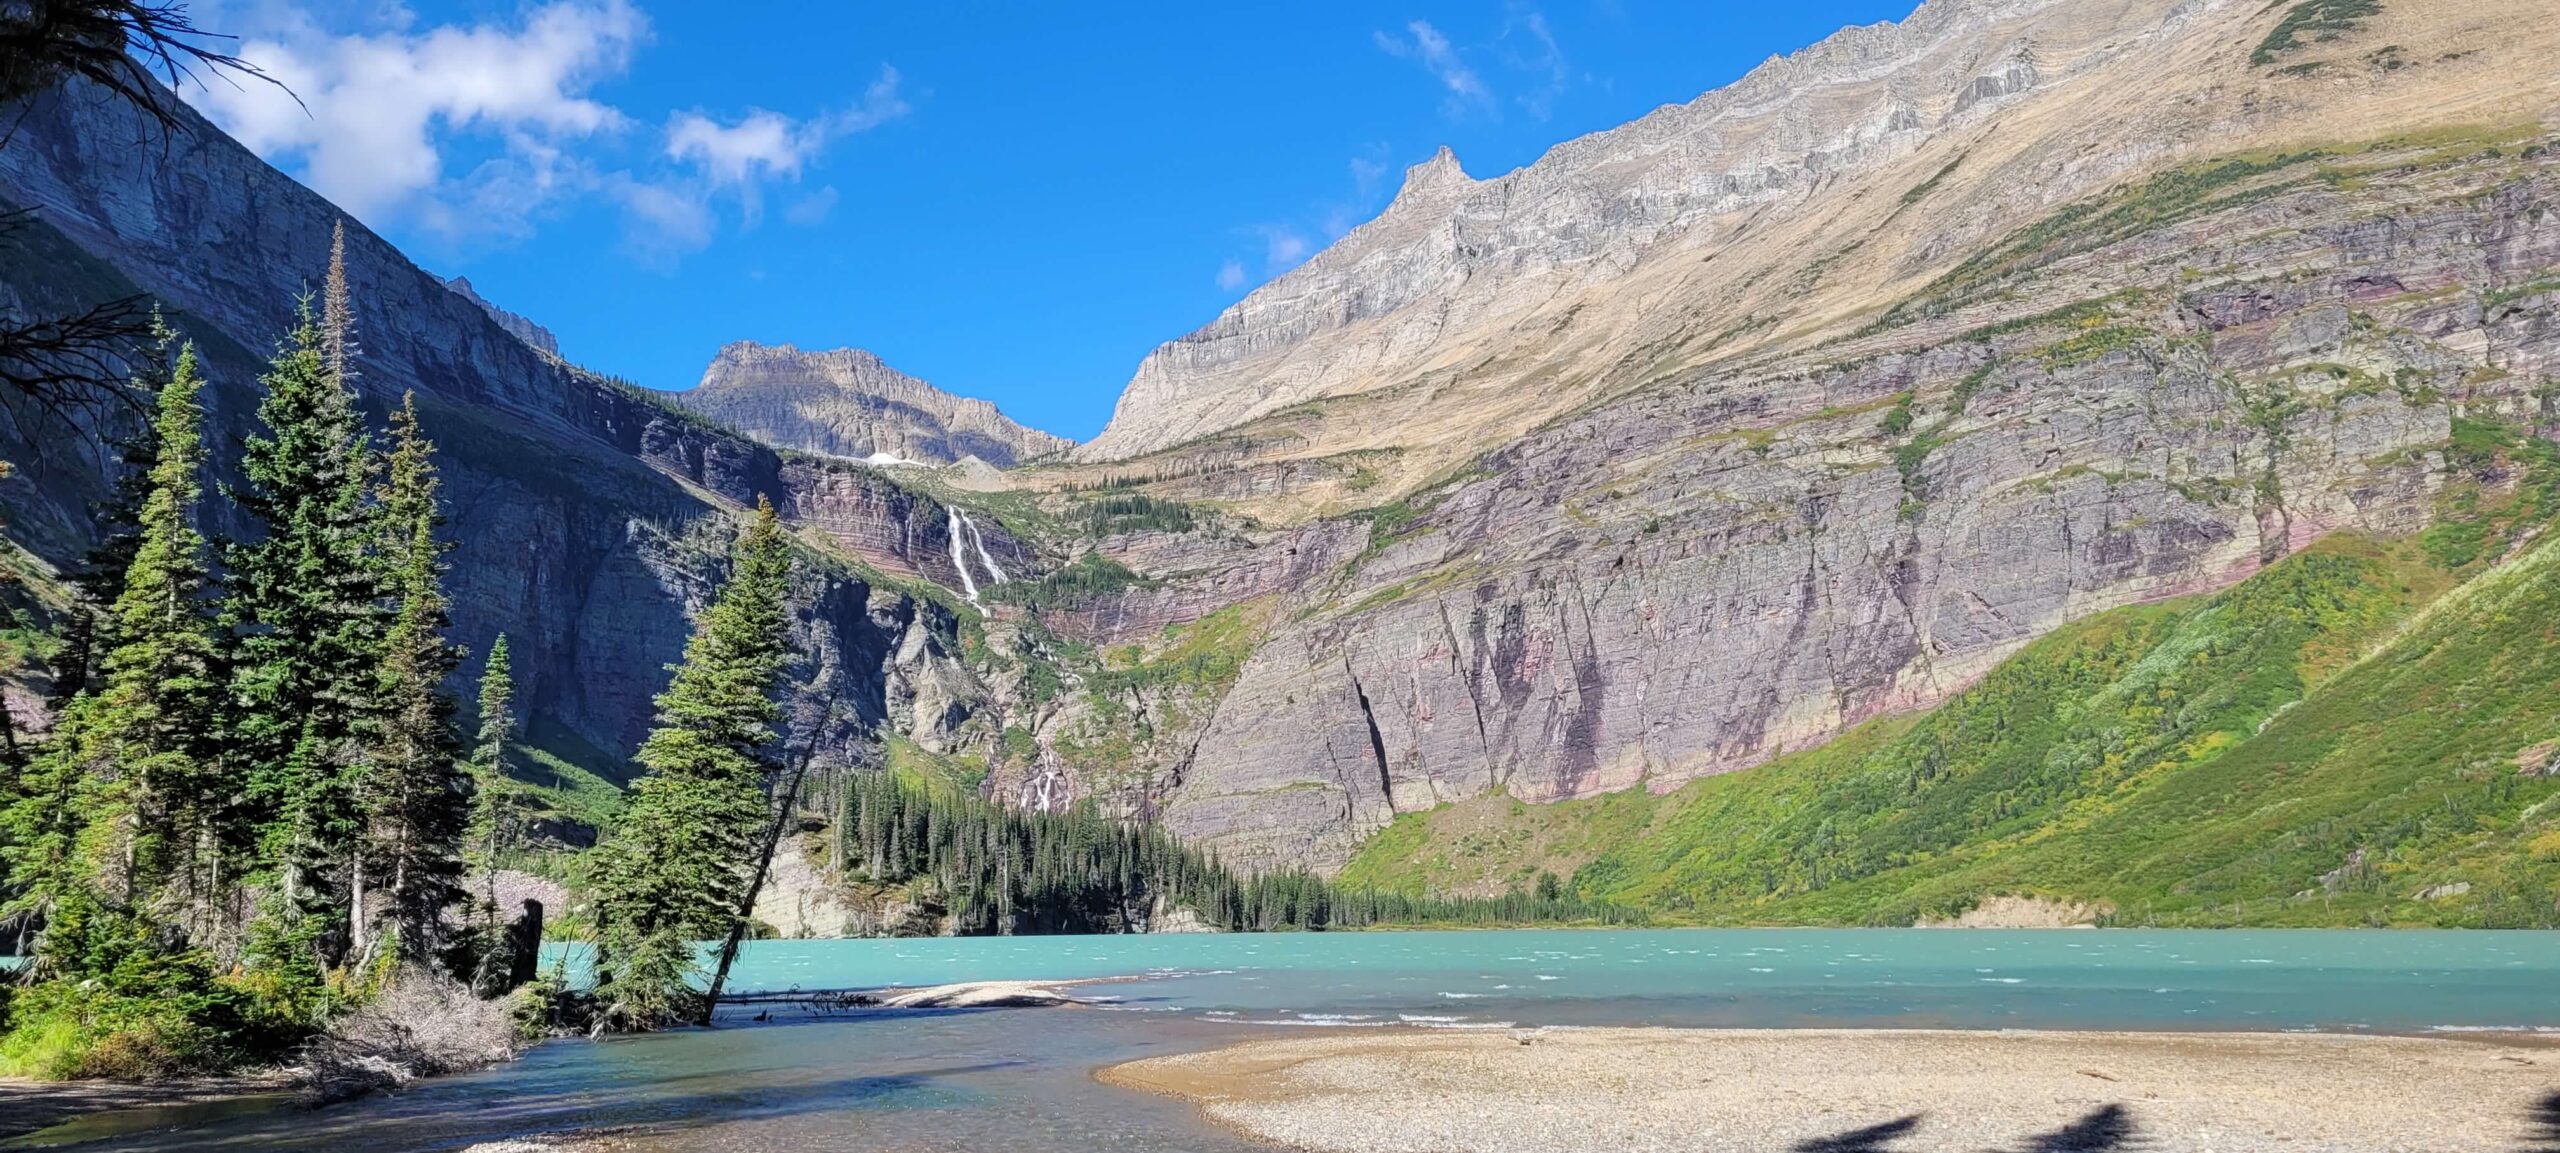
You can hike out to Grinnell Lake from the Many Glacier Hotel area which would be close to 7 miles RT, or you can do what we did and take the Many Glacier boat cruise, across both Swiftcurrent Lake and Josephine Lake, which cuts down the walking to about 3.6 miles. If you are coming off the previous day of hiking to both Iceberg Lake and Ptarmigan Tunnel like we were, taking the boat cruise a no-brainer. The scenery, especially once you actually got to Grinnell Lake, was once again absolutely stunning. You could see a waterfall in the distance and the mountains just towering over you and the lake.
Grinnell Glacier – 7.6- or 10-miles RT, Hard, 4-5 hours
Full disclosure – we haven’t yet done this hike. We just couldn’t physically pull it off after doing all three hikes above across 1.5 days. But we could see people doing the hike from Grinnell Lake and Scott went to the viewpoint of Grinnell Glacier on the Highline trail in the Logan Pass area and it looked incredible from there, so we can only imagine the views are even better from close up at the end of this trail. You will get a lot of elevation gain here – over 2,000 feet and the even though the boat cruise over can cut off ~2.5 miles or so – it isn’t cutting off much of that elevation gain unfortunately. When we return to Glacier – this hike will be at the top of the list.
Cracker Lake –12.8 miles RT, Hard, 5.5 hours
Full disclosure – we haven’t done this one either. Even if we could have fit it in on our trip – it was closed due to bear activity which is frequently the case. We have heard a lot of good things about this trail though, so if you have time and it is open – go for it!
Two Medicine Area
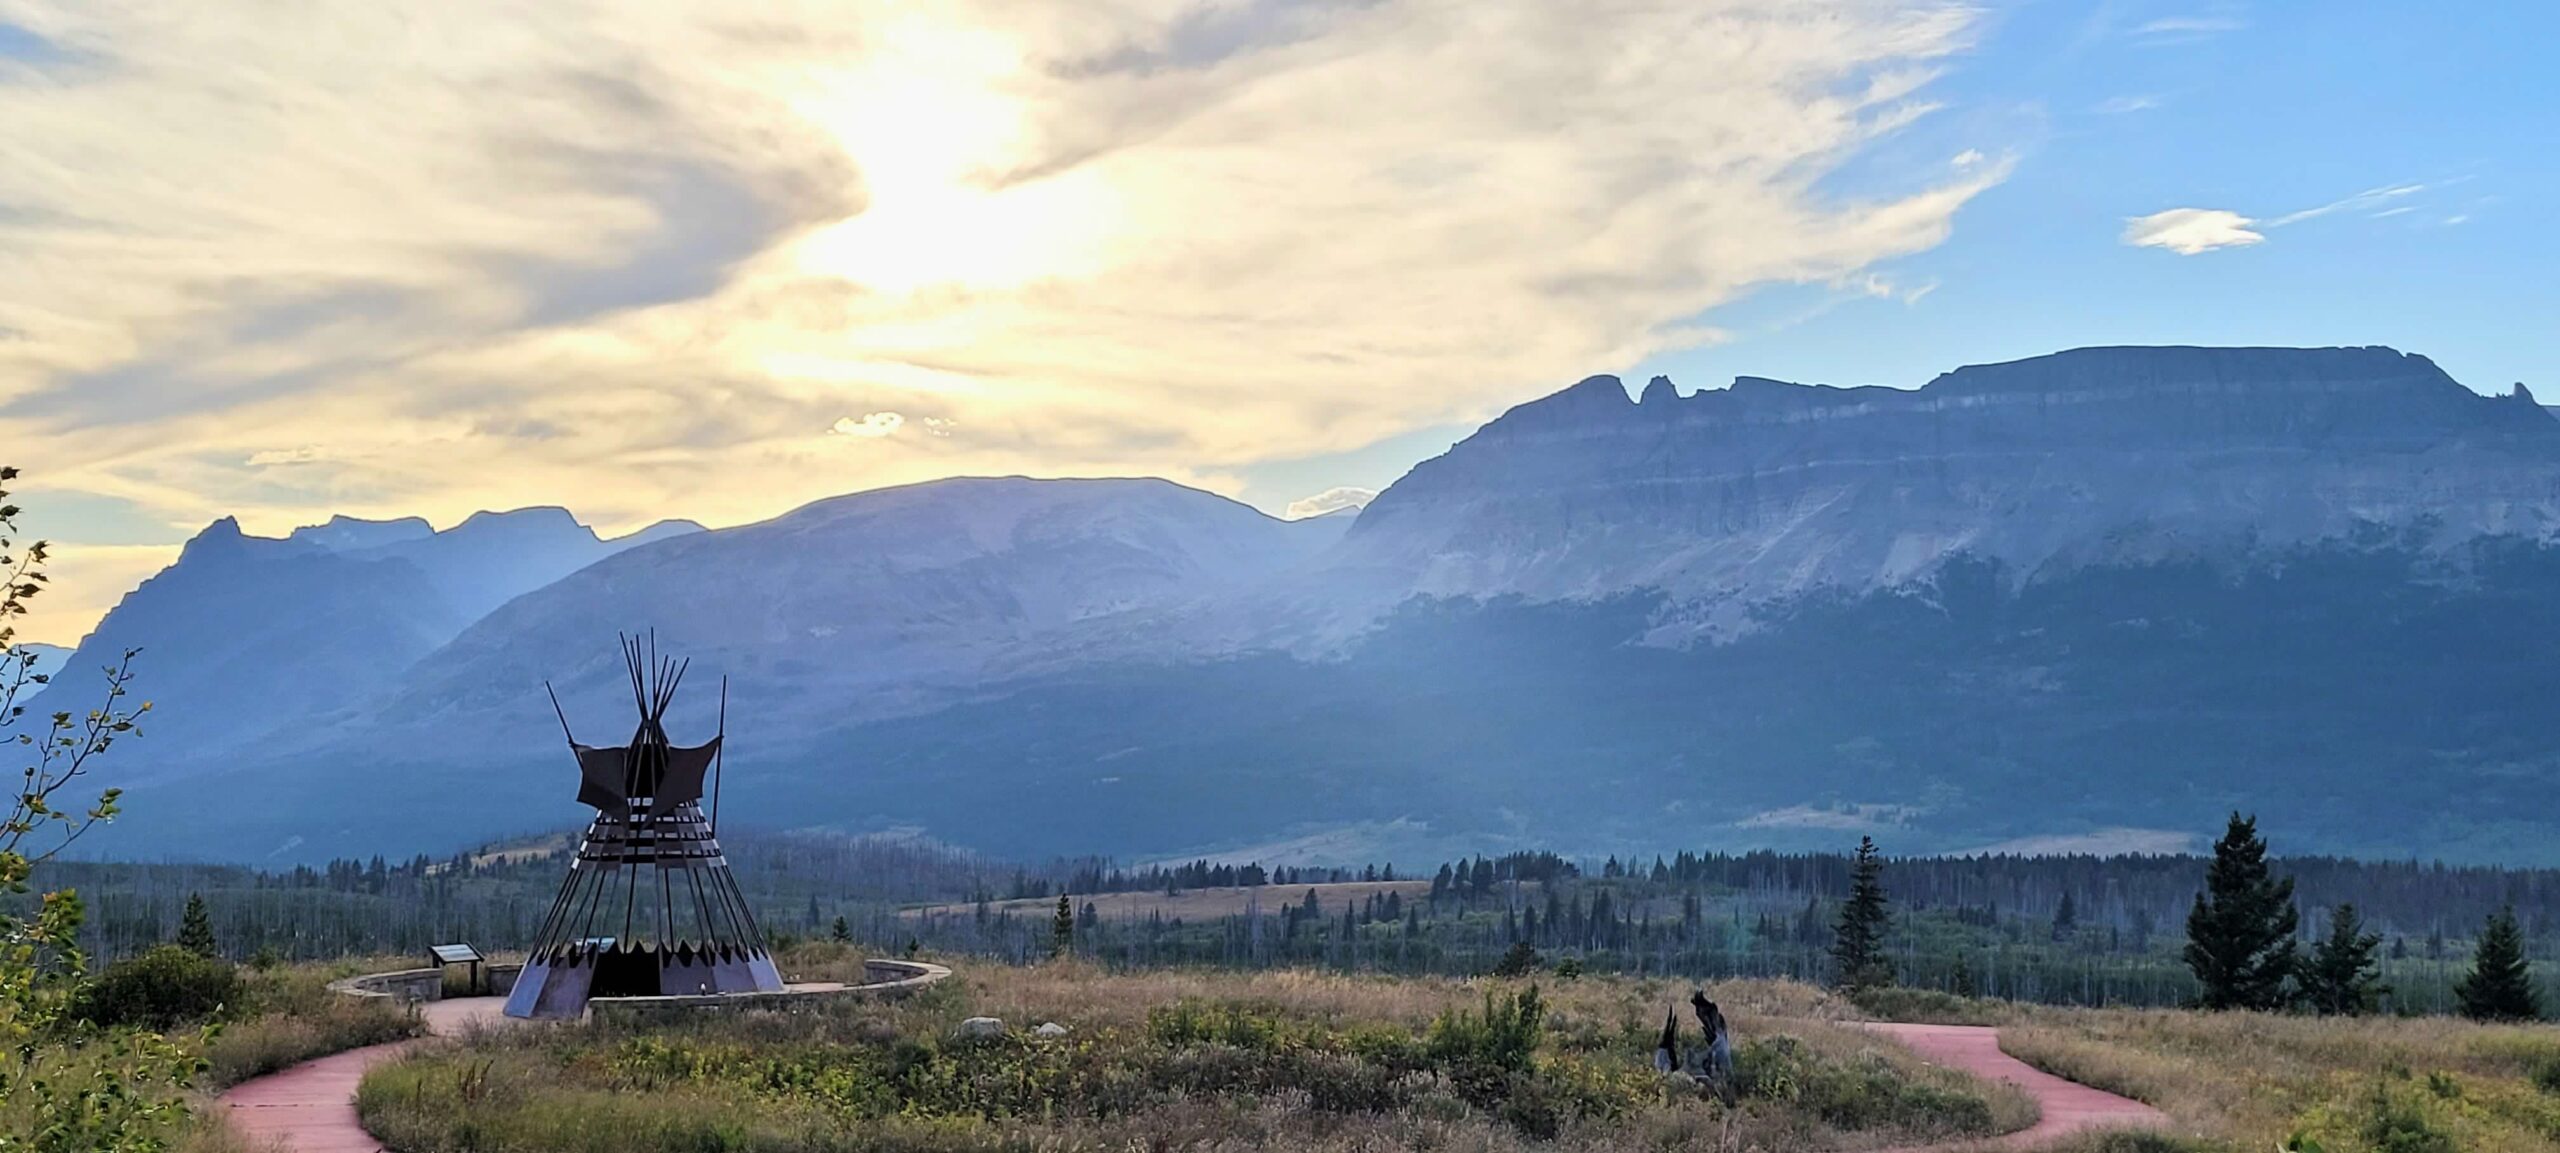
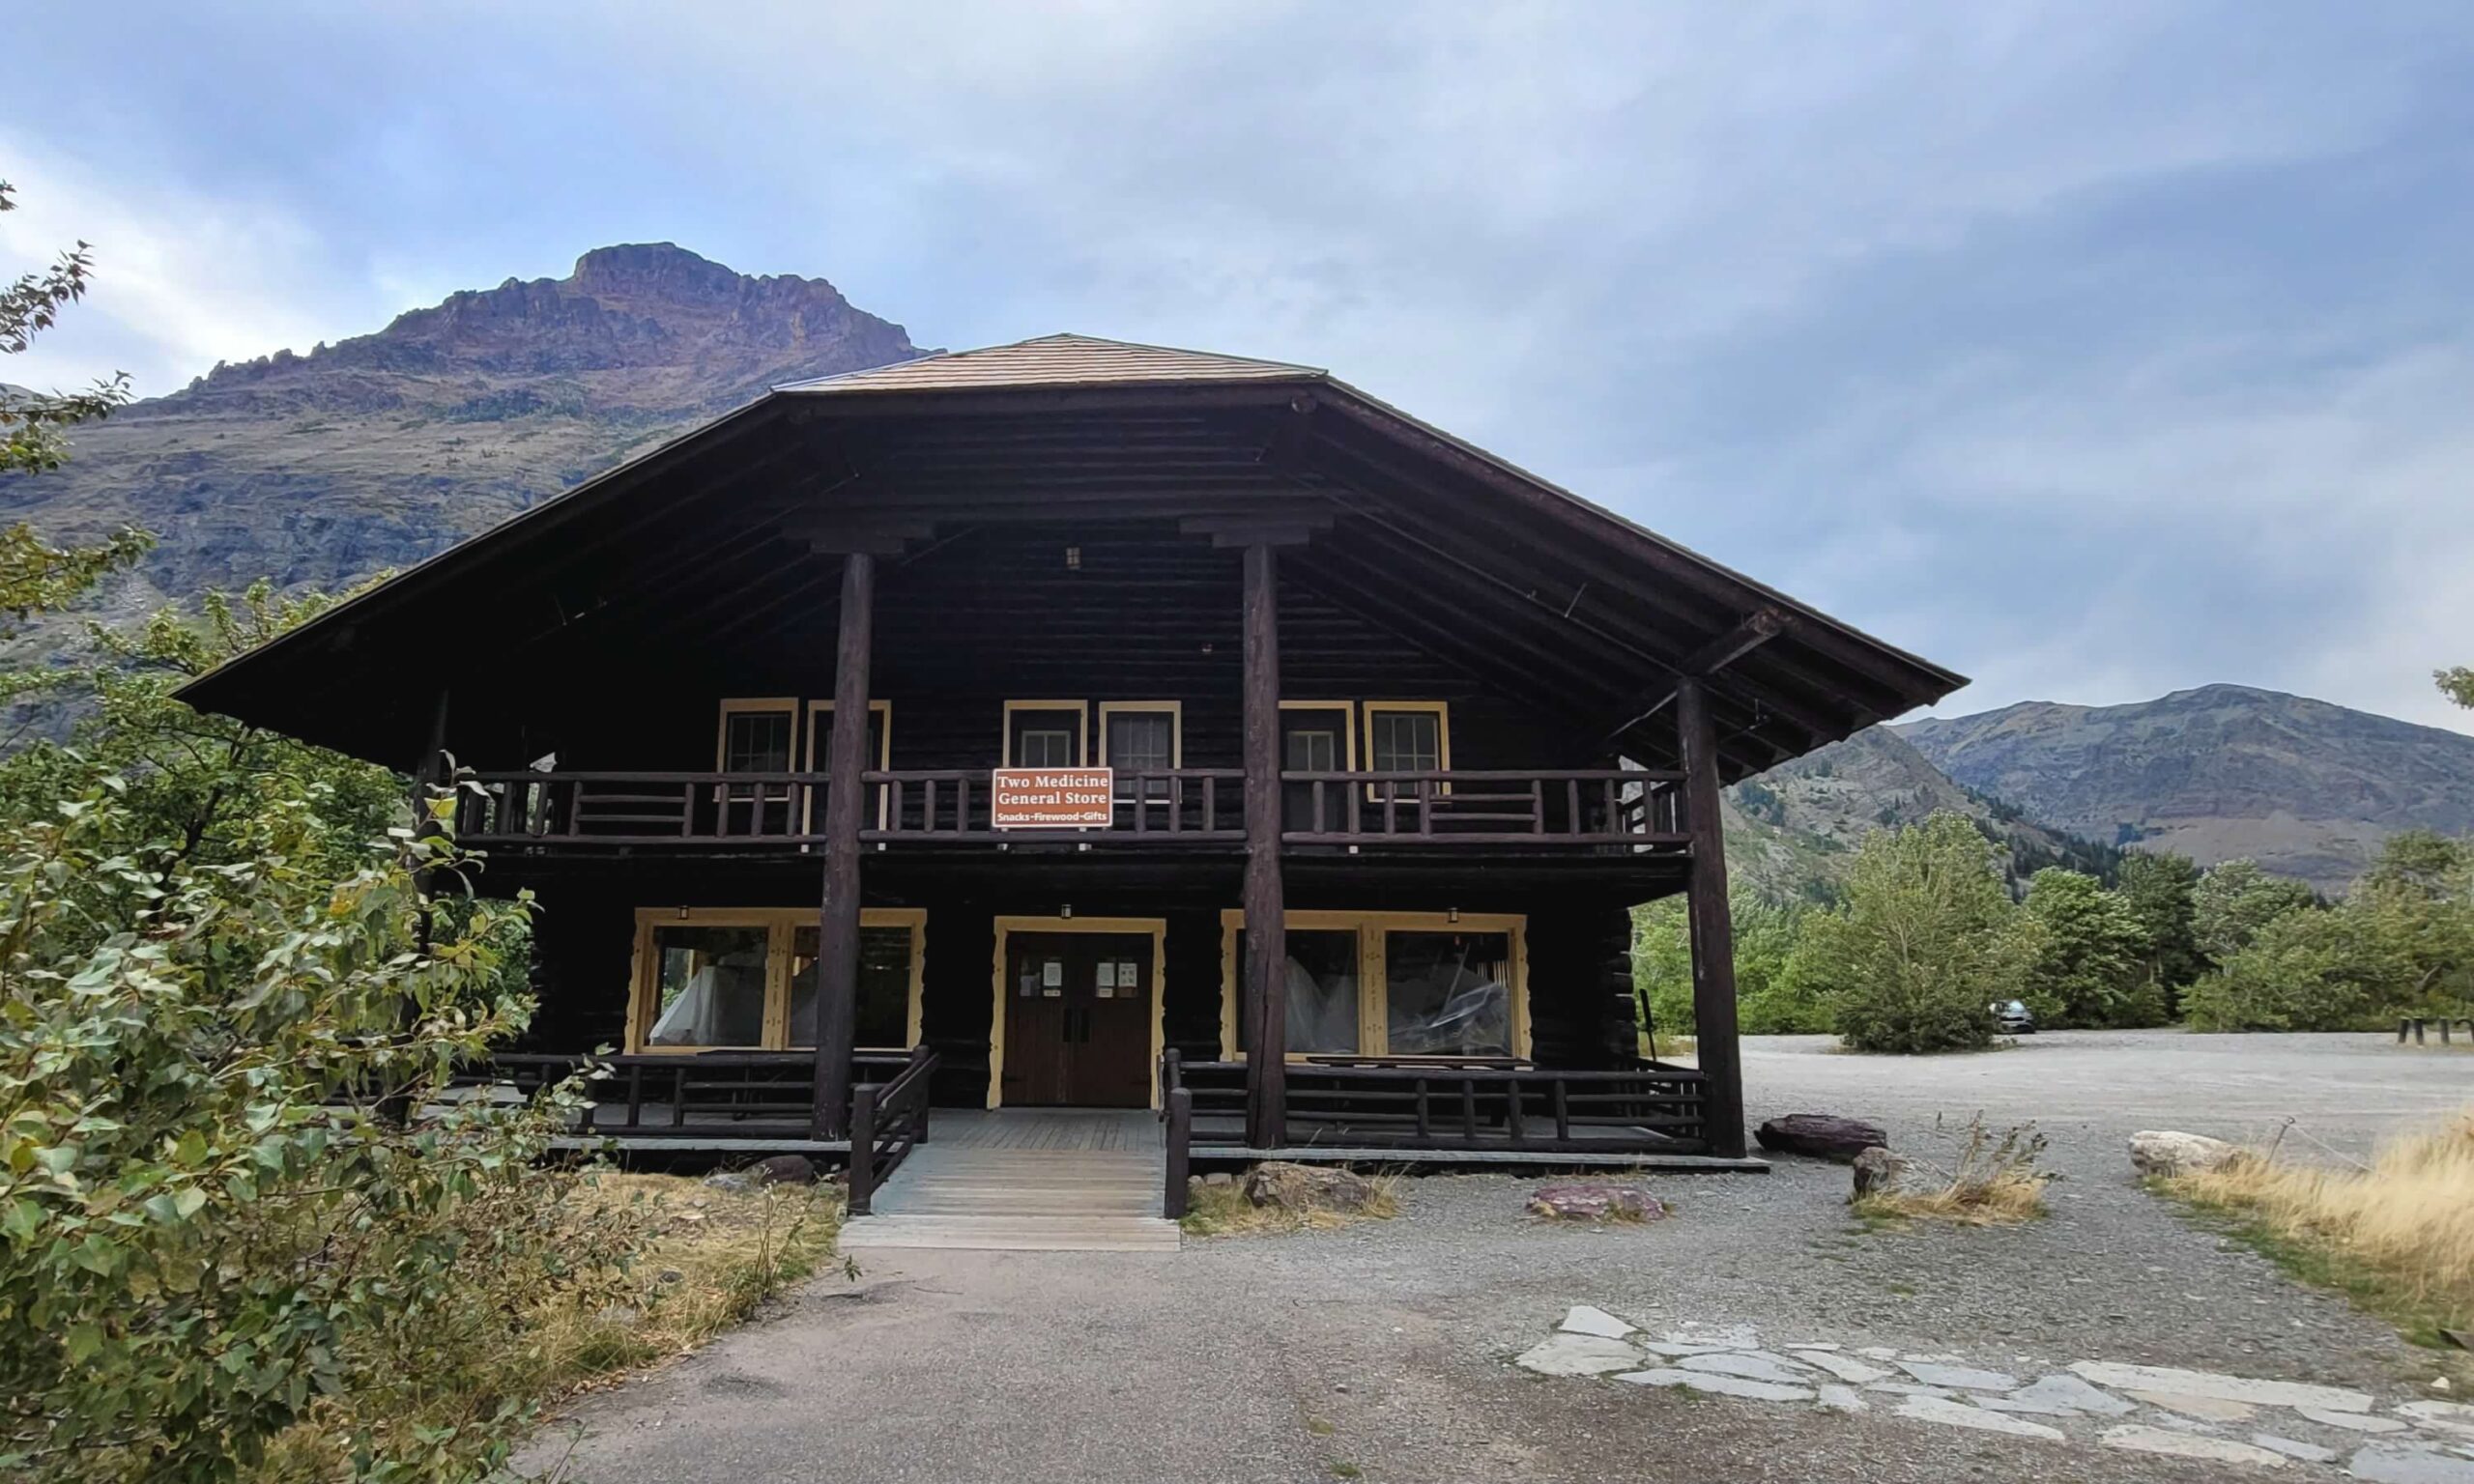
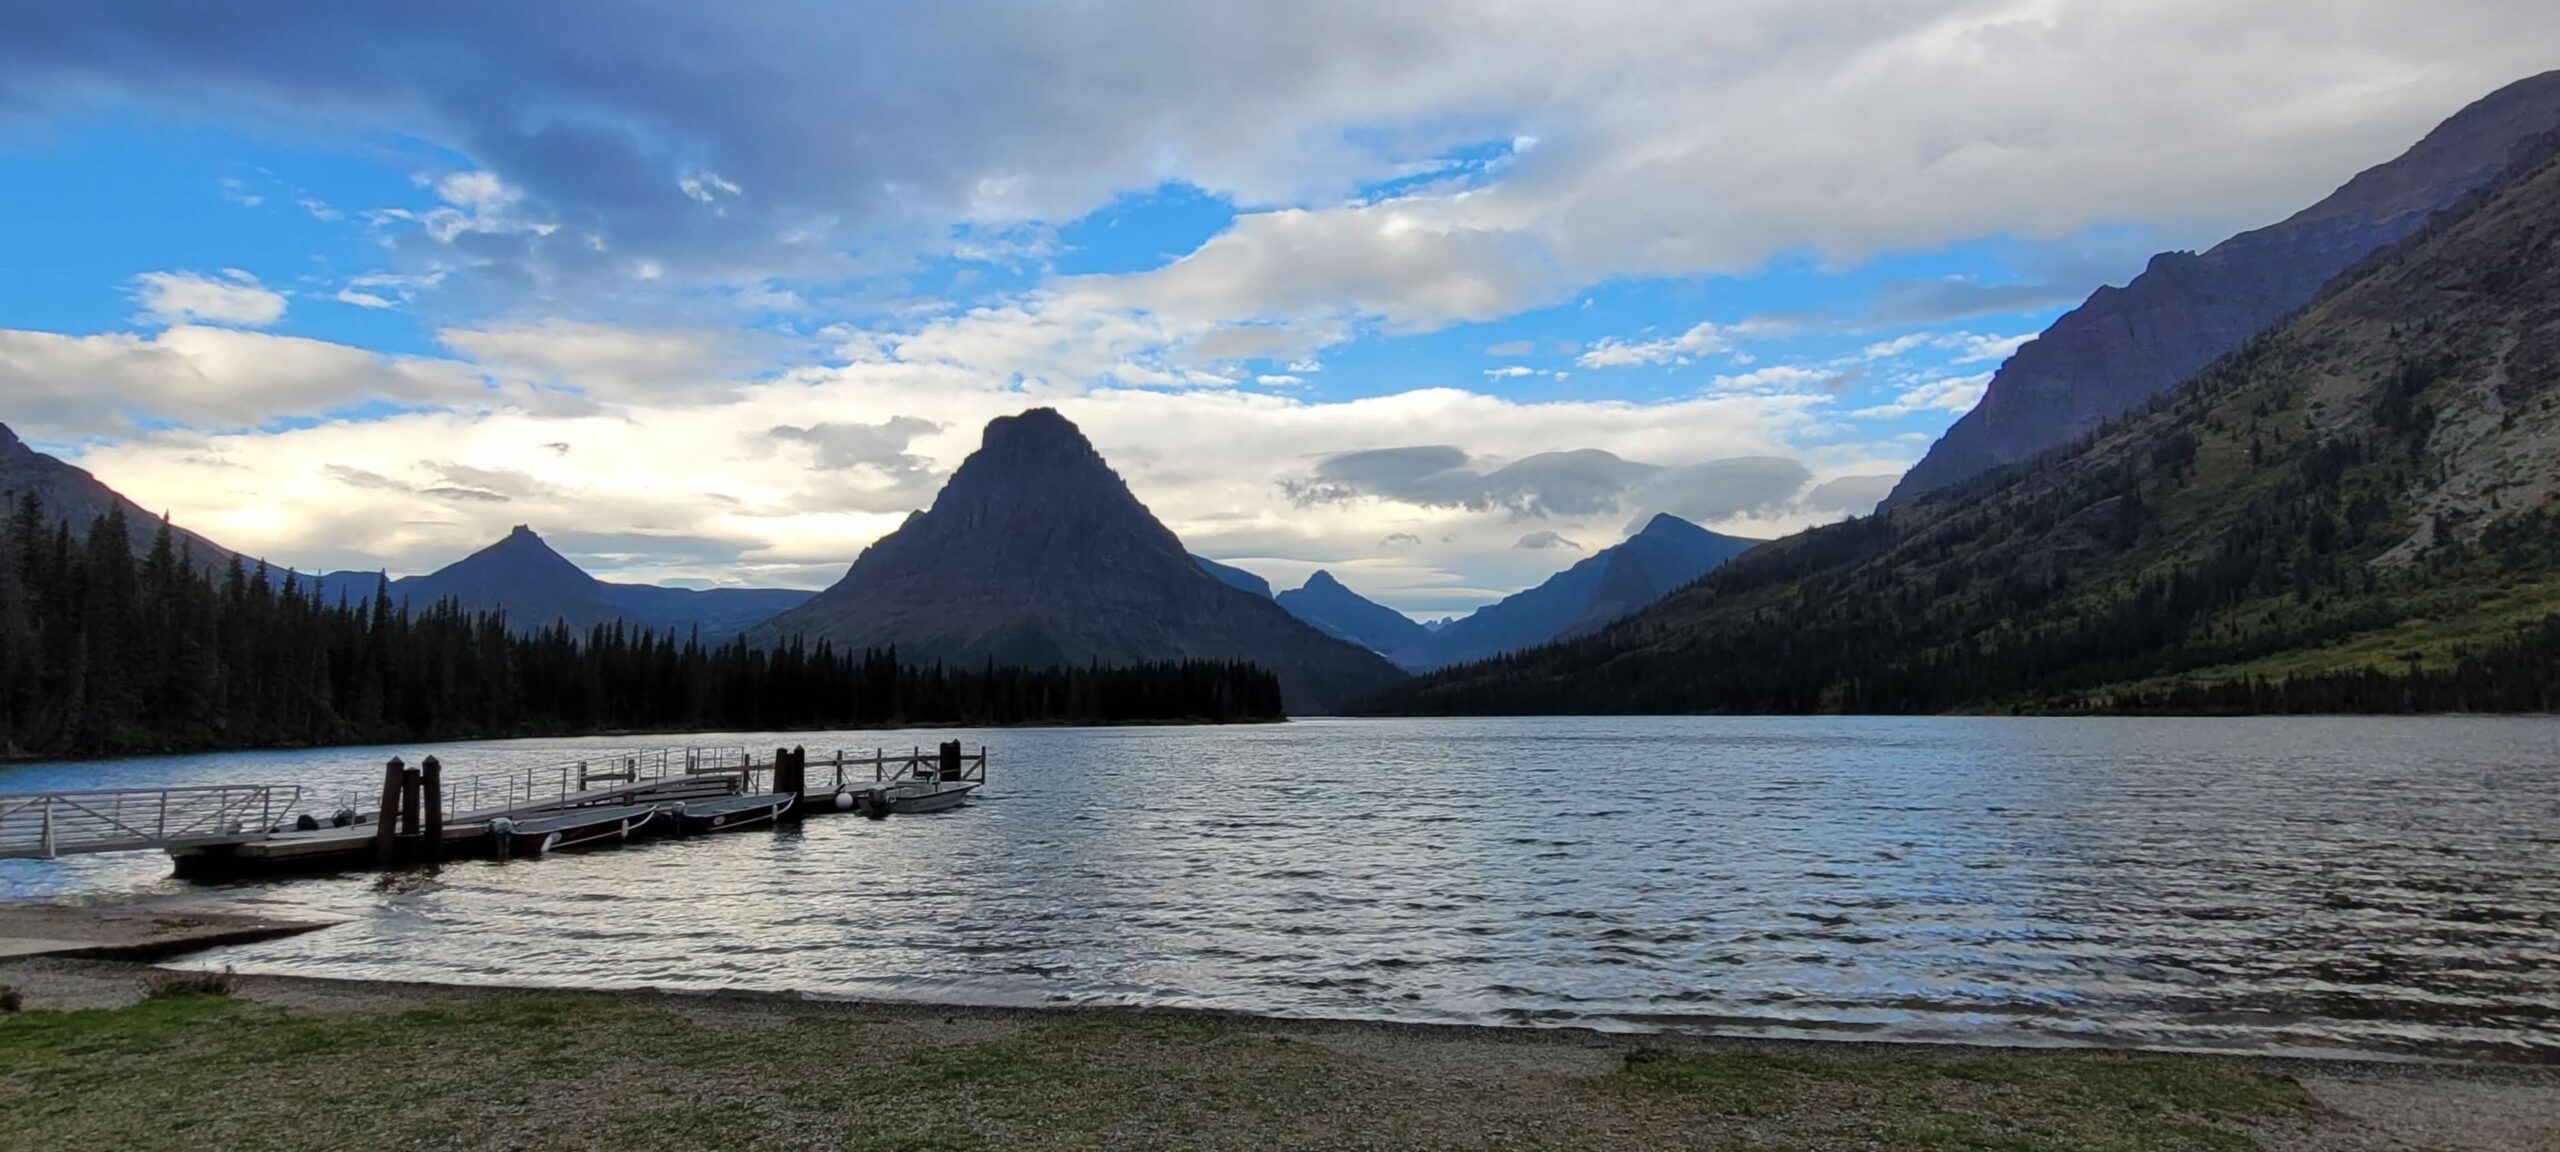
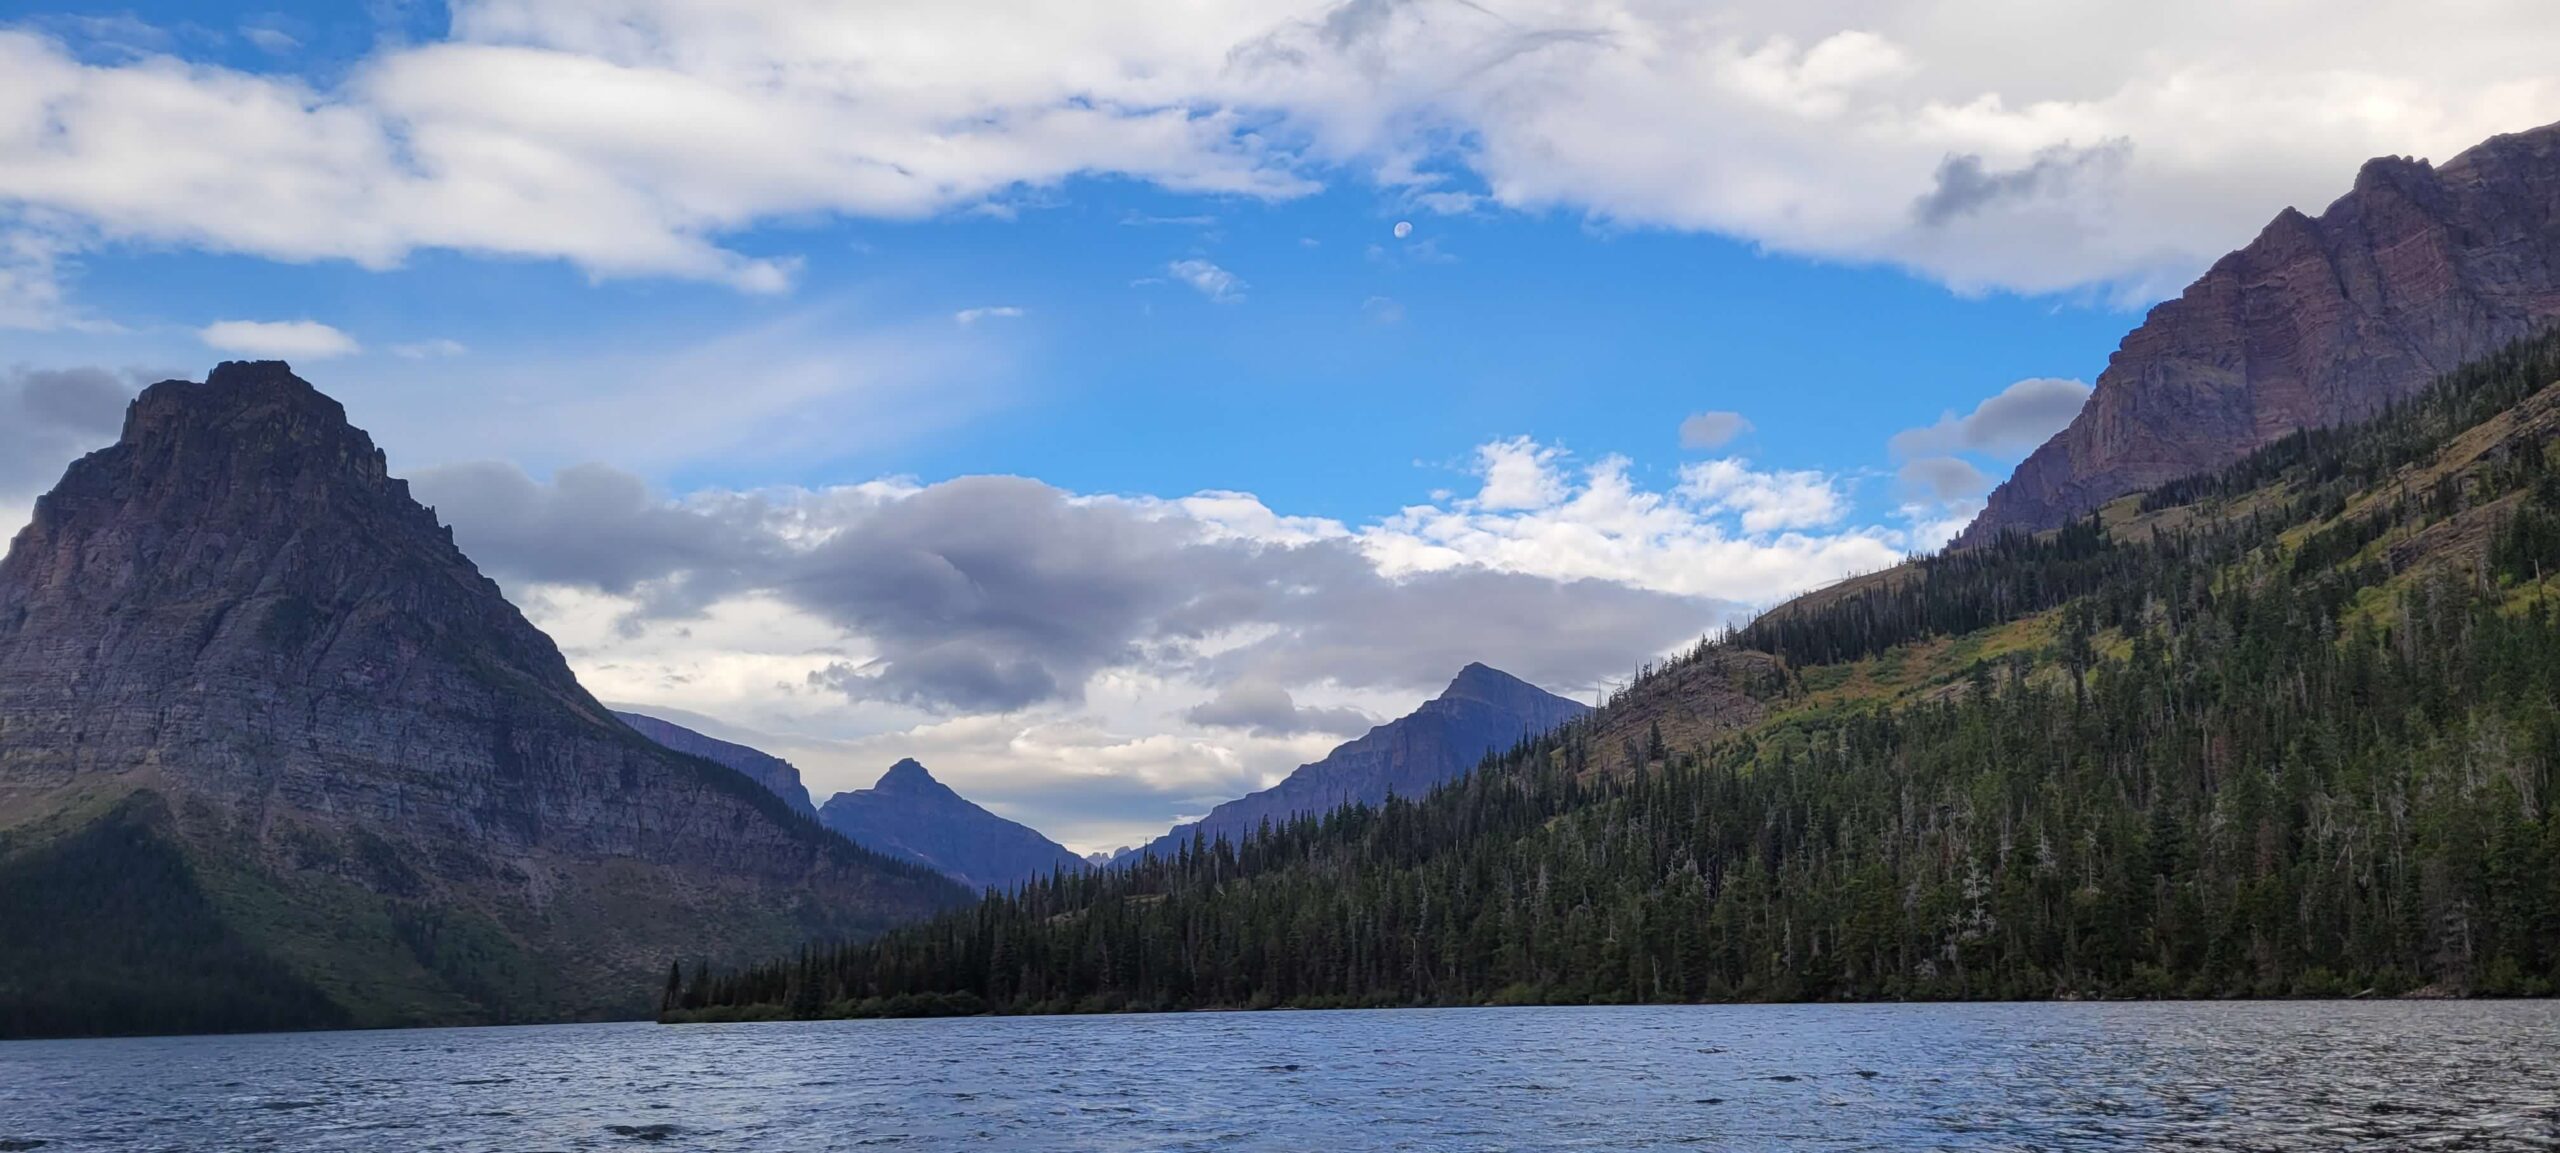
Two Medicine Valley is one of the least visited areas of the park as it is over in the southeast corner fairly far away from any of the main developed areas. No need to worry about vehicle reservations here! The main attraction is Two Medicine Lake which offers yet another boat cruise opportunity which can be combined with some hiking out to Twin Falls and Upper Two Medicine Lake. There are several other alpine lakes to hike to here, but they are much longer mileage and likely not something the average person is going to go check out.
Two Medicine Lake Boat Cruise
Unlike some of the other boat cruises that frequently sell out well in advance, you probably won’t have much of an issue getting on a boat cruise at Two Medicine Lake given the lack of visitors to this area. That doesn’t make the views any less stunning though. This $21 trip (as of 2024) is well worth it in our opinion. It gives you a shortcut to get out to popular spots like Twin Falls and Upper Two Medicine Lake. If you didn’t take the boat, the round-trip hike will take about 45 minutes. Once you get to the other side of the lake you will have the option to disembark and enjoy some hiking at your own pace. A couple of the trips each day offer a guided hike to Twin Lakes which will make the entire round trip about 3 hours long. We chose to hike to both Twin Falls and Upper Two Medicine Lake on our own before returning to the boat.
Twin Falls – 1.8 or 7.1 miles RT, Easy/Moderate, 1-2.5 hours
The wide difference in mileage above depends on whether you hike from the parking lot or you decide to instead take the boat across Two Medicine Lake and start from the dock. We wouldn’t say this trail was our top highlight of the trip, but there are some good mountain views before you get to the waterfall. If you are short on time, you can probably pass on this trail.
Upper Two Medicine Lake – 4.4- or 10.0-miles RT, Moderate, 1.5-3.5 hours
This hike was well worth it! Again, the difference in mileage depends on whether you hike from the parking lot or take the boat across Two Medicine Lake and start from the dock. The highlight of this was the mountain views and overall scenery on the way out to the lake. While we didn’t see any moose, another couple did, and it felt like a moose could pop out about anywhere on this trail. We actually stopped at multiple points for several minutes just to watch for moose to potentially come out. The lake at the end was pretty stunning as well and we spent some time sitting along the shore before returning to the boat.
Waterton Lakes / Goat Haunt Area
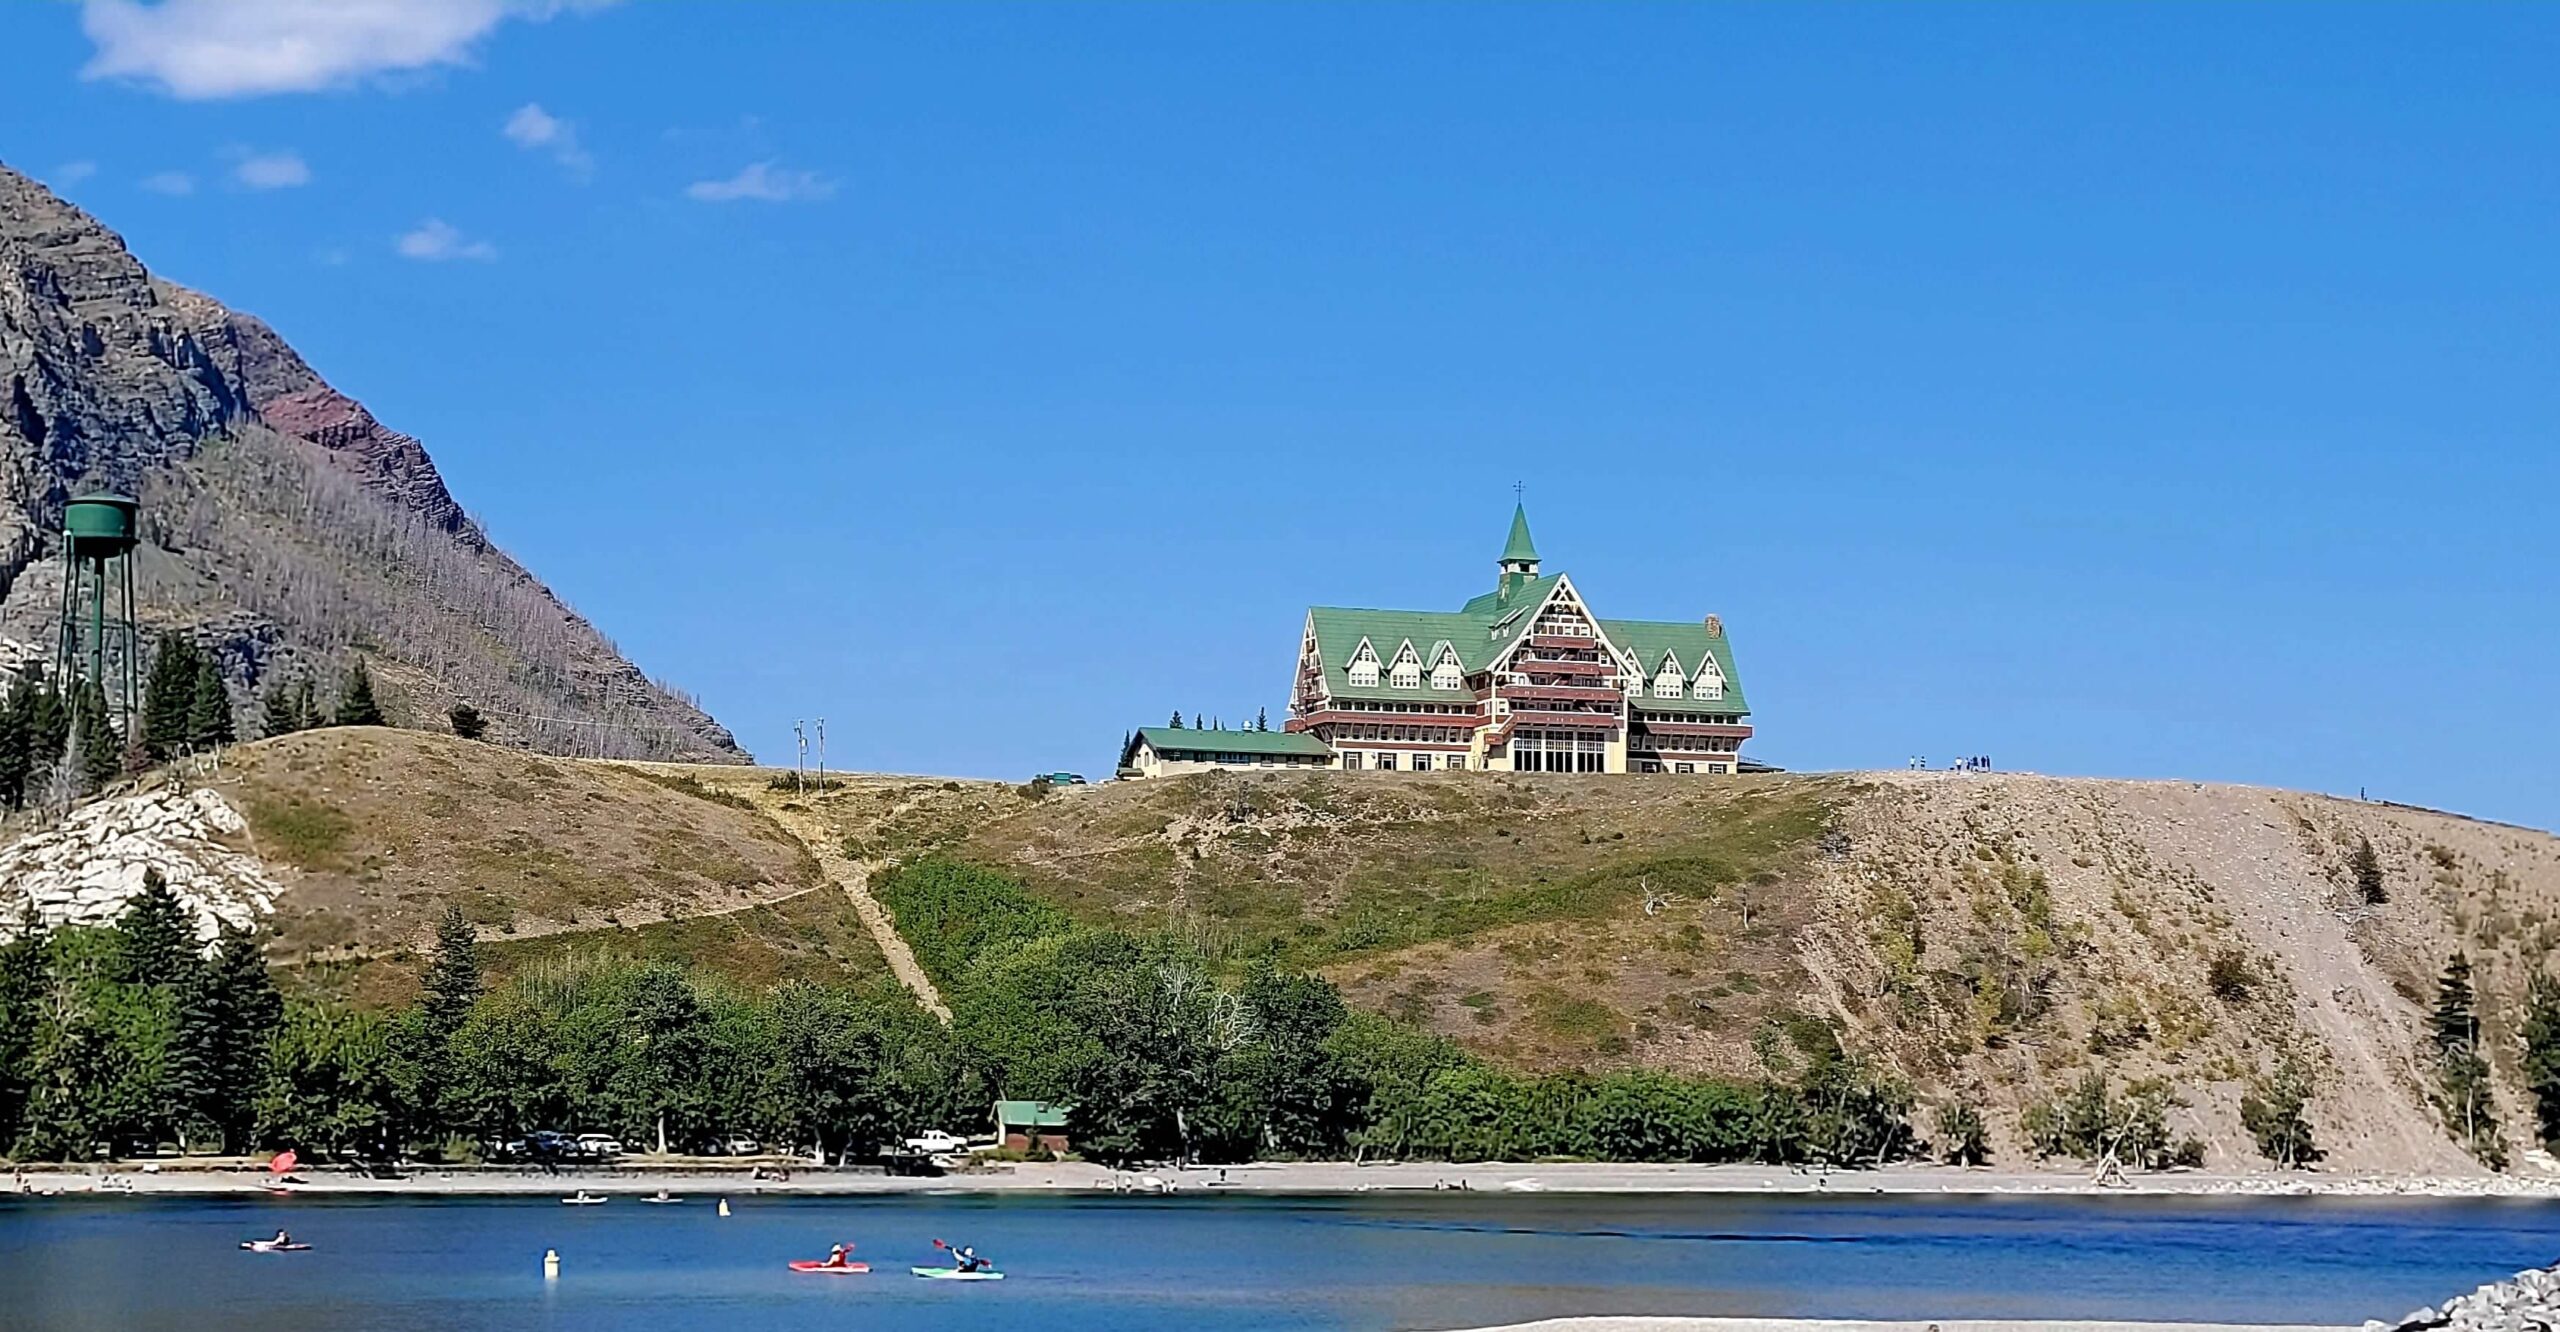
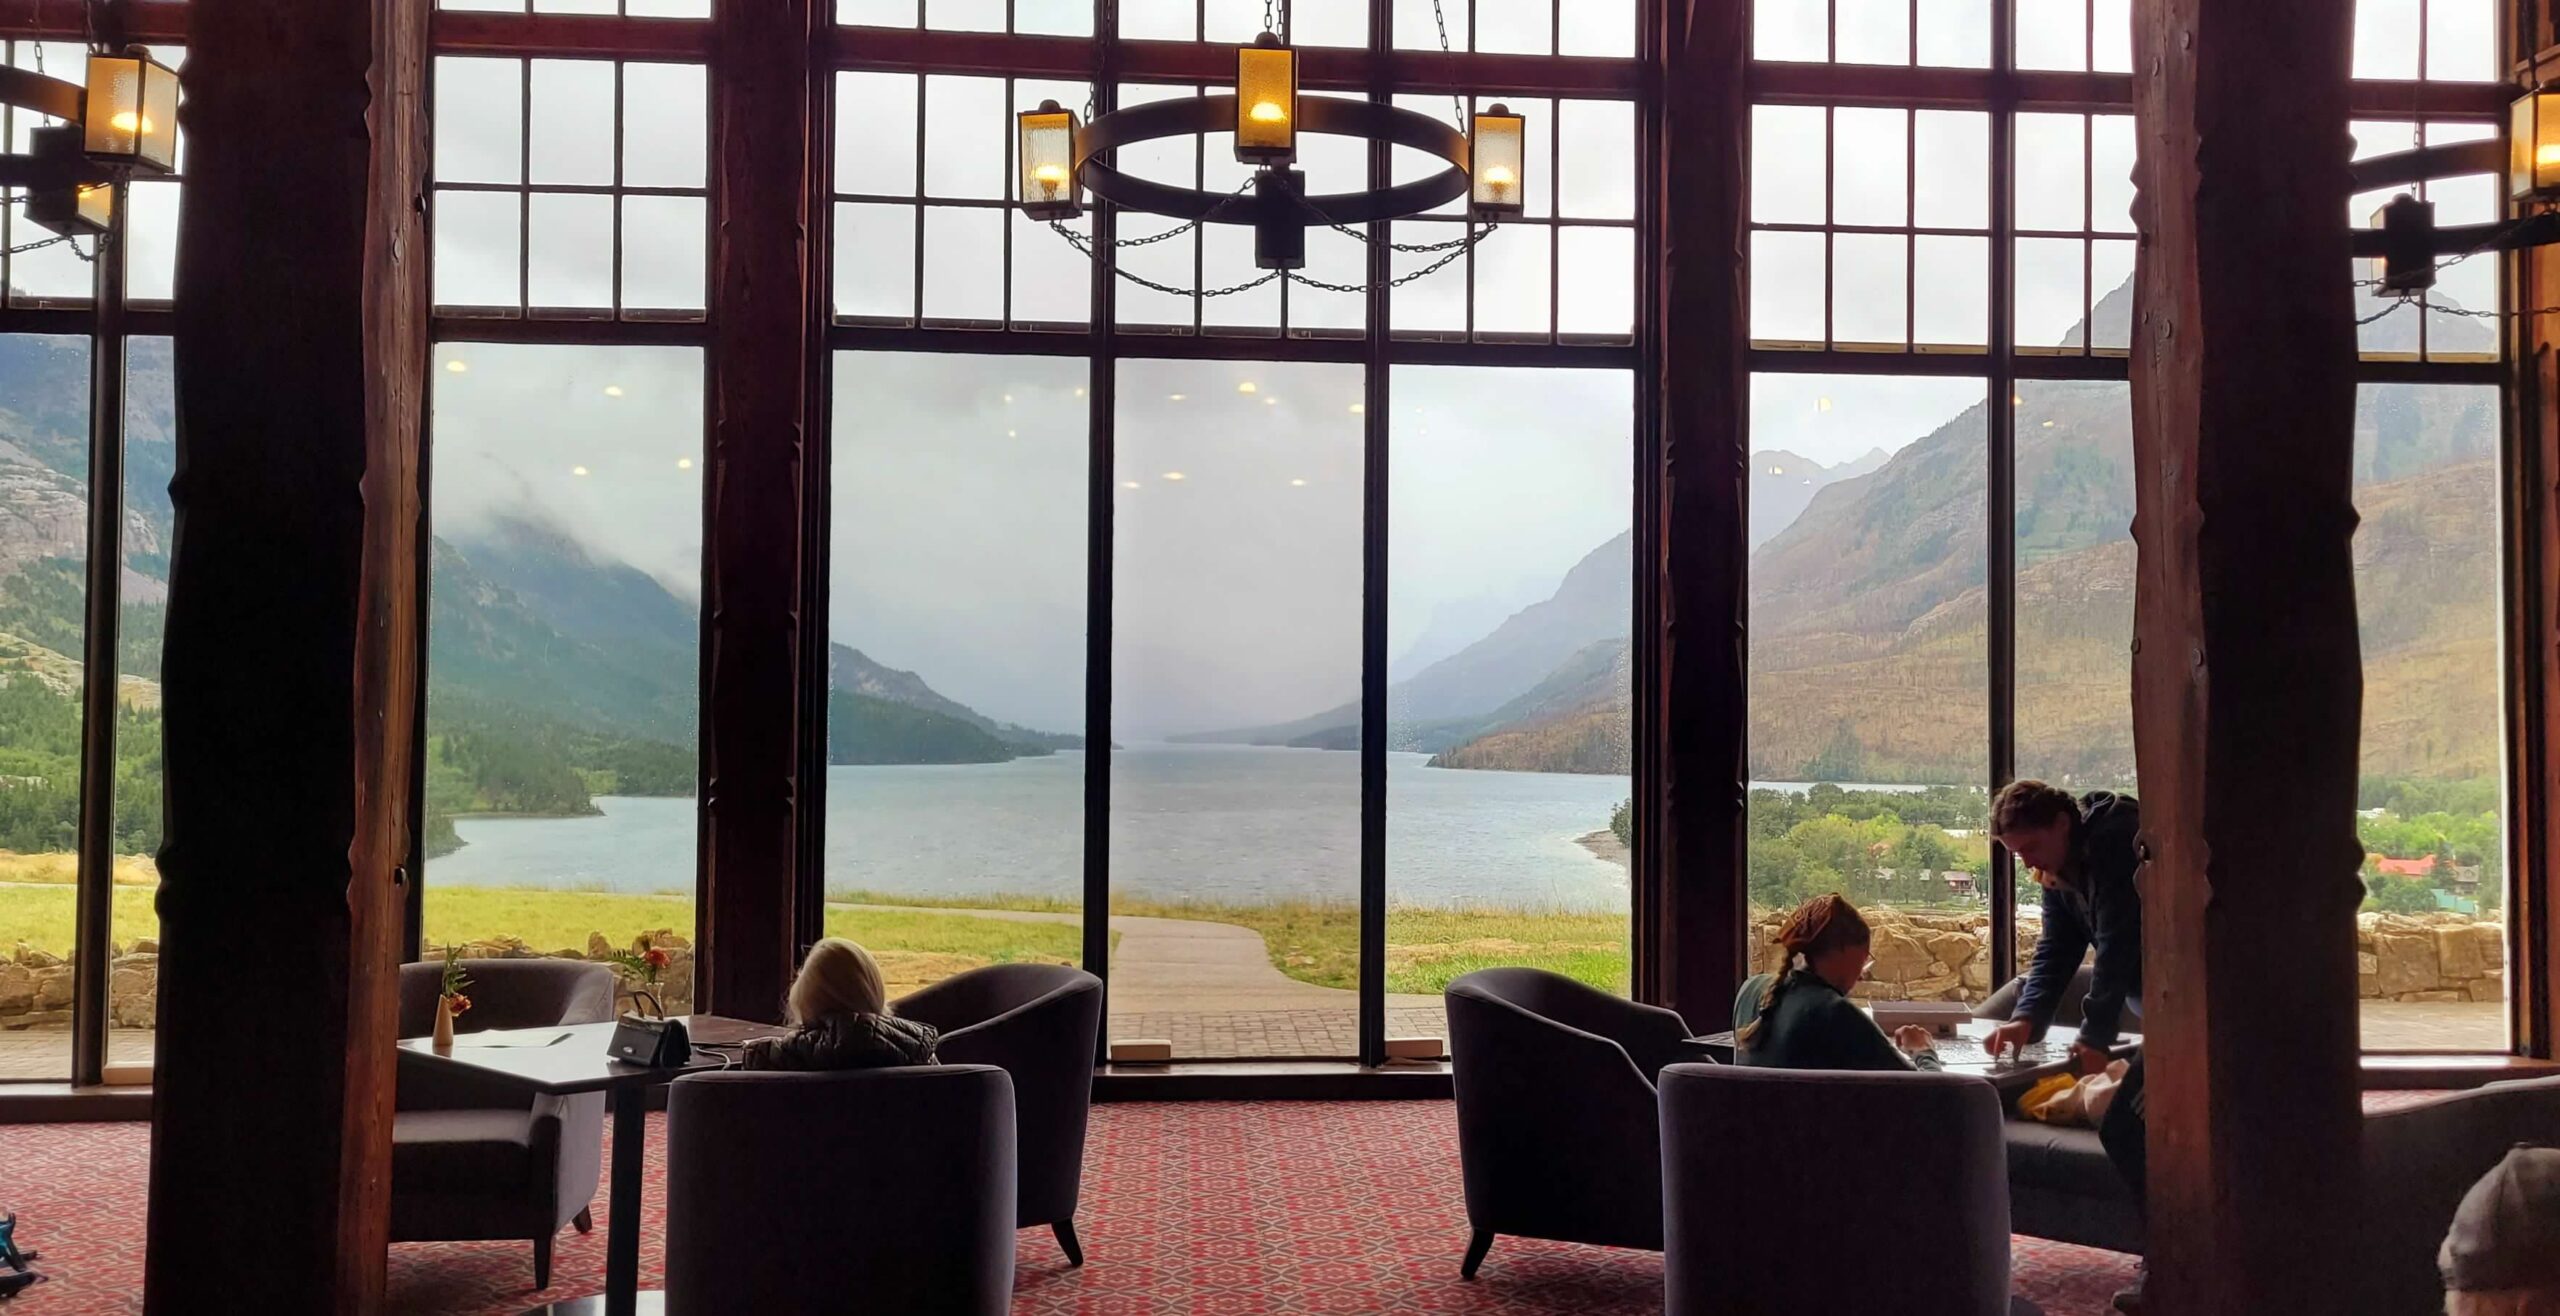
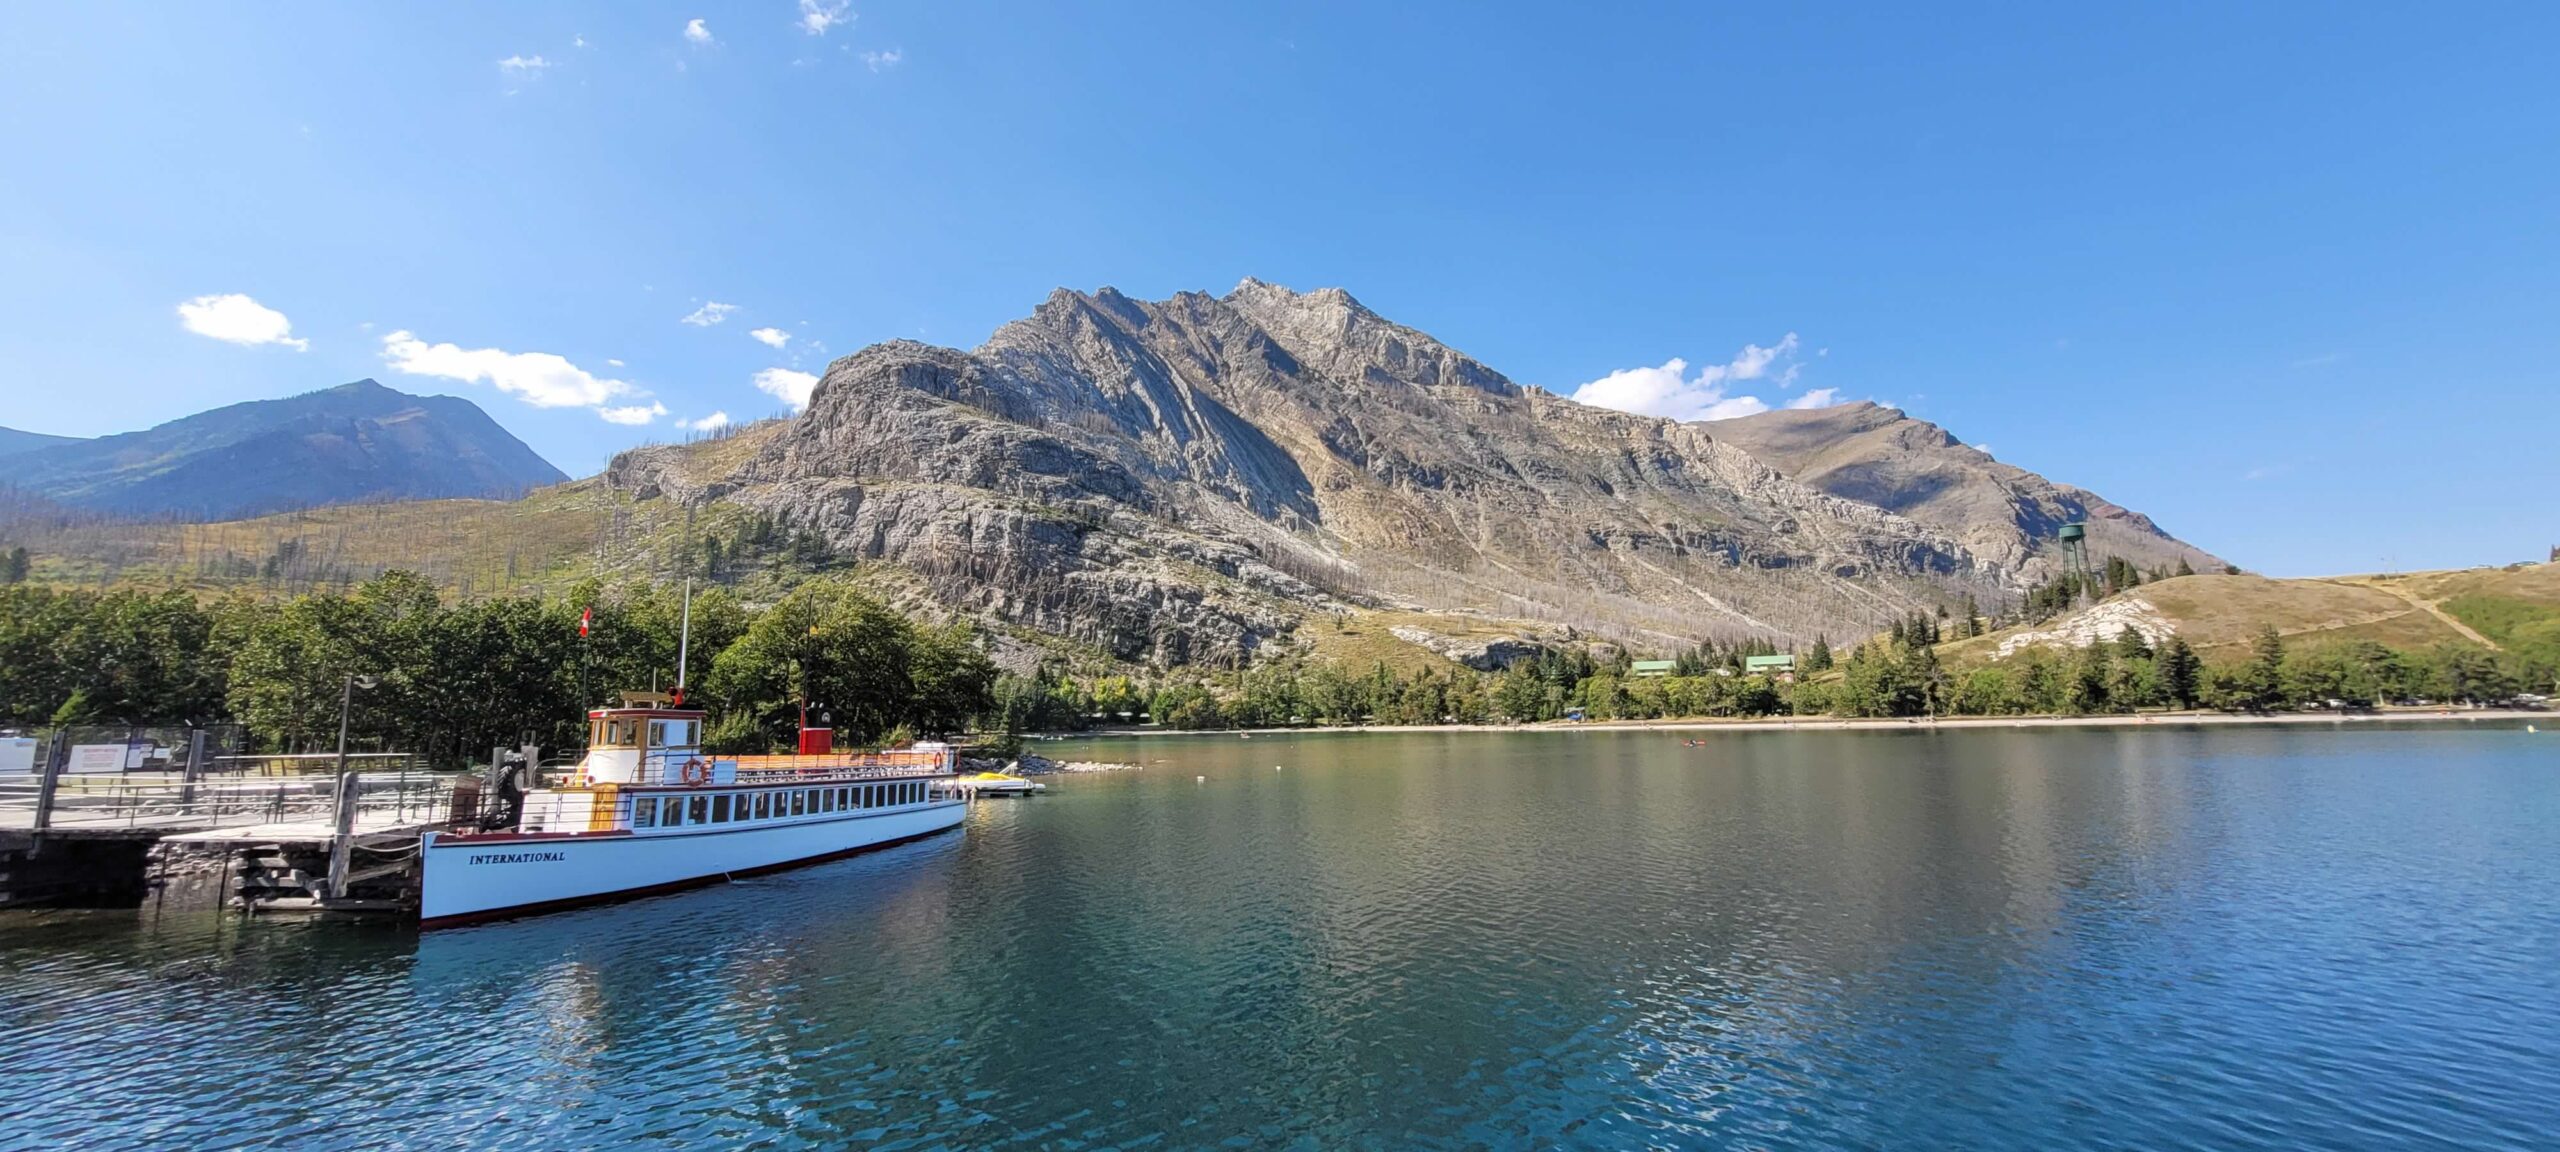
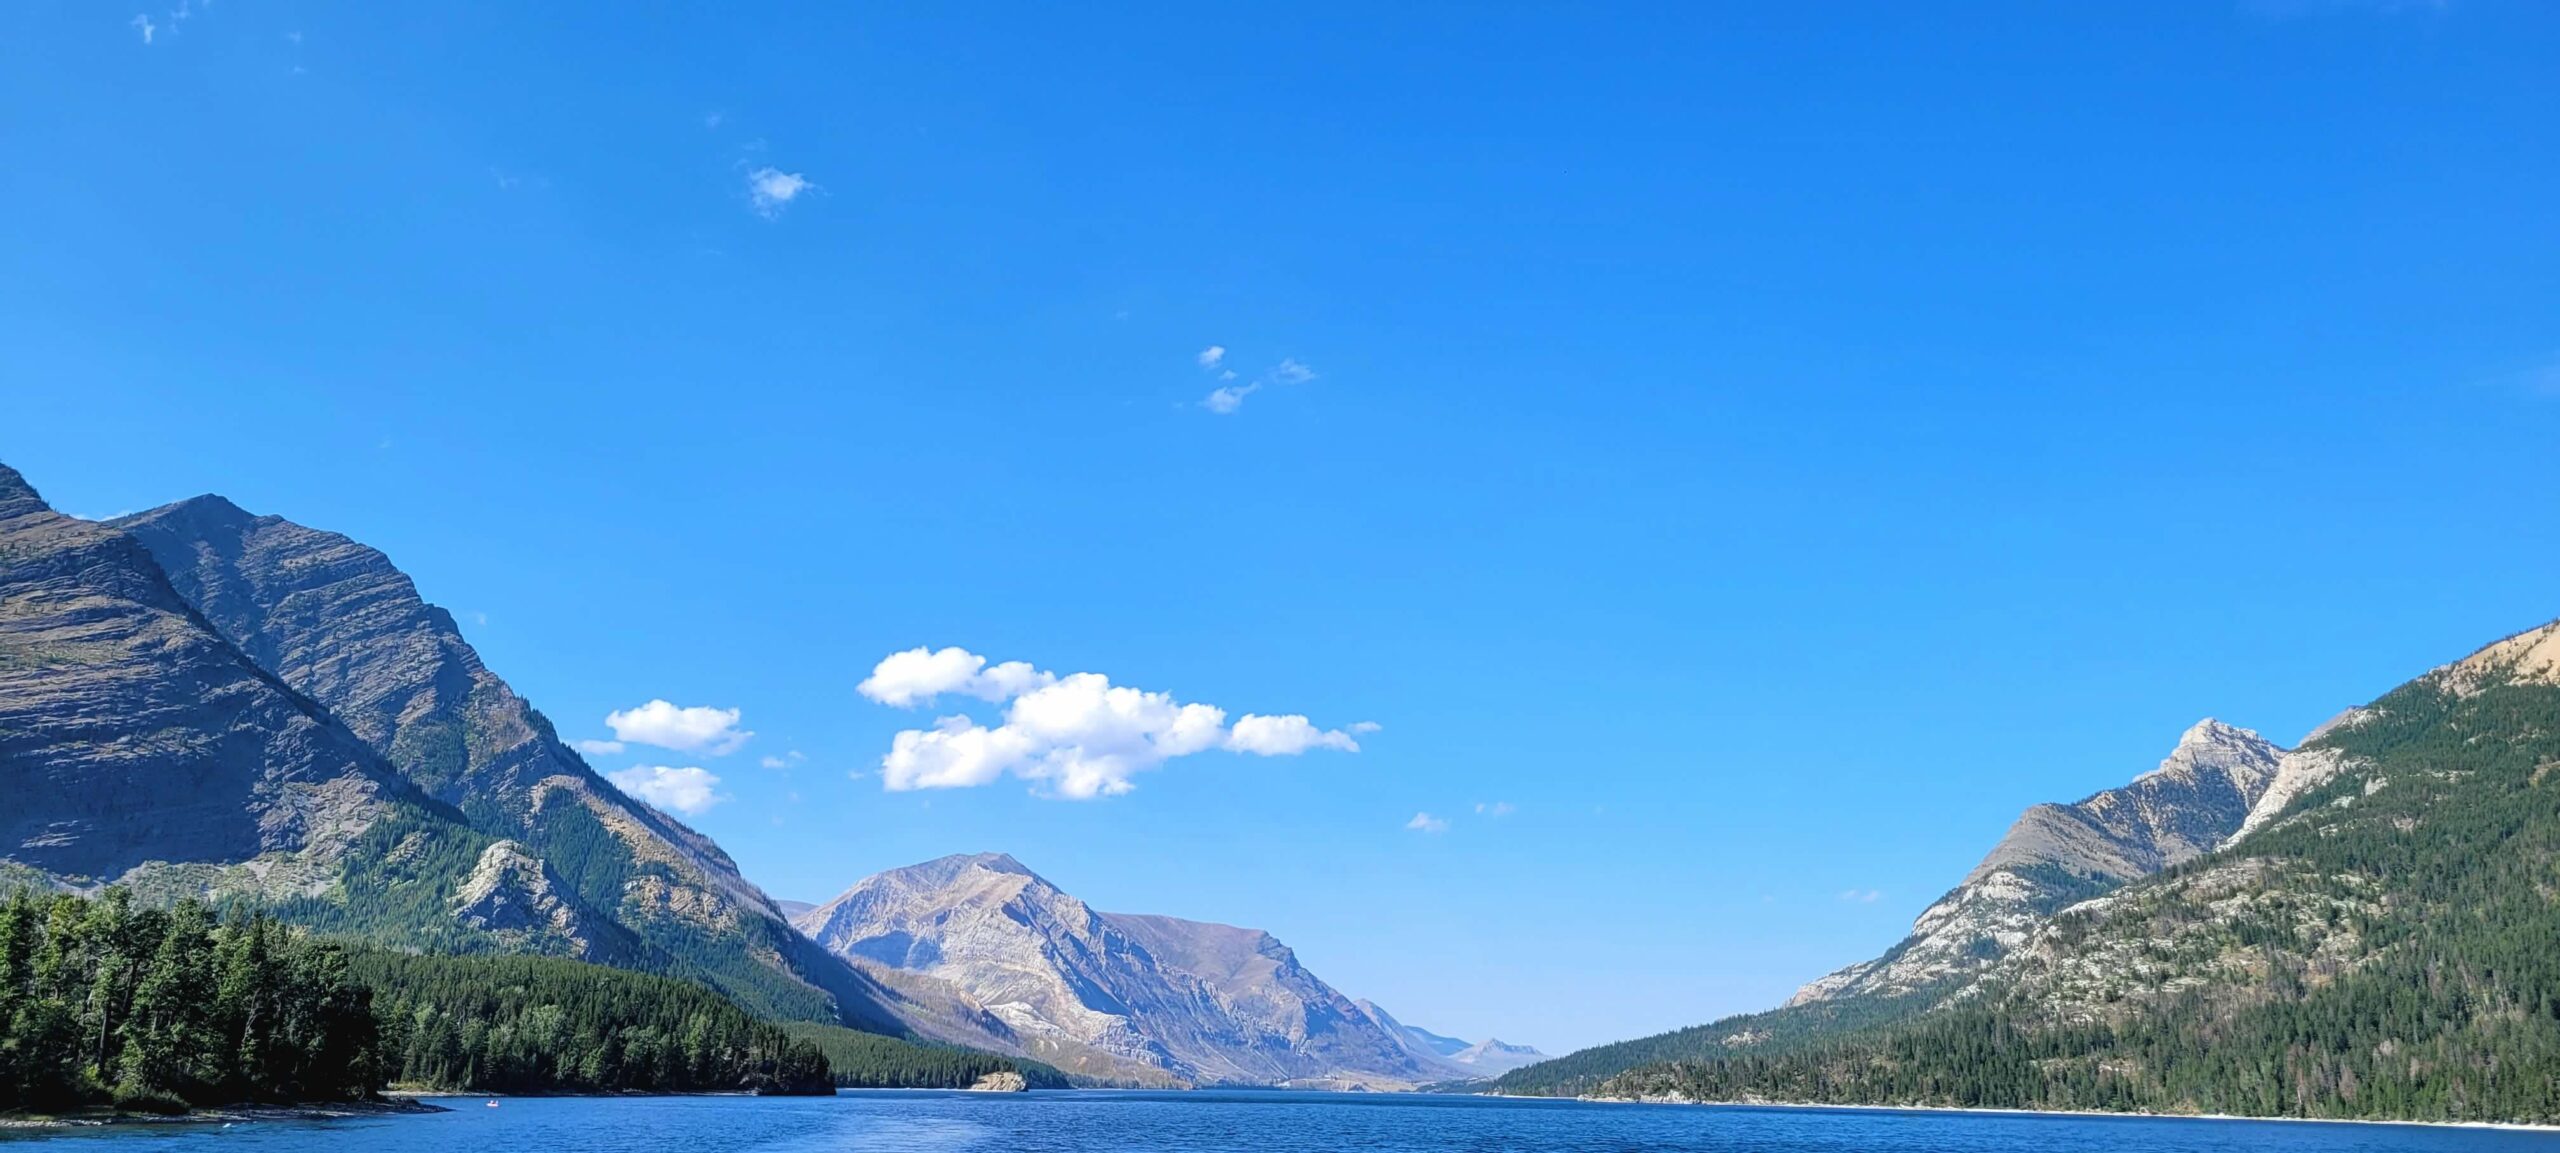
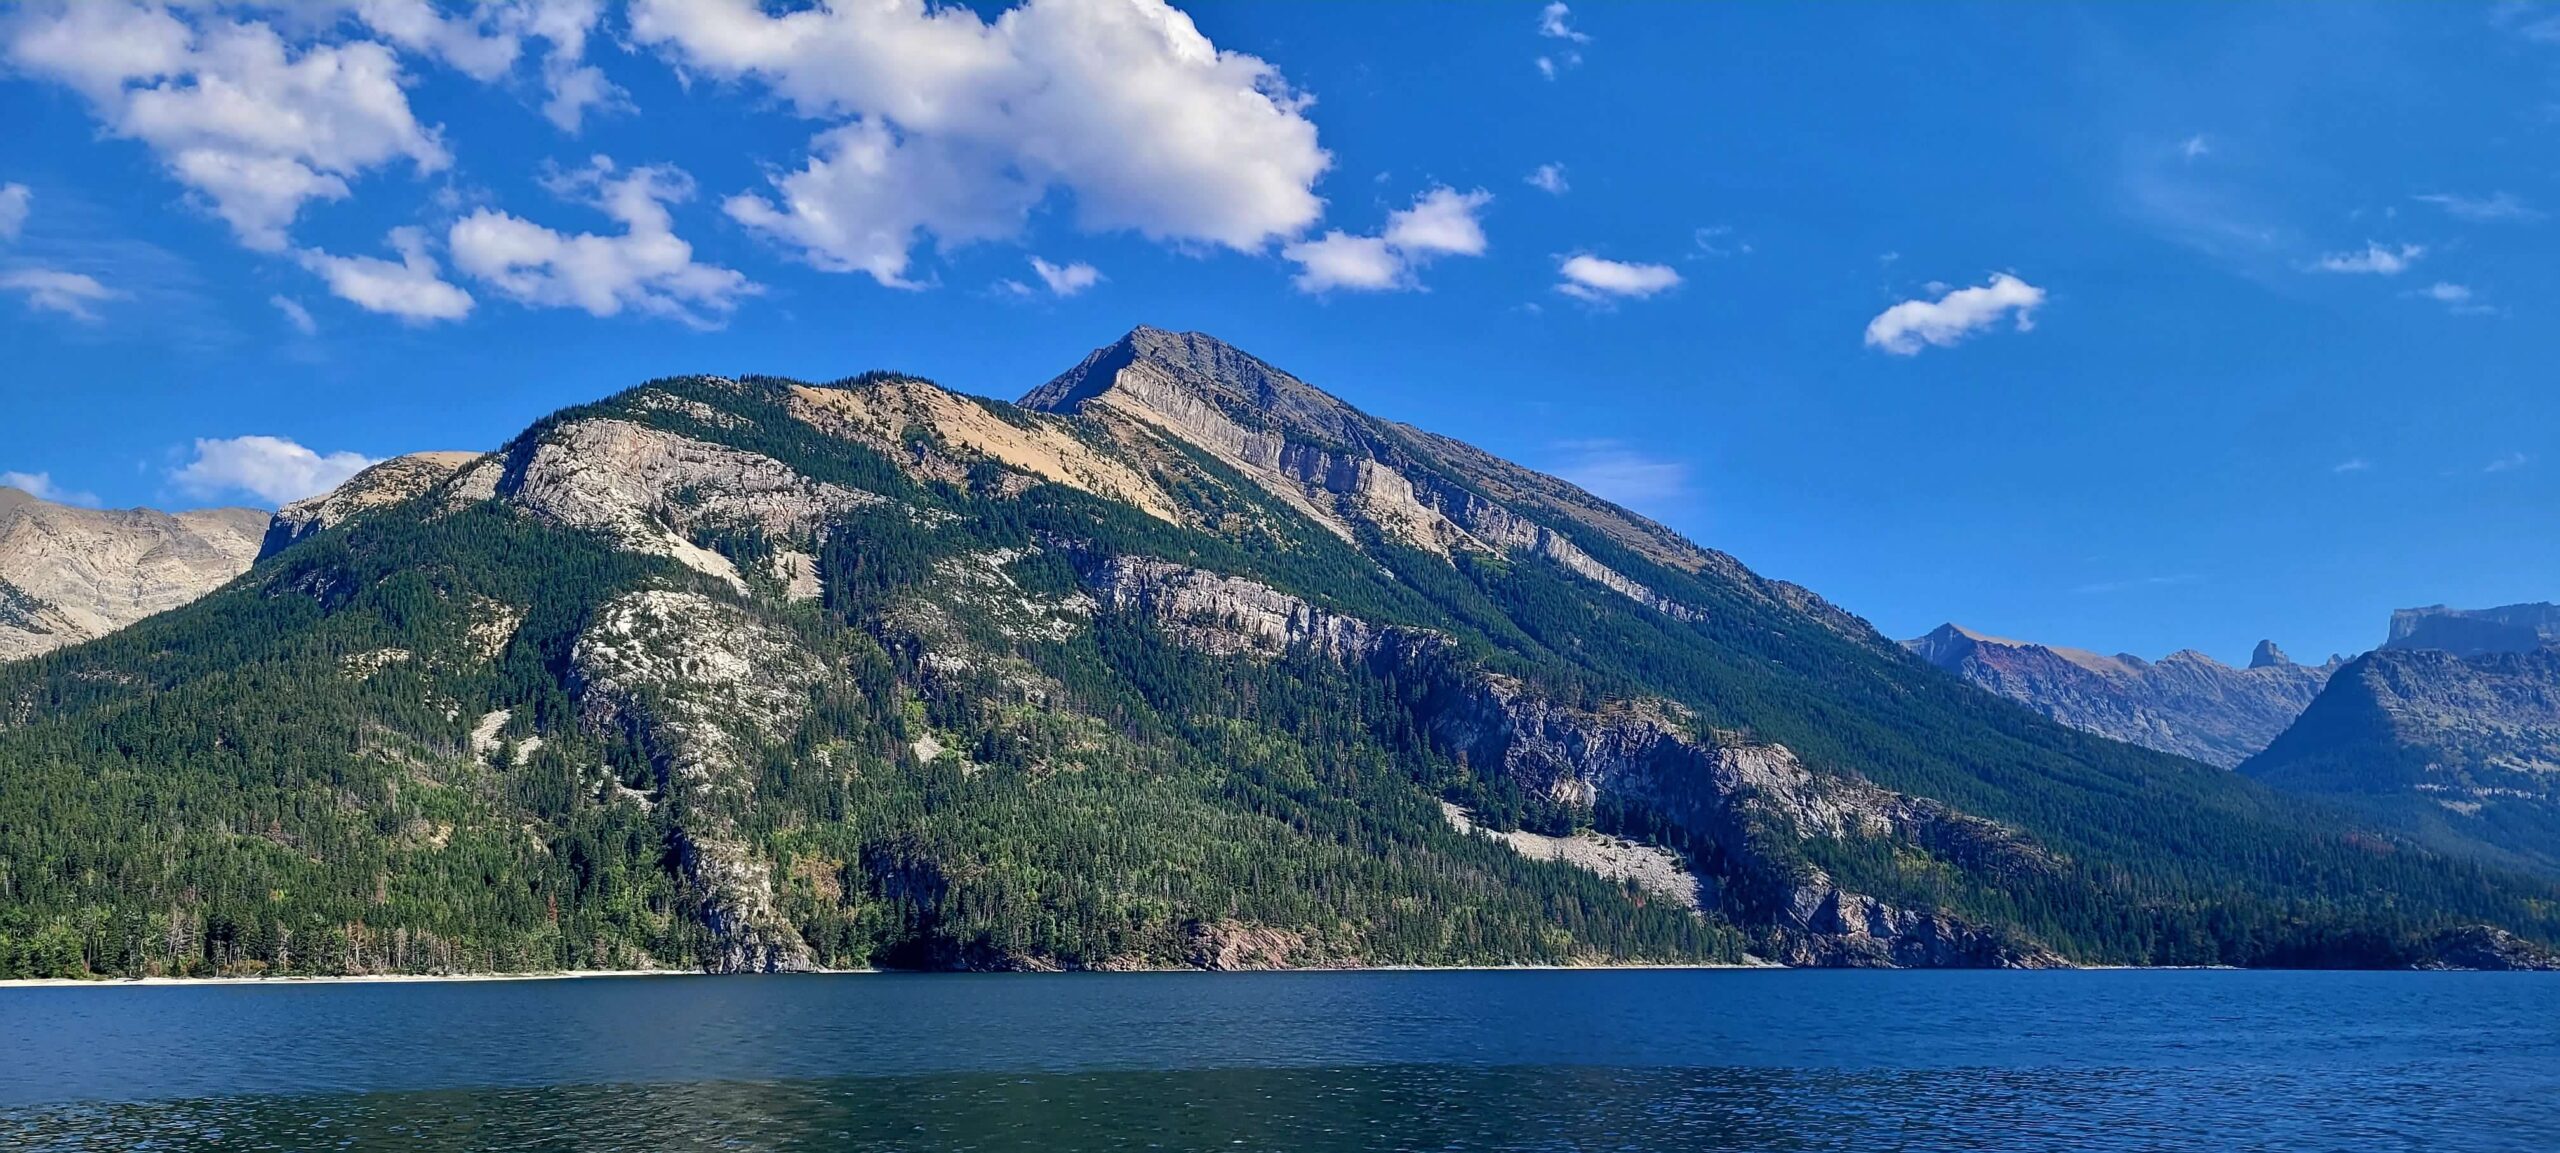
About an hour’s drive north from the east entrance of the Going-to-the-Sun Road is Glacier’s sister park – Waterton Lakes – which is located across the border in Canada. This is home to the famous Price of Wales Hotel along with many hiking trails and scenic drives to go along with the lakes of course! Driving to Waterton Lakes is also the only way to get easy access to the Goat Haunt area of Glacier National Park which occurs via a boat cruise. It is technically possible to hike to Goat Haunt from the US side, but only advanced backcountry hikers are going to be able to pull that off.
Goat Haunt Landing Boat Cruise
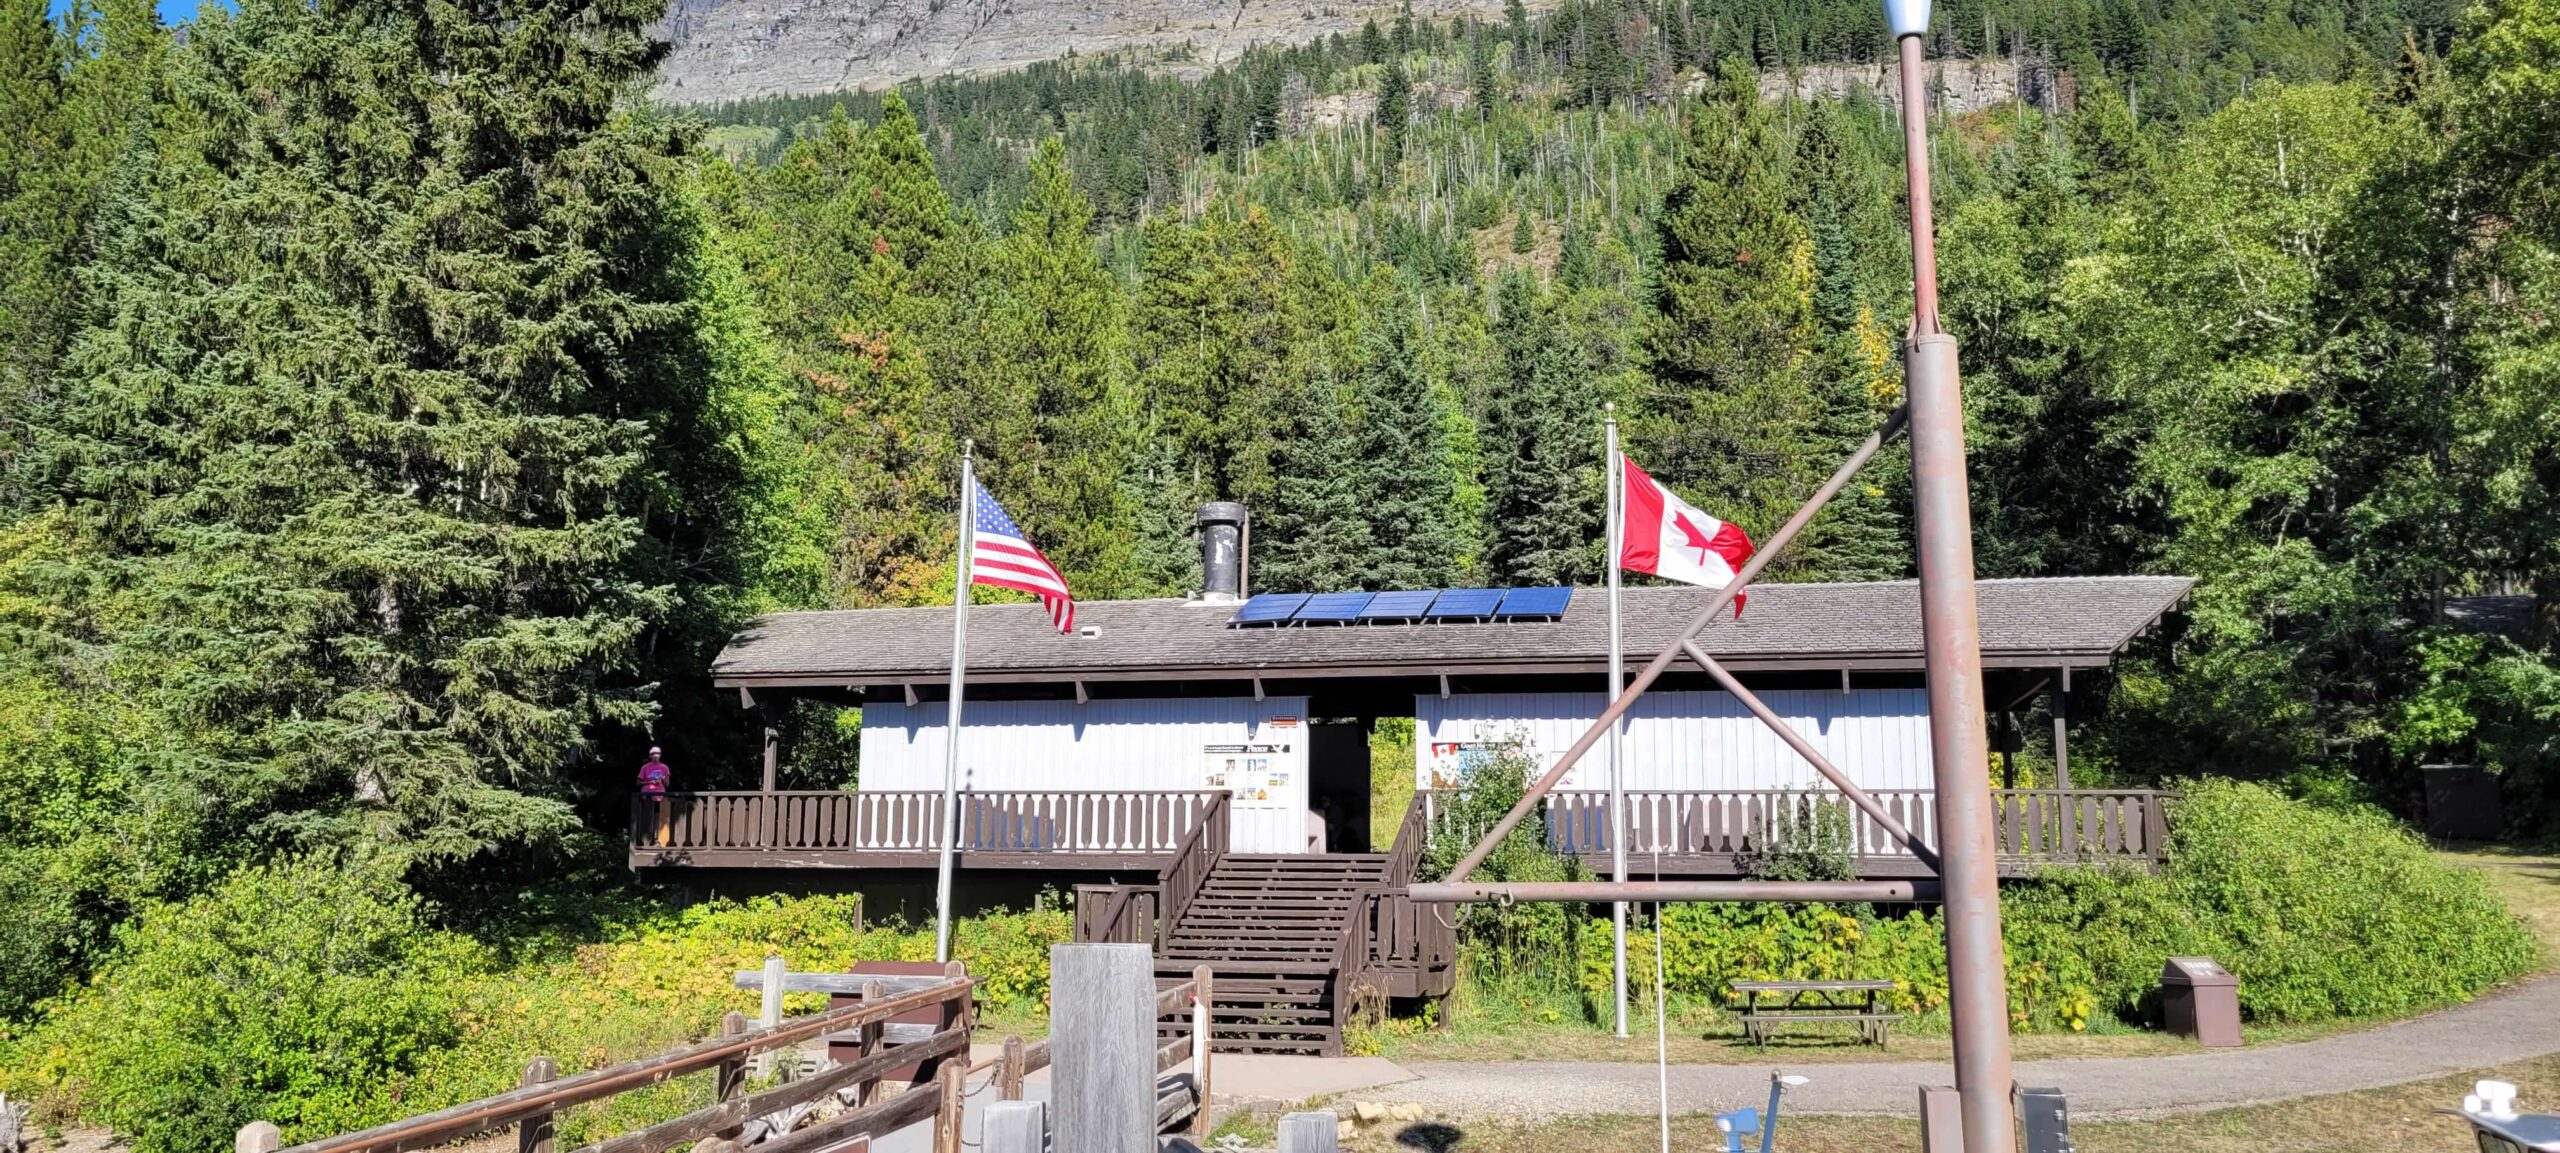
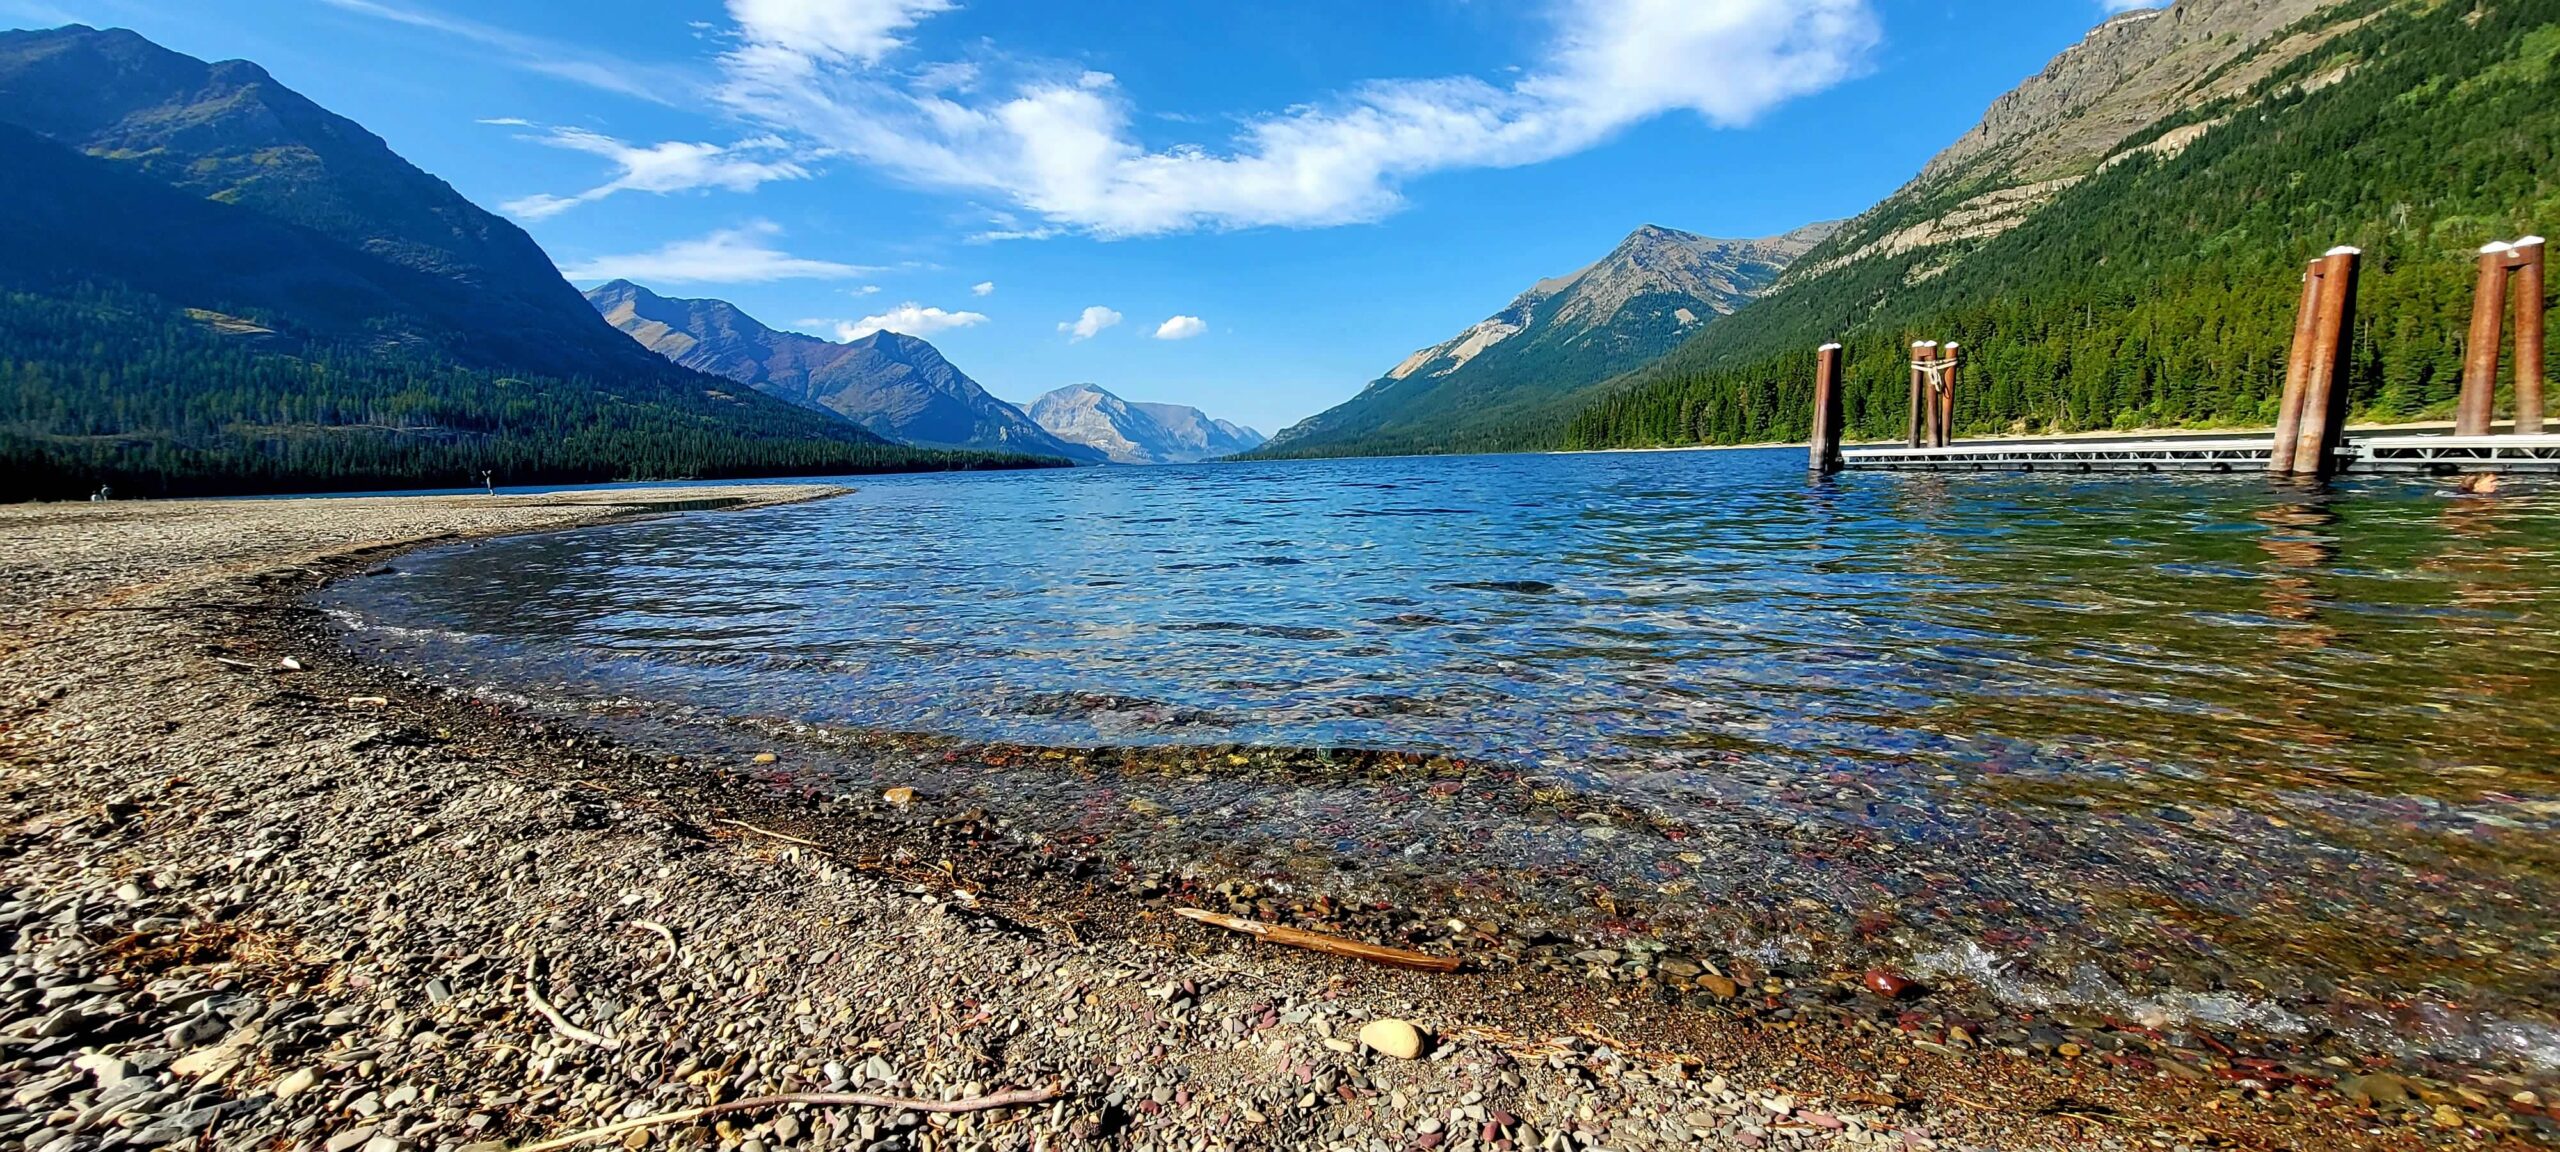
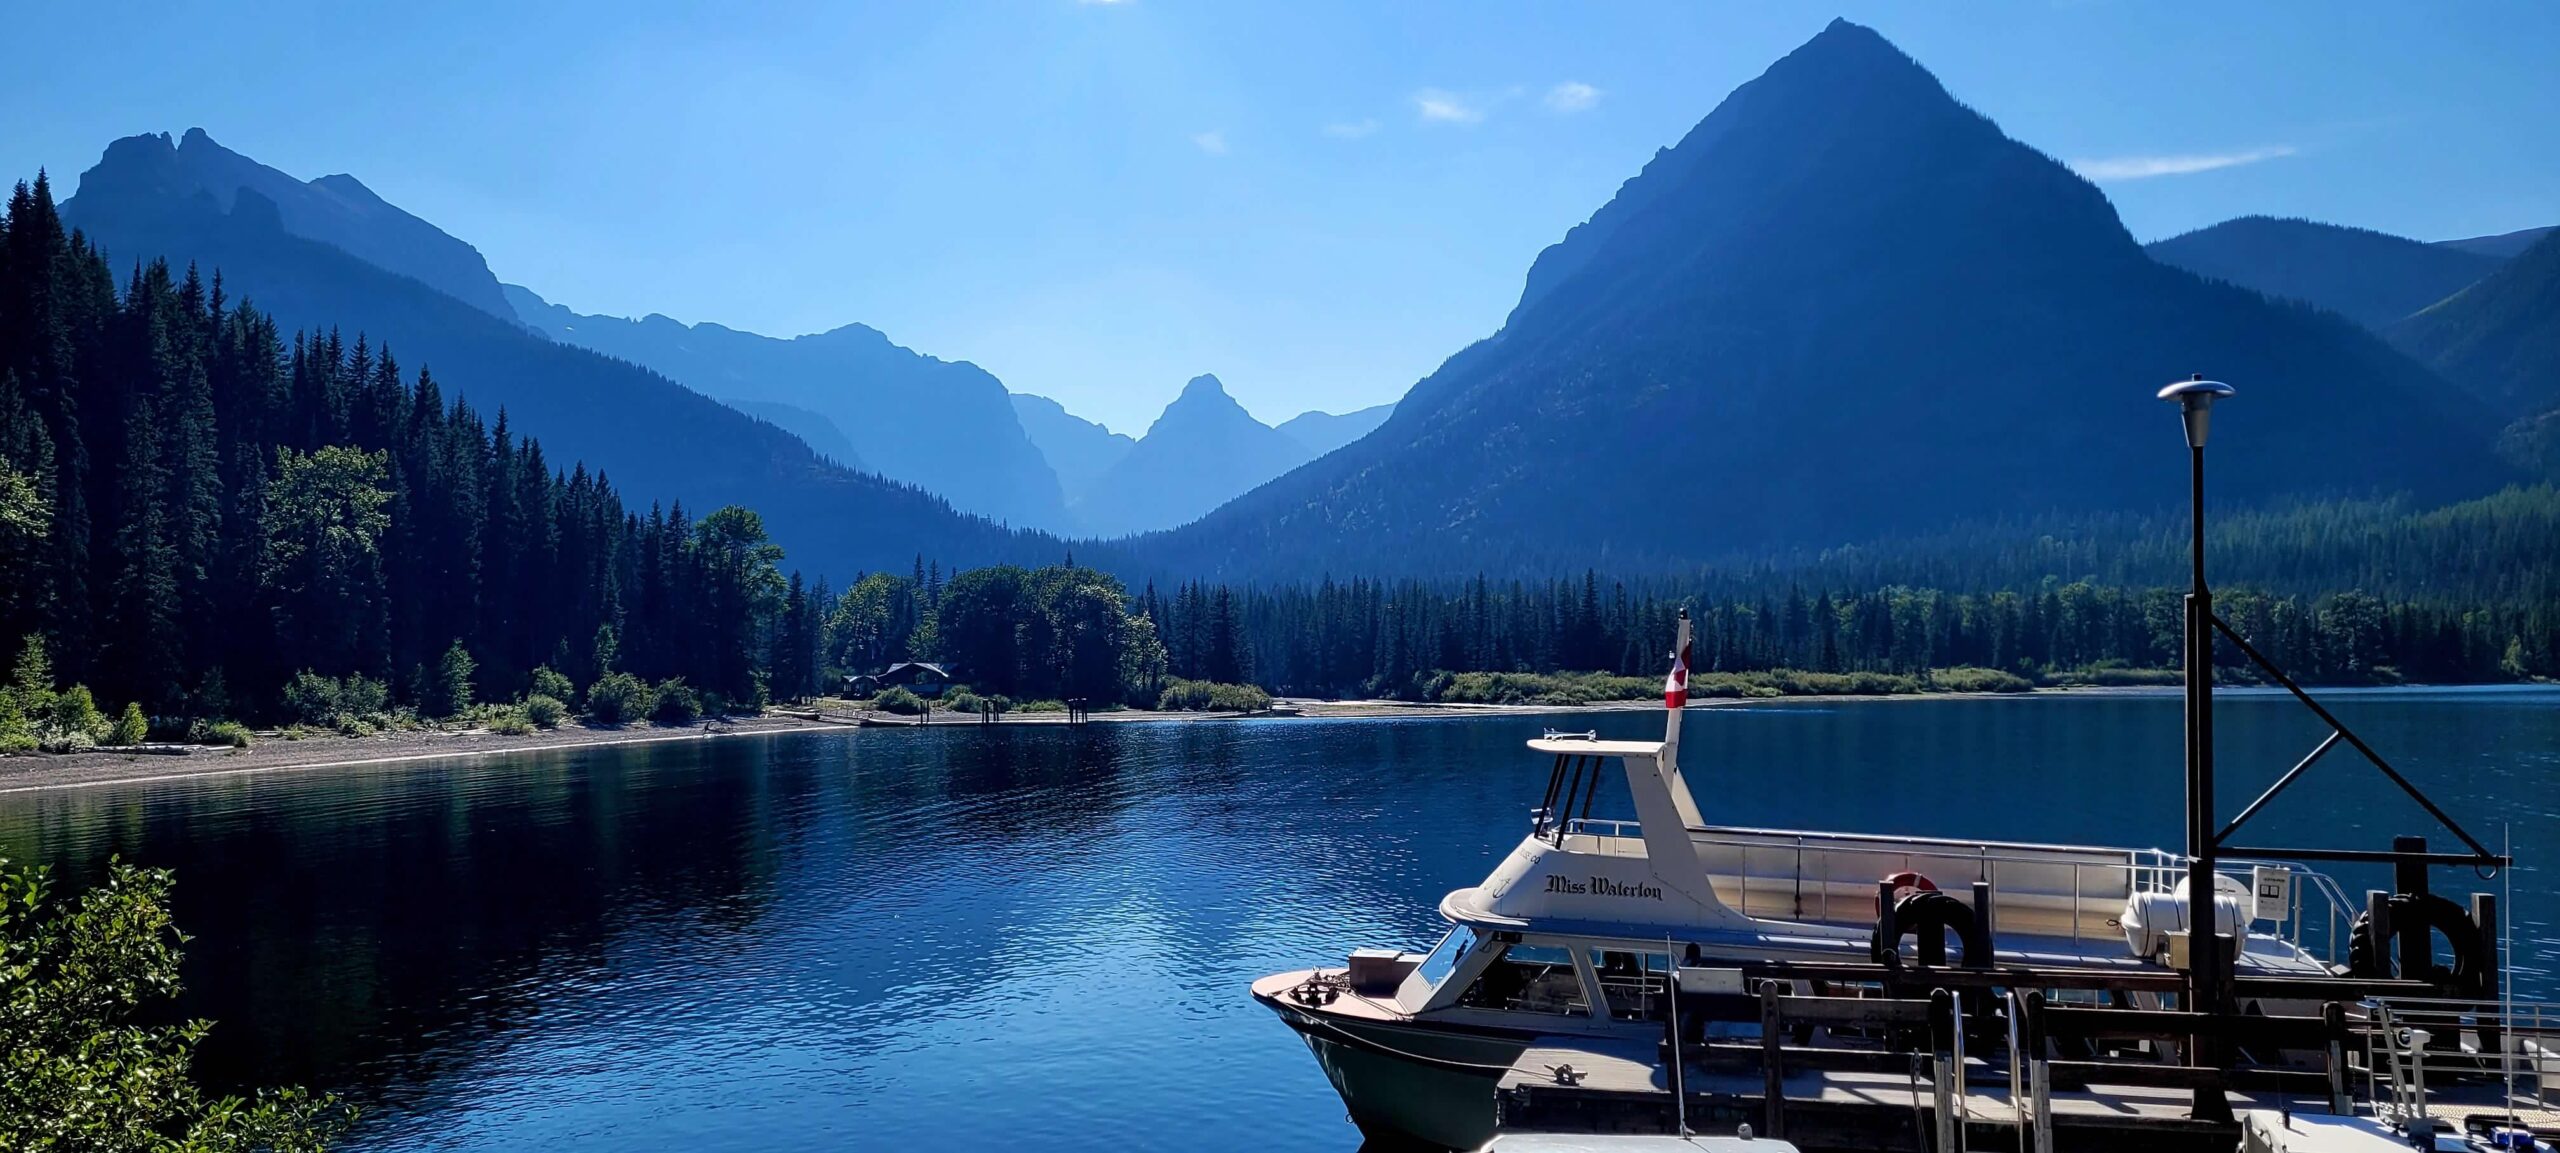
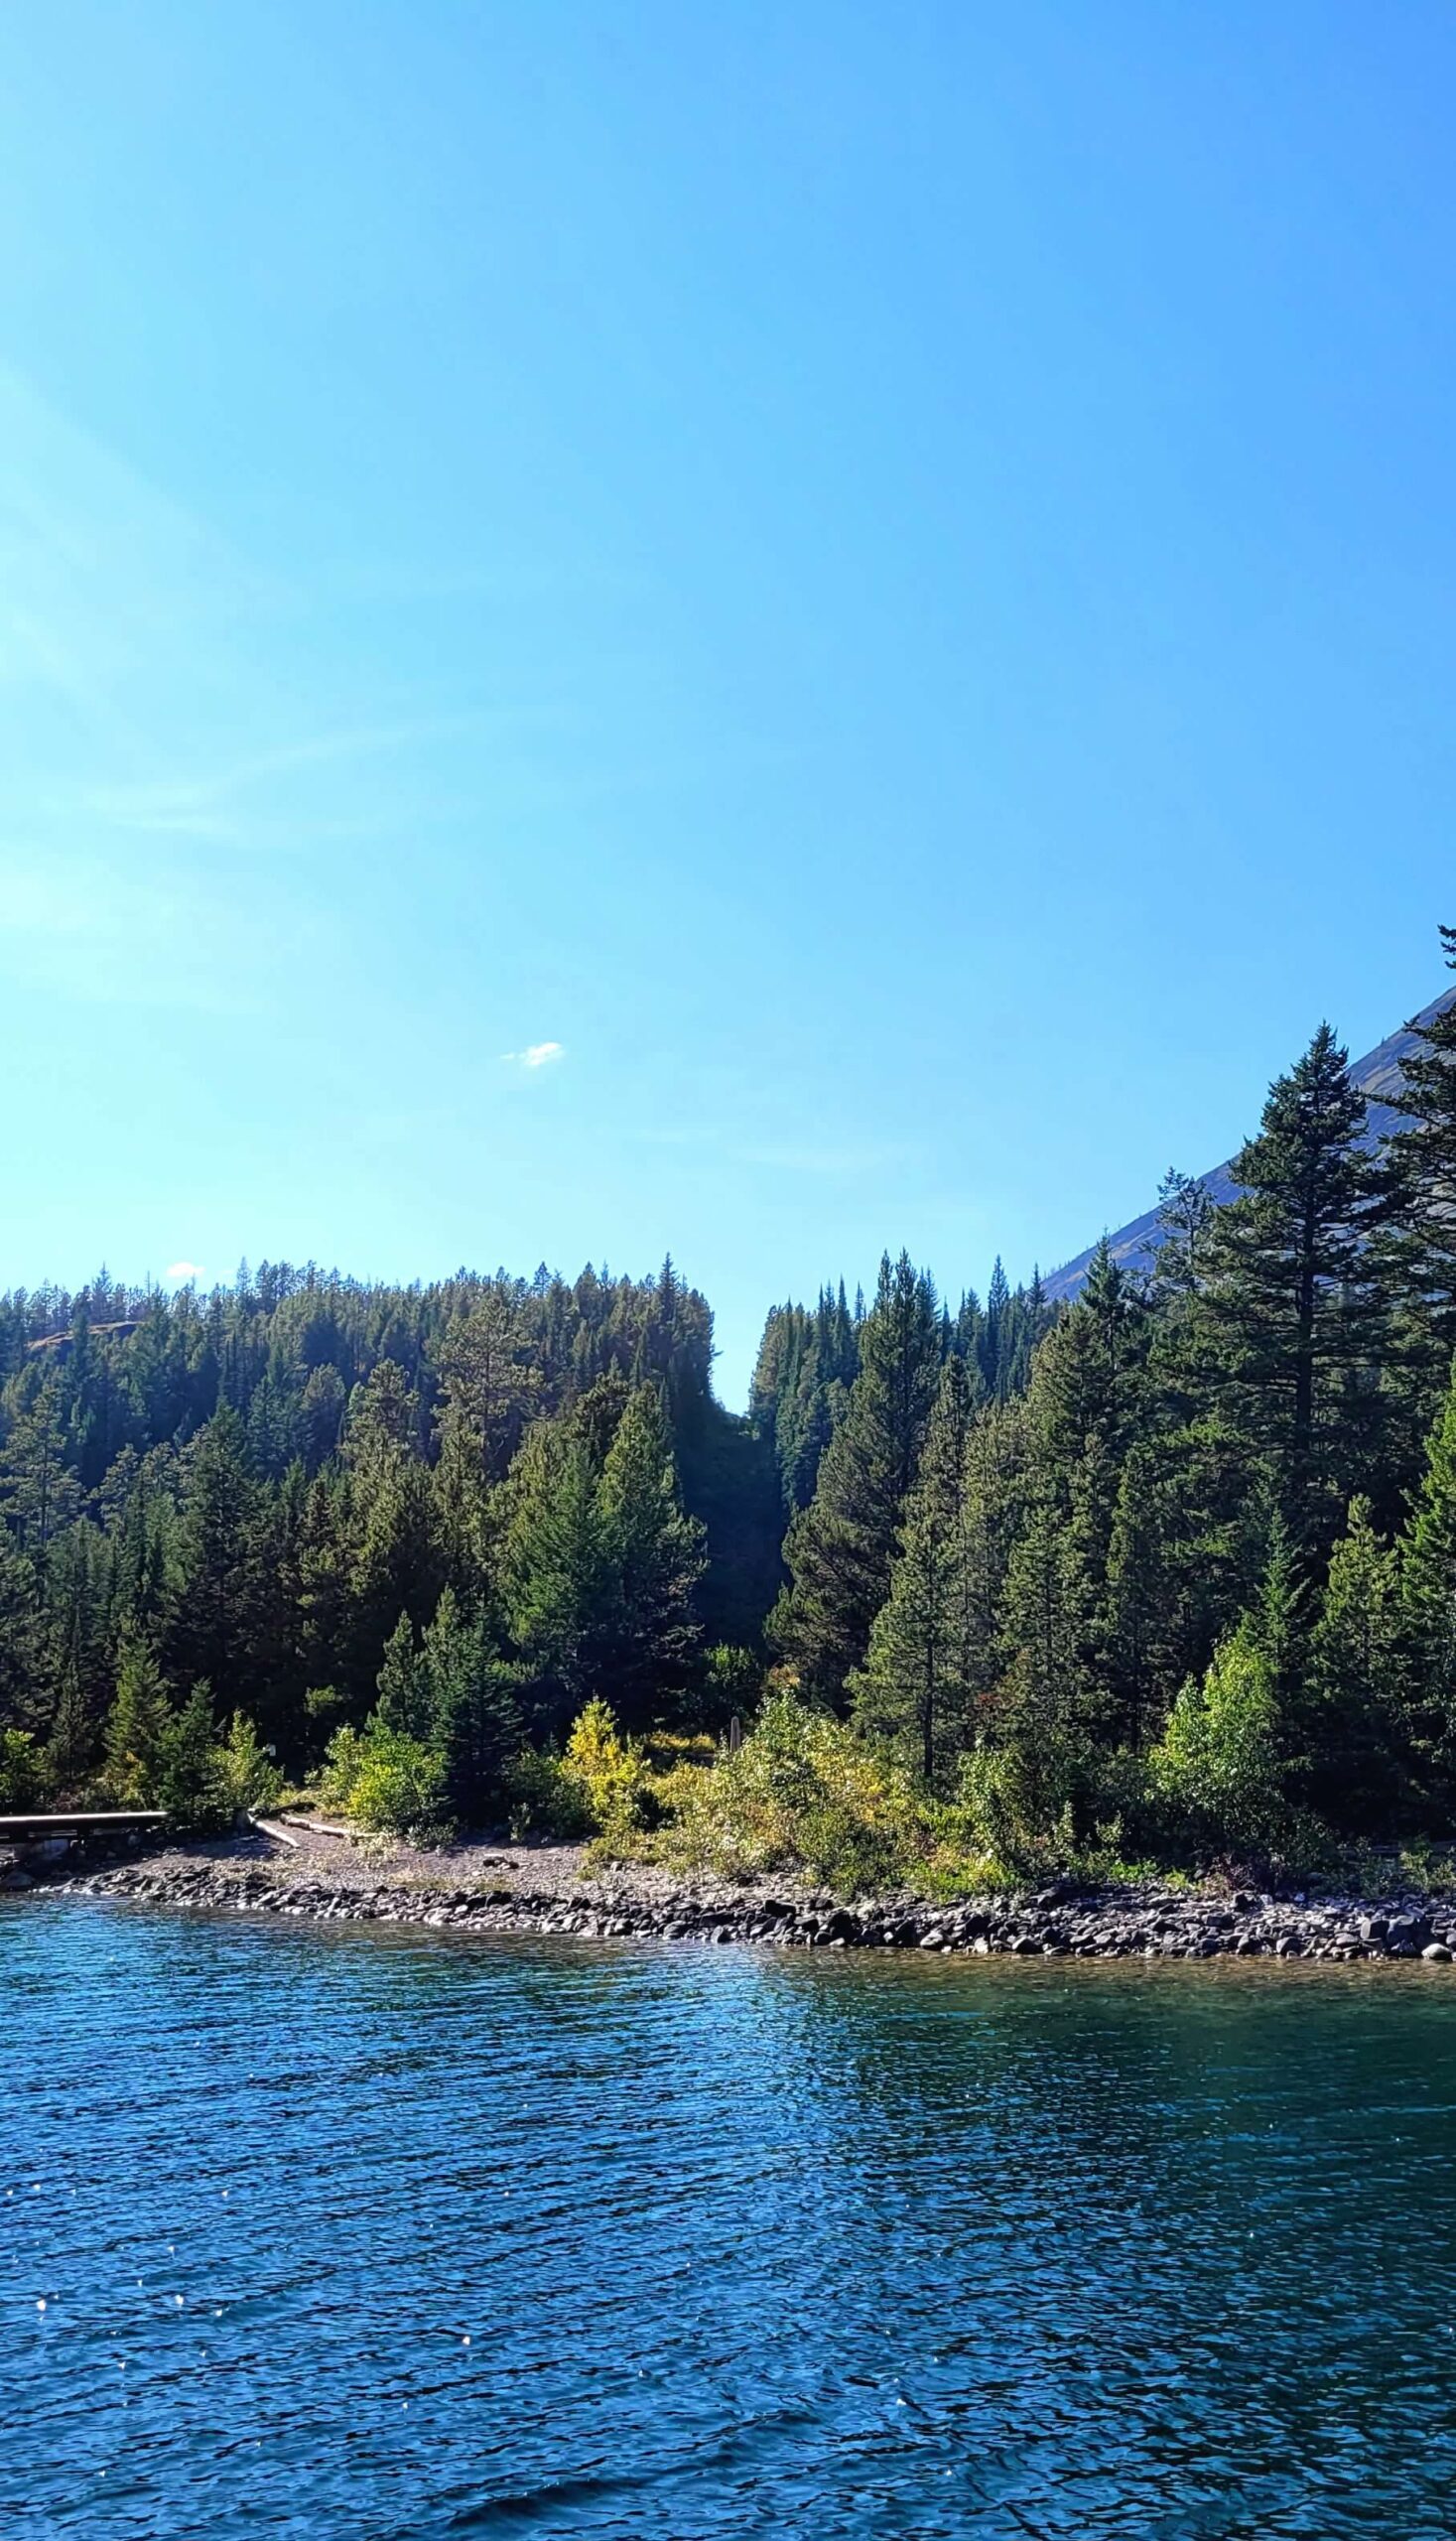
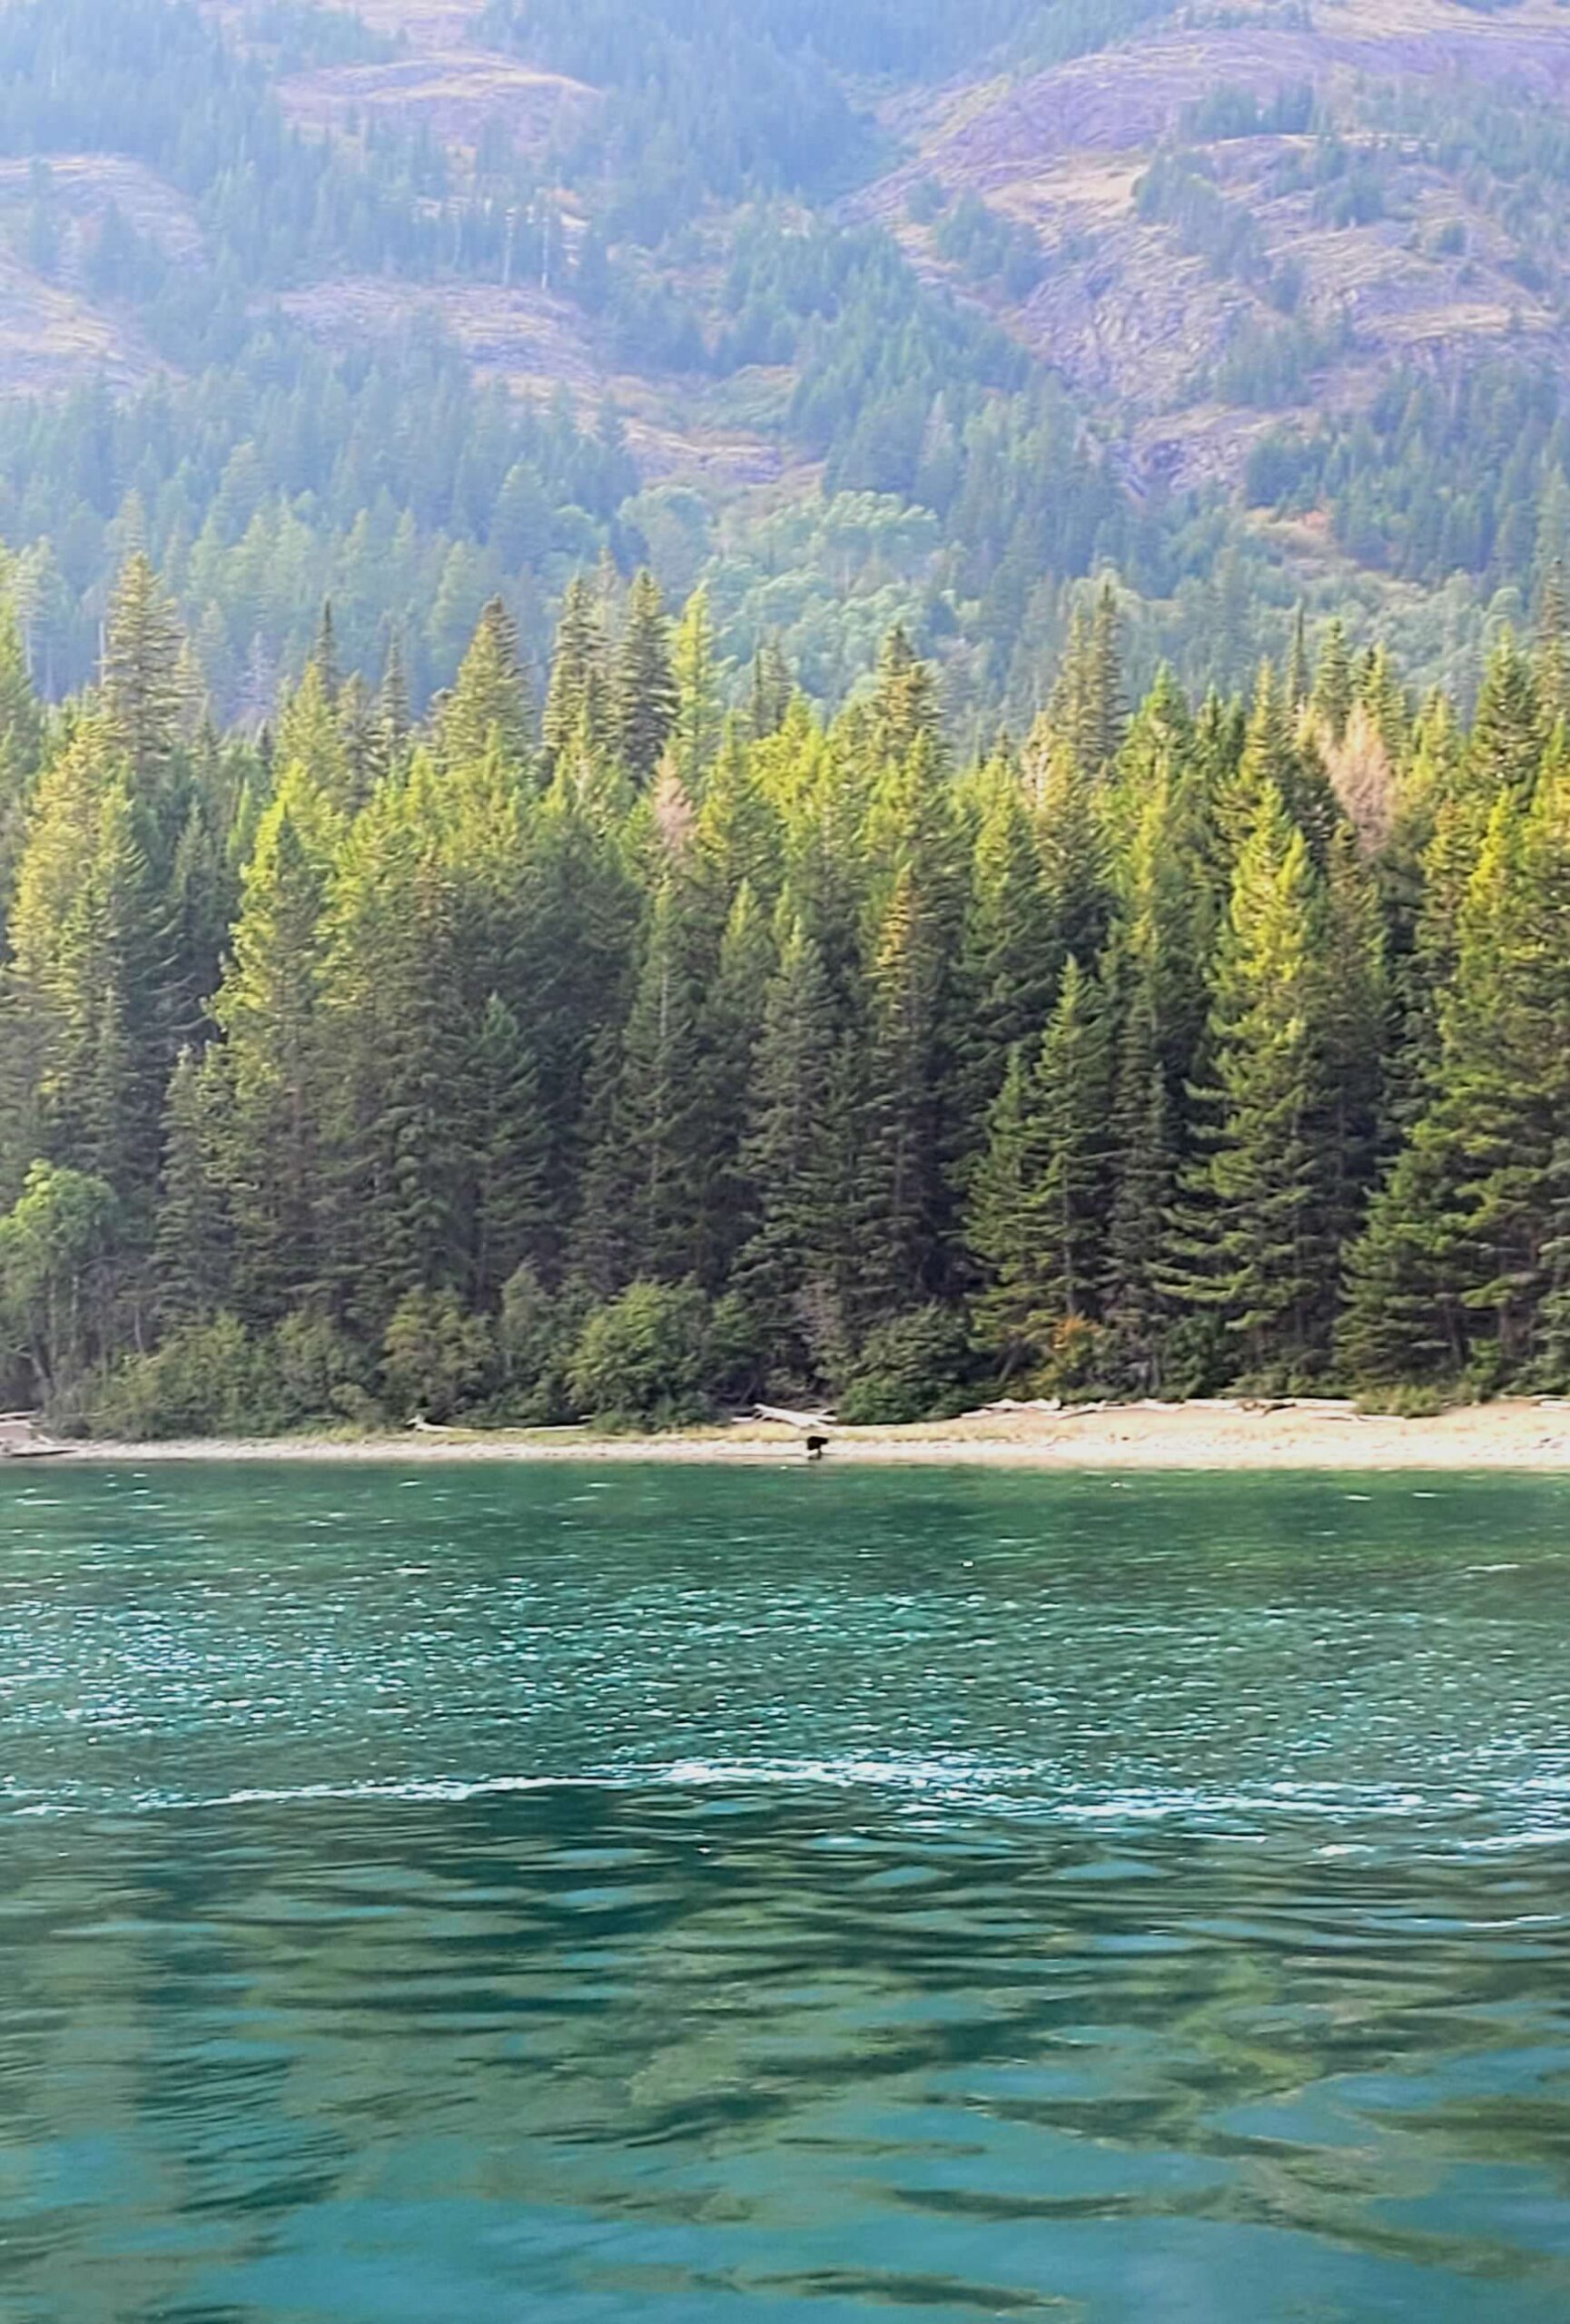
The only easily accessible way to get to the Goat Haunt area is via a boat cruise from Waterton Lakes in Canada. During the high season, there are only two departures during the week (10am & 4pm) and a third is added on the weekend (1pm), as of the 2024 season. The cost is $85 per person. The cruise and landing will last a total of 2 hours and 15 minutes, of which 30 minutes is designated for your time on land at Goat Haunt. The boat crosses Upper Waterton Lake on the way to Goat Haunt which has many scenic views along the way. We saw a small black bear off in the distance while on the boat. Once you get to Goat Haunt, you’ll be let off for 30 minutes and allowed to explore the area. There is a passport control booth which you are not allowed to cross and if you do – you may struggle to get back to the boat.
Bear’s Hump Trail– 1.5 miles RT, Moderate, 1.5 hours
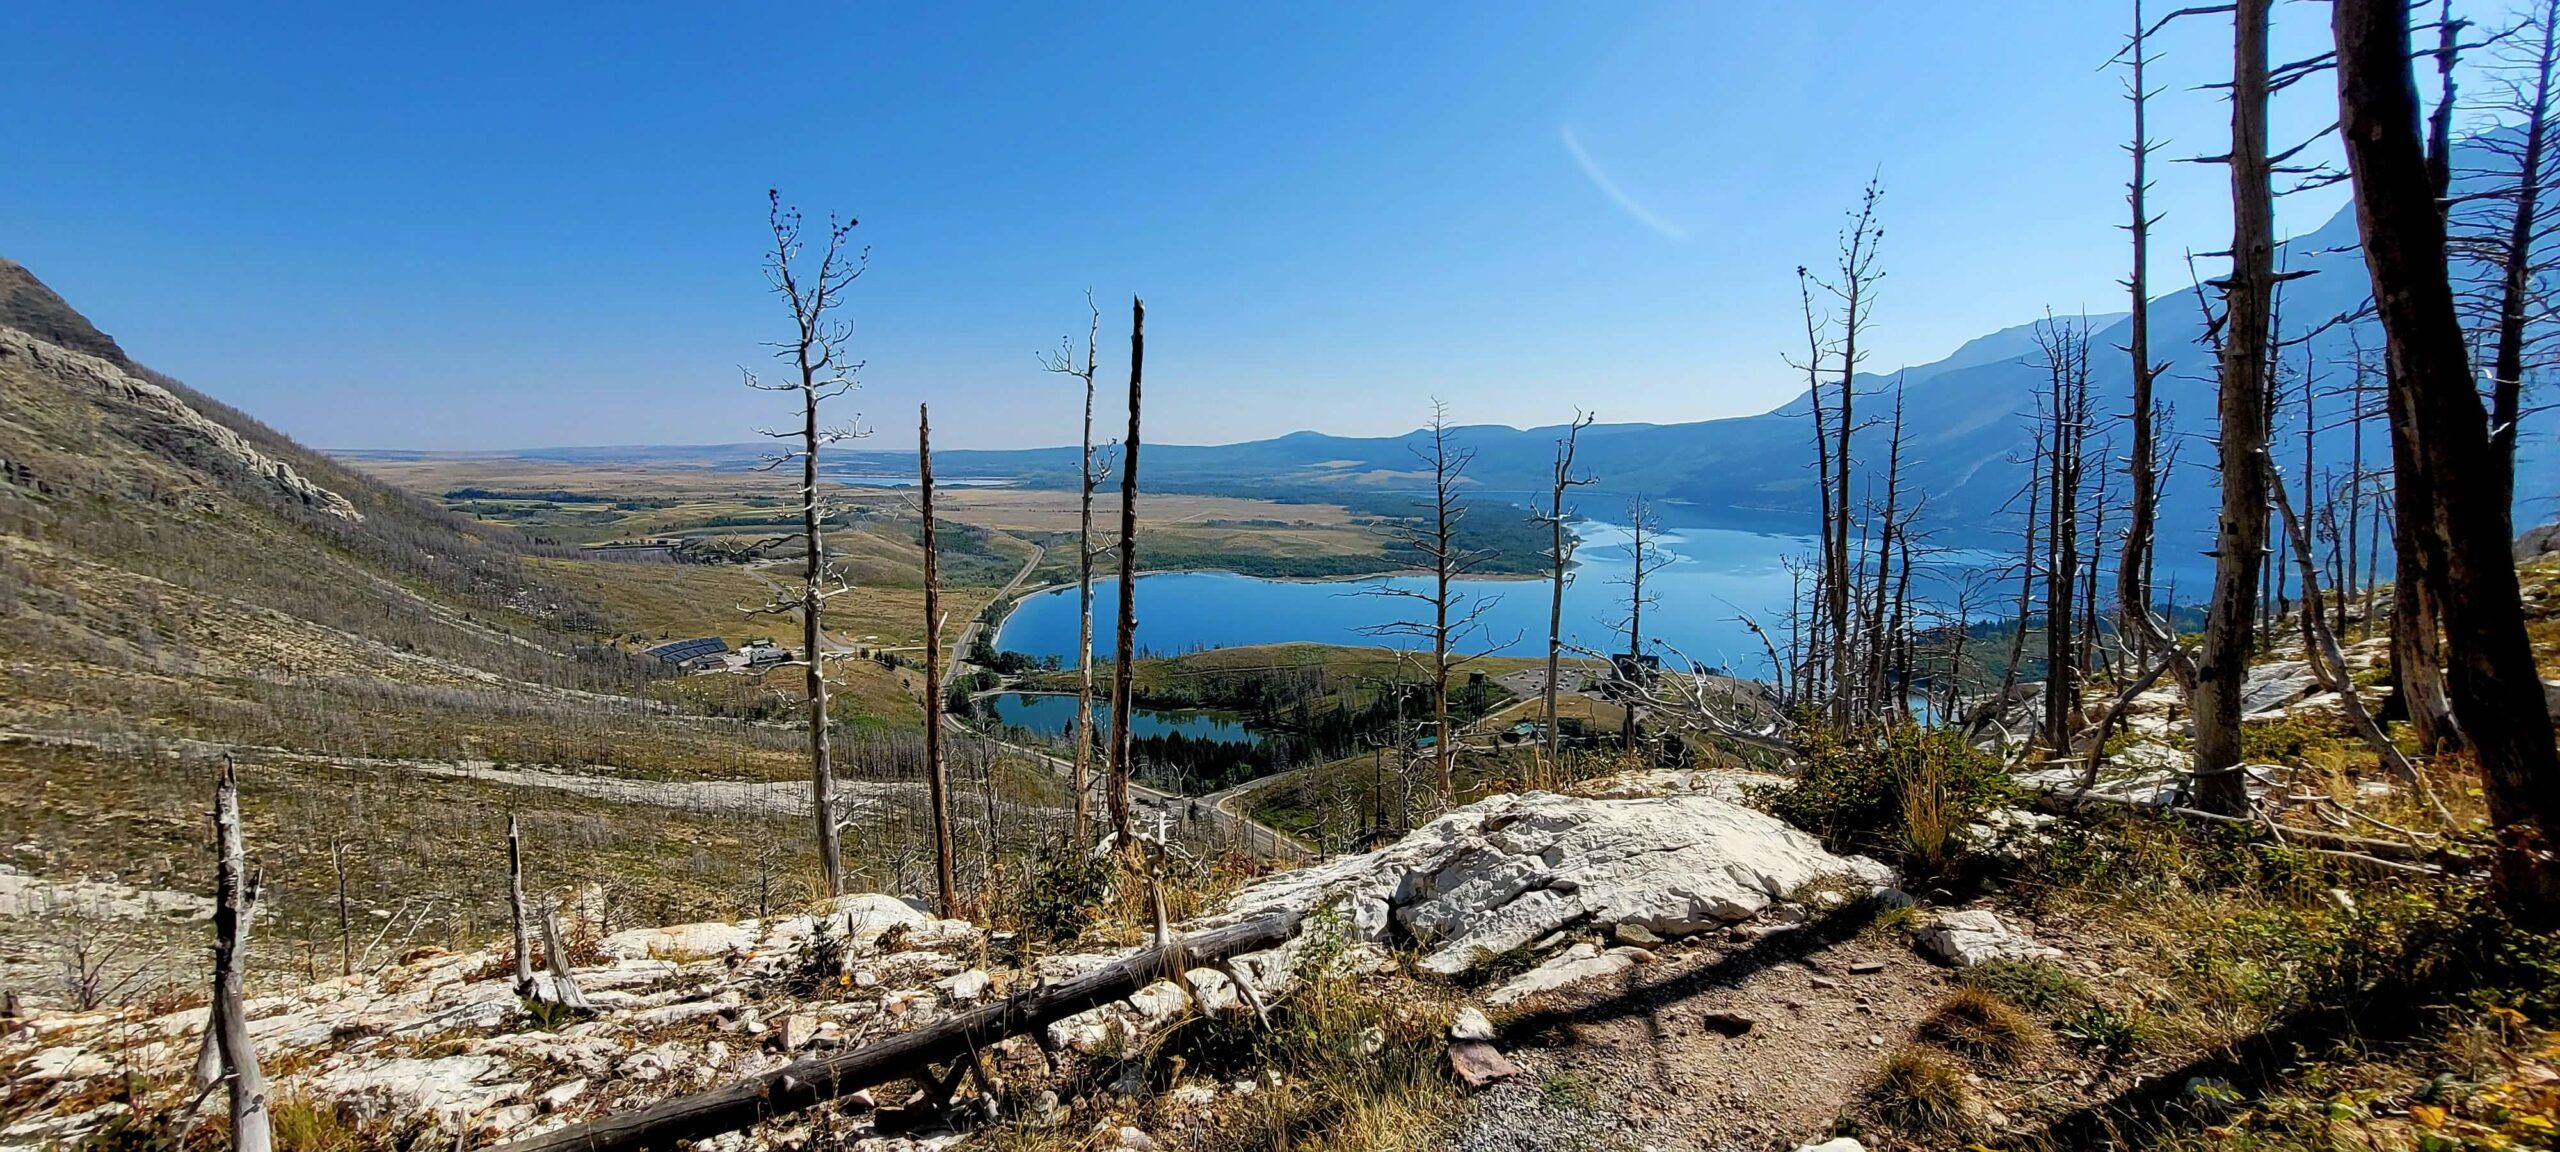
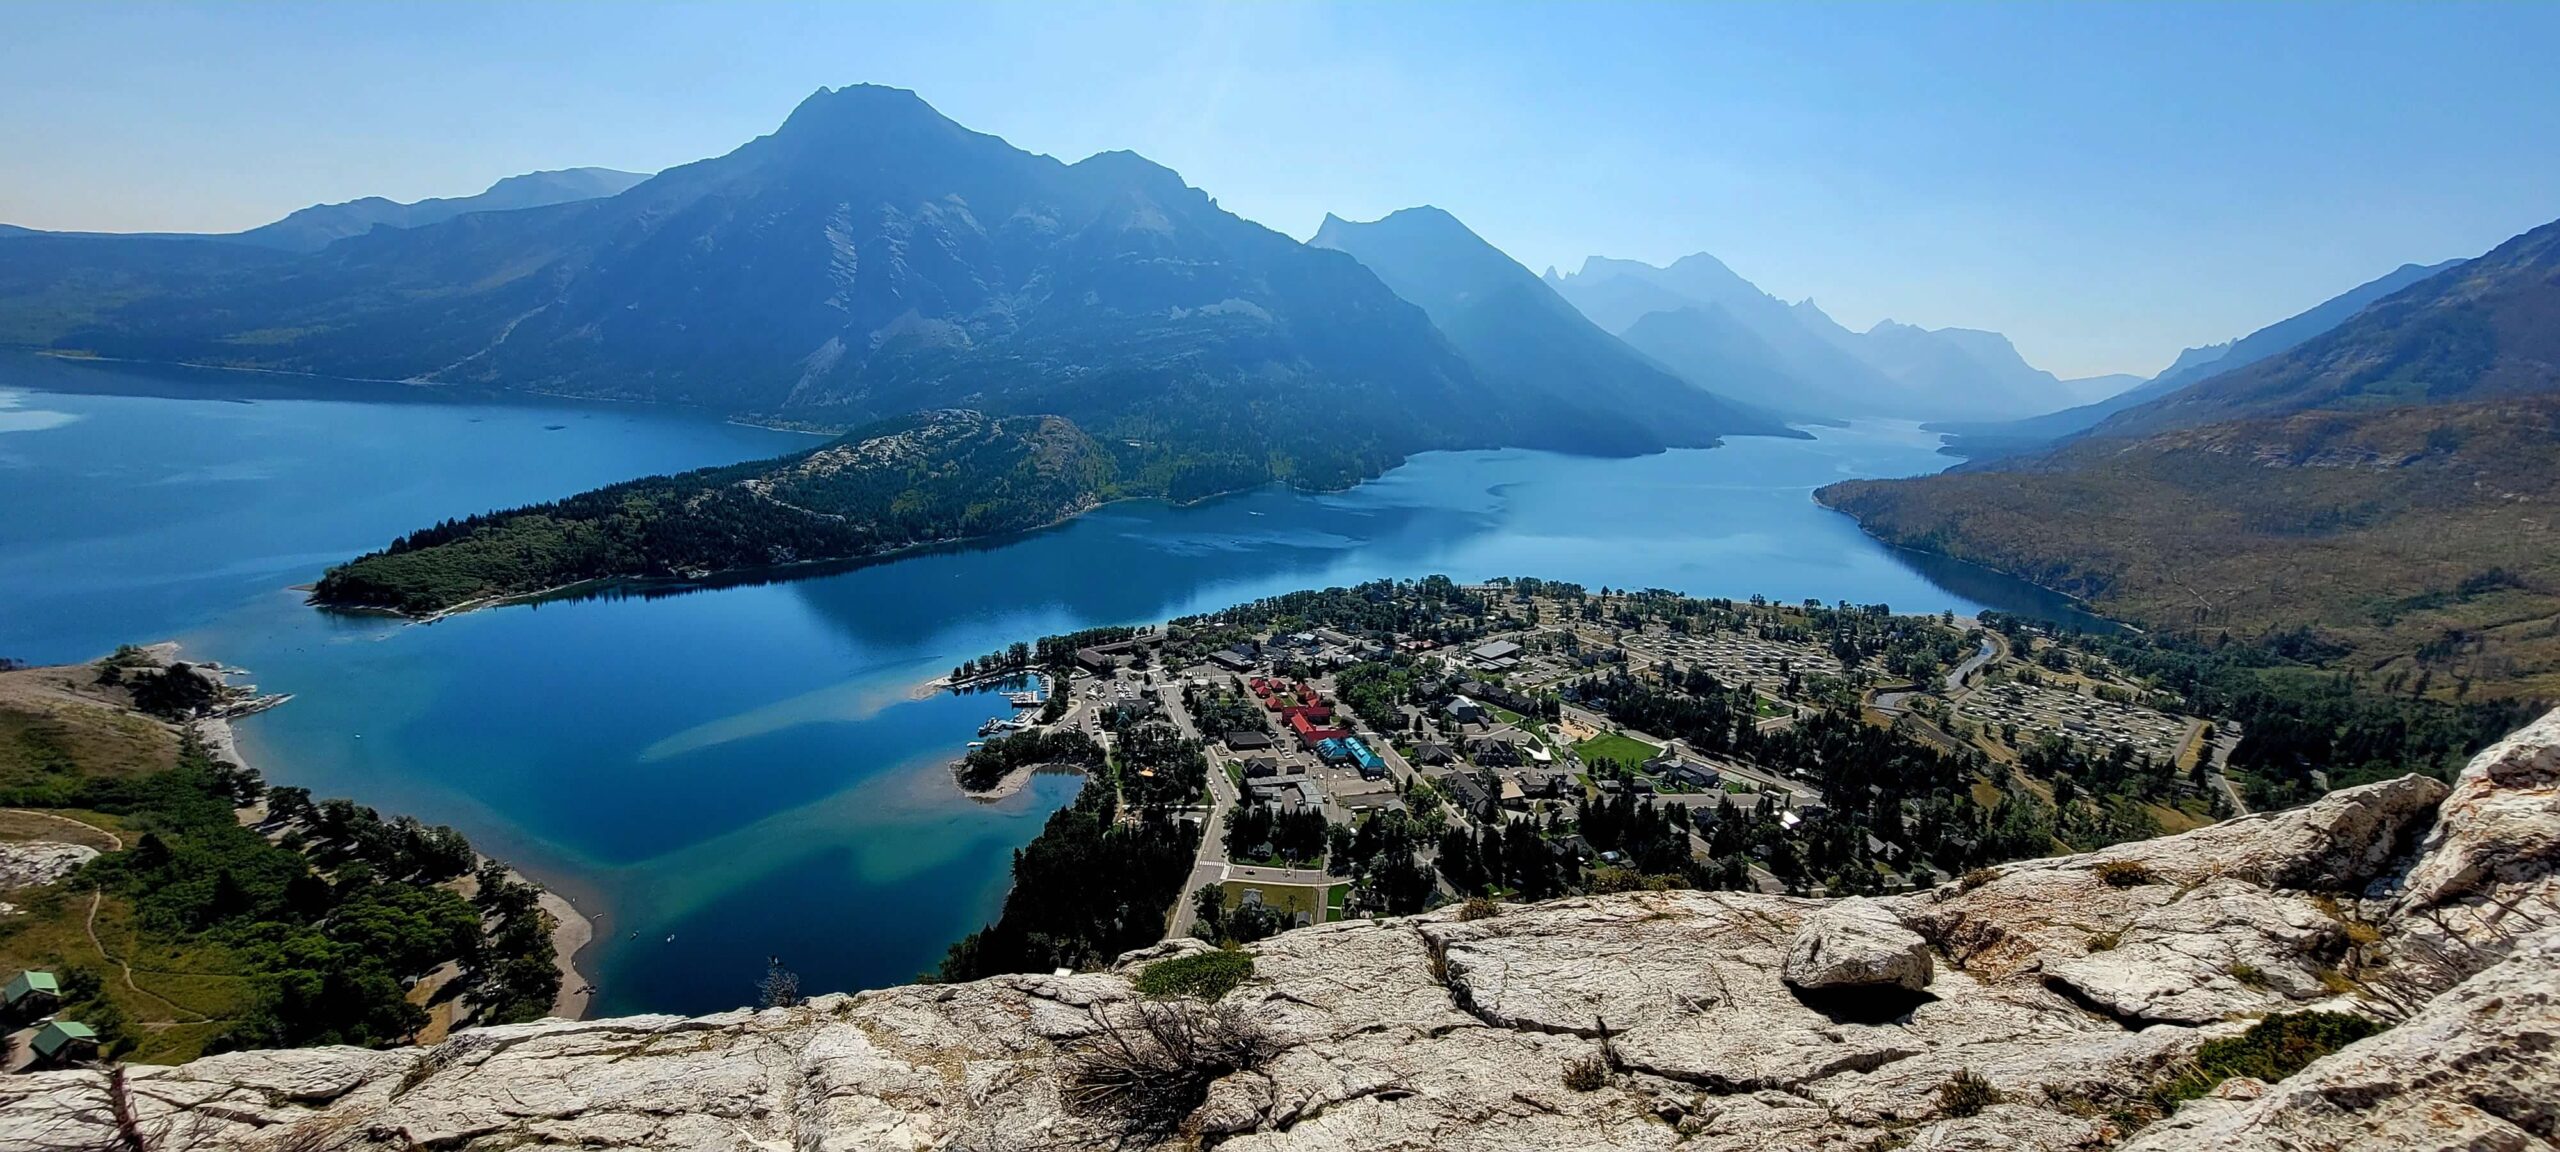
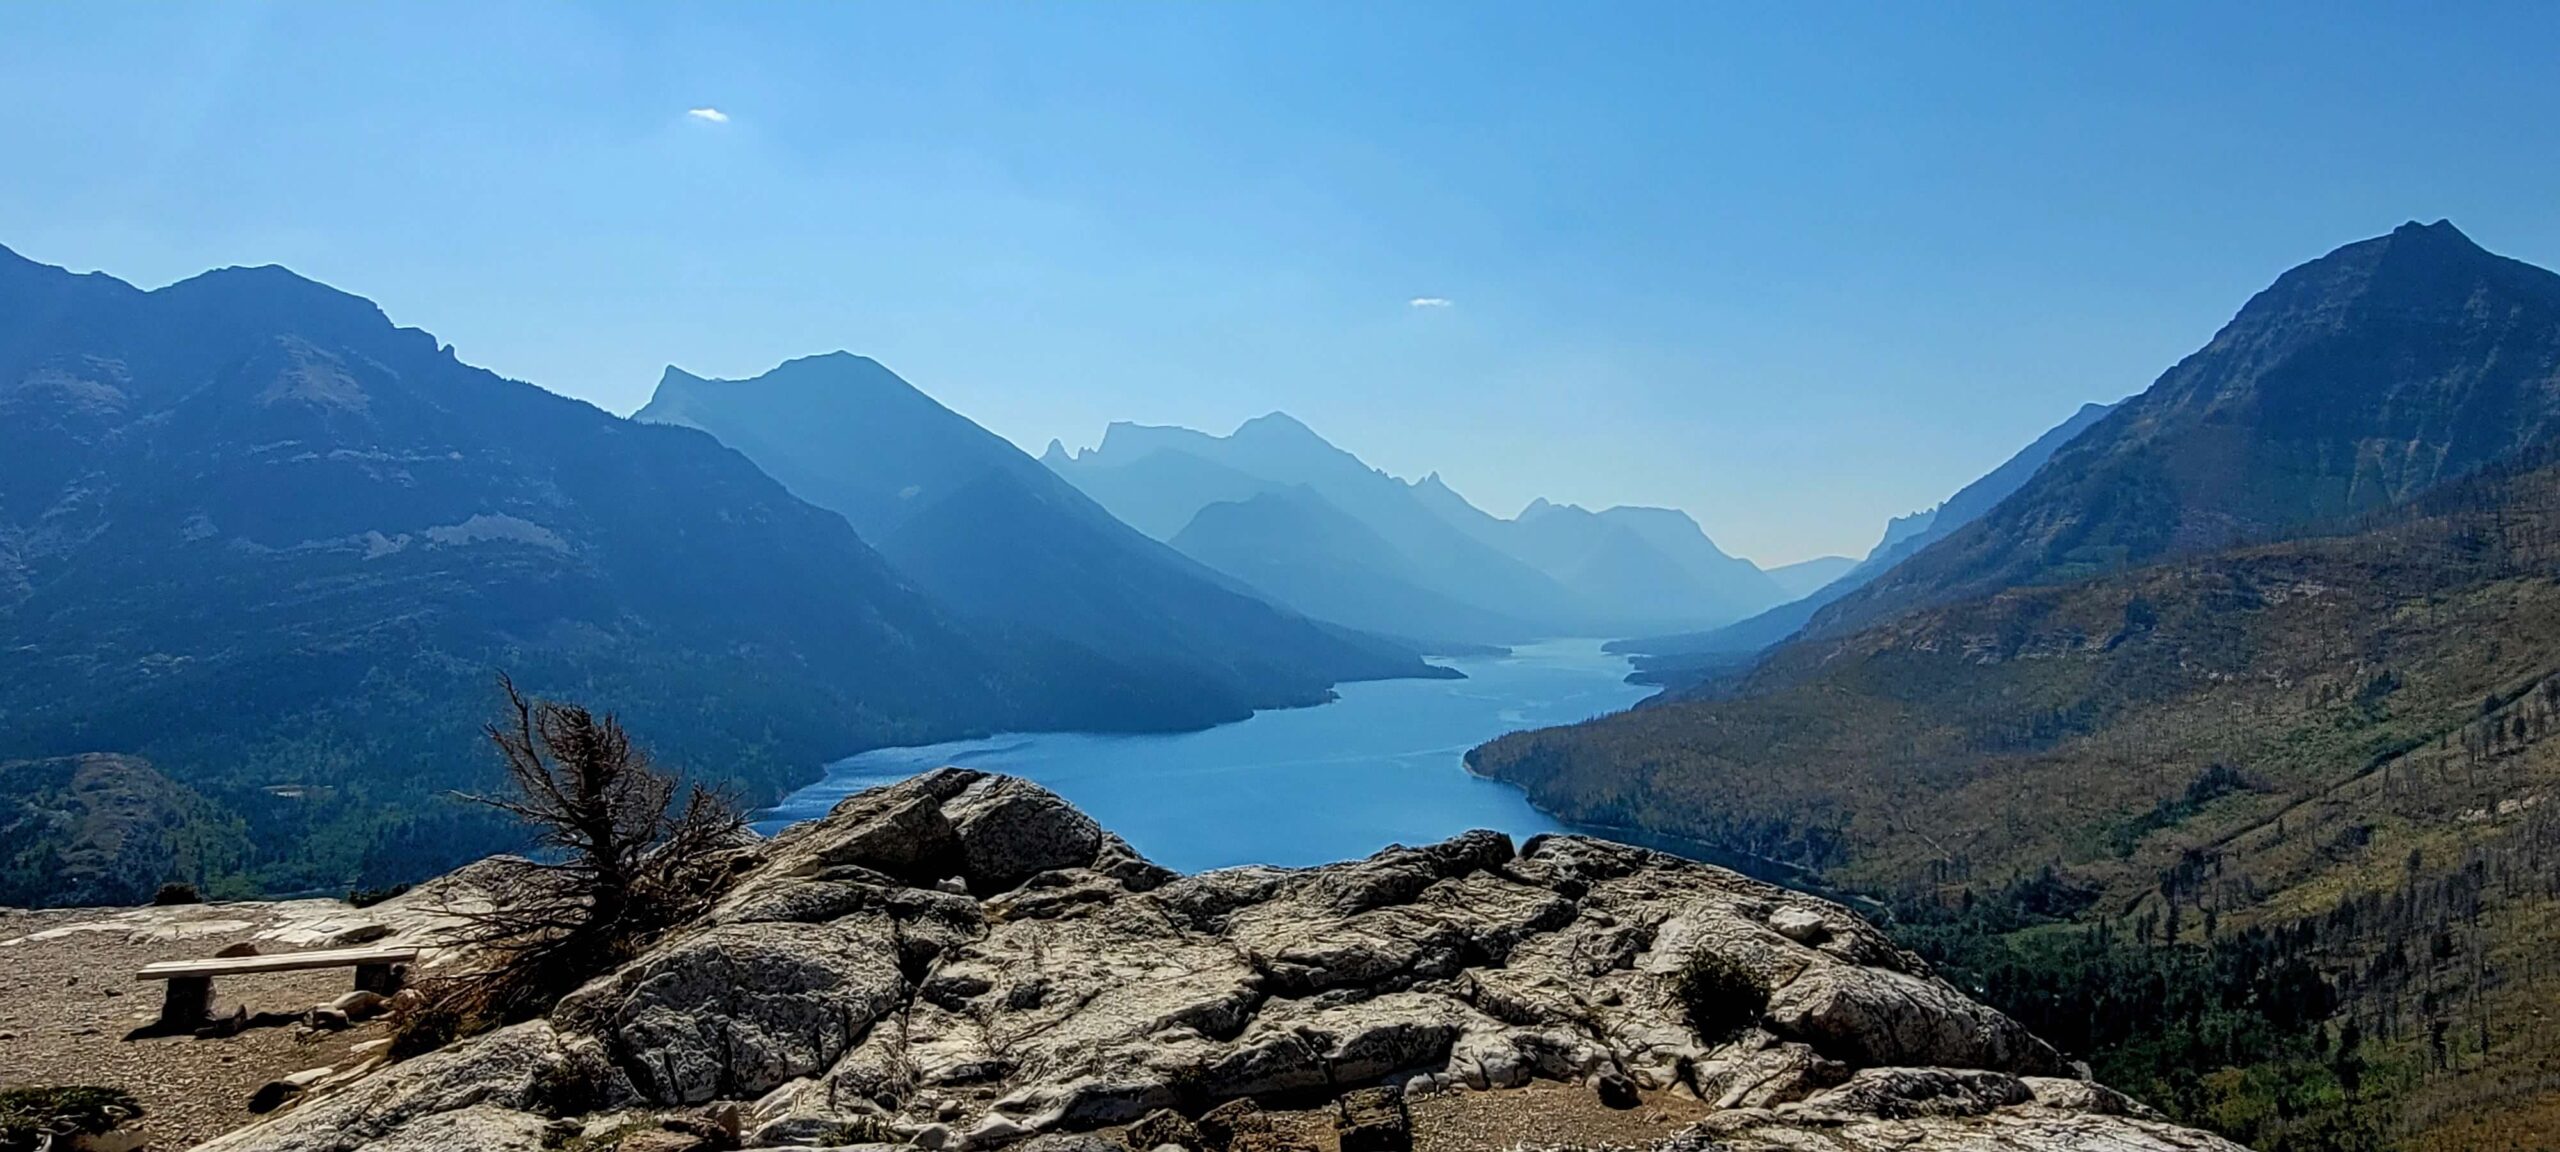
You can walk to this trailhead right from downtown Waterton Park or choose to park in the small parking lot near the Price of Wales hotel. While relatively short, you are still going to climb about 700 feet over a short distance, so we’d say this trail is moderate but borders on being hard. Along the way, you can take breaks to take in the views of the Price of Wales Hotel which continue to get better all the way to the top. Once you reach the top, you will have incredible panoramic views of the town of Waterton Park, the Price of Wales Hotel, and the Waterton lakes. If you choose one trail in the area, it should be this one.
Scenic Drives
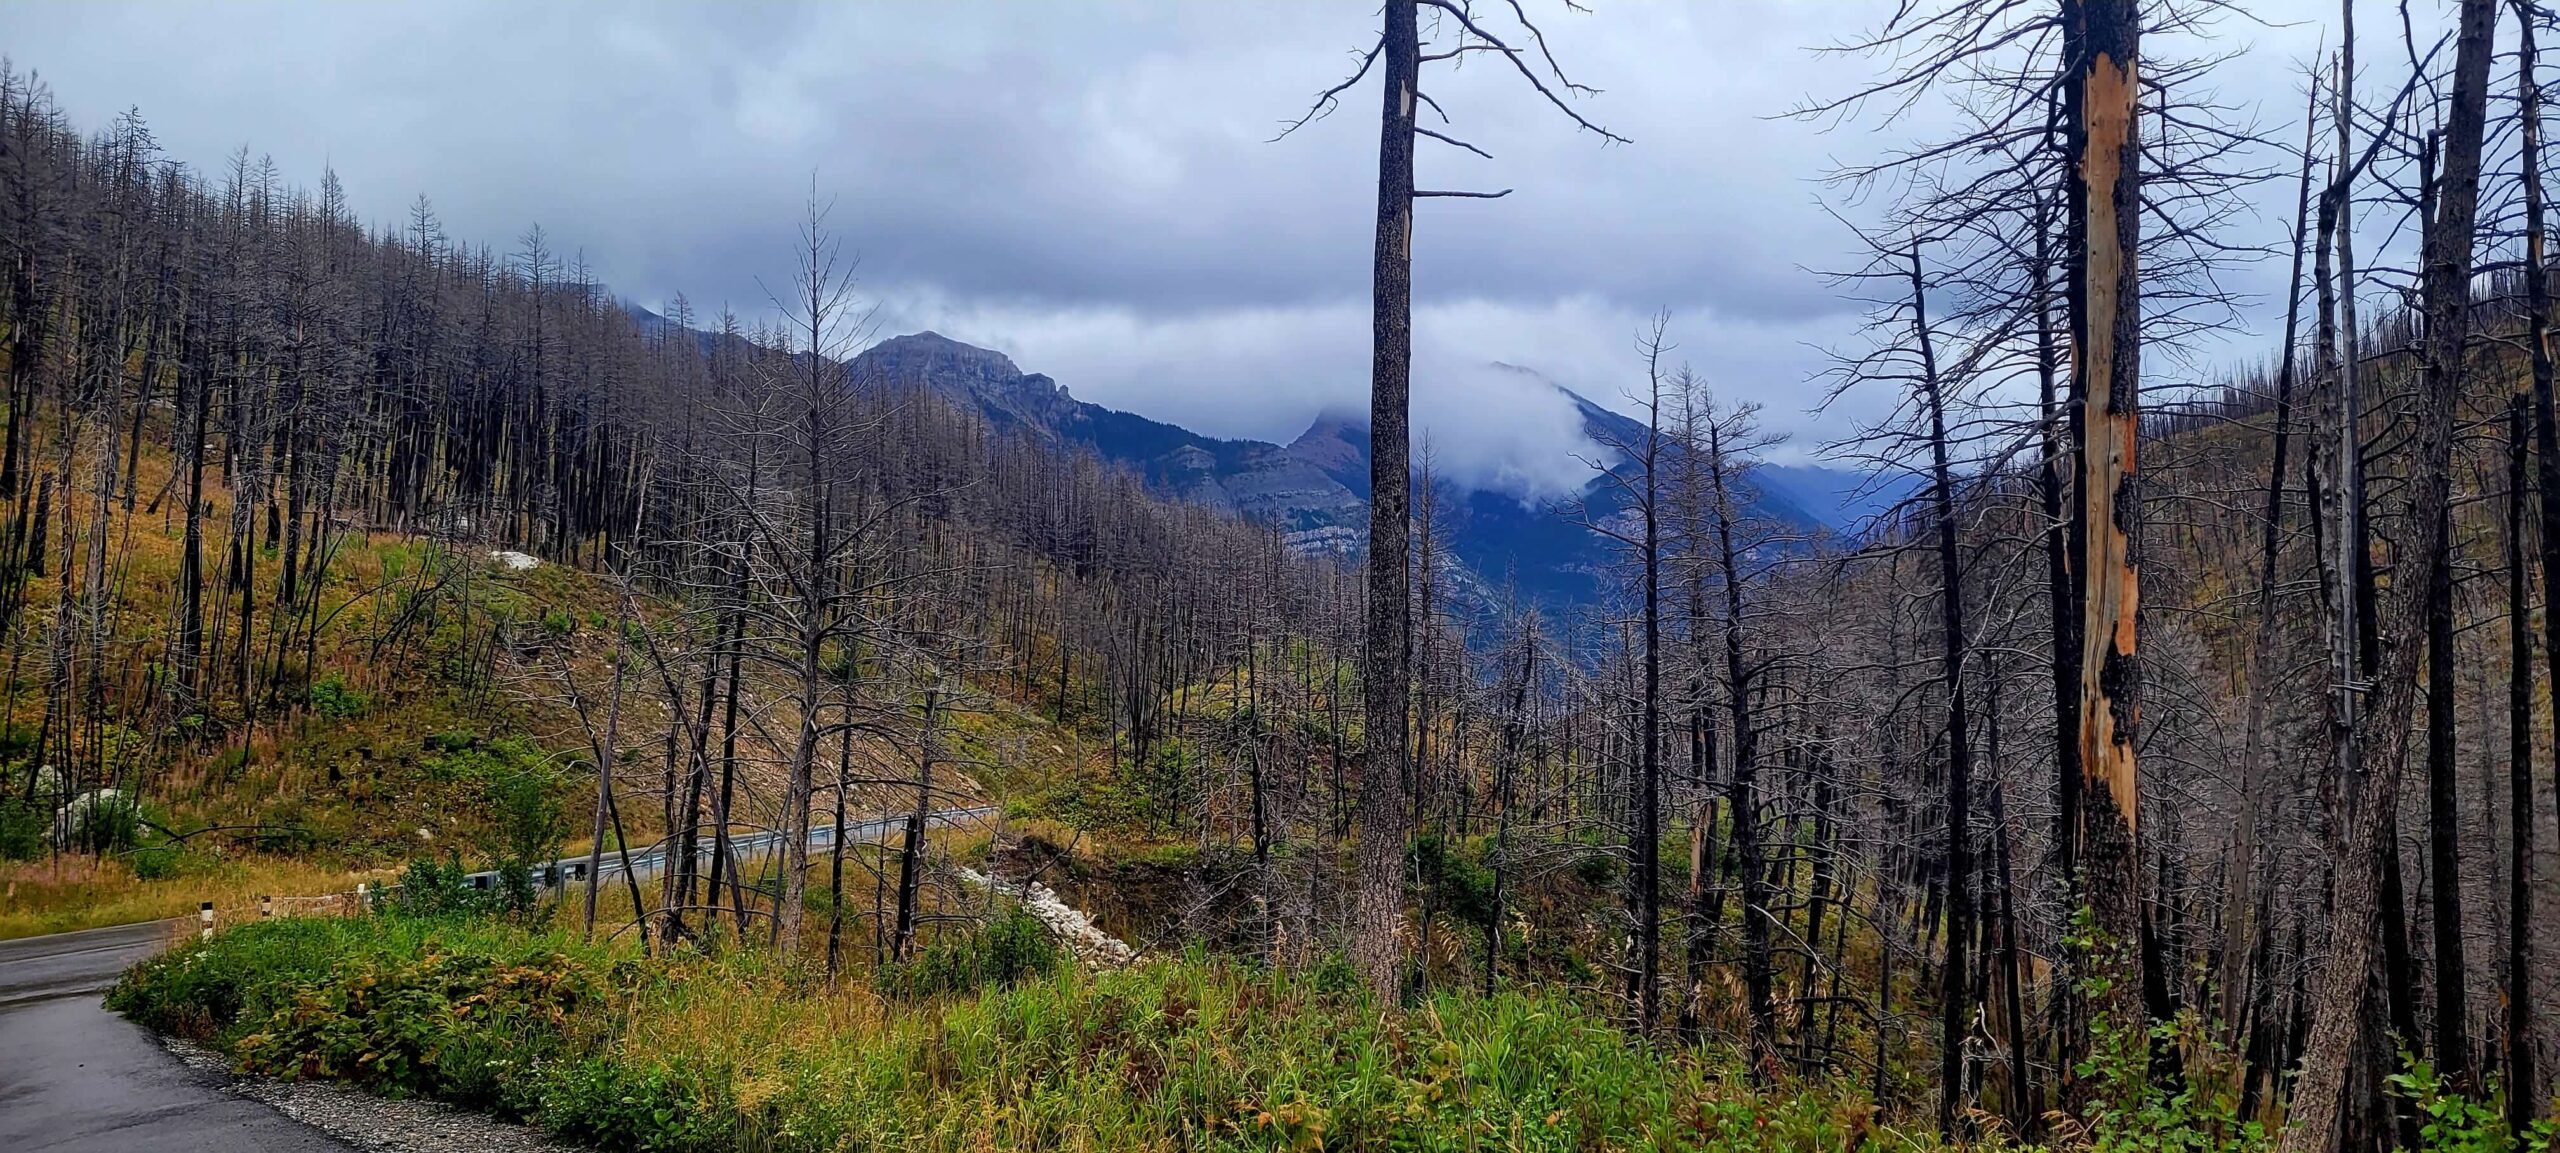
There are a couple of scenic drives that are well worth your time in Waterton Lakes National Park. They are the Red Rock Parkway out to Red Rock Canyon and the Akamina Parkway out to Cameron Lake. When we did these drives, it was absolutely dumping rain, so we didn’t spend any time out on the many possible hiking trails along these routes, but the views were incredible even if the hard rain. On a clear day, we could see ourselves spending a day on each of these roads taking in all the sites and trails. You can also rent kayaks on Cameron Lake which would be amazing on a clear day.
Polebridge / Bowman Lake Area
We have never been to this area which is a 30–45-minute drive north of the Apgar (west) entrance. While the road to Polebridge is mostly paved, the road to Bowman Lake from Polebridge is mostly unpaved and pretty rough from what we have heard, so a 4WD vehicle is likely necessary to access this area. The town of Polebridge does not have any traditional electricity, instead running on solar power and diesel generators. There are several hiking options once you get to Bowman Lake which we have heard good things about and will update here once we are able to hike them! You could technically hike from Bowman Lake to Goat Haunt, but it would be a very long overnight hike.
